EPOS K-Series User manual

K-Series
Passive Loudspeaker
Instruction Manual
Rev: 1.1

Page 1 Page 2
This booklet contains information on the Epos K-Series loudspeaker range.
POWER REQUIREMENTS
Ampliers with power outputs between those noted in the loudspeaker speci-
cations will generally be adequate, although more powerful ampliers could be
used if care is taken to avoid over-driving the loudspeakers.
Always use the volume control with discretion, and reduce the level immedi-
ately should the loudspeakers begin to distort.
Ampliers capable of less than 10 Watts per channel output are best avoided
because they will restrict the dynamic range. Such ampliers may also cause
damage to the loudspeakers if they are driven beyond their capability in an
attempt to obtain high volume levels.
The clipping distortion produced when an amplier is driven beyond its normal
output capability can be very destructive. A powerful amplier operating well
inside its capability will generally be less likely to damage your loudspeakers
than a lower powered amplier operating beyond its capacity.
NOTE: Do not make or break loudspeaker connections to the amplier when it
is turned on.
POSITIONING
Some experimentation may be necessary to establish the ideal position within
your listening room.
Begin by placing the loudspeakers about 20cm from the rear wall and at least
1m of space between each loudspeaker. Gradually move them out a little at a
time until you achieve the best balance between bass weight and denition.
The optimum stereo performance will be achieved when the speakers are
positioned 2.5 metres or more from the listener and about the same distance
from one another. Turning the speakers in very slightly towards the listener
often helps to stabilize the stereo image.
All Epos K-Series loudspeakers have been designed to produce a broad
listening area. However, the optimum sound balance and stereo image will
be enjoyed if your ear level, when seated for listening, is approximately in line
with tweeter. So, if you can just see the top of the speaker that will be ne. If
the ideal is not attainable, or convenient, listening beyond this range will also
be enjoyable.
Remember, there is no absolute right or wrong - if it sounds good, it is good.
QUICK CONNECTIONS
Switch off your amplier whenever making connections.
Take your speaker cable and connect the positive terminal on the amplier
left channel, marked + or coloured red, to the positive terminal on the left
loudspeaker. The negative terminal on the amplier left channel, marked - or
coloured black, must be connected to the negative terminal on the left loud-
speaker. Repeat connections for the right channel.
If you choose to bi-wire your loudspeakers, please read the detailed section
on page 3.
LISTENING
Switch the amplier on with the volume turned down low. Check that the bass
and treble sounds come from both speakers. If not, switch off and remake the
connections.
ALWAYS REMEMBER
Lower the volume before making any adjustments to the system (e.g. switch-
ing amplier inputs or raising or lowering pickup arm) and switch off the ampli-
er before checking or making any changes to any connections in the system.
DISCLAIMER
The 4mm plugs used on modern hi- speaker cables should never be inserted
into European mains sockets even though they may t. Needless to say, this is
pointless and can be fatal if tried. Make sure that young members of the family
are prevented from ever doing this.
STANDS
For loudspeakers designed for use on stands, best results will be obtained
K-Series
Passive Loudspeaker

Page 3 Page 4
if the stands are rigidly coupled to the oor using carpet-piercing spikes.
Floor-standing loudspeakers should also be coupled to the oor using the car-
pet-piercing spikes supplied. This will help preserve the outstanding mid-band
clarity which is a hallmark of Epos loudspeakers.
The oor-standing models are supplied with their own support plinth.
SPIKES
Four threaded spikes are provided with each oor-standing speaker, together
with individual locking nuts. These should be screwed into the metal inserts
in the bottom of the plinth. Once these are adjusted to correct the level of the
speaker and stop it from rocking, tighten the locking nuts, so as to prevent the
spikes from coming loose.
Adjusting the front spikes higher will tip the speaker up and can give sonic
benets.
CONNECTION
Ensure that your amplier is switched off before you make, or break, any con-
nections, because damage may occur to your amplier if shorted.
Your Epos loudspeakers are equipped with insulated gold - plated binding
posts with excellent electrical contact and current specication. The posts are
connected to the individual drivers as denoted on the rear panel label.
Removable metal links enable the loudspeaker to be conventionally wired with
a single cable, bi-wired or bi-amped. These techniques often bring benets in
terms of increased clarity and denition.
If you are in any doubt consult your dealer.
BI-WIRING
Bi-wiring involves the use of two pairs of speaker cables between your loud-
speakers and amplier. If you wish to bi-wire your speakers, it is essential that
you rst unscrew all the binding posts and remove the metal links that join
them together. Store them safely for possible future use. Once the links are
removed, the drive units will be electrically separate and should be connected
to the driving amplier with individual high quality cables.
WARNING
The sockets on the loudspeaker marked red (on the right side as you look
at the loudspeaker rear panel) should be connected to the red (or positive)
output terminals on your amplier, while the sockets marked black should be
connected to the black (or negative) output terminals on your amplier.
Use good quality cable to connect your loudspeakers to the amplier. Ensure
that the cables from each speaker are of roughly equal length and that any
surplus is gathered in a loose hank. Do not coil the surplus tightly.
PHASE
If the cables are not connected to each left and right speaker in the same way,
i.e. black and red reversed in one, the effect will be incorrect phasing. This
will cause the bass to disappear and the stereo image to move away from the
middle to a position outside the two speakers.
Correctly wiring the polarity of the speakers will restore the image to between
the speakers and provide proper bass. Most speaker cables have a polarising
mark, such as a raised bump or writing on the positive wire.
RUNNING IN
Epos loudspeakers require a little gentle use to allow their working compo-
nents to settle into their proper working condition.
Do not be concerned if your new speakers sound aggressive and lacking in
low-frequency authority when you rst begin to use them. Things will quickly
improve.
Allow between twenty four and forty eight hours of normal use before you
expect your new loudspeakers can be expected to perform at their best.
OPTIONAL GRILLES
Your K-Series loudspeakers are not supplied with the optional protective
grilles. If you wish to purchase these grilles, please contact your dealer or
Epos directly.
SUPPORT
If you nd you require further information or help setting up your Epos loud-
speakers, please contact your dealer or visit the Epos website.
www.eposltd.com

Epos Ltd
12 Avebury Court, Mark Road, Hemel Hempstead, Hertfordshire, HP2 7TA, England
www.eposltd.com - [email protected] - +44(0)1442 260146
This range of speakers are dedicated to Kristina...
Other EPOS Speakers manuals

EPOS
EPOS Epic 1 User manual

EPOS
EPOS M5i User manual

EPOS
EPOS EXPAND 80 User manual

EPOS
EPOS ELS Series User manual

EPOS
EPOS Mini-Monitor User manual
EPOS
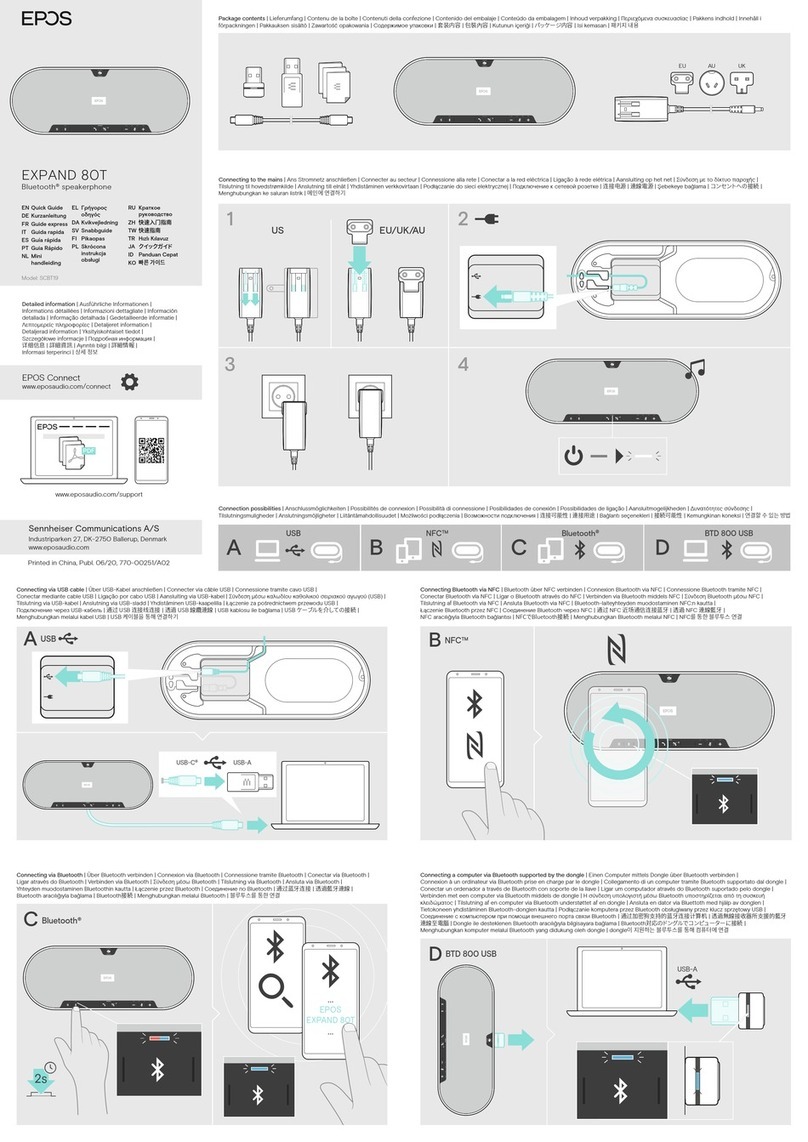
EPOS EXPAND 80T User manual
EPOS
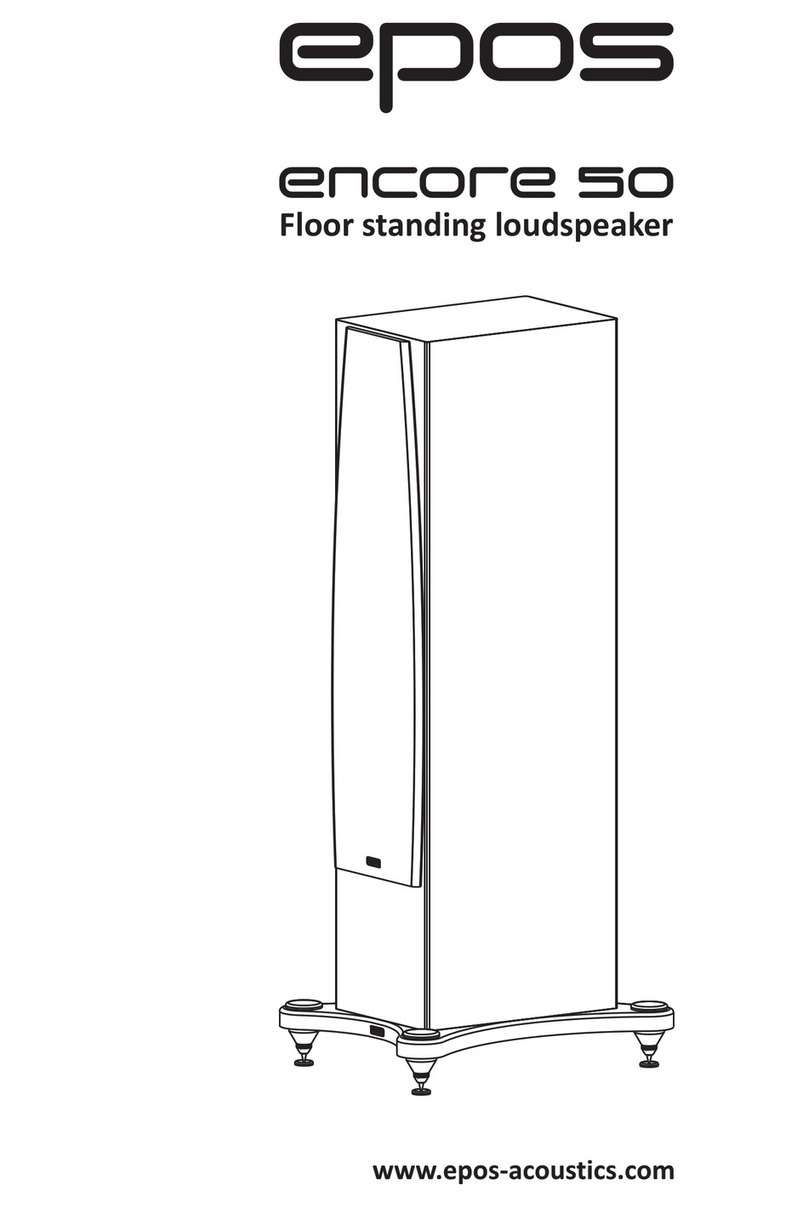
EPOS Encore 50 User manual

EPOS
EPOS Elan 35 User manual

EPOS
EPOS ELS Series User manual

EPOS
EPOS EXPAND CAPTURE 5 User manual

