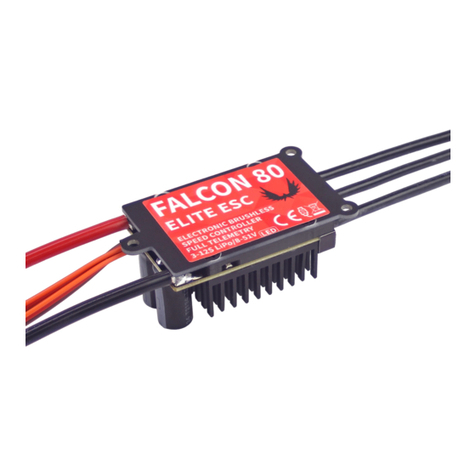
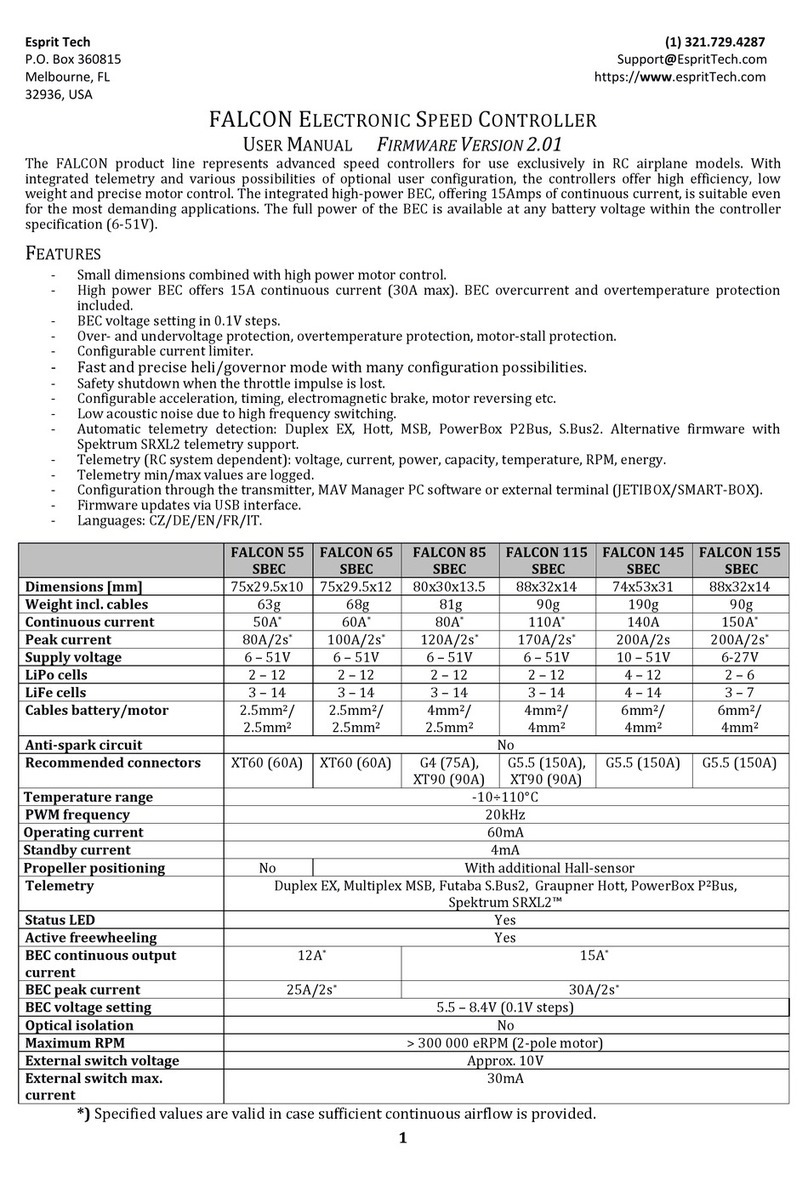
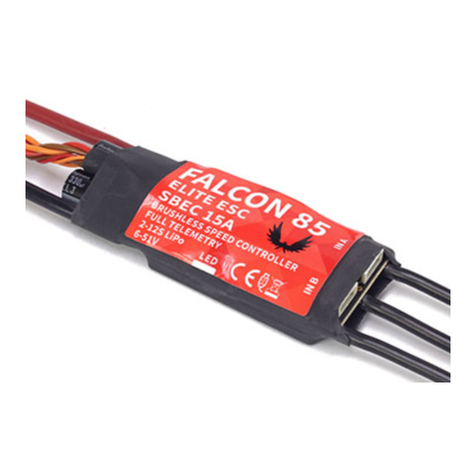
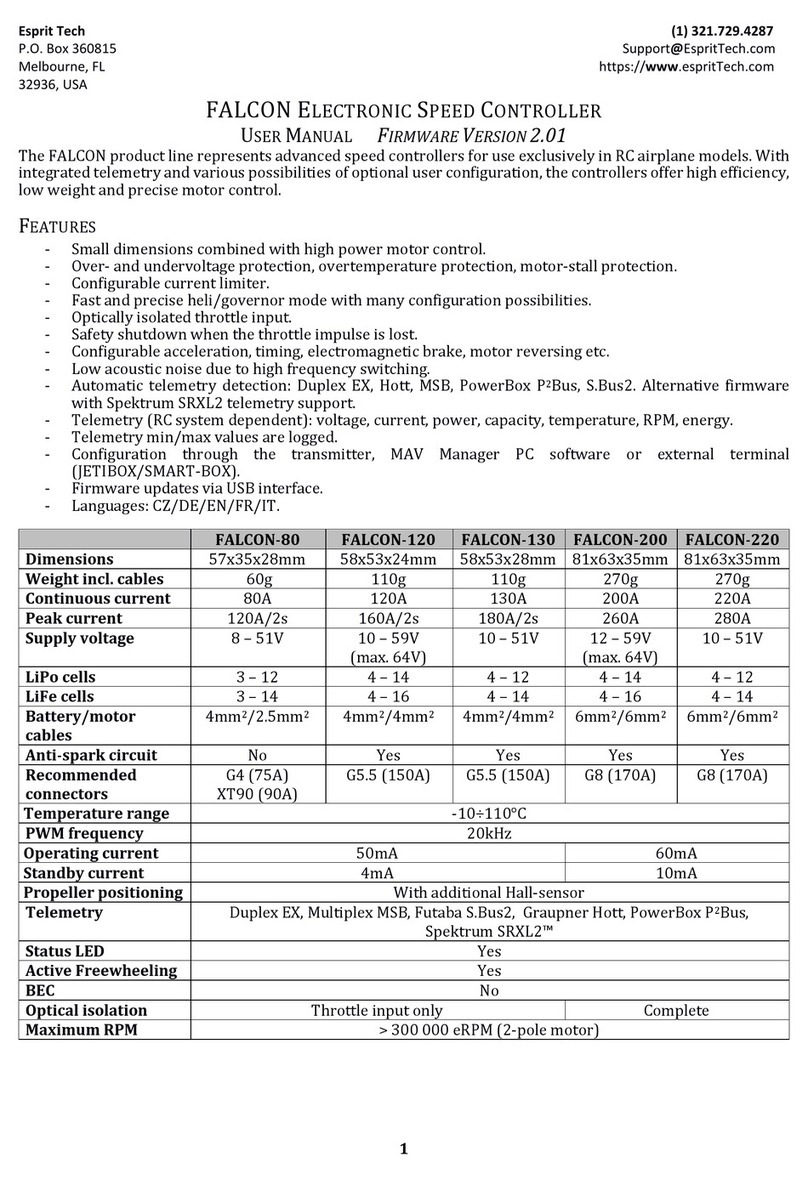
Esprit Tech Falcon Series User manual

1
Esprit Tech
(1) 321.729.4287
P.O. Box 360815
Support@EspritTech.com
Melbourne, FL
https://www.espritTech.com
32936, USA
FALCON ELECTRONIC SPEED CONTROLLER
USER MANUAL FIRMWARE VERSION 1.07
The FALCON product line represents advanced speed controllers for use exclusively in RC airplane models. With
integrated telemetry and various possibilities of optional user configuration, the controllers offer high efficiency,
low weight and precise motor control. The integrated high-power BEC, offering 15Amps of continuous current,
is suitable even for the most demanding applications. The full power of the BEC is available at any battery voltage
within the controller specification (6-51V).
FEATURES
-Small dimensions combined with high power motor control.
-High power BEC offers 15A continuous current (30A max). BEC overcurrent and overtemperature
protection included.
-BEC voltage setting in 0.1V steps.
-Over- and undervoltage protection, overtemperature protection, motor-stall protection.
-Configurable current limiter.
-Safety shutdown when the throttle impulse is lost.
-Configurable acceleration, timing, electromagnetic brake, motor reversing etc.
-Low acoustic noise due to high frequency switching.
-Automatic telemetry detection: Duplex EX, Hott, MSB, S.Bus2. Alternative firmware with Spektrum
SRXL2 telemetry support.
-Telemetry (RC system dependent): voltage, current, power, capacity, temperature, RPM, energy.
-Telemetry min/max values are logged.
-Configuration through the transmitter or external terminal (JETIBOX/SMART-BOX).
-Firmware updates via USB interface.
-Languages: CZ/DE/EN/FR/IT.
-
Falcon-55 SBEC
Falcon -65 SBEC
Falcon -85 SBEC
Falcon -115 SBEC
Dimensions
75x29.5x10mm
75x29.5x12mm
80x30x13.5mm
88x32x14mm
Weight incl. cables
63g
68g
81g
90g
Continuous current
50A*
60A*
80A*
110A*
Peak current
80A/2s*
100A/2s*
120A/2s*
170A/2s*
Supply voltage
6 –51V
6 –51V
6 –51V
6 –51V
LiPo cells
2 –12
2 –12
2 –12
2 –12
LiFe cells
3 –14
3 –14
3 –14
3 –14
Cables
battery/motor
2.5mm2/2.5mm2
2.5mm2/2.5mm2
4mm2/2.5mm2
4mm2/4mm2
Anti-spark circuit
No
Recommended
connectors
G4 (75A), XT90
(90A)
G4 (75A), XT90
(90A)
G4 (75A), XT90 (90A)
G5.5 (150A), XT90 (90A)
Temperature range
-10÷110°C
-10÷110°C
-10÷110°C
-10÷110°C
PWM frequency
20kHz
20kHz
20kHz
20kHz
Operating current
60mA
60mA
60mA
60mA
Standby current
4mA
4mA
4mA
4mA
Propeller
positioning
No
With additional Hall-sensor
Telemetry
Duplex EX, Multiplex MSB, Graupner Hott, Futaba S.Bus2, Spektrum SRXL2™
Status LED
Yes
Active freewheeling
Yes
BEC continuous
output current
12A*
15A*
BEC peak current
25A/2s*
30A/2s*
BEC voltage setting
5.5 –8.4V (0.1V steps)
5.5 –8.4V (0.1V steps)
Optical isolation
No
Maximum RPM
> 300 000 eRPM (2-pole motor)
External switch
voltage
Approx. 10V
External switch max.
current
30mA
*) Specified values are valid in case sufficient continuous airflow is provided.

2
INSTALLATION
Fasten the controller in your model using Velcro or double-sided adhesive tape. Connect the motor and receiver
according to the schematic below. You may connect the motor cables in arbitrary order, as changing direction is
done by exchanging any of the two cables (alternatively also by the “Direction” parameter in the configuration).
Turn on the transmitter. Now you can plug in the main flight pack and turn on the speed controller with the
receiver attached.
Note: The red LED on the controller will light up for two seconds to indicate proper initialization. After the
correct throttle impulse is detected (meaning off position), the controller plays a predefined melody. Now it’s
ready to fly. The controller will enter standby mode on behalf of the switch or button command. The type of used
switching element is defined in the controller configuration. If there is no switching element connected
(keeping “Mechanical Switch” in the settings), the controller is always turned on.
Warning: Always use brand new, high quality connectors and make sure that the cables are soldered perfectly.
Any possibility of losing connection during motor run represents a risk of damaging your electronics.
Warning: If you start the controller for the first time, or make any significant changes in the setup, please make
sure that the propeller is removed from the motor shaft.
Warning: Always disconnect batteries after the flight session ends. Even if the speed controller is turned off by
the switch, it still draws some small current. This could result in a completely drained battery within a few days
or weeks.
Note: If your flight pack voltage is greater than 25V (6S LiPo) we recommend using the power connectors with
integrated antispark mechanism. For example, the XT90 connectors with integrated antispark can be used.
CONTROLLER MODE
It is possible to choose from two basic controller modes:
•Normal (ramped) –the preconfigured acceleration time is always applied when accelerating. This is a
default mode for major use.
•Fast mode –the preconfigured acceleration is applied only when spinning up from zero revolutions.
After that, a minimum possible delay is used (0.2s for zero-to-full throttle response).
THROTTLE INPUT SIGNAL
The controller expects positive impulses from the receiver with maximum refresh rate up to 400Hz. By default,
with automatic endpoints selected, the controller will work with vast majority of RC systems. In such case, a
minimum throttle impulse is read after startup and the maximum power is dynamically adjusted as soon as you
apply full throttle for the first time.

3
In case you need exact points on your transmitter stick, where the motor starts and where full throttle is, you
can configure manual endpoints as well.
Note: The controller waits for throttle-low position after startup and also every time the motor is stopped due
to any error condition. If the throttle stick is not at the correct position during startup, the ESC plays a warning
tone.
MOTOR SETTINGS
It is possible to configure many of the motor parameters, including acceleration, timing, motor gear ratio or
number of poles. The gear ratio and number of poles are important for telemetry to measure the motor speed
correctly.
Acceleration influences the motor response on the throttle channel. By decreasing the acceleration value, the
motor response gets faster, providing more “locked-in” feeling. However, the motor consumes more current and
the controller generates more heat. We recommend the default acceleration 1.0s for majority of model types,
including electric gliders, scale models, EDFs etc. For 3D aerobatic flight you might go down to 0.5s or even less
(with care). For the fastest motor response, you may also set the “Fast controller mode” in the Common Settings.
Timing is defined by the motor type and it is usually recommended by the motor manufacturer. It also influences
the motor power and current consumption. Higher timing can increase the motor power but care must be taken
not to overload the system.
•Automatic timing: The timing is continuously adjusted by the internal algorithm. This is a universal
solution compatible with most motor types.
•Timing 0° - 10°: Recommended for inrunners.
•Timing 15° - 20°: Recommended for most outrunners. It offers good power and efficiency combination.
•Timing 25° - 30°: The high torque motors with many poles require the highest timing.
Motor type should be modified only in some specific cases where it is necessary by the application. There are
three options available:
•“Standard” motor type – recommended for most motor types and applications.
•“High torque” – if you have problems with motor synchronization during fast acceleration, use this mode.
Preconditions: large outrunner with more than 20 poles, heavy propeller, large current peaks. We also
recommend increasing timing to more than 20°.
•“High speed” – use this mode if your power setup exceeds 250 000 eRPM (revolutions per minute
calculated for a 2-pole motor).
Startup power influences the first few motor revolutions. If you are not satisfied with the automatic mode, you
can set the motor start to be more aggressive (positive values), or as smooth as possible (negative values).
BRAKE CONFIGURATION
The electromagnetic brake is a standard feature of all ESCs used in electric glider models. The FALCON controller
offers several additional parameters to fine tune the braking function. You can use one of the preconfigured brake
settings, or you can specify all the parameters as you wish.
Brake options:
•Off: The propeller spins freely without braking.
•Soft: Transition from zero to full braking force in 1.0s.
•Medium: Transition to full braking force in 0.7s.
•Hard: Transition from 50% to 100% braking force in 0.5s.
•Manual: You can specify all brake parameters manually:
oStart power –braking force applied from the first moment of applying the brake.
oEnd power –braking force applied after the transition time elapses (usually the full braking
force that stops the motor completely).
oTransition –time between brake start power and brake end power. During this time, the
braking force continuously transits from start to end power.
oWait time –time between unpowering the motor and applying the brake. During this time the
motor spins freely without power.

4
Example: Motor brake with the
following parameters: Start power =
50%, End power = 100%, Transition
= 0.5s, Wait time = 0.3s.
BEC VOLTAGE AND SETTING
In the Common Setting menu, you are able to modify the BEC voltage very precisely in steps of 0.1V. The
controller contains a very powerful BEC which is able to deliver up to 15Amp continuous current. However,
in case of high power setup, sufficient cooling airflow must be provided. Connecting both Telemetry and
Throttle cables to the receiver is recommended to provide high current throughput.
Warning: Always set the BEC voltage according to the rating of the attached electronics, including receivers,
sensors and servos. Never exceed the voltage limits.
BACKUP BATTERY
In case you need a small buffer battery for covering voltage spikes of the attached servos, you can specify its
presence in the Common Setting –Backup battery menu. After setting the battery type it is necessary to remove
all power supplies from the controller and then reconnect them. Possible options:
•“No” (default) – the buffer battery is not present
and the BEC voltage is set according to the value
set in the configuration. No external power
supply shall be connected to the receiver side,
otherwise the BEC won’t turn on.
•“2S LiPo 8.4V” – an external power supply with
maximum voltage 8.4V is expected on the
receiver side (see the picture). The controller
won’t initialize itself if the backup battery
voltage is outside the limits (or not connected).
The BEC voltage will be set automatically
according to the backup battery, so that there is
no risk of uncontrolled currents.
•“2S LiFe 7.2V” – an external power supply with maximum voltage 7.2V is expected on the receiver side.
The behavior is similar to the case of 2S LiPo.

5
EXTERNAL SWITCH
The FALCON ESC allows you to install an external switch if
needed. By default the switch is not present, so that the
speed controller/BEC turns on immediately after connecting
the flight battery.
You can specify the type of switching element in the
Common Setting –Switch Type:
•Mechanical (default) –the switch shorts the yellow (signal) and brown (ground) wires of the
Switch/Button cable. An inverted logic is used, so that the ESC stays turned on if the switch is left open.
•Button/Hall –first long press turns on the ESC; second long press turns it off. The LED indicates on/off
state and blinks if the magnet (or button press) is detected. The Hall sensor can be bought as an ESC
accessory.
•Electronic –allows you to install an external electronic switch (Touch Switch, RC Switch etc.). In this case,
the switching device is always powered and the logic level of the signal wire specifies the on/off state to
the controller.
Note: Please pay attention to the parameters of an external switch before connecting. The signal wire uses a
3.3 Volt logic with a weak pull-up. The power supply from the ESC is rated 10V with maximum current 30mA.
PROPELLER POSITIONING
The positioning feature allows moving the motor/propeller to the exact position required for safe landing, or
which is just comfortable for further flying. With just a few external components (Hall-sensor and a small magnet)
you can enable this feature and prevent the risk of damaging your propeller during landing. The magnet needs to
be properly fixed to the rotating part (either motor or the propeller), and the Hall-sensor has to be located in the
fuselage, so that the magnet matches the Hall -sensor at the target propeller position. After enabling the
positioning feature in the menu (Prop Position = Hall Sensor), set also the Positioning PWM, so that the motor
spins slowly but smoothly. You may also change the duration of actively held motor position (Position Hold Time)
which is applied after the correct position is found. The position -hold feature is useful in case of retractable
engine since it doesn’t allow propeller to be moved while retracting.
Connect the Hall-sensor of the propeller positioning function to the IN-B port of the controller.

6
Note: Use a high quality CA or Epoxy glue to fix the magnet in the rotating part. You can also drill a small hollow
in the spinner and fix the magnet in it.
Warning: Do not use higher PWM than necessary otherwise the motor may overheat. Generally use as low PWM
as possible so that the motor holds its position reliably. Check the current consumption using the telemetry.
MOTOR IDENTIFICATION
Some motor brands contain an integrated temperature sensor compatible with the FALCON speed controller.
This sensor (T125-ID) might be used as a standalone telemetry sensor with Duplex/Hott/S.Bus2 telemetry
support. Alternatively, the sensor can be directly connected to the Input port „A“ of the controller (see the picture
above). From this moment on, the FALCON controller will know the basic motor parameters (minimum
acceleration, recommended timing, gear ratio, number of poles…) and motor temperature as well. Some
parameters are adjusted automatically (gear ratio, poles), the other settings are configured after resetting the
controller to factory defaults. Connect the motor-identification sensor into the IN-A port of the controller.
ACTIVE FREEWHEELING
“Active freewheeling” or “Active braking” is a feature of the speed controller that reduces heat generated by the
ESC during partial load operation. This mode is useful for aerobatic pilots who want not only fast acceleration,
but also rapid deceleration. The motor follows throttle stick input in both ways and the pilot feels more “locked-
in”.
CURRENT LIMITER
The current limiter is a part of safety controller features. It doesn’t stop the motor but rather continuously
monitors the immediate current consumption and adjusts the motor power. You can enable this feature, specify
the maximum allowed current and the ESC will reduce the motor power immediately as soon as the current
threshold is exceeded. After the current returns back to the safe level, the motor power is restored.
BATTERY PROTECTION
The integrated battery protection is based on undervoltage detection and reducing motor power, alternatively
shutting down the motor completely. You are free to set the number of cells (or leave automatic detection) and
low voltage threshold per cell. Supported battery types are NiXX (1.2V), LiFe (3.6V max) and LiIo/LiPo (4.2V
max).
STATUS CODES
The status codes are shown on the screen (JETIBOX/SMART-BOX) if any kind of error condition occurs. If any
status code is set, the red LED continuously flashes.
Available status codes:
•Low voltage (UL): The battery voltage got below the threshold specified in the battery protection menu
and the controller either reduced the maximum power, or shut down the motor completely.
•High voltage (UH): In case you use a weak battery or wall power supply, the voltage might rise above
the initial level during braking. In such case the alarm is set and all braking functions are disabled.
•High current (IH): The current got higher than the maximum peak current defined in the product
specification (120A for FALCON-85).
•High temperature (T100, T110, T120): The temperature got above the safety threshold level. The
numerical value specifies maximum detected temperature and safety protocol which has been applied.
•Commutation error (COM): A synchronization error has been detected during the motor operation. It
usually occurs when the motor stops abruptly, or in case of very fast acceleration for some specific setups.
This error could mean a serious issue in the motor-controller installation.

7
MOTOR DIRECTION REVERSING
The motor reverse feature is available for RC systems with bidirectional bus support (EX Bus, SRXL2, S.Bus2).
To control the motor direction you need to define an additional channel transferred through the bus system.
Both cables (red and black) of the FALCON speed controller must be properly linked the receiver.
First, you need to create an additional channel on you transmitter to control the motor direction. This channel
should be operated by a two-position switch.
Futaba/Spektrum:
Use one the AUX channels and remember the channel number. It is not necessary to use just the channels
available on your receiver since the RC systems usually offer more channels over the bus than the physical
number of receiver ports.
Example: If you use Spektrum NX6 and a 6-channel receiver, you may still use the channel No. 7 (AUX2) to control
the reversing feature over the bus.
JETI:
Create a new model function in the Model - Functions Assignment menu and assign a spare two-position switch.
After that, in the Model –Servo Assignment menu, assign the function to one of the receiver channels (1-16). Again,
you may use the channels that are not directly available on the receiver outputs (e.g. 13-16) since they will be
transferred through EX Bus without limitation.
To enable the motor reverse function in the controller, set the “Controller Mode” to “Normal/Reverse” and set
the correct channel from the previous step. You may also play with the brake settings and reverse wait time under
“Manual” brake type.
Check the function: As soon as you flip the direction switch, the controller activates braking, and after some short
pause, the motor starts spinning in the opposite direction.

8
TELEMETRY AND SETTINGS
Plug the red data cable into the sensor slot of the JETIBOX / SMART-BOX (or corresponding receiver). Power it up
with a battery (4.5 - 8.4V). Now you can safely configure the controller using the arrows on the terminal. If you use
an external (optional) switch connected to the ESC, please make sure that the controller is turned on.
The FALCON ESC is compatible with JETIBOX programming. The JETIBOX menu is divided into five sections:
•Actual values –displays the latest telemetry values together with minimums and maximums.
oAvailable telemetry: Voltage, current, capacity, RPM, power (percent), temperature.
oIf the motor chip ID is connected, also motor identification and temperature are shown. o
Reset Min/Max - press left+right buttons together to reset all minimums and maximums.
•Common settings –basic settings of the controller
oController mode –basic controller mode (normal or fast).
oStartup beep –choose a melody played after the controller initialization.
oStandby beep –you can activate short repeated beeps as an indication of a powered motor
drive.
oMotor endpoints, motor start, motor full –settings related to throttle input signal decoding.
oCapacity reset –you can choose at which moment the capacity and consumed energy are reset.
▪Power on –the capacity is cleared after initialization. However, the capacity from the
previous run is shown initially, until you start the motor.
▪Voltage change –the capacity is cleared after you connect a battery with similar (or
greater) voltage compared to the maximum battery voltage from the previous run. This
means that each time you connect a fully charged battery of the same chemistry and
number of cells, the capacity will be cleared.
▪Manual –the capacity/energy is never cleared and you must perform the reset
manually.
oLanguage –you can choose the language of the JETIBOX screen.
•Motor settings –settings related to motor parameters.
oDirection, acceleration, timing, startup power, motor type, gear ratio, motor poles –see
the Motor Settings chapter.
oBrake related settings –see the Brake configuration chapter.
oProp position, positioning PWM, position hold time –see the chapter Propeller positioning.
oMotor Enabled (0/1) –motor operation can be enabled or disabled based on the logical state of
the specific input “IN B.2” (connector pinout from left to right: 1 = Hall sensor input, 2 = Motor
enable input, 3 = 3.3V, 4 = Ground).
oFreewheeling –enables freewheeling/active braking motor operation.
•Protection –ESC and battery protection settings.
oLow battery –behavior when the battery is discharged. Either set to slowly reduce the motor
power, or shut down the motor immediately. The minimum safe voltage is based on number of
cells (cell count) and voltage per cell.
oLimit current –enable this feature to prevent high current peaks and system overload.
oLimit power at 100°C –you can edit the maximum allowed PWM after the controller
temperature exceeds 100°C. The model must be operable, but the temperature must not increase
anymore.
•Service –In this menu you can view the device version and reset it to the default factory configuration.

9
JETIBOX Menu Structure
Available EX telemetry
1.
Battery voltage [V]
2.
Motor current [A]
3.
Capacity [mAh]
4.
Speed [RPM]
5.
PWM [%]
6.
Power [W]
7.
Running time [s]
8.
Energy [Wmin] –useful feature for
competitions where total energy is
limited (F5B, F5D).
9.
Temperature [°C]
10.
External temperature [°C] –
if the
motor identification chip
is
connected, the ESC forwards motor
temperature in its own telemetry.
11.
Motor status:
0
= Initial state,
1
= motor running,
2
= braking,
3
= positioning started,
4
= position found,
5
= position error (prop out).
12.
BEC voltage[V]
Graupner Hott Menu Structure
The FALCON controller is recognized by default as an “Air-ESC” sensor.

10
Futaba and Multiplex connection
Futaba and Multiplex systems do not offer wireless device configuration. The telemetry transmission
is possible with the following fixed sensor slots:
Futaba S.Bus2 slot
Note
Multiplex MSB slot
RPM
2
Choose RPM sensor on slot 2.
6
Current
3
Choose SBS01C current sensor on
3
Voltage
4
slot
3
.
2
Capacity
5
4
Temperature
6
Choose Temp125 sensor on slot 6.
5
PWM (0-100%)
7
Choose Temp125 sensor on slot 7.
-
Note
Manual detection in the menu Linkage –Sensor.
Automatically detected by
the transmitter.
Spektrum integration
From version 1.06, the Spektrum telemetry support has been integrated in a special firmware version. This
alternative firmware offers the SRXL2 telemetry and setting using the TextGen protocol. The FALCON controller
is represented in the transmitter by two telemetry devices:
-“ESC” shows battery voltage, current, BEC voltage, ESC temperature, RPM and power output.
-“Flight Pack Capacity” sensor that shows the consumed battery capacity.
Connect the Throttle cable (black connector) to the Thr (1) receiver port. For proper telemetry/setting also
connect the Telemetry cable (red connector) to the Prog/SRXL2 receiver port. The controller normally delivers
only numerical telemetry. The textual menu (TextGen) is available only after a special procedure is performed
during startup:
•We assume the Throttle and Telemetry cables are connected correctly and the transmitter is turned on.
Now push the throttle high.
•Turn on the ESC either by connecting the flight pack or by flipping the external switch.
•The motor will beep indicating detection of the high throttle impulse. After 3 seconds, another beep
announces entering the programming menu.
•Now you may pull throttle low On the transmitter main screen scroll right to locate the TextGen menu.
The motor will never start spinning if the textual menu is enabled. To enable normal motor operation,
you have to leave the TextGen menu by choosing the “Exit” option on the first page.
•Navigation in the menu is provided by the transmitter sticks –elevator stick moves the cursor up/down
and aileron stick changes the selected value.
•The configuration changes are saved immediately after any value is edited.
Note: Use the latest firmware version in your transmitter and receiver. For Spektrum NX, at least version 3.06
has to be installed. Recommended receivers: AR8360T, AR8020T, AR6610T, AR631T, AR637T…

11
SAFETY INFORMATION
•Operate the FALCON controller always in dry environment and within the device limits stated in this
guide. Never expose the device to excessive heat or cold outside the working area.
•Provide sufficient airflow to prevent controller overheating.
•Never exceed the maximum allowed operating voltage of the controller/motor.
•Do not increase the cable length between the controller and motor. In case you need to lengthen the wires
between the controller and battery to more than 40cm (in total), solder some high capacity low-ESR
capacitors (220-470uF) every 30cm in parallel to the power wires.
•Always use high quality connectors in good condition. Replace them if any visible sign of wearing
appears.
•Always remove the propeller prior to making any changes in drive setup.
•Never disconnect the ESC from the battery while the motor is spinning.
•Do not remove the cover and heat sink from the device and do not try to implement any changes or
modifications. This can lead to a total destruction and to the denial of any warranty claims.
•Always check the polarity of the connection. Never inverse the polarity –this could lead to total
destruction.

12
FIRMWARE UPDATE
Firmware updates for the FALCON ESC are transferred from a PC via the USB interface. The required programs
and files are available at www.espritmodel.com.
Install the MAV Manager software and the USB drivers on your computer. Check the system requirements.
1) Make sure that the battery flight pack is disconnected and the FALCON ESC is unpowered.
2) Connect the USB interface to your PC, run MAV Manager - Updater and select the correct COM Port.
3) Connect the FALCON ESC according to the picture below –use the red (telemetry) port. The controller
will be automatically detected.
4) Select the correct *.BIN file and press the Update button.
WARRANTY
We grant a warranty of 24 months from the day of purchase under the assumption that they have been operated
in conformity with these instructions at recommended voltages and that they were not damaged mechanically.
Warranty and post warranty service is provided by the manufacturer.
This manual suits for next models
4
Table of contents
Other Esprit Tech Controllers manuals
