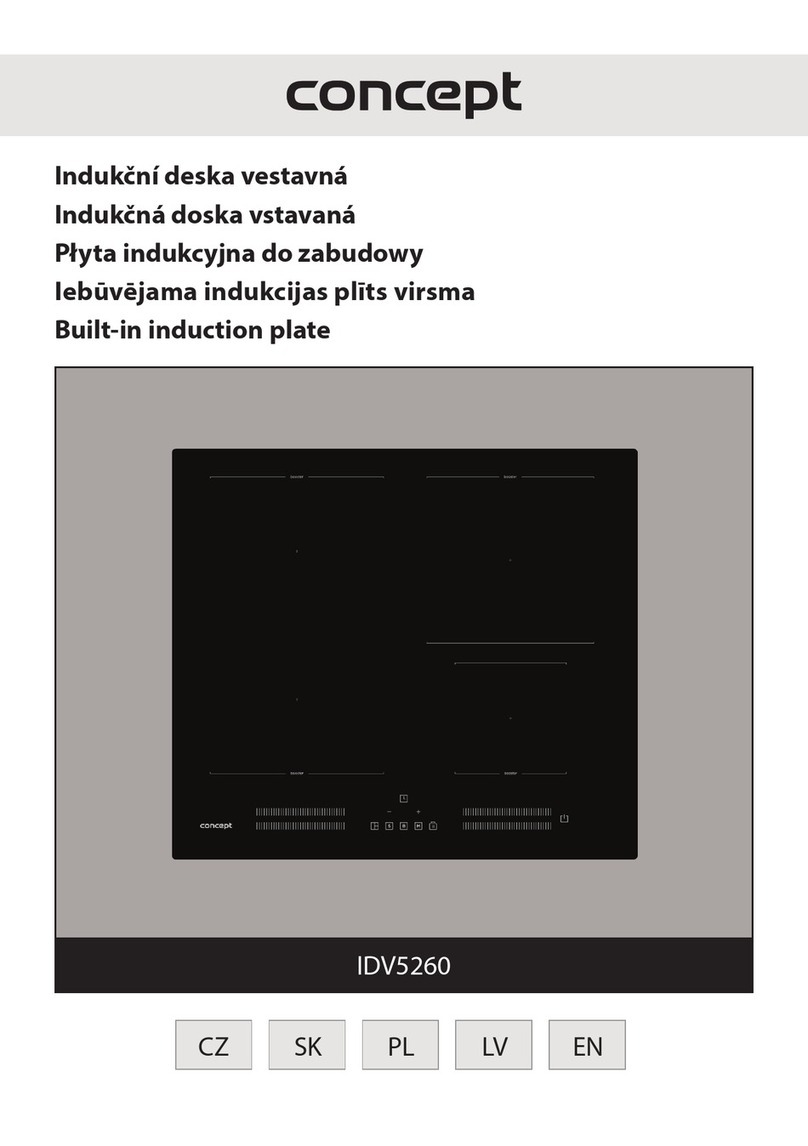
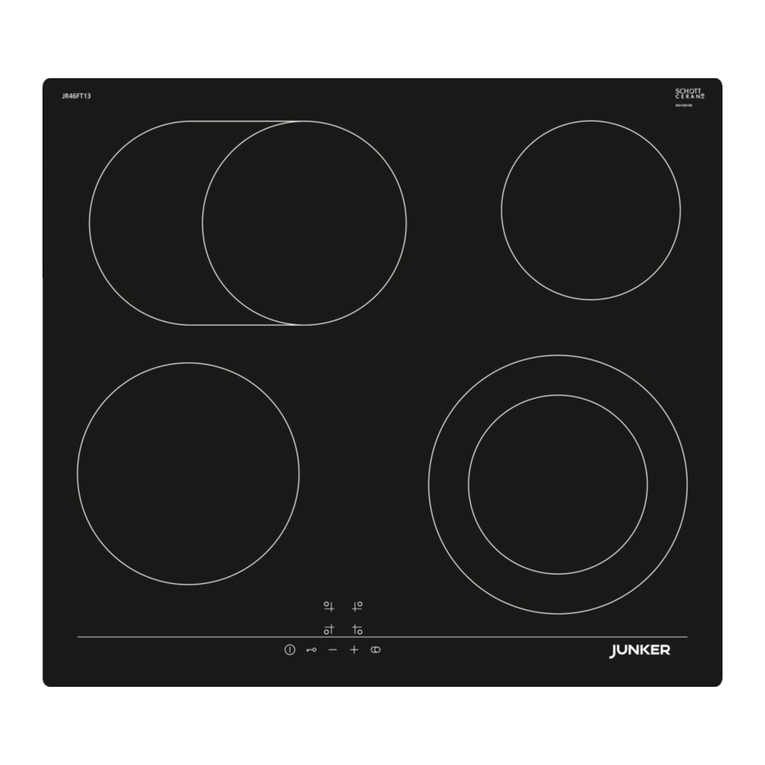
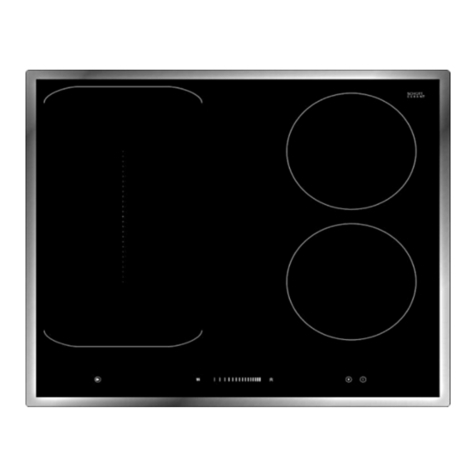
EURO EPZ4EEWH Installation and operating instructions

Dear Customer
Thank you for purchasing a Eurostyle Cooktop.
Before we continue telling you about this cooktop, we cordially invite you to become part of the Eurostyle family by
subscribing to ongoing information and invitations.
You will find that the clean lines and modern look of your Eurostyle Cooktop blends perfectly with your kitchen
décor. It is easy to use and performs to a high standard.
There are models to complement your new Eurostyle Cooktop.
Of course we make every effort to ensure that our products meet all your requirements, and our Customer
Relations department is at your disposal, to answer your questions and to listen to all your suggestions (see back
cover of manual).
Please complete the warranty section of this manual and keep your receipt as proof of purchase. Retain all
documents relating to the purchase of this products.
Eurostyle is committed to providing increasingly efficient products that are easy to use, respect the environment
and are attractive and reliable.
Eurostyle
We ask that you carefully read the instructions within this booklet to enable you to abtain quality results from the outset.
The appliance must be installed only by an authorised person in compliance with the instructions provided. The manufacturer
declines all responsability for improper installation which may harm persons and animals and damage property.
The appliance must be used for the purpose for which it was expressly designed. Any other use (eg heating rooms) is considered to
be improper and consequently dangerous. The manufacturer declines all responsability for damage resulting from improper and
irresponsible use.
The manufacturer shall not be held responsible for any inaccuracies in this handbook due to printing or transcription errors. The
designs in the figures are purely indicative.
The manufacturer also reserves the right to make any modifications to the products as may be considered necessary, useful or in the
interests of the user, without jeopardizing the main functional and safety features on the products themselves.
If your cooktop requires service, please contact your local customer service centre or your nearest Eurostyle agent listed at the back
of this booklet.
COD. 04012H - 14.05.2012
INSTRUCTI NS AND ADVICE F R THE
USE, INSTALLATI N AND MAINTENANCE
F UR BUILT-IN ELECTRIC H B
M DELS: EPZ4EEWH - EPZ4EESX

2
1 Rapid plate Ø 145 of 1500 W
2 Rapid plate Ø 180 of 2000 W
3 Normal plate Ø 145 of 1000 W
4 Normal plate Ø 180 of 1500 W
6 Control knob for electric plate n° 2
7 Control knob for electric plate n° 1
8 Control knob for electric plate n° 4
9 Control knob for electric plate n° 3
5 Warning light indicating that one or more plates are operating
DESCRIPTI N F THE H T PLATES
M DELS: EPZ4EESX - EPZ4EEWH
43
6
7
8
9

USE
1) SWITCHING N THE ELECTRIC
PLATES
The hobs may be equipped with three types of
electric plates: normal, thermostat and rapid plates
indicated by a red mark. The normal plates and the
rapid plates are controlled by a 7 - position switch
(see fig. 1).
Switch on the plates by turning the knob to the
required position.
A diagram is screen-printed on the front panel.
This diagram indicates to which electric plate the
knob in question corresponds (see fig. 1).
A red warning light will come on to indicate that the
plate has been ignited.
2) H W T USE THE ELECTRIC
PLATES
A purely indicative plate regulation chart is given
below.
FIG. 1
0 Off
1 Weak
2 Low
3 Slow
4 edium
5 Strong
6 High
N RMAL AND HEAT P SSIBLE C KING
RAPID PLATE INTENSITY PR CESSES
TABLE
To dissolve butter, chocolate, etc.. To heat small amounts of liquid.
To heat larger amounts of liquid. To prepare cremes and sauces requiring
long slow cooking times.
To thaw frozen foods and prepared stews, heat to boiling point or
simmer.
To heat foods to boiling point. To brown delicate meats and fish.
For escalopes and steaks. To simmer large amounts of food.
To bring large amounts of liquid to the boil. For frying.
3

4
USE
FIG. 2
WARNINGS:
when the plate is switched on for the first time, or if it has remained unused for a long period, it should
be dried for 30 minutes on switch position n° 1. This will eliminate any moisture that may have been
absorbed by the insulating material.
To correctly use the appliance, remember:
- to place a pan on the plate before switching it on.
- To always use pans with flat and very thick bottoms (see fig. 2).
- To never use pans that are smaller than the plate diameters.
- To dry the bottom of the pan before placing it on the plate.
- Never leave the appliance unattended when the plates are being used. Particularly make sure that the
pan handles are safely positioned and keep a check on foods requiring oil and grease to cook, since
these products can easily catch fire.
- The machine must not be used by people (including children) with impaired mental or physical
capacities, or without experience of using electrical devices, unless supervised or instructed by an
expert adult responsible for their care and safety. Children should not be allowed to play with the
equipment.
- The plates will remain hot for a period of time after use. Never touch them with the hands or other objects
in order to prevent burns.
- Immediately disconnect the appliance from the electricity main if cracks are noted on the surfaces of
the plates.
- If the built-in hot plate has a lid, any spilt food should be immediately removed from this before
it is opened.
- If the appliance has a glass lid, this could shatter when the hot plate becomes hot. Always
switch off all the burners before closing the lid.
- The appliance must not be operated with an external timer or a separate remote-control system.
- Do not attempt to change the technical characteristics of the product because it can be
dangerous.
- If you should not to use this appliance any more (or replace an old model), before disposing of
it, make it inoperative in conformity with current law on the protection of health and the
prevention of environmental pollution by making its dangerous parts harmless, especially for
children who might play on an abandoned appliance.

5
USE
WARNINGS AND ADVICE FOR THE USER:
●do not touch the appliance with wet or damp
hands or feet;
●do not use the appliance barefoot;
●the manufacturer will not be liable for any
damage resulting from improper, incorrect or
unreasonable use;
●after using the cook top, make sure that the
knob is in the closed position.
CORRECT USE OF THE ELECTRIC PLATES
When using the electric plates, you must:
●absolutely not operate them empty (without a
container);
●try not to pour liquids on the plates when they
are hot;
●cook with a cover whenever possible to save
electricity;
●an indicator light near the knob shows when
the electric plates are turned on.
Warning: during operation the work surfaces
of the cooking area become very hot: keep
children away!
Never cook food directly on the electric
plates but always in a pot or
container.
CLEANING
I PORTANT:
always disconnect the appliance from the
electricity main before carrying out any cleaning
operation.
3) H T PLATE
If you want to preserve the surface clean and bright,
periodically wash the hot plate with lukewarm soapy
water.
Following this, all parts should be thoroughly rinsed
and dried. Never wash them while they are still warm
and never use abrasive powders.
Do not allow vinegar, coffee, milk, salted water,
lemon or tomato juice from remaining in contact with
the enamelled surfaces for long periods of time.
AVVERTENZE:
●correctly preserve the plate after use by
treating it with special products, easily
available on the market. This will keep the
surface of the plate clean and bright. The
operation will also prevent the formation of
rust.
●Any liquid overflowed the pans, must be always
remove with a rag.
●Don’t use steam jets for the equipment
cleaning.
●Burned food on an electric plate must be
removed dry.
●After use, pour a little lukewarm oil on the plate
and wipe it with a cloth.

6
INSTALLATI N
Installation and maintenance must only be
carried out by a qualified technician.
Incorrect installation could cause damage to
persons, property and animals for which the
manufacturer cannot be held responsible.
Check that the appliance is in a good condition
after having removed the outer packaging and
internal wrappings from around the various loose
parts. If in doubt, do not use the appliance and
contact qualified personnel.
Never leave the packaging materials
(cardboard, bags, polystyrene foam, staples,
etc.) within children's reach since they could
become a potential source of danger.
CAUTION: surface temperature may exceed
95 °C. To avoid a hazard, underbench access
must be restricted. When installing a cooktop
above a cupboard or drawer, a dividing shelf
as picture in Fig. 3 must be installed. If
installing above an underbench oven this is
not required.
4) INSTALLING
Installation in accordance with local regulations.
The cut-out size for this appliance is 473 x 553
see fig. 3.
Remember that the cabinet can only withstand a
temperature of 120 °C.
If a rangehood is installed above the hob, please
look at the hood manufacturer instructions
regarding the minimum distance between hood
and hob (fig. 4).
5) FIXING THE H B
The hob has a special seal which prevents liquids
from getting into the cabinet. Strictly comply with
the following instructions in order to correctly apply
this seal:
- detach the seals from their backing, checking
that the transparent protection still adheres to the
seal itself.
- Overturn the hob and correctly position seal “E”
(fig. 5) under the edge of the hob itself, so that
the outer part of the seal perfectly matches the
outer edge of the hob. The ends of the strips
must fit together without overlapping.
- Evenly and securely fix the seal to the hob,
pressing it into place with the fingers.
- Remove the strip of protective paper from the
seal. Fit the hooks into their relative housings in
the unit and set the hob into the hole in the
cabinet. Lock it in place with the fixing screws
“G” (see fig. 6).
FIG. 3 FIG. 4 FIG. 5 FIG. 6
A B C D E
4E 553 473 63.5 63.5 63.5 min.
CO PLY WITH THE DI ENSIONS (mm)

6) ELECTRICAL C NNECTI NS
Electrical connection must be carried out in
compliance with the specifications and
provisions in force.
Before proceeding with the connections, check that:
- the voltage matches the value shown on the
specification plate and the section of the wires of
the electrical system can support the load, which
is also indicated on the specification plate.
- the electrical capacity of the mains supply and
current sockets suit the maximum power rating of
the appliance (consult the data label applied to the
underside of the hot plate).
- The socket or system has an efficient earth
connection in compliance with the provisions and
standards in force. The manufacturer declines all
responsibility for failing to comply with these
provisions.
When connection to the electricity main is made
by using a socket (gas version only):
- fit a standard plug to power cable (if supplyied).
This plug should be able to bear the load
indicated on the data label. Connect the wires
according to the diagram in fig. 7, remembering
to comply with the following instructions:
Letter L (live) = brown wire;
Letter N (neutral) = blue wire;
Earth symbol = green - yellow wire.
- The powering cable must be positioned so that it is
never able to reach an overtemperature of 75 K in any
part.
- Never use reductions, adapters or shunts for the
connection since these could cause false
contacts and dangerous overheating.
- The outlet must be accessible after the built-in.
When the appliance is connected straight to the
electricity main:
- install an omnipolar cutout between the
appliance itself and the main. This circuit-breaker
should be sized according to the rating of the
appliance and the opening between its contacts
should be at least 3 mm.
- Remember that the earth wire must not be cutout
by the switch.
-The electrical connection may also be protected
by a high sensitivity differential switch.
Installers are strongly advised to connect the
yellow- green earthing wire to an efficient earthing
system.
The manufacturer cannot be responsible for the
missing earthing of the appliance.
Before performing any service on the electrical
part of the appliance, it must absolutely be
disconnected from the electrical network.
WARNINGS:
The manufacturer cannot be responsible for the
missing earthing of the appliance.
Electrical connection must be carried out in
compliance with local regulations.
This appliance must be connected directly to
the mains supply.
Ensure the appliance is installed by an
authorised person in accordance with
AS/NZS 3000 wiring rules.
INSTALLATI N
If the installation requires modifications to
the home's electrical system or if the
socket is incompatible with the appliance's
plug, have changes or replacements
performed by professionally-qualified
person. In particular, this person must also
make sure that the section of the wires of
the socket is suitable for the power
absorbed by the appliance.
FIG. 7
I PORTANT: the appliance must be
installed following the manufacturer's
instructions. The manufacturer will not be
liable for injury to persons or animals or
property damage caused by an incorrect
installation.

8
C NVERSI NS
Disconnect the appliance from the mains
supply prior to any conversions being carried
out.
7) CHANGING THE TYPE F P WER
SUPPLY
Although they leave our factory preset for single-
phase connection, certain appliances may be
converted to the three phase system.
Comply with the following instructions:
a) remove the hotplate from the top of the cabinet,
overturn it, unscrew screw "Z" and remove under
part (see fig. 8).
b) Shift connecting plate on terminal according to
the following chart. This chart is also affixed to the
hob.
c) Insert a supply cable of adequate section (see
chart par. 8) through core hitch on the terminal
board. The cable should be able to
withstand 150 °C.
d) Connect the phase and earth wires to the relative
terminal board.
e) Fix the supply cable in place using clamp.
f) Refit the hotplate, complying with the above
instructions in reverse.
FIG. 8 FIG. 9

9
SERVICING
Always disconnect the appliance from the
electricity main before proceeding with any
servicing operation.
8) REPLACING THE ELECTRICAL
C MP NENTS
For access to the various parts, remove the hotplate
from the top of the cabinet. Then overturn it, unscrew
screw “Z” and remove under part. (see fig. 8).
After these actions is possible to work on the
plates, commutators, clamps and input cable.
N.B. In case of substitution of the input cable,
the installer must keep the “earth” conductor
longer than “live” ones, and must respect the
cautions in paragraph “Electrical connection”.
To reassemble the appliance repeat the inverse
process.
9) TECHNICAL CHARACTERISTICS F
THE ELECTRICAL C MP NENTS
To facilitate the job of the installer we present a
scheme with the characteristics of the components.
P WER F ELECTRICAL C MP NENTS DEN MINATI NS W
Denominations w
Rapid plate Ø 145 mm 1500
Rapid plate Ø 180 mm 2000
Normal plate Ø 145 mm 1000
Normal plate Ø 180 mm 1500
TYPE AND SECTI N F THE P WER CABLES
(*) keeping in mind the contemporaneousness factor
Cable type
Single phase
power
220 - 240 V ~
Three phase
power
400 - 415 V 3N ~
Three phase
power
400 - 415 V 2N ~
Rubber H05 RR-F 3 x 2.5 mm2 (*) 5 x 1.5 mm2 (*) 4 x 1.5 mm2 (*)
Rubber H05 RN-F 3 x 2.5 mm2 (*)
WARNING:
AINTENANCE UST ONLY BE
PERFOR ED BY AUTHORISED PERSONS.

VOLTAGE 230 - 240 V~
FREQUENCY 50/60 Hz
TOT. RATING 6000 W
M DELS "EPZ4EEWH" - "EPZ4EESX" WITH
2 RAPID PLATES + 2 N RMAL PLATE
TECHNICAL DATA
10
SERVICING
This appliance is marked according to the European directive 2002/96/EC on Waste Electrical and
Electronic Equipment (WEEE).
This guideline is the frame of a European-wide validity of return and recycling on Waste Electrical and
Electronic Equipment.

TECHNICAL ASSISTANCE AND SPARE PARTS
11
Before leaving the factory, this appliance will have been tested and regulated by expert and specialized
personnel in order to guarantee the best performances.
Any repairs or adjustments which may be subsequently required may only be carried out by qualified
personnel with the utmost care and attention.
For this reason, always contact your Dealer or our nearest After Sales Service Center whenever repairs or
adjustments are required, specifying the type of fault and the model of the appliance in your possession.
Please also note that genuine spare parts are only available from our After Sales Service Centers and
authorized retail outlets.
The above data are printed on the data label put on the inferior part of the appliance and on the packing
label.
The above informations give to the technical assistant the possibility to get fit spare parts and a heaven-sent
intervention. We suggest to fill the table below.
ARK: ........................................................
ODEL: .....................................................
SERIES: .....................................................

12
This manual suits for next models
1
Table of contents
Other EURO Hob manuals
