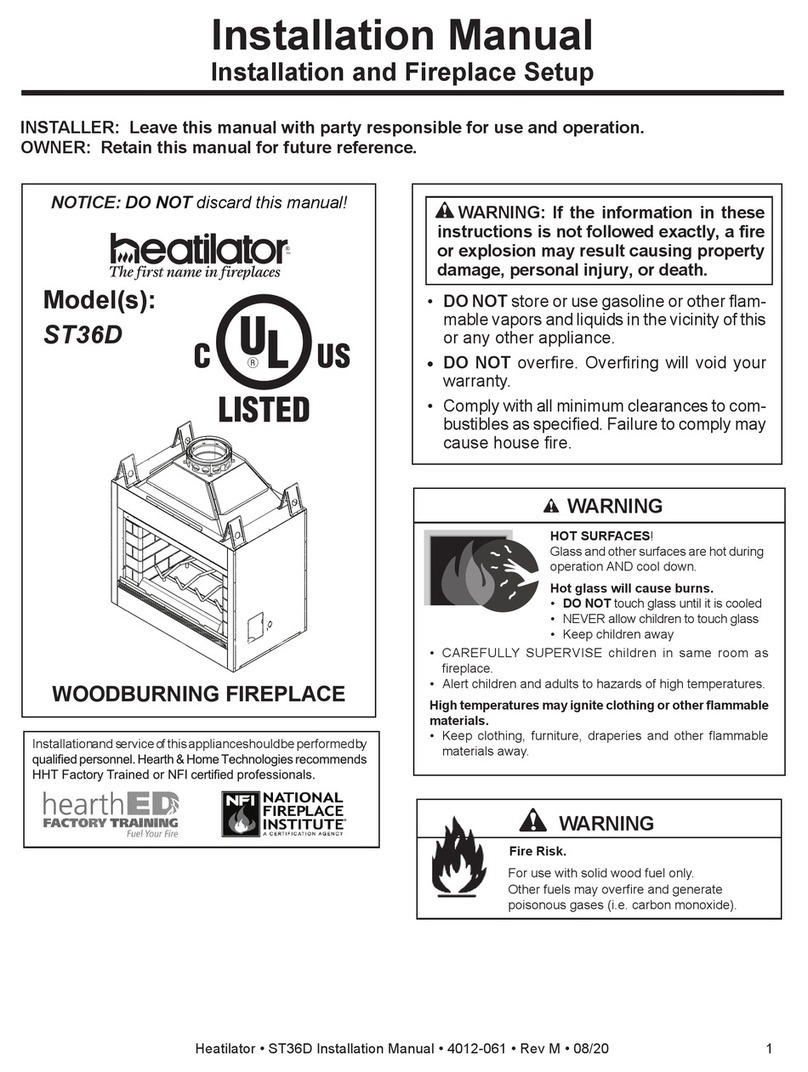
Even Glow REFLECTIONS User manual

Vous avez besoin d’aide? Contactez nous!
Si vous éprouvez des dicultés avec cet appareil, veuillez nous contacter
service@nuvatek.com
ou par téléphone, lundi au vendredi 9h -17h HNE
1-888-840-9999 ou 514-631-7799
Nos représentants sont à votre disposition pour répondre à toutes les questions.
Nous pouvons vous guider lors de la première utilisation
et vous fournir des explications sur toutes les caractéristiques.
Appelez-nous ou envoyer un courriel.
Les manuels peuvent êtres téléchargés à : www.nuvatek.com
Need Assistance? Please contact us!
If you encounter any diculty with this product please email us
service@nuvatek.com
or call us, Monday to Friday 9:00 AM to 5:00 PM EST
1-888-840-9999 or 514-631-7799
Our representatives are ready to help you with any questions.
We can guide you through rst time use and product features.
Just give us a call or send us an email.
Manuals can be downloaded at : www.nuvatek.com
DO NOT
RETURN THIS PRODUCT
TO THE STORE
NE PAS
RETOURNER CE PRODUIT
AU MAGASIN

WARRANTY
ELECTRIC FIREPLACE
LIMITED WARRANTY: This manufacturer’s product warranty extends to the original con-
sumer purchaser of the product. Neither the retailer nor any other company involved in the
sale or promotion of this product is a co-warrantor of this manufacturer warranty.
WARRANTY DURATION: All materials and workmanship are warranted to the original
consumer purchaser for a period of one (1) year from the original purchase date.
WARRANTY COVERAGE: This product is warranted against defective materials or work-
manship when used under normal conditions. This warranty is void if the product has been
damaged by accident, in shipment, unreasonable use, misuse, neglect, improper service,
commercial use, repairs by unauthorized personnel or other causes not arising out of de-
fects in materials or workmanship. There is no warranty with respect to the following, which
may be supplied with this product, including without limitation: glass parts, brackets, bulbs,
grommet etc. This warranty extends only to the original consumer purchase. This warranty
is effective only if the product is purchased and operated in the USA or Canada, and does
not extend to any units which have been used in violation of written instructions furnished
by manufacturer or to units which have been altered or modied or to damage to products
or parts thereof which have had the serial number removed, altered, defaced or rendered
illegible.
WARRANTY DISCLAIMERS: This warranty is in lieu of all warranties expressed or implied
and no representative or person is authorized to assume for manufacturer any other liability
in connection with the sale of our products. There shall be no claims for defects or failure
under any theory of tort, contractor commercial law including, but not limited to, negligence,
gross negligence, strict liability, breach of warranty and breach of contract.
WARRANTY PERFORMANCE: During the above one (1) year warranty period, a product
with a defect will be either repaired or replaced with a reconditioned comparable model (at
manufacturer’s option). The repaired or replacement product will be in warranty for the bal-
ance of the one (1) year warranty period and an additional six (6) month period. No charge
will be made for such repair or replacement.
SERVICE AND REPAIR: If service is required for an appliance, you should rst contact
8688.
NOTE: Manufacturer cannot assume responsibility for loss or damage during incoming
shipment. For your protection, carefully package the product for shipment, and insure it
with the carrier. Be sure to enclose the following items with your appliance: your full name,
return address and daytime phone number; a note describing the problem you experienced;
a copy of your sales receipt or other proof of purchase to determine warranty status. C.O.D. shipments
cannot be accepted.
1 Year Limited Warranty

1
INSTRUCTION MANUAL
REFLECTIONS
BEVELED MIRROR FIREPLACE
Read Instructions Thoroughly & Retain For Future Reference

2
Important Safety Instructions
·When using this electrical fireplace, basic precautions should be taken to reduce the risk of fire,
electric shock and injury to person, including the following:
·This fireplace must be used on an AC supply only and the voltage marked on the fireplace’s rating
label must correspond to the supply voltage.
·Do not switch the fireplace ON until it is properly installed as described in this manual.
·The fireplace must not be located immediately below a power outlet.
·Keep furniture, curtains and other flammable material at least 3 feet away from the fireplace.
·Do not leave the fireplace unattended during use.
·This fireplace is intended for household use and should not be used for industrial purposes.
·This fireplace is intended for supplemental heat and / or decorative purposes. Continuous use for
several hours can impact the performance & life of the fireplace.
·From time to time, check the cord for damage. Never use the fireplace if the cord or any part of the
fireplace shows signs of damage. A damaged cord must only be replaced by a qualified person.
·Do not operate this fireplace with a damaged plug or cord, after a malfunction or after being
dropped or damaged in any way.
·Repairs to electrical fireplaces should only be performed by a qualified electrician.
·Improper repairs may place the user at serious risk, and will void product warranty privileges.
·Do not run the power cord under carpets, rugs etc.
·Do not cover or obstruct the fireplace in any way. Overheating will result if it is accidentally
covered.
·Never immerse the product in water or any other liquids.
·Do not use this fireplace where it may come into contact with water e.g. In bathrooms, or shower
rooms etc.
·Do not use the fireplace outdoors.
·Before cleaning the fireplace, ensure it is unplugged from the power supply and allow few minutes
for it to cool down.
·Do not clean the fireplace with abrasive chemicals.
·Never use accessories that are not recommended or supplied by the manufacturer. It could cause
danger to the user or damage to the fireplace.
·The only user replacement parts are the bulbs. There are no other user replacement parts. All other
servicing should be referred to a qualified engineer.
·This fireplace is not intended for use by persons (including children) with reduced
Physical, sensory or mental capabilities, or lack of experience and knowledge unless they have
been given supervision or instruction concerning use of the fireplace by a person responsible for
their safety.
·Children should be supervised to ensure that they do not play with the fireplace.
·Do not lift the fireplace by the front panel.
·Do not insert or allow foreign objects into the inlet or outlet vents as this may result in electric
shock, fire or damage to the fireplace.
·Do not install the fireplace using an extension cord.
·Unplug from the power port if the fireplace is not intended to be used for a long period of time.
·WARNING! This fireplace is not equipped with a device to control the room temperature. Do not
use this fireplace in small rooms when they are occupied by persons not capable of leaving the
room on their own, unless constant supervision is provided."

3
Getting Started
·Remove the fireplace from the box.
·Remove all the packaging and place it inside the box and either store or dispose of safely.
Package Contents
·Electric Fireplace.
·Wall Mounting bracket.
·Pebble Pack
·Screws and Wall plugs.
·Remote control.
·Instruction Manual.
Features
·Wall Mountable
·Dancing Flame Effect.
·Remote Control.
·Detachable Glass Front.
·Thermal Cut-out.
·Two Heat Settings - 750W and 1500W.
Quick Reference Guide
·Prior to installation, please ensure that your power-outlet is suitable for your fireplace against
both voltage and capacity.
·Your fireplace may emit a slight, harmless odor during its first use. This odor is a normal
condition caused by the initial heating of internal fireplace parts and it will not occur again.
·It is normal for fireplace to make rattling sound for a short duration of time, during its first
use.
·If your fireplace does not emit heat, please ensure the fireplace Switch is on. For further
information, please refer to Troubleshooting section of this manual.
Helpful Advice Before Installation
·Please retain all packaging until you have checked and counted all the parts and other package
contents.
·The package contains small apparatus which should be kept away from young children and
infants.
·We suggest that you move all the smaller parts into a container, in order to reduce the risk of
losing them.
·At least 2 people are required to install this fireplace.
·It is recommended to place your fireplace near an existing outlet, for ease of electric
connection.
·Store your fireplace in a dry, safe and dust-free place while drilling, for fireplace installation.
·Do not attempt to wire new outlets or circuits. To reduce the risk of fire, electric shock or
injury to persons, always have a licensed electrician perform maintenance and other repairs.

4
Installation
·Do not connect the fireplace to the power supply until properly fixed to the wall and the
instructions read fully.
·Always ensure the area to be drilled is free from hidden electrical wires, water and gas pipes.
·The minimum distances must be observed as shown in the diagrams below.
·For installation of the fireplace, care must be taken not to damage concealed cables.
·Please be careful while drilling holes.
·This fireplace is designed to be permanently fixed to a wall. Ensure the wall is sufficiently
strong enough to hold the weight of the fireplace. Brick or breeze block walls are ideal. If
positioning on plasterboard wall, it must be fixed to timber batons. If you are not sure if the
wall is stable enough, then consult a hardware expert. The wall bracket must be fixed
horizontally and the cable routed to the bottom right of the fireplace.
·A height of 2 feet from bottom of fireplace to floor is recommended for optimum viewing of
fuel bedsee Fig.1 for recommend fixing dimensions.
·Keep top of fireplace at least 3 feet away from ceiling or other objects for optimum heat
ventilation.
·For optimum viewing, mark the top four screws fixing positions on wall in accordance with the
recommend fixing dimensions- see Fig.2.Drill holes with a six drill bit.
·Fix the wall bracket using that the plugs and screws provided .
·Carefully lift the fireplace ensuring that the top rear ledge of fireplace engages with the wall
bracket (see Fig.2 in circle) and is sitting centrally.
·Gently bring the fireplace level with the wall.

5
!Mark the bottom holes position-see Fig.3, remove the fireplace ensuring that the bottom fixing
bracket is rotated up.
!Drill and fit wall plug.
!Refit the fireplace on the wall fixing bracket and rotate the bottom fixing bracket down again
and use the screw provided to permanently fix the fireplace in place.
!Unpack the pebbles from the bag and place them along the light unit in the desired position.
!Place the front glass surround over the front of the fireplace aligning the slots in the brackets at
each side of the glass panel with the lugs on the sides of the fire-see Fig.4. Again two people
will be required for this operation.
Instructions for Use
!This fireplace can be operated either by the switches located on the top right hand side of the
fireplace or the supplied remote control.
Manual Operation
!The switches are located on the top right hand side of the fireplace .The standby switch must
be first switched ON.
!Press the button once to turn on the fireplace and flame effect. A red indicator light will
appear to indicate that the function is ON. Press the button for 3 seconds this will operate
the dimmer mode.
!Press the 750W button once for low heat setting; press twice to turn off the heat.
!Press the 1500W button once for high heat setting; press twice to turn off the heat.

6
Remote Operation
·The standby switch located at the top right hand side of the fireplace must be switch on
first.
·Insert 2 x 1.5V AAA type new batteries (not included) into the battery compartment of
Remote Control, ensure they are inserted with the correct polarity. Close the battery
compartment cover securely.
·It takes some time for the receiver to respond to the transmitter. Do not press the buttons
on the Remote Control more than once within two seconds, for the fireplace to operate
normally.
·Press the on/off button once to turn on the fireplace with flame effect.
·Press the low button once for low heat setting; press twice to switch off the heat
completely.
·Press the high button once for high heat setting; press twice to switch off the heat
completely.
·Press the dimmer button to operate the dimmer mode, repeated pressing will increase and
lower the brightness of the flame effect.
Safety Cut-Off
·This fireplace is equipped with safety cut-off feature, which will operate if the fireplace
overheats (e.g. Due to blocked air vents). For safety reasons, the fireplace will NOT
automatically reset, and will need to be turned ON manually.
·To reset the Fireplace, disconnect the fireplace from the power port for at least 15 minutes.
Reconnect to the power port and switch on the fireplace.
Troubleshooting
Problem
Possible Solution
Unit doesn’t work / doesn’t heat
·Check if the unit is plugged in the power port
·Check if the unit is in Standby mode. Turn the
unit ON.
·Check if heat is turned OFF.
·Check for safety cut-off operation.
No flame effect
·Check if the unit is plugged in the power port
·Check if the unit is in Standby mode. Turn the
unit ON.
·Check if the bulbs need replacement.

7
Replacing the Lamp
·This fireplace consists 3 bulbs that illuminate flame effect. Light bulbs need to be replaced if
you notice a dark section of the flame or when the flames lose clarity.
·Warning-Always disconnect from the power port before removing bulbs, to reduce the risk of
fire, electric shock or damage to property.
·Warning-The bulbs reach high temperatures during operation. Allow the bulbs to cool down
before replacing them.
·Note: Two people are required for this process.
·It is recommended that the fireplace is carefully removed from the wall and laid on its back in
order to replace the lamp.
·Gently slide the front glass panel towards the top of the fireplace and remove it. Store the glass
safely out of the way, while the bulb is replaced so that it does not get damaged.
·At the bottom of the fireplace, there is a lamp cover fixed with seven Philip's head screws-see
Fig.5, remove the seven screws and lift the lamp cover.
·Carefully slide the flexible rotisserie to one side ensuring that the rubber grommet is not
lost-see Fig.6.

8
·Remove the light screen fixed with two screws-see Fig.7.
·Remove the defective bulb by pulling it out of the holder.
·Replace with a 40W G9 halogen bulb. Do not touch the bulb with bare hands, and bulb is
replaced appropriately.
·Refit the light screen.
·Refit the rotisserie making sure that the rubber grommet is carefully pushed into the slotted
hole on the axial bracket.
·Refit the lamp cover.
·Lift the fireplace back onto the wall and replace the glass front by aligning lugs on either side
of the fire.
Cleaning & Maintenance
·Disconnect from the power supply before attempting any maintenance or cleaning, to reduce
the risk of fire, electric shock to persons or damage to property
·Warning - Always disconnect from the power supply before cleaning fireplace
·For general cleaning use a soft clean duster-never use abrasive cleaners. The glass viewing
screen should be cleaned carefully with a soft cloth. DO NOT use proprietary glass cleaners.
Technical Specification
·Supply: 110-120V~ 60Hz
·Rated power: 1500W
·Lighting: Max 40W G9 halogen bulb (3 bulbs)
Table of contents
Popular Indoor Fireplace manuals by other brands
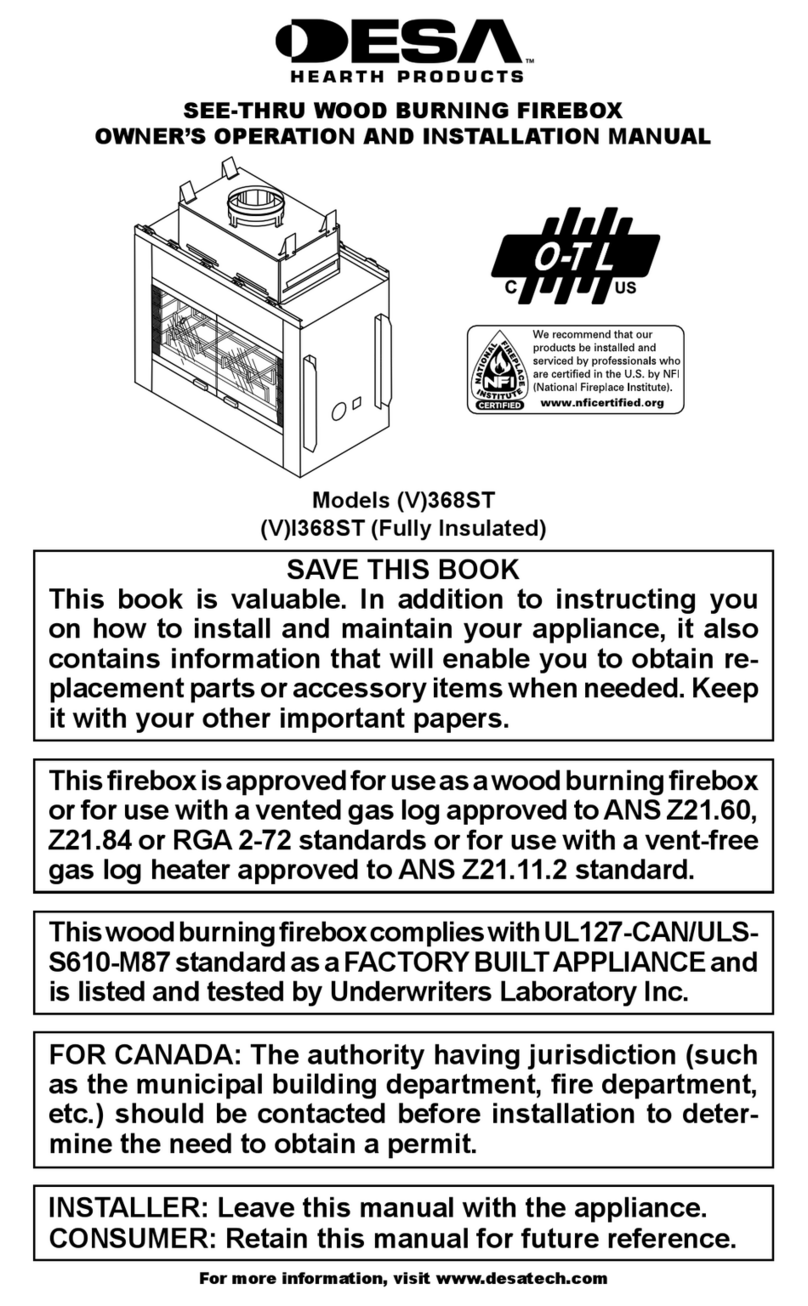
Desa
Desa (V)368ST OWNER'S OPERATION AND INSTALLATION MANUAL
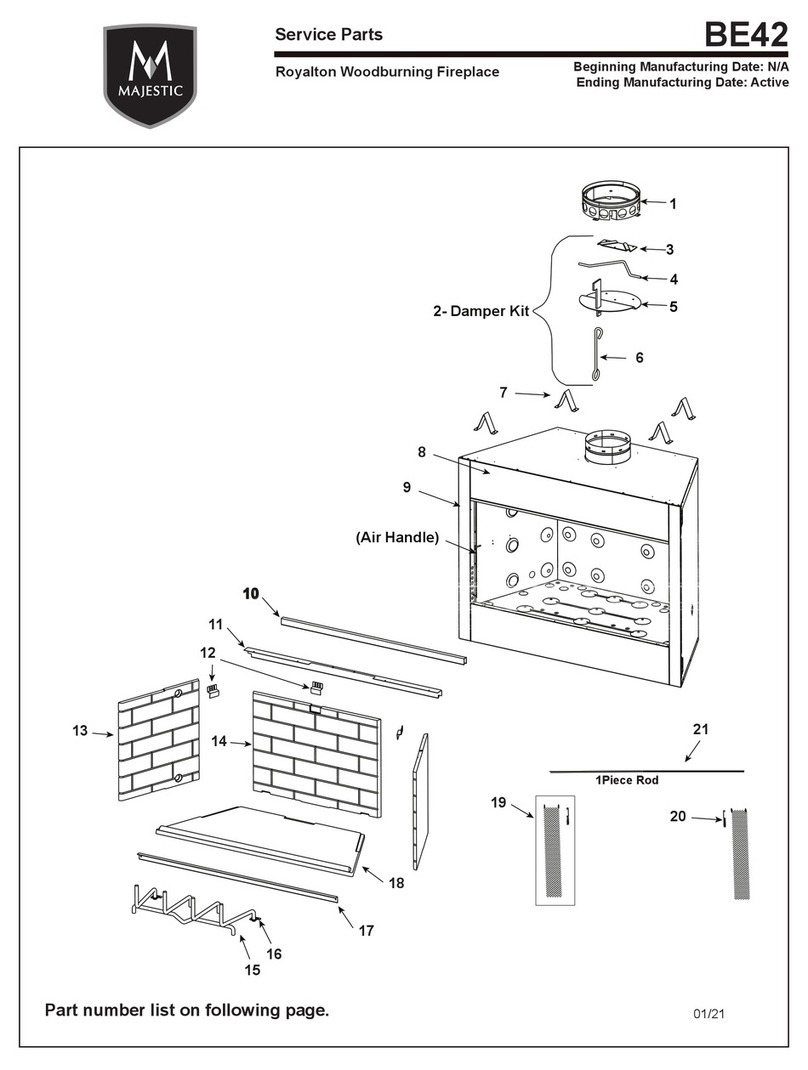
Majestic
Majestic Royalton BE42 Service parts

Montigo
Montigo HL42DF Installation & maintenance manual

Premier
Premier EF-4360GH instruction manual

Piazzetta
Piazzetta IL 65/54 Installation, use and maintenance instructions
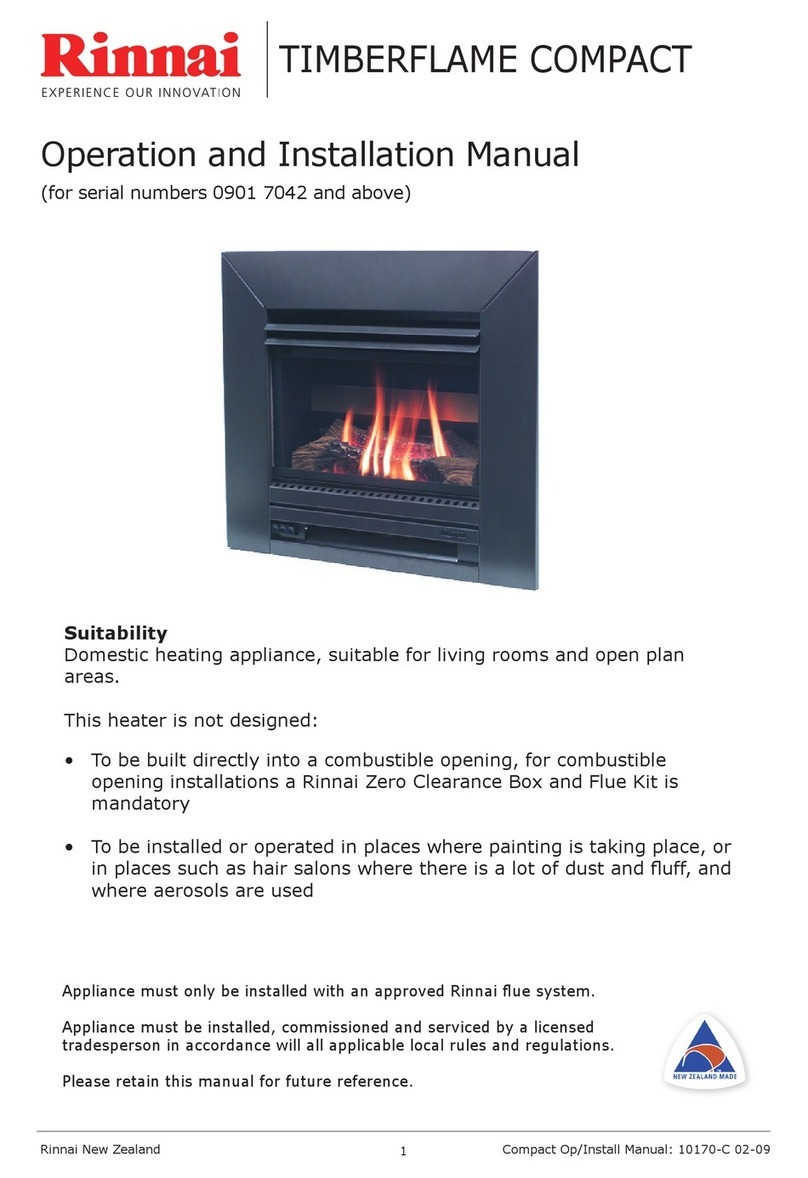
Rinnai
Rinnai 0901 7042 Operation and installation manual
