Eweat DMP50 User manual

Foreword...................................2
Connecting ..............................6
Power on and basic opera-
tion of the player..................14
Others.......................................18
Guarantee................................19
Content
Digital Audio Player
User Manual
Thank you for choosing products of EWEAT. Please read this user manual carefully
before power on and connecting the other devices.Follow the instructions in this
manual, so that you have a basic understanding of the player and use it quickly, so as
to get a better listening experience. Please keep this manual for future reference.
Official account
two-dimensional code
Shen Zhen Eweat Technology Co.,LTD
Website: www.eweat.com
Tel: +86-0755-29491959
DMP50
1) Read these instructions.
2) Keep these instructions.
3) Heed all warnings.
4) Follow all instructions.
5) Do not use this apparatus near water.
6) Clean only with dry cloth.
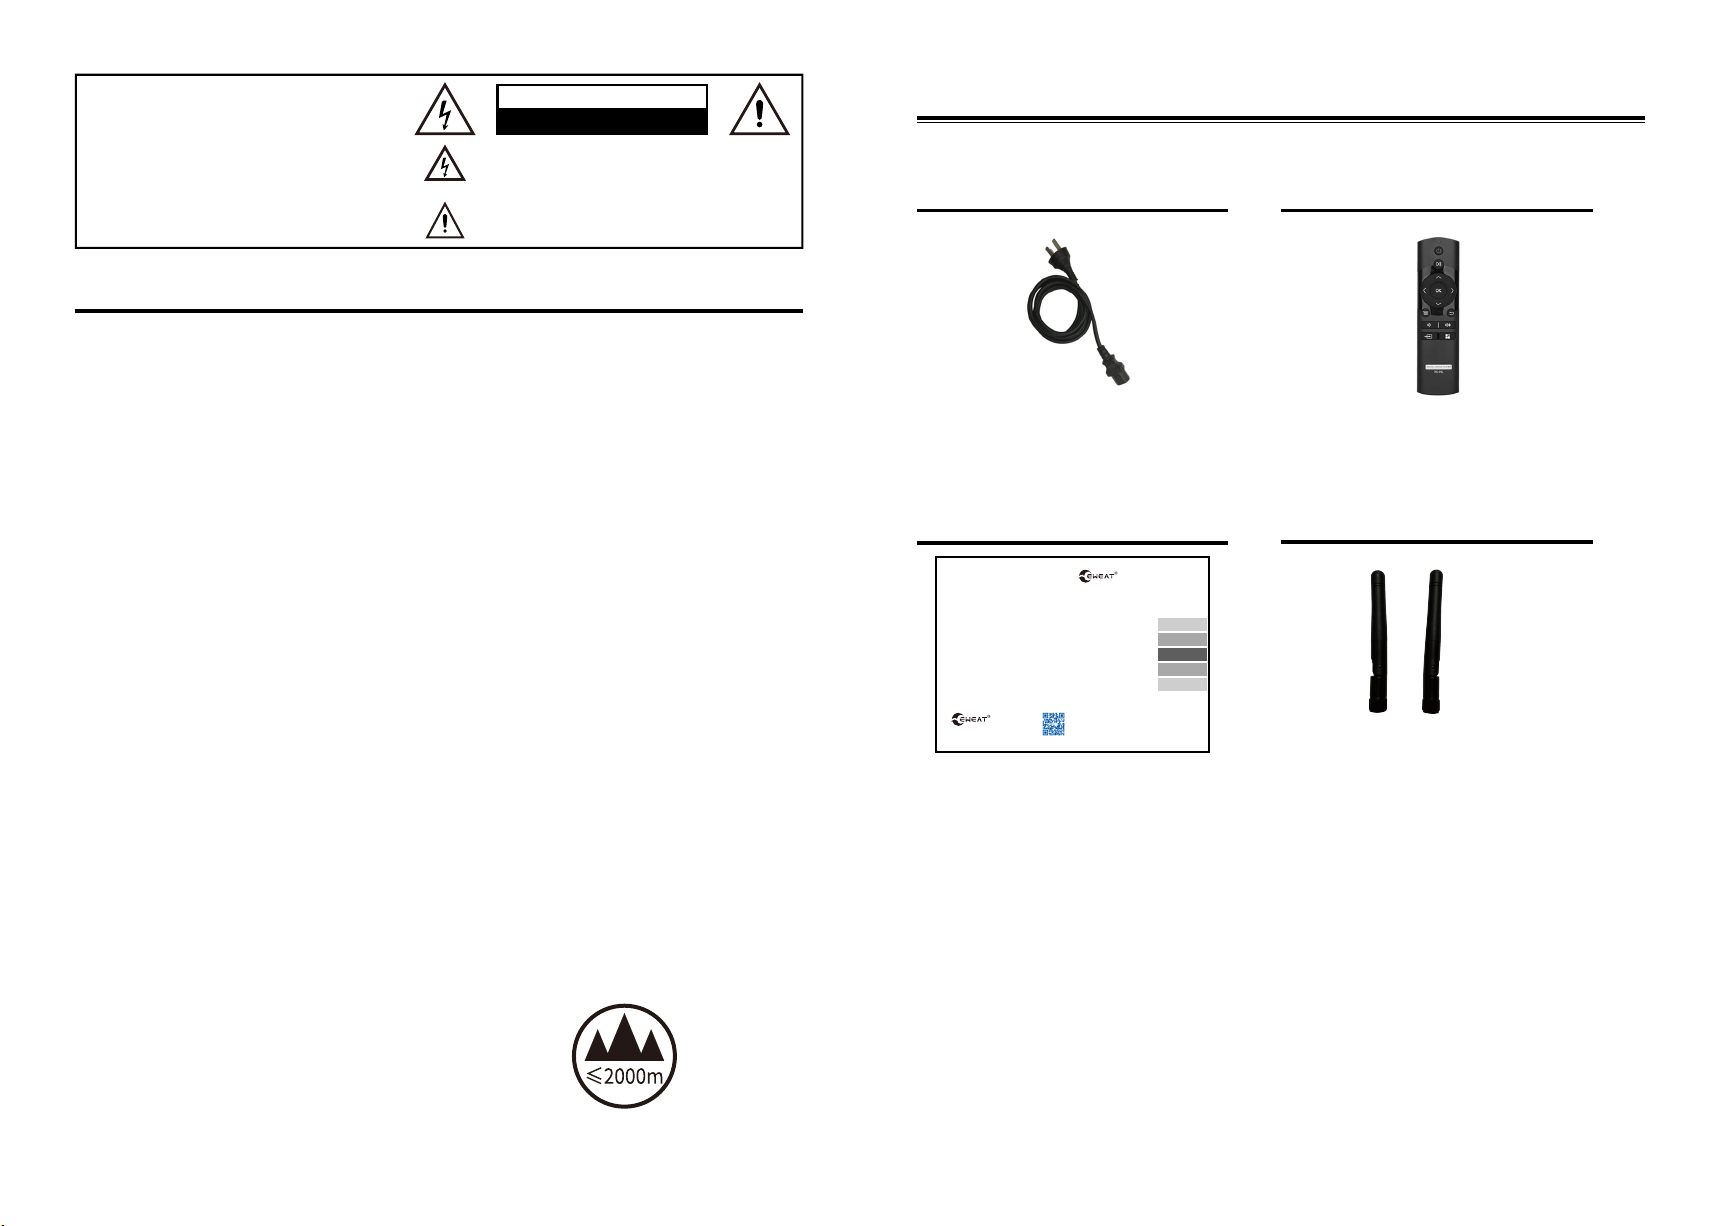
Please check that the following parts are included in your package:
Power cable
Important Safety Instructions
Accessories
instructions
WARNING
RISK OF ELECTRIC SHOCK
DO NOT OPEN
2 3
17) Handling precautions
●
●
IR remote contorl
Wi-Fi Antennas *2
(Note: 2.4GHz/5GHz 6DB)
TO REDUCE THE RISK OF FIRE OR ELECTRIC SHOCK, DO NOT EXPOSE THIS APPLIANCE
TO RAIN OR MOISTURE. DANGEROUS HIGH VOLTAGES ARE PRESENT INSIDE THE
ENCLOSURE. DO NOT OPEN THE CABINET. REFER SERVICING TO QUALIFIED
PERSONNEL ONLY. THE APPARATUS SHALL NOT BE EXPOSED TO DRIPPING OR
SPLASHING AND THAT NO OBJECTS FILLED WITH LIQUIDS, SUCH AS VASES SHALL BE
PLACED ON THE APPARATUS.
User manual
Warning:
Caution:
DANGER OF EXPLOSION IF BATTERY IS INCORRECTLY REPLACED.
REPLACE ONLY WITH THE SAME OF EQUIVALENT TYPE. DO NOT OPEN COVERS AND DO
NOT REPAIR YOURSELF. REFER SERVICING TO QUALLIFIED PERSONNEL.
The lightning flash, with an arrowhead symbol, within an
equilateral triangle, is intended to alert the user to the presence of
uninsulated “dangerous voltage” within the product’s enclosure,
that may be of sufficient magnitude to constitute a risk of electric
The exclamation point within an equilateral triangle is intended to
alert the user to the presence of important operation and
maintenance (servicing) instruction in the literature accompanying
the appliance.
●
●
7) Do not block any ventilation openings. Install in
accordance with the manufacturer’s instructions.
8) Do not install near any heat sources such
as radiators, heat registers, stoves, or other
apparatus (including amplifiers) that produce
heat.
9) Do not defeat the safety purpose of the
polarizedor grounding-type plug. Apolarized
plug has two blades with one wider than the
other.A grounding type plug has two blades
and a third grounding prong. The wide bladeor
the third prong is provided for your safety. If
the provided plug does not fit into your outlet,
consult an electrician forreplacement of the
obsolete.
10) Protect the power cord from being walked on
or pinched, particularly at plug, receptacle, and the
point where it exits from the apparatus.
11) Only use attachments/accessories specified
by the manufacturer.
12) Unplug this apparatus during lightning storms
or when unused for long periods of time.
13) Refer all servicing to qualified service
personnel. Servicing is required when the
apparatus has been damaged in any way, such as
power-supply cord or plug is damaged, liquid has
been spilled or objects have fallen into the
apparatus, the apparatus has been exposed to
rain or moisture, does not operate normally, or has
been dropped.
14) If the player is installed inside (such as
cabinets, bookcases), please ensure there is
15) Maintain. The series players sometimes
need to be wiped with a soft cloth to wipe off
the dust. If you encounter stubborn stains, use
soft cloth to take a soft detergent solution to
wipe. Wipe it with a clean cloth immediately
after cleaning. Do not use sticky cloth, thinner,
alcohol or other chemical solvent to avoid
damaging the finish coat or causing the panel
font to fall off.
16) Power Supply. Before connecting the AC
power cord to the player, make sure the
voltage designation of the player corresponds
to the local electrical supply. If you are unsure
of your power supply, contact your local power
company. The acceptable power input range is
AC 110V–120V~ / 220V–240V~, 50/60Hz.
If you need to transport the player, please use
the original packaging materials, install and
transport it. in the same way as you bought it
Do not leave rubber or plastic items on the
player for long times, as they may leave marks
on the player top case
It is normal that the top and bottom panels of the
equipment will be heated when it is used for a
long time
If you don't use the device for a long time, it may
not work normally when you turn it on again.
Please use it regularly
Only suitable for safe use in areas with
altitude below 2000m
Different plug types in different countries,
and different standard power supply type
can be provided if necessary
(Note: this player does not come with the
battery of the remote control) (R03/AAA
battery)
sufficient ventilation Leave a space of 20CM
on the top and sides, and leave a space of
10CM on the back.
Foreword...................................2
Connecting ..............................6
Power on and basic opera-
tion of the player..................14
Others.......................................18
Guarantee................................19
Content
Digital Audio Player
User Manual
Thank you for choosing products of EWEAT. Please read this user manual carefully
before power on and connecting the other devices.Follow the instructions in this
manual, so that you have a basic understanding of the player and use it quickly, so as
to get a better listening experience. Please keep this manual for future reference.
Official account
two-dimensional code
Shen Zhen Eweat Technology Co.,LTD
Website: www.eweat.com
Tel: +86-0755-29491959
DMP50


6 7
AC power
AES digital audio input
Wi-Fi antenna
1
2
3
4
USB2.0 and USB3.0 port
6
AC voltage switch
7
9
10
IIS digital audio input
11
Ethernet port
14
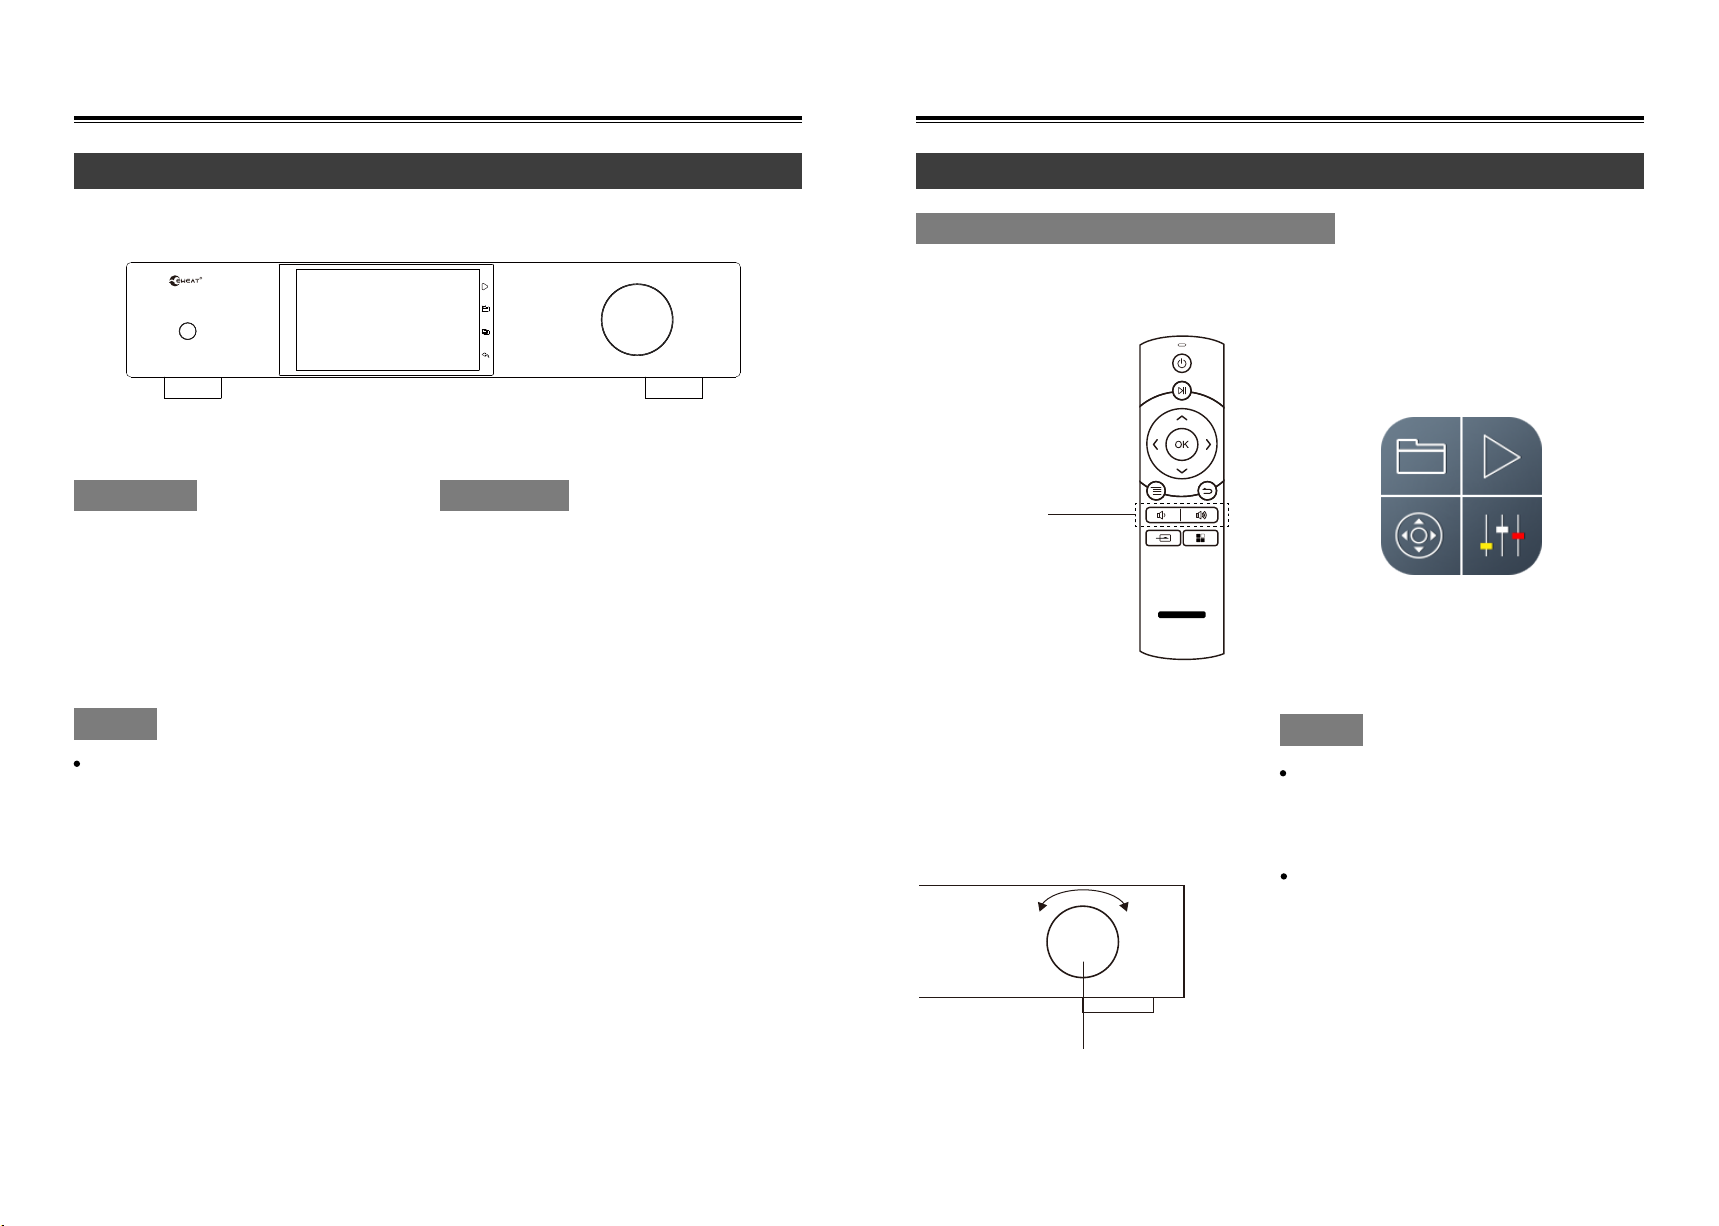
The front panel of the player
Connections of Player
Power ON/OFF
1
Infrared receiver
IR remote control signal
2
Volume Knob
Increase/Decrease volume
3
Touch screen
4
5Shortcut Key
Optical digital audio input
Coaxial digital audio input
Rear of the player
RCA connector
Non-balanced output, which
transmits the positive and
negative phase signals together,
usually the positive phase in the
center of the RAC plug, and the
negative phase in the outer circle
Connect to the USB disk ,
USB hard disk and others
Adjust the voltage of the player in
different country
10/100/1000 Ethernet supported
1 2
4
3
5
1
7 9 11 1413
6
34 5
10 12
2
8
HDD Bay
5
Install 3.5” or 2.5” Hard Disk
XLR connector(left/right)
8
Balanced output, pin 1 is ground-
ed, pin 2 is "hot" wire or "+" wire
to send positive phase audio
signal, pin 3 is "cold" wire or "-"
wire to send negative phase
audio signal
Connected the Wi-Fi antenna,
support 2.4G/5GHz
RS232 connector
12
Type C connector
13
Connect the power cable

8 9
Remote Control
Connections of Player
1
2
3
4
5
6
7
8
9
DIGITAL MEDIA PLAYER
IRC-04L
Power
Toggle power ON/OFF
1
PLAY/PAUSE
Start/pause playback of music
2
UP/DOWN/LEFT/RIGHT/OK
Selected and confirmed
3
MENU
Pop up the menu options of the page
4
Volume-
Decrease volume
5
Input selection
6
BACK
Return to the previous menu
7
Volume+
Increase volume
8
HOME
Go to the main menu(home page)
9
Note
Software download
Android APP download link
APP Download
ISO APP download link
Switch DAC input (only supported the
DAC with digital input)
Input selection only for the DAC with
digital input

10 11
Connecting
Connecting the RCA/balanced output
Connect the RCA/balanced audio cable to the AV receiver
AV Receiver
Note
The RCA/balanced cable should be connected when the player power off
Connect a pure power amplifier without a volume potentiometer, and make sure to
set the volume of the player to the minimum position
Please power on the player at first, then power on the AV receiver
Please power off the AV receiver then power off the player
If there is continuous noise in the system , please check whether the grounding of
AV receiver and player is normal
Please check the left and right channels of L/R when connecting the audio cable
L SPEAKERR SPEAKER LINE IN
Connecting to the AC wall socket
1. Connecting to the AC wall socket
2. Connecting other side of the power cable to the AC power outlet
3. The player will auto to power on, the front blue indicator lights up, and start
after around 30 seconds
Tips
To reduce the noise, do not put the signal cable close to the power cable,
they need to be placed alone
Depending on the country and region, the player may be power polarity sensitive.
In this case, connect the power cable in a way that provided the best sound quality
The power cable in the package only provides the most basic security and sound
protection, replacing with audio dedicated power able will have a better experience
Note
Connecting the power cable after connect all of the other cables
When the other side of power cable is connected to the plug-in socket, don’t
disconnect the power cable from the player. Otherwise electric shock maybe
caused, need to disconnect the power cable from the player at first, then discon-
nect the power cable from the AC wall socket
Power off the player before disconnect the power cable from the player
Please disconnect the power cable to the player in thunderstorm
Connecting the power cable

12 13
Network connection
Connecting
Connect digital audio input source
1. Connect the antenna to the Wi-Fi connector
2. Set the Wi-Fi password by the settings in system or the settings in mobile APP 1. Connect the CD player’s digital output to the DMP50 digital input connector
Note
The antenna provided with the player must be used
Please make sure there is not metal shield between the player and the router
When the player is connected to Ethernet and Wi-Fi at the same time, the system
gives priority to Ethernet
3. Select the corresponding input on the touch screen
Note
The IIS cable should be connected when the player power off
IIS input maximum support DSD512 and PCM 768kHz/32bit
Except IIS input , other digital input maximum support PCM192kHz/24bit
CD Player
14 15
Power ON/OFF the player
Basic Operation
Increase/Decrease volume for the player
Volume and mute control knob
DIGITAL MEDIA PLAYER
IRC-04L
Volume -/+
+-
Press the power button on the remote
control or power on button on the front
panel of the player, the power indicator
changed from red to blue, the player will
start after around 30 seconds
Press the power button on the remote
control or power on button on the front
panel of the player, the power indicator
changed from blue to red, the player is
power OFF
After the player working 10-30
minutes, the internal temperature of
the player will stabilize and the sound
will become softer
Note
Power ON Power OFF
Increase/Decrease volume for the player
1. Increase/Decrease volume by volume
button on the remote control 3.Increase/Decrease volume by Play
Remote on the mobile APP
2. Increase/Decrease volume by volume
knob on the front panel of the player.
Clockwise to increase the volume,
counterclockwise to decrease the
volume, press to mute, press again to
return to the volume before mute setting
When the player’s volume mode set to
by-pass mode, the volume is not
adjustable. When it’s set to the volume
mode, the volume is adjustable
Note
When the DAC selects an external USB
DAC, the volume is not adjustable

16 17
Software Operation Software operation
Basic operation
Note
Music APP icons introduction
When a new hard disk or storage device is installed , scan the drive first
The currently playing track scrolls to display track information
Note
System home page icon description
Ethernet Bluetooth
Wi-Fi By- PASS mode
Hard Disk Volume mode
System Main Menu
System Home
1. After the player is started, the system homepage is
displayed, press the remote control button to select the
scan code connection, and use the mobile phone APP to
scan the QR code to control the player;
2. Press the remote control button to enter all
application interfaces;
3 Press the remote control button, select the
column, and press the OK button to confirm.
Music system introduction
1. After installing the hard disk, enter the settings and
select the scan drive. After the scan is completed, all
albums will be displayed in the album column;
2. The search function can search the specified album in
the album column of the player;
3. Playing column: shows the current playing information
and the play queue track information;
4. Albums column: display all music albums searched
from the hard disk;
5. Favorites column: display the album information added
to the favorites from the album column;
6. The playlist column: displays the track information
added to the playlist from the album column, and the list
can be customized and edited;
7. “My album column: displays the album information added
to my album category from the album column, and can
customize the album category;
8. “File column: display the file information of the hard disk or U
disk installed in this player, and you can directly select and play
music files;
9. Setting column: set the parameters related to music
playback (details at P17).
Press the remote “ ”button and“ ”澝“ ” button on any
interface to control.
It can be playing music from Bluetooth headsets, speakers, and other audio external devices
Some functions of the network depend on your local area network environment, please make sure that your network connection is
normal, and no port isolation, VLAN and other functions are configured
Note
Music setting introduction
Audio output: "Built-in DAC" is selected by
default. When “external USB DAC" is selected,
the analog output of the player will be
disabled. The external USB DAC supports
newer DAC products. Volume adjustment is
not supported in this mode.
This setting will take effect after restarting; When
selecting built-in DAC", please do not connect an
external USB DAC;
DSD mode: system default "DSD Native (Native
DSD output) , When selecting an external USB
DAC, maybe your USB DAC does not support
native DSD output, you can try other DSD modes;
"By-Pass" switch: After enabling, the digital
preamp will be skipped, and the volume will be
at the maximum and uncontrollable;
Exclusive audio device switch: This function is
enabled by default, and the system will output at
the original sampling rate after it is enabled. If
there is no sound output when other apps are
installed on the player, you can try to turn off this
function, and restart after changing this setting to
take effect;
Scan the drive: After installing or connecting to a
new storage device and adding files to the
storage device already installed on the player
through the network, perform this operation, and
the newly addedmusic files will appear in the
Album column.
1.
2.
3.
4.
5.
Network supported
1. DLNA network playback
2. AirPlay network playback
3. DLNA streaming server
4. SMB file sharing serve
Play all tracks of the current album If
the current playlist contains other
tracks, it will be cleared
Add the current album to my
favorites
Add the current album to my
album. You can create new album
categories or edit existing
categories
Delete the current album (this
operation cannot be resumed).
The files corresponding to the
album are also deleted from the
drive
Add all tracks of the album to the
top of the current playlist
Add all tracks of the album to the
end of the current playlist
Add the currently selected track to
a custom playlist. You can create
new playlist or edit existing playlist
Edit the name of the current
playlist
By-
PASS
VOL
18 19
Others
Before request for repairs
Before request for repair, please set back
to the factory data as below steps
Power Supply
No Sound
The remote control does not work
Poor sound quality
Audio performance
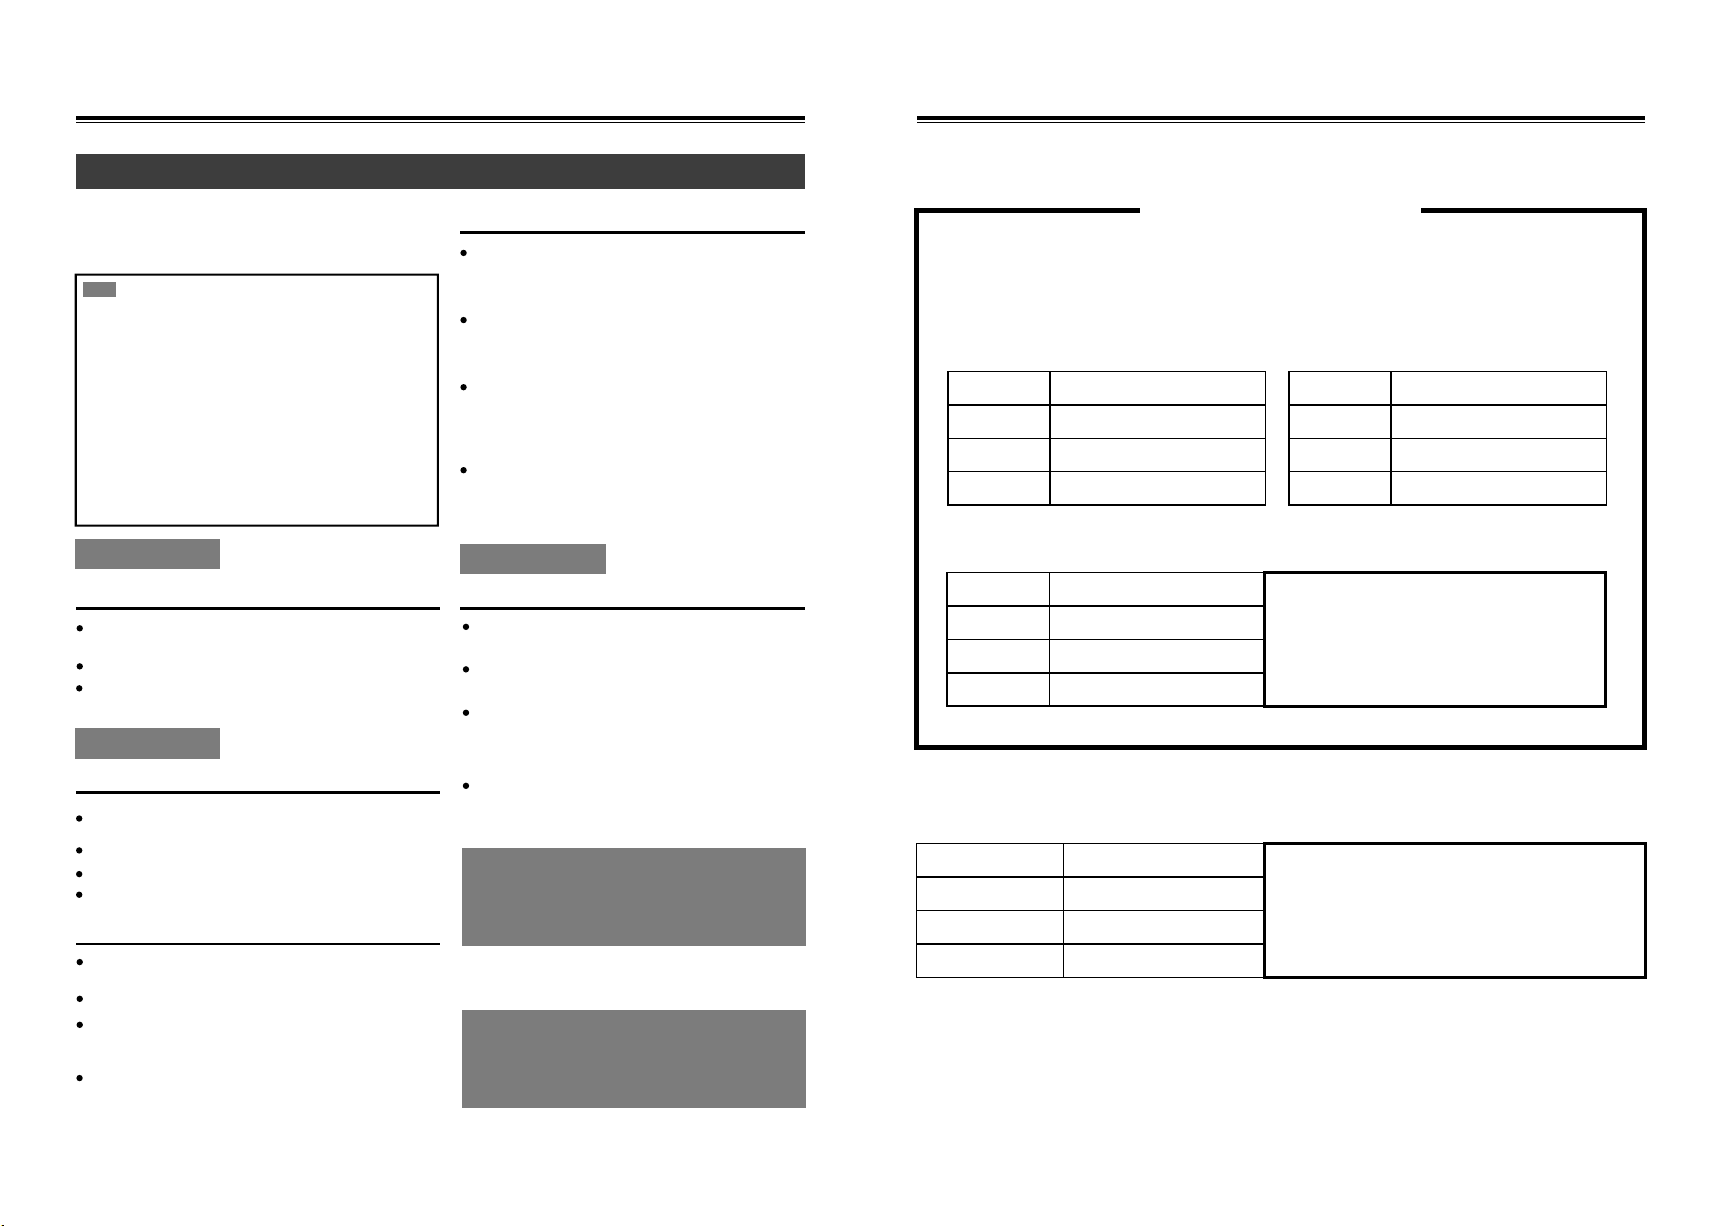
Product Guarantee
User File Product information
Date of manufacture
Certificate
Store information
Seal of sales shop
Examination clerk:
Common problems and solutions
Can’t power on the player
Please check the below content first when it have any issues.
As the problem may be caused by other connected devices, please refer
to the user manual of the other related devices
Note
If the player does not work or functions abnormally, set back
to the factory data
1. Open the system settings application
3. Unplug the AC power cable after recovery is completed,
and restart after 10 seconds
2. Choose the “factory data reset”, the player will auto set
back to the factory data
Remote control
Audio issues
Make sure that the power plug is correctly inserted into
the power outlet
Unplug the power cable from the power outlet, wait at
least 5 seconds, and then plug the power cable again
Confirm that the power supply voltage
Make sure that the volume of the player is set to the
maximum
Make sure that the correct output method is selected
Make sure that the player is not muted
Check all wiring and correct errors as necessary
Make sure that the polarity of the power cord of the player is
connected correctly
Make sure that all audio connection plugs are inserted all the way
The sound quality may be affected by strong magnetic fields.
Such as the magnetic field from the TV. Please try to keep any
such equipment away from the player
If there is any device that emits high-intensity radio waves near the
amplifier (such as a mobile phone during a call), the player may output
noise
After the player is turned on around 10 to 30
minutes, the audio performance will reach the best
performance
Bundling audio cables or power cords with cable
ties may degrade the sound quality, so please don't
do this
Depending on the country and region, the player
may be power polarity sensitive. In this case,
connect the power cable in a way that provides the
best sound quality
Please install the player on a stable partition or
bracket, Put it so that the weight of the player can
be evenly distributed over the four legs. Do not
place the player in a place with vibration or unstable
Please make sure that the polarity (+/-) of the battery
installation is correct
Replace with two new batteries. (Do not mix different types
of batteries or new and old batteries)
The remote control is too far away from the player, or there is
an obstacle between the two. The remote control sensor of
the player is exposed to strong light (rectifier type
fluorescent light or sunlight)
The player is located inside the glass door of the sound
cabinet
Power off the player before disconnect
the power cable from the player
If the top cover of the device is hot
during standby, the ventilation
conditions should be improved
According to the warranty, if the machine breaks down within one year from
the date of purchase, those who meet the warranty will be repaired free of
charge with this warranty.
*Specifications and functions are subject to change without prior notice.
We will not be responsible for the damage caused by connecting the equip-
ment produced by other companies.
Product name
Product model
Inspection date
Shop name
Shop addres
Contact number
Contact email
Shop name
Shop addres
Contact number
Contact email
Product Name
Model
Serial No
Purchase date


