AGPtek MP021-F10 User manual

MP021-F10
Instructions
Dear customers:
Thanks for purchasing the product. Before using this
player, please read the "instructions" carefully, We are not
responsible for any damage for the hardware,program, file
and system of the player caused by improper use.
Please keep the manual as reference.
Remote Control
1. <POWER>: on/off key. When power off, the
system goes to standby model. It has to be
unplugged to cut the power.
2.<MUTE>: Press this key sound off, press
again sound on.
4.<Setup>: Shortcut of setting options.
10.<Audio>: Select the sound track( for multitrack movie filse)
20.<VOL-> and <VOL+>: Adjust the volume.
9.<SUB-T>: Select the right subtitle when the movie has multi
-subtitle.
8.<Zoom>: Zoom in the picture or video.
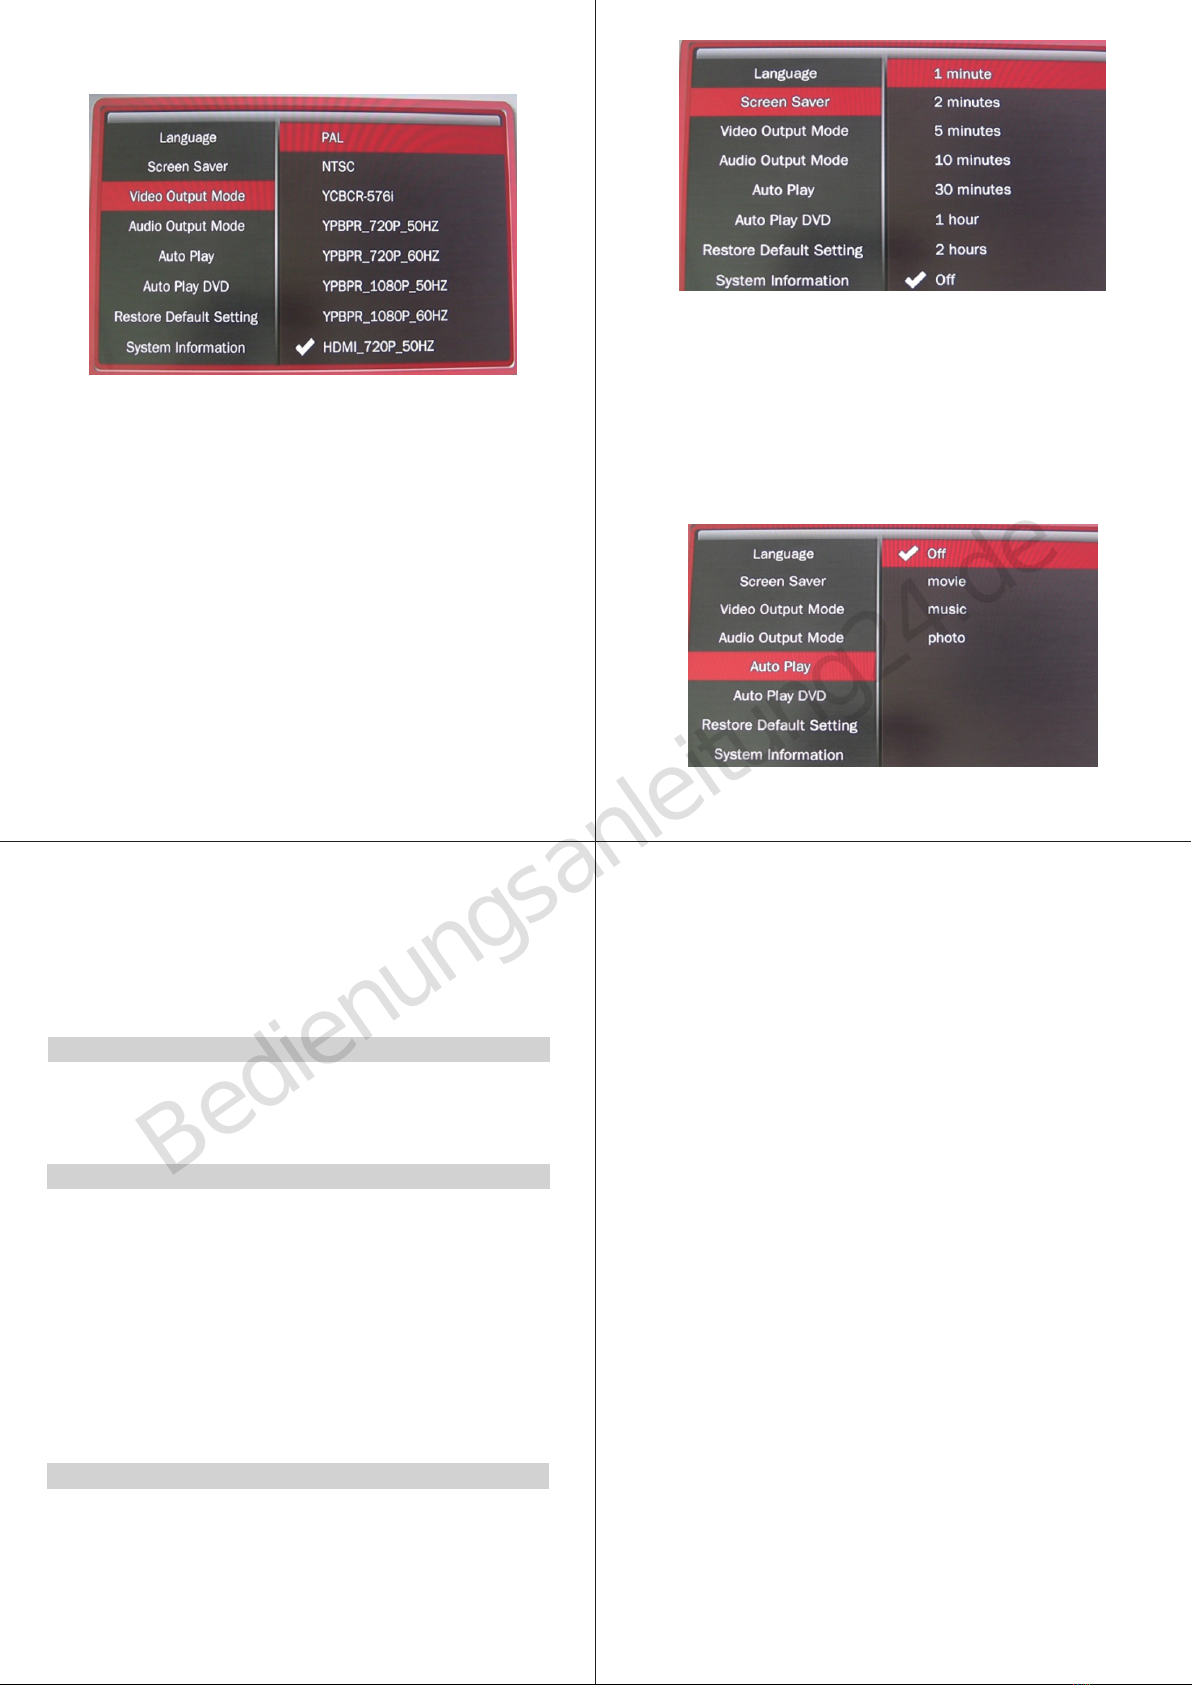
5.<GO-TO>: set up and view the playing time
for playing the Video file.
6.<Repeat>: Select the playback mode.
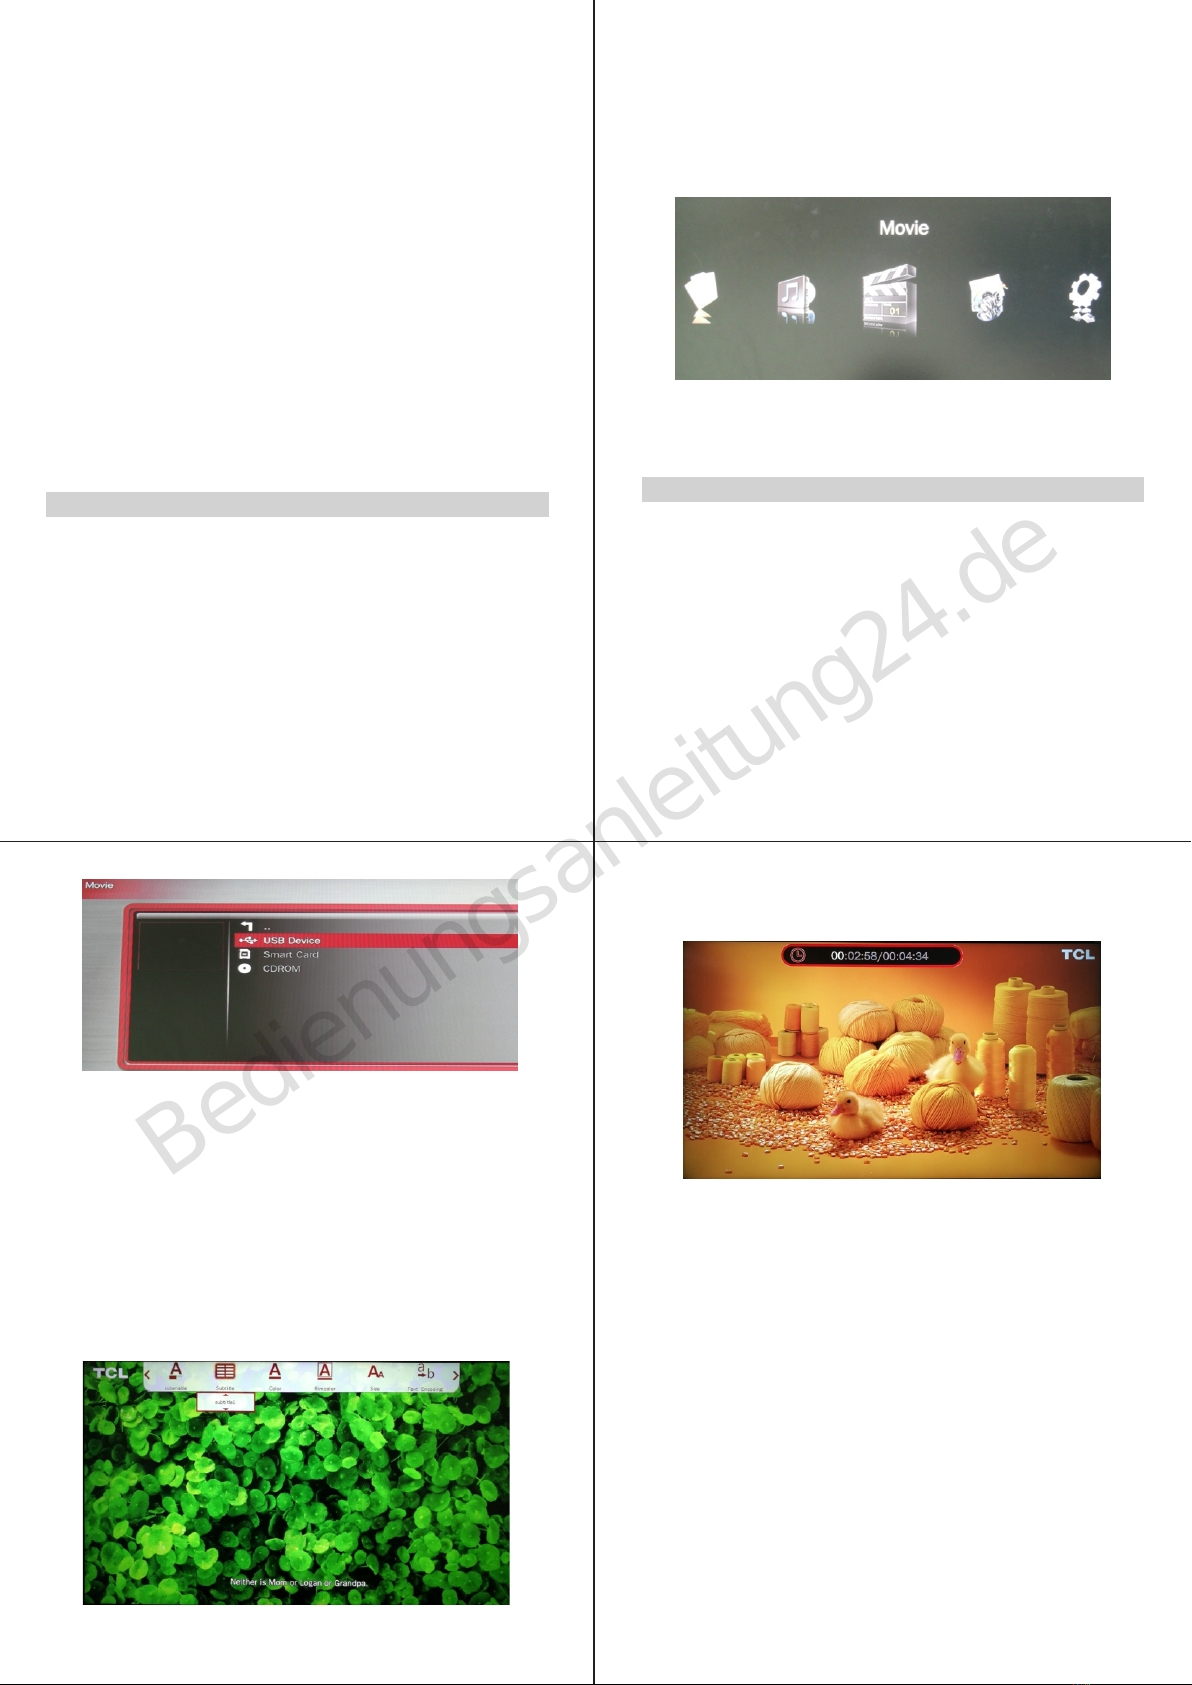
3.<Movie>, <Music>, <Photo>: Shortcut of
movie,music,and photo.
16.<AV>: Select AV output.
19. <Rotate>: Rotate the pictures.
page2of16
page3of16 page4of16
Notes
Please pay attention to the following notes before using it.
1.To prevent the fire or electric shock accident; do not expose
this player in the rain or humid environment.
2.In order to reduce fire, electric shock or damage the product, do
do not let the machine be affected with damp or splash water
drops.
3.Safety guide:
●. Please use with the enclosed adapters, May not be able to
share with other adapter.
●. Please do not let the cable or the plug for the adapter near
the heat source equipment.
●. Please do not put heavy object on top of the adapter.
●. Please do not overhaul the adapter and the power cord.
●. Do not open the machine in order to safety, please contact
the professional staff for repairing.
4 Maintenance Tips
●. Non-professionals shall not open the machine in case to
damage the complex machine.
●. Users shall not open the machine and remove any parts
otherwise the warranty expired.
●. If you need maintenance, please contact your local
department to arrange for repairing.
●. If you need to replace components or accessories, it must
be replaced with the original parts by manufacturer.
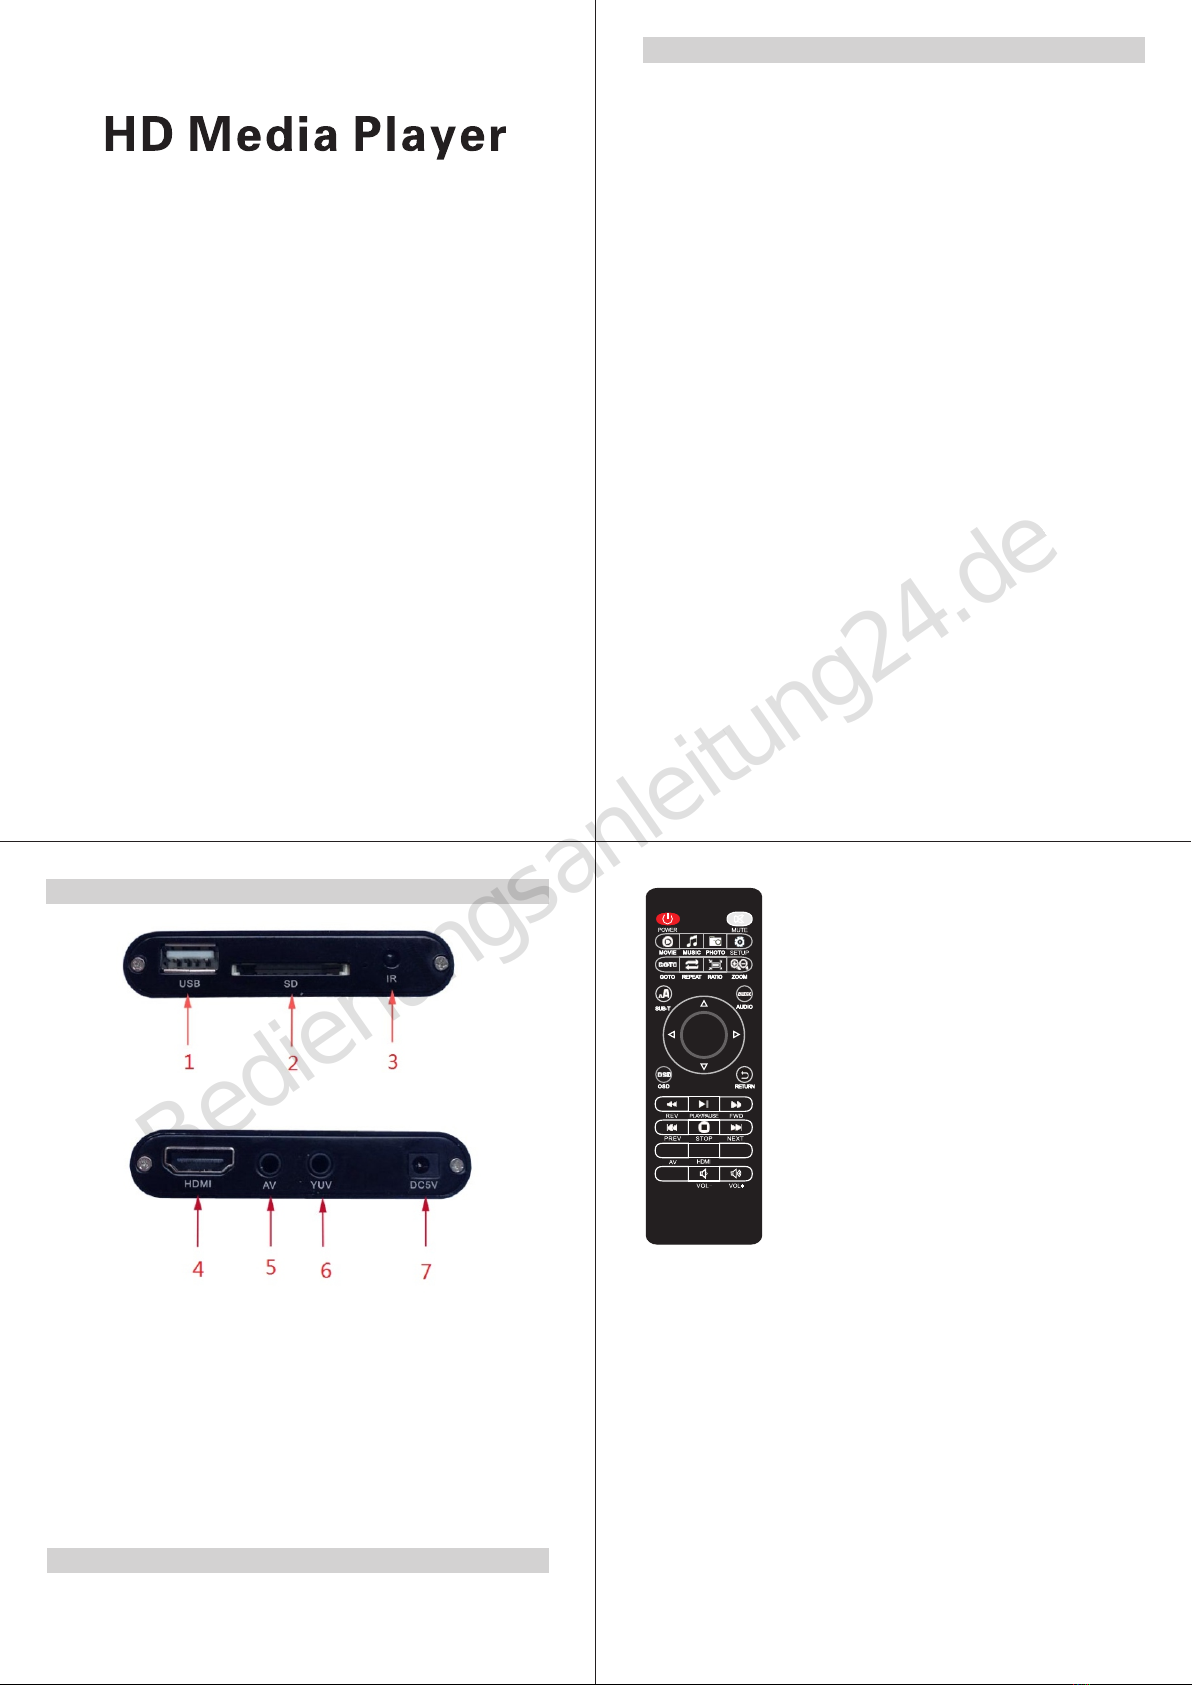
1. USB interface: Supports external HDD or U disk
2. SD card interface: Supports SD card.
3. IR receiver.
4. HDMI: Through this interface it can get high-definition 720
or 1080P video output.
5. AV: Composite video and audio signal output.
6. YUV: YUV signal output.
7. DC: Input 5.2V/1.5A power.
18.<VGA>: Select VGA output.
17.<HDMI>: Select high-definition output
OK
AV HDMI
ROTATE
ROTATE
VGA
VGA
7.<Ratio>: Set the full screen mode and
original ratio, this function is only applicable
to pictures.
11.<Ok>: Play or confirm key.
12.<OSD>: Press this key, the screen will display control
menu when playing movise, music or picture.
13.<Return>: Press this key to return back to previous menu.
14. <REV> <FWD>: backward or forward.
15.<PREV><NEXT>Previous or next.
Front and Rear panel
Bedienungsanleitung24.de

page5of16 page6of16
page7of16 page8of16
● Remote control battery installation
There is a battery slot in the back of the remote control, open
the cell door, according to the direction of the battery to build
in two
AAA 1.5V batteries and then covered it.
● Remote control battery replacement
*Battery life usually depends on the quality or using frequently
and the environment.
*If the remote control did not work, even close to the player,
please replace the battery.
● Remote control operating range
* Remote control operating range is: not more than 7 meters
from the front panel to the player, angle within 60 degrees;
* Remote control distance will be affected by the ambient light
and the obstructions.
Connection method
● Connect with AV (TV):
Through the AV cable connects the TV and the player, can
output composite video and audio signal. Plug the three plugs,
which are red, yellow and white, into the TV's AV input port.
The other side connects to the device's AV output port.
Change the TV to AV mode and press <CVBS> button on the
remote.
● Connect with HDMI (TV):
Through the HDMI cable connects the TV and the player, can
output high-definition images and sound. Change the TV to
HDMI mode and press <HDMI> button on the remote.
After connecting with power supply and TV, the image will
be shown as below:
The main functions are File, Music, Movie, Photos and Setting.
Choose any icon with <OK> key.
Playing operation
1 Movie
Click Movie icon and press<Ok>to enter or press movie button
on remote. Videos can be chosen from USB or SD card:
USB Device includes external HDD, U disk or card reader.
Enter into USB Device or smart card, all files and videos can be
seen.
Choose one video and press <OK> to play.
If the device does not support the format of the elected videos,
the system will jump into the next file until the supported format
video is chosen.
When playing, press <OSD> button on remote and a control bar
will be shown as below:
ON/OFF subtitle, color, size, text encoding and so on can be
chosen.
2 Photo
Click Photo icon and press<Ok>to enter or press photo button
on remote. Photos can be chosen from USB or SD card:
Enter into USB Device or smart card, all files and photos can
be seen. Choose one photo and press <OK> to watch.
When playing, press <OSD> button on remote and a control bar
will be shown as below:
As shown above:You can view the current playback time
and the total time of the film source by operating the GOTO
button on the remote control during video playback, and you
can adjust the playback progress
Bedienungsanleitung24.de

page9of16
page10of16
page11of16 page12of16
Enter into USB Device or smart card, all files and music
canbe seen. Choose one music and press <OK> to play.
When playing, press <OSD> button on remote and a control
bar will be shown as below:
EQ mode, Lyric focus color, lyric unfocus color, and lyric play
mode can be chosen.
Switch mode, play interval, and background music can be
chosen.
Right now the player is in pause status and press <Return> to
resume.
When you play a picture slideshow, you can rotate the angle
of the picture display by pressing the Rotate button. It is only
for viewing, and the rotation angle cannot be saved. The
original will be restored when playing.
Press<Ratio>: Set the full screen mode and original
ratio, this function is only applicable to pictures.
3 Music
Click Music icon and press<Ok>to enter or press Music
button on remote. Music can be chosen from USB or SD card:
NOTE:
1. After press< OSD> button without any other operations, the
control bar will disappear only <Return> button has pressed.
It will not affect the continuous play.
2. The device supports lyric. It has to change the lyric name as
the same as the song.
For example:
Song name: Hero.mp3
Lyric name: Hero.lyc
Or no lyric will be shown only wave stripe
3. <Background Music> There are two ways to turn on
background music.
1 Put one music and picture on the same directory, press
<OSD> when browse pictures and turn on the background
music,then press OK to start playing background music.
2 Press <Return> button while music playback mode, then go
to picture mode to open a picture. Press<Stop> button to stop
background music.
4. FILE
Click File icon and press<Ok>to enter or press File button on
remote. Files can be chosen from USB or SD card:
Enter into USB Device or smart card, all files can be seen.
Choose any file and press <OK> to play.
A file with “!” in front means the player does not support this format.
5 setting
Click setting icon and press<Ok>to enter or press <Setup>
button on remote. As shown below:
1. Video output mode
The player supports PAL、NTSC、YPBPR-720P、YPBPR-
1080P、HDMI 720P(50HZ)、HDMI 720P(60HZ)、HDMI 1080P
(50HZ)、HDMI 1080P(60HZ)、VGA1024X768、 VGA1920 X
Bedienungsanleitung24.de

page13of16
page15of16
page14of16
page16of16
1080 and so on.
Press< OK> to confirm
2. Language
The player supports Simplified Chinese, traditional Chinese,
English, Russian, Portuguese, Spanish, Korean, Japanese etc.
3. Screen saver
Set screen saver time and it can shut down.
4. Normal, SPDIF LPCM, and SPDIF RAWDATA ;A/V can be
chosen.
If you need an external speaker, please use our AV cable to
connect your speaker L / R interface, and select A / V for
audio output mode.
5 Auto play
Note:If you need to use AV to connect to the TV, please
choose PAL or NTSC, you can also directly press the remote
control AV button
It can auto play videos, music, or photos which are stored in disc.
6 Auto play DVD
Open or close auto play DVD
7 Restore Default Setting
Restore all parameters to the factory state
Accessories
Media Player 1 Remote controller 1
5.2V/1.5A adapter 1 AV cable 1
User manual 1
Q: There has no signal on TV screen.
A: Check the AV or HDMI cable is connected properly, or press
the CVBS or HDMI keys with the remote control.
Q: Sometimes the device does not have any responses.
A: Power off the player and restart it.
FAQ
Q: Picture jamming.
A: Check the AV or HDMI cable is connected properly.
The enclosed cables are highly recommended for use.
Specifications
1. Supports plug-in large capacity SATA or IDE hard disk or U
disk, plug and play.
2. Supports SD card.
3. Supports NTSC/PAL composite video, VGA 720P, HDMI 720P,
1080P high definition video output.
4. Supports RMVB/RM(RV8/9)﹑h.263﹑h.264﹑MOV/MP4/M4V﹑
MPEG-1/2(VOB)﹑MPEG-4(XVID/DIVX)﹑WMV7/VC-1﹑MKV﹑
AVI﹑TS/TP﹑VOB﹑PMP﹑FLV 1920*1080P video format.
5. Supports MP3﹑WMA﹑AFE﹑FLAC﹑OGG﹑APE﹑AAC﹑AC3
AC3 and DTS music formats.
6.Supports JPEG﹑GIF﹑BMP﹑PNG photo formats. Supports
rotate, zoom and slideshow.
7. Supports Simplified/ Traditional Chinese, Japanese, Korean,
Russian, Spanish, and English, etc.
8. Supports multi-track and multi-subtitle video file.
Switching sound track and subtitle at will.
9. External 5.2V/1.5A DC power supply.
Bedienungsanleitung24.de
Other AGPtek Media Player manuals