manuals.online logo
Brands
  1. Home
  2. •
  3. Brands
  4. •
  5. extraspace
  6. •
  7. Outdoor Storage
  8. •
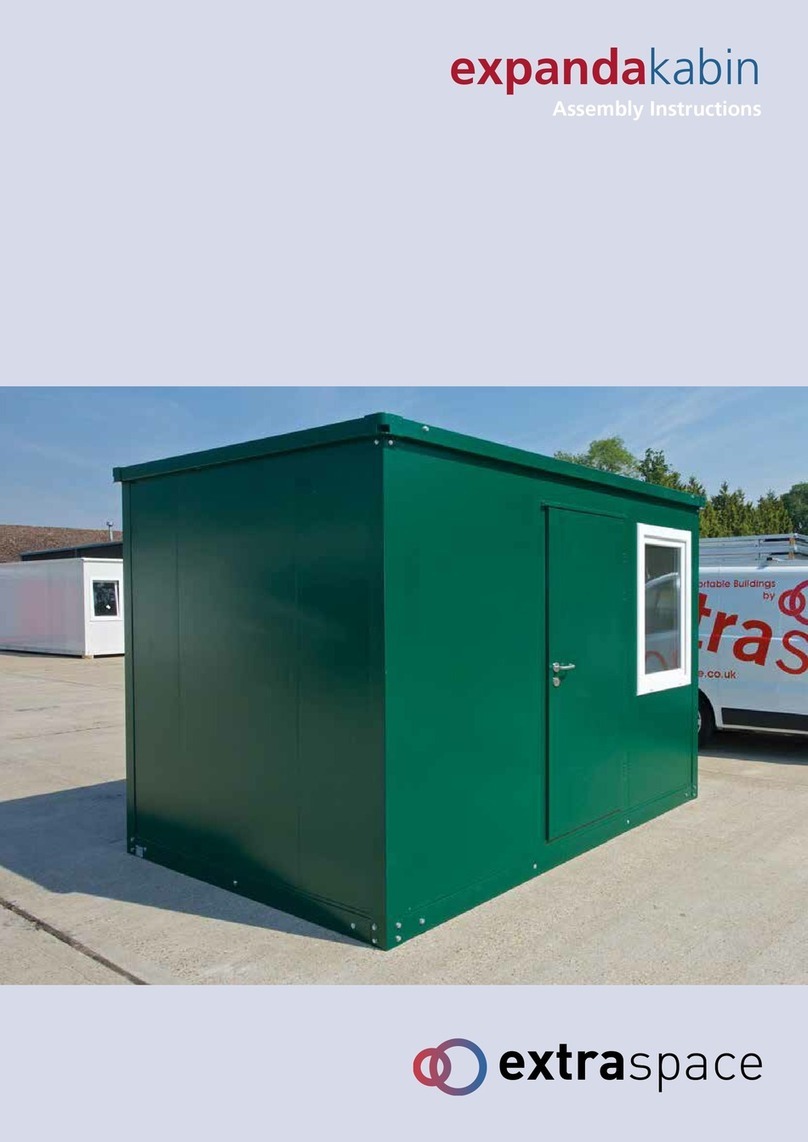
  9. extraspace expandacom User manual

extraspace expandacom User manual

expandacom
Assembly Instructions
expandacom
Assembly Instructions
General assembly instructions
• Read instructions thoroughly before commencing assembly
• For best results assemble on level, solid ground or it may affect alignment of the wall and ceiling panels
• On initial assembly, hand tighten all nuts and bolts then once full assembly has been completed,
tighten again with socket/spanner
• Keep all components and packaging if you plan to demount, move and reassemble in new location
The tools you will need
• 13mm spanner
• 19mm spanner
• Socket set including 13mm and 19mm sockets
• Screw driver
Safety notes
Please review all safety implications before commencing installation including suitability of desired location,
local hazards, access and personnel involved in assembly. If in any doubt refer to your company’s Health & Safety
officer or seek professional advice. Due care should be taken when lifting, assembling and demounting the unit.
General notes after assembly
• Once assembled, the unit can be lifted and re-positioned using a fork lift or crane *
• For demounting and relocating in flat-pack condition, using the original packaging is recommended
Terms explained
• Capture nuts – This refers to nuts that are pre-attached to the component.
• Chassis – The main floor component
• Hand tighten – Tightened by hand so secure to hold in place but loose enough to allow for
small movement
• Demounted – When the unit is disassembled and returned to its original flat-packed state
* Additional fixings required
Remove the 4 travelling brackets. Each has x2 bolts that should be unscrewed using a 19mm spanner and
once free, lift the roof slightly to ease removal.
STEP
1
Expandacom Assembly Instructions V2
Disassemble the roof structure and free from unit by
removing the travelling bolts. There are x4 on roof
joining cover (on top) and x12 along the ring beam on
each long edge. The roof will now be in 2 sections.
Remove the 4 corner sections by unscrewing the x4
19mm bolts on each.
KEEP THESE SAFE for re-use later
STEP
2
STEP
3
www.extraspace.com
Remove the timber packing and discard. Now remove
all components and stack leaving enough space
around the Expandacom to work.
PLEASE NOTE – The last panels to be removed (which
are packed directly on top of the floor chassis) are
slightly shorter and should be kept apart – These are
the roof panels.
STEP
4
Expandacom Assembly Instructions V2
IMPORTANT INFORMATION
If your Expandacom has been delivered and sited in the place where it will be used, ignore steps 5 and 6 and
do not disassemble the floor chassis. If you need to carry the Expandacom components to a new location and
would prefer to break them down into more manageable sizes, follow steps 5 and 6
Disassemble the floor chassis. Remove the 4 bolts that hold the lower ring beam in place – 4 per long edge
and once free, the 5 sections of the base section pull apart.
STEP
5
www.extraspace.com
Relocate Expandacom to the desired location (ensure
flat solid ground) and reverse the process by slotting
the 5 sections back together and re-using the bolts and
washers.
STEP
6
Assemble the first corner post and slot the steel
cruciform shaped support in plate then affix using x2
19mm bolts. The outer rounded corner support section
is then bolted in place using x4 19mm bolts. This forms
a channel on each side for the side panels to fit into.
STEP
7
Remove the protective plastic membrane from all the
side panels prior to installation.
STEP
8
Install the remaining x5 wall panels in place to
complete the back wall. These will slot in place
and require no fixing.
Install the corner section at the end of the back wall
and secure in place, repeating the process from step 7.
STEP
10
STEP
11
Expandacom Assembly Instructions V2
Slide the first wall panel in place starting with the
long edge.
STEP
9
Remember - at this point you should decide
where the x2 window and 1x door panels
should be positioned.
Install the long edge top ring beam which supports and
holds the wall panels in place. Align the protruding pin
with the hole and push in place to secure
(Refer to image for which holes to use.)
STEP
12
www.extraspace.com
Now install one of the end walls using x1 quarter
sized panel and x2 standard sized panels.
STEP
13
Install the corner section at the end of the back wall
and secure in place, repeating the process from step 7.
Install the short edge top ring beam which supports and
holds the end wall panels in place. Align the protruding
pin with the hole and push in place to secure. (Refer to
image for which holes to use).
Install the remaining end wall using x1 quarter sized
panel and x2 standard sized panels.
Install the second side wall using x5 remaining standard
sized panels.
STEP
14
STEP
15
STEP
16
STEP
17
Expandacom Assembly Instructions V2
Slide the steel cruciform shaped corner support in
place (from the top) to join the side wall to the end
wall and affix using x2 19mm bolts. Then install the
rounded outer corner section using x4 19mm bolts.
STEP
18
Install the other short edge top ring beam which
supports and holds the end wall panels in place.
Align the protruding pin with the hole and push in
place to secure.
Install the remaining long edge roof beam which
supports and holds the side wall panels in place.
Align the protruding pin with the hole and push in
place to secure.
STEP
19
STEP
20
www.extraspace.com
Install the roof panels x5 by lifting and slotting them
into position. No fixing required.
STEP
21
Expandacom Assembly Instructions V2
Seal the roof panels using the self adhesive tape
supplied (tape should be applied to external joints)
STEP
22
Install window fixings. The windows (x2) are supplied
in locked position for safe transit. To install handles
open the plastic cover to expose screw holes. Insert
screws and tighten then close the plastic cover. Repeat
for each window.
STEP
24
www.extraspace.com
Unlock the door and install the door handle. Use the
long screws with locking sleeve to affix in place. Affix
vanity cover to door assembly by snapping in place,
one per side.
STEP
23
Install the roof fixing brackets x8 to secure the top
roof section to the wall sections. Use 13mm bolts,
washers and captive nuts. There are 2 brackets per
corner.
STEP
26
Expandacom Assembly Instructions V2
Install the outer roof section by sliding the first half
in place. Now slide the second half in place and lift
slightly to allow overlap to slot together.
STEP
25
Install the top roof joining panel using x14 13mm bolts,
washers and captive nuts.
Now’s the time to check all the bolts are secured tightly.
STEP
28
STEP
29
www.extraspace.com
Install the top ring beams (one per long edge). Secure
with x2 19mm bolts and x4 13mm bolts, each with
washer and captive nut.
STEP
27
Electric Pack
Short Ending Linking Kit
Stacking / Lifting Kit
Window Grill
Long Side Linking Kit
expandacom
Accessories
Your Expandacom is now ready for use but don’t forget, we also have a wide range of handy accessories that
means you can personalise your units around your own specific needs:
For more information or to buy on-line visit www.expandastore.co.uk/accessories/
Expandarange – The complete range of storage and accommodation solutions
The Expandarange of flat-packed buildings is available from:
Extraspace Industries
Unit 27, Hobbs Industrial Estate, Newchapel Near Lingfield, Surrey RH7 6HN
Phone: 0845 330 3713 or 01342 830040
Email: [email protected]
www.extraspace.co.uk
Expandastore - Flat-packed storage unit Expandacom - Flat-packed office/
accommodation unit
Expandakabin - Flat-packed office unit home and
commercial use.
Gardenstore - Flat-packed secure storage unit for all
your garden equipment.
Bikestore - Flat-packed secure storage unit
for cycles, motorcycles and tools.
Expandachem - Flat-packed storage unit for the
safe storage of chemicals and lubricants.

Other extraspace Outdoor Storage manuals

extraspace expandakabin User manual

extraspace

extraspace expandakabin User manual

extraspace Expandachem User manual

extraspace

extraspace Expandachem User manual

extraspace expandakabin User manual

extraspace

extraspace expandakabin User manual

extraspace expandastore User manual

extraspace

extraspace expandastore User manual

extraspace expandakabin User manual

extraspace

extraspace expandakabin User manual

Popular Outdoor Storage manuals by other brands

Mercia Garden Products 01PTOSBA0604SDFW-V2 General instructions

Mercia Garden Products

Mercia Garden Products 01PTOSBA0604SDFW-V2 General instructions

SPACEMAKER Versa-shed VRS53AN01 Owner's manual and assembly guide

SPACEMAKER

SPACEMAKER Versa-shed VRS53AN01 Owner's manual and assembly guide

Riverlea Duratuf SENTRY SHEDS SG2020 Assembly instructions

Riverlea

Riverlea Duratuf SENTRY SHEDS SG2020 Assembly instructions

Lemeks Palmako Bianca PA120-5930-11 Assembly, installation and maintenance manual

Lemeks

Lemeks Palmako Bianca PA120-5930-11 Assembly, installation and maintenance manual

Beliani YG-P23-GP owner's manual

Beliani

Beliani YG-P23-GP owner's manual

Waltons 01GRA0301-V2 quick start guide

Waltons

Waltons 01GRA0301-V2 quick start guide

Outsunny 845-432V01 manual

Outsunny

Outsunny 845-432V01 manual

Palram Yukon Shed - 11 'x9' S manual

Palram

Palram Yukon Shed - 11 'x9' S manual

Arrow Storage Products CLG1414CCFG Owner's manual & assembly guide

Arrow Storage Products

Arrow Storage Products CLG1414CCFG Owner's manual & assembly guide

Pinnacle 1.5m Skillion Series Assembly instructions

Pinnacle

Pinnacle 1.5m Skillion Series Assembly instructions

Dunster House DEORE E10-5053DG-45 installation manual

Dunster House

Dunster House DEORE E10-5053DG-45 installation manual

Keter DuoTech Oakland 7511 user manual

Keter

Keter DuoTech Oakland 7511 user manual

Arrow Storage Products CO1014 owner's manual

Arrow Storage Products

Arrow Storage Products CO1014 owner's manual

Keter STORE-IT-OUT PRIME user manual

Keter

Keter STORE-IT-OUT PRIME user manual

Jimmy at work SPR10009 owner's manual

Jimmy at work

Jimmy at work SPR10009 owner's manual

ABSCO SHEDS 15151SK Assembly manual

ABSCO SHEDS

ABSCO SHEDS 15151SK Assembly manual

Armorgard forma-stor FR100-T user manual

Armorgard

Armorgard forma-stor FR100-T user manual

ClearSpan Storage Master Solarguard Series Assembly manual

ClearSpan

ClearSpan Storage Master Solarguard Series Assembly manual

manuals.online logo
manuals.online logoBrands
  • About & Mission
  • Contact us
  • Privacy Policy
  • Terms and Conditions

Copyright 2025 Manuals.Online. All Rights Reserved.