FEELTONE Singing Chair User manual

by feeltone products
1
KLST-1 and KLST-2
for therapy and wellness
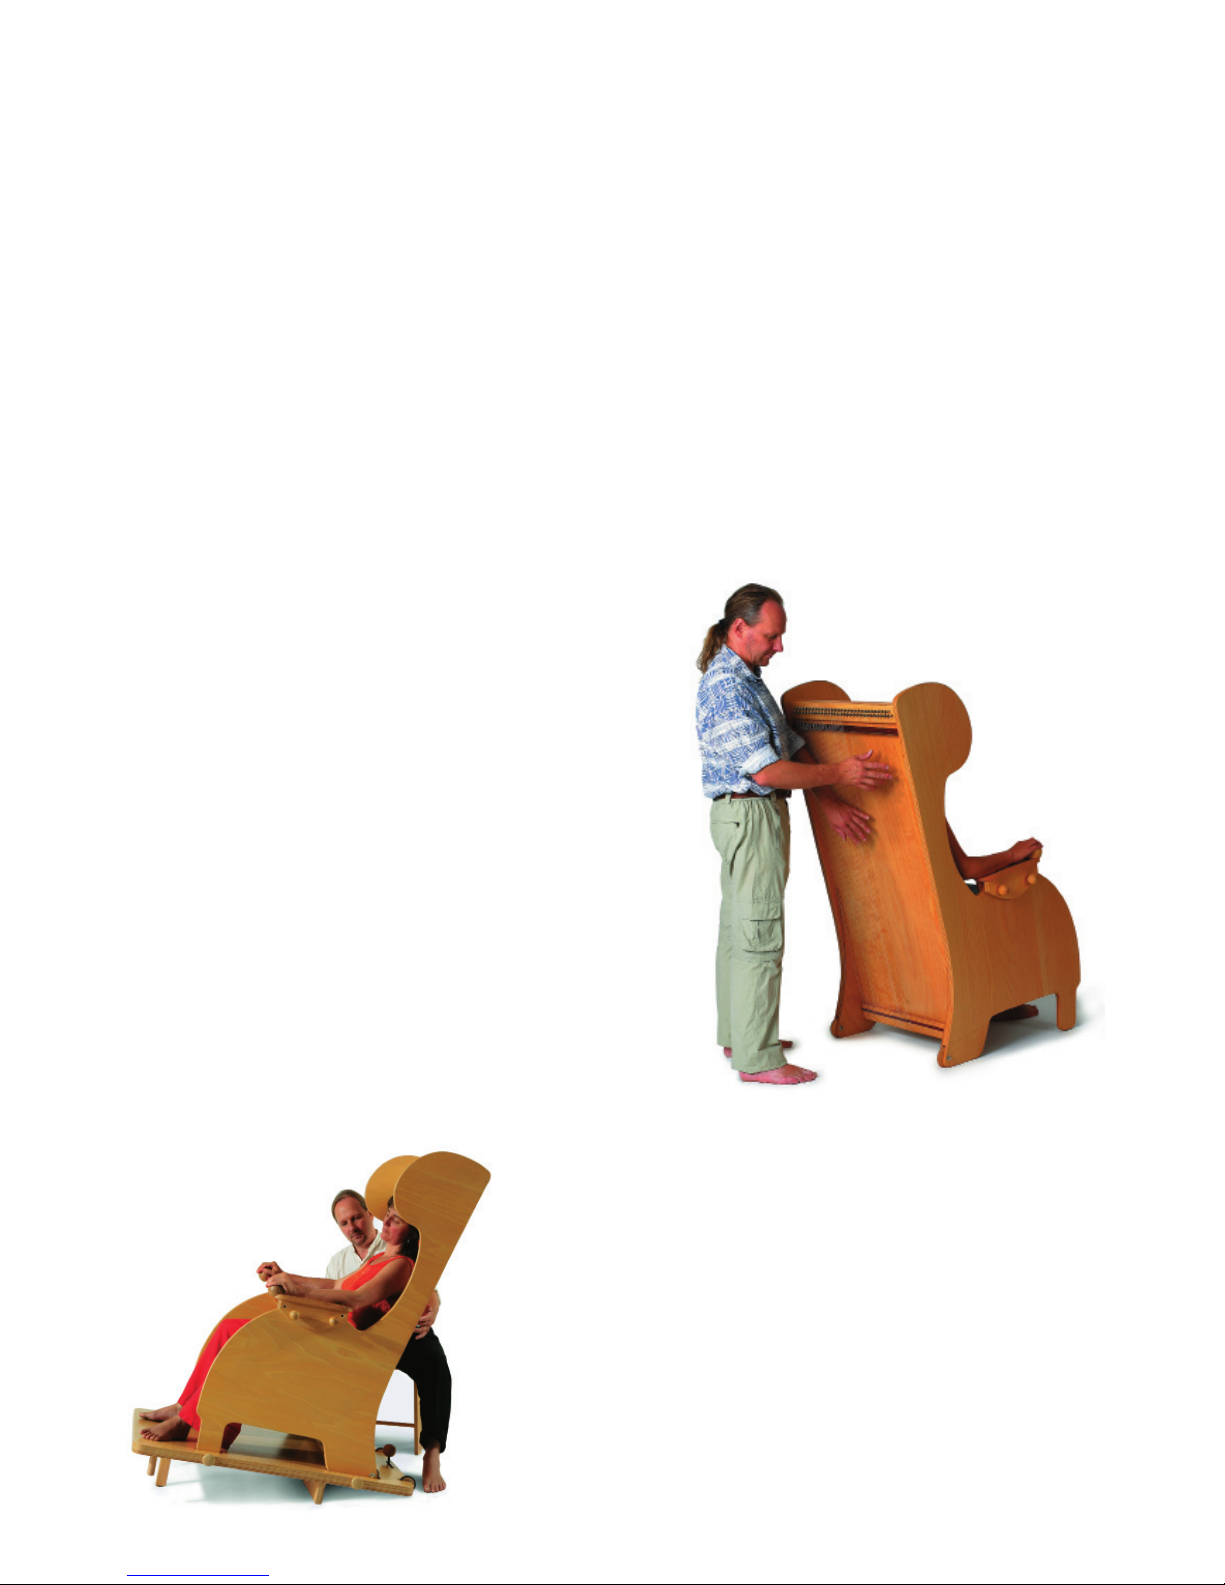
The Singing Chair
KLST-1 has 20 strings tuned in c and 20 in C. It is made out of multiplex, size 44 x 20 x 25.2´´.
KLST-2 has 30 strings tuned in c and 30 in C. It is made out of multiplex, size 56 x 24 x 32´´.
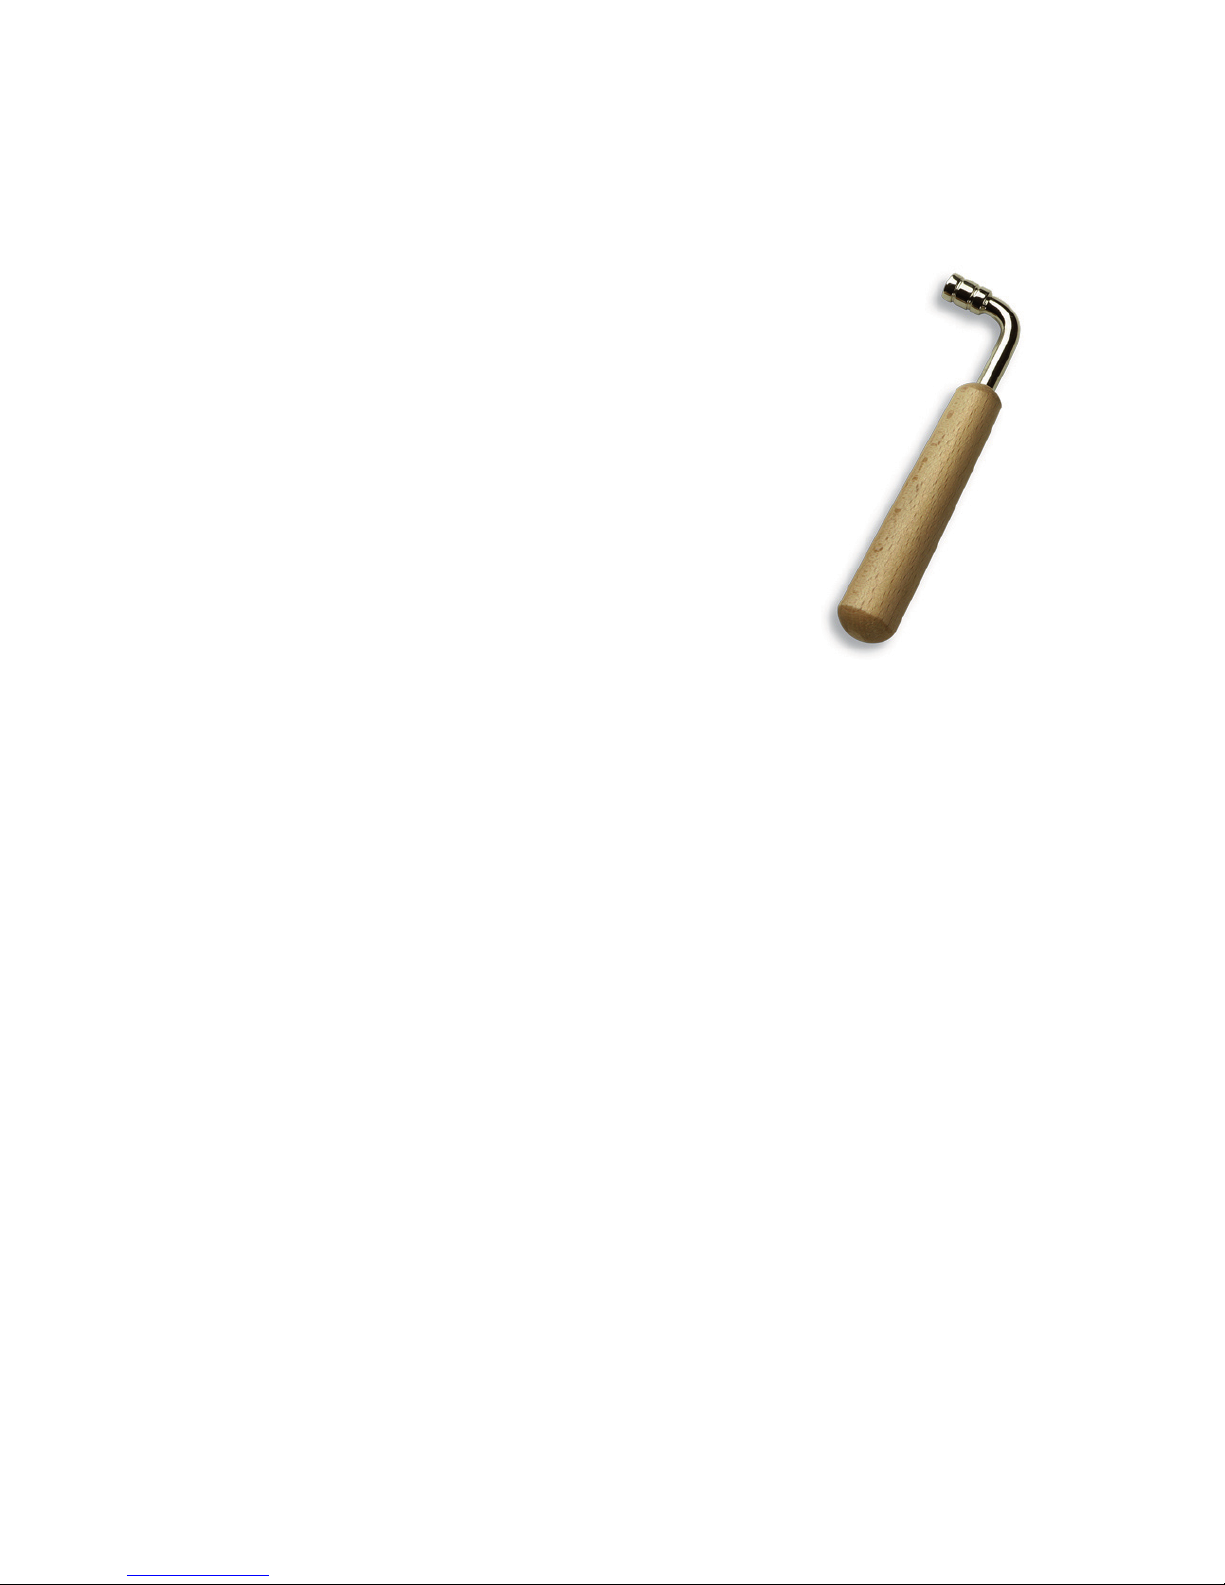
Including: Tuning key, tuner, some replacement strings.
Singing Chair / Soundchair
designed by Ingo Böhme
About us
Ingo Boehme has been an innovative music instrument builder and designer for many years starting in 1982 with
the large wooden bass drums and adding string instruments in 1994. The music instruments have been used world-
wide in wellness, Therapy, Pedagogic and by people who want to make intuitive music.
In 2003 Martina Glaeser-Boheme has joined the feeltone team focusing on the practice-oriented work with the in-
struments. With a background in Massage therapy and working together with other Sound Massage practitioners,
she has been developing her own form of working with Sound and the feeltone line of sound furniture’s.
Would you like to learn more on how to work with our different feeltone sound furniture’s: Monochord Tab-
les, Soundwave,Singing Chair and Monochords?
We are offering a variety of trainings from a one-day introduction to the monochord to a 4 day training to
deepen your work. Contact us for more details.

2
Transportation wheels for KLLST-2
For better transportation we worked two wheels into the rear feet of the big chair. You can just
tip over the chair and roll it away. But, please never do it with a person inside, because the
wheels are not made for that kind of weight.
Accessories
ARM, pair armrests for KLST-1 and KLST-2, 14 x 6.8 x 4.8‘‘
The armrests support the arms and the palm of the hands can rest on the balls.
This allows the vibration from the chair to be transfered and to stimulate the hands.
These armrests are simply put on the sides of the chair (for both models KLST-1 and KLST-2)
and can be moved any way and position. It is recommended to tighten them completly after
you have the most comfortable place for the armrests. They are screwed tight with both screw
balls at their side. The vibration is transfered very good.
This compact and easy to use tuner encompasses the whole range of tones from C1 (32,70Hz) to C8 (4186,01Hz) .
Our recommendation for the tuning is to set the tuner to 432 or 440 Hz (a).
If the tuner is set an another frequency you can change the frequence by pressing the button (d).
This tuner works best when used in a low noise environment.
This tuner displays the notes like this: C,D,E,F,G,A,B, no matter which octave .
For example c‘ and c will be displayed as „C“.
(a) (b) (c) (d) (on/off)
The tuner
The included tuner is designed to be used in a silent environment. If you have to tune in a noisy
environment we recomment a clipon tuner (CA-AW3G) or a contact microphone (CA-CM200).
This allows you to tune independent of the noise level around you.
Both are not included and can be purchased through feeltone.
Recommended tuning c:
20 (30) overtone string c
20 (30) braided bass string C
The strings can be tuned a full tone higher or lower than the recommended base tone c (b,c,d)
3
The tuning process
Please notice that you only need to move the tuning key slightly,
one degree at a time to change the note.
For example half a turn of the tuning key will move the tone
up several notes and that could even cause the string to break.
We ship the instrument pretuned. But because strings and wood are reacting with temperature you will need to
tune the instrument upon arrival and after a couple of retunings it will keep its tuning for long period of time.
Let the instrument rest and acclimate to the new surrounding. After the instrument was unpacked and had
rested for a day use the tuning key and the tuner coming with the instrument to tune it.
First tuning:
This example assumes you are tuning the instrument to C.
Put the tuning key onto the first peg , plug the string and look at the tuner
( Which you have turned on and set to 432 or 440Hz) .
-> displayed tone is C and the needle is left from the center or displayed tone is even a deeper note (A# / B)
= the tone is to low, you need to tighten the string
--> to tune to a higher pitch you have to move the tuner clockwise
-> displayed tone is C and the needle right from the center or displayed tone is even a higher note (C# / D)
= the tone is to high, you need to loosen the string.
--> to lower the pitch you have to turn the tuner counterclockwise
Just relax and listen to the sound and you will get into it quickly.
The string is tuned correctly when the needle of the tuner is in the middle and the green LED (b) is on.
Tip 1: If you didn`t meet the tone exactly, loosen the string a little bit and start it again.
Tip2: Try to much the exact tone with a slow and smooth turn of the tuning key.
Continue to tune the other strings. Because the pegs are on the right and on the left side, it might be easier to tune
the pegs on one side, then turn the instrument around and tune the other side.
Second tuning:
We recommend a proper tuning every day for at least two weeks. Don’t worry if you don’t have time every day,
even if you tune every other day it just takes a little bit longer for the instrument to stabilize.
After this period the tone will be stable for a long time and even under changed conditions. Perhaps you think that
tuning is a lot of work. But this procedure helps you to connect to the instrument, to hear the right tone, the overto-
nes and other sound phenomena.
If you use sound in pedagogic or therapeutic settings,
you can use the event of tuning as a kind of awareness test.
For a clear, overtone rich sound, a proper tuning is very important!
The setting for the tuner can be between 440 -432 Hertz (Hz). Use 432 Hz
for a natural harmonic tone. If you are playing this instrument together
with other kind of traditional instruments use 440 Hz to be compatible.
You find more information about this topic in the internet.

4
Check out our videos on YouTube at the feeltone products channel!
Here you will find more information about our instrument,
exampels how to play them, tuning tips and more.
www.youtube.com -> channel enter Feeltone
or
https://www.youtube.com/channel/UCVsN6xeKSfgwZODzRAMt38g
1.)Take the new string , put it on the nail and then pull the string through the peg hole on the other side of the inst-
rument.
2.)Take 1/2 inch of the end of the string and bend it down at a 90 degree angle, using your fingers or a small pliers.
Than pull the string back so the bent down piece of the string points downwards at the peg. You want the first two
winding of the string to go over the bent down piece of string. If this sounds confusing just look at the other pegs
which already have strings on them so you see the end result.
3.)Start to turn the tuning key clockwise to slightly tighten the string. Guide the string so that the first two windings
of the strings will be over the bent down end of the string the next ones below that.
4.)Bevor tightening the string make sure that the string is in the right position.
Now you can start the tuning process (see „the tuning process“).
Important only use the original strings as they are custom made to fit the instrument.
How to replace a broken string
If a string is broken, first remove the string completely.
Look at the other strings of the same typ: how often are they
twisted around the pegs? Please turn the peg of the bro-
ken string counterclockwise just as often!
If you don’t do this the peg will be pushed deeper and
deeper in the wood during the tuning process and either the
peg will break or the wood will split.
Now aline the peg, so the hole in the peg should point to-
ward the string side.
5
How to play
Find a comfortable sitting position so your stretched out hand can easily touch the strings and you are also able to
see your client. To start playing stretch your arm gently and start playing from the strings your hand is reaching.
You can move the top of your fingertips gentley over the strings and when your hand has moved back toward you
the other hand repeats that movment. You can use the whole length of the strings from the middle of the instru-
ment to the bridges. While you are moving it is best to continue to play staggered straight lines.
The timbre, tone and feeling of the Sound can be varied by the way on how strong you press down on the strings,
the tempo in which you play or the place ( middle or near the bridges). The overtones are opening up more and
more the longer you play, influenced by the steadyness of your play. Creating a deep space of relaxation. The
Vibration of the strings are transfered over the whole lengeth of the table into the body of the client laying on the
table.
Now the Monochord has two tunings, differing in
one octav and you can start experimenting.
a. Simply strike the strings with your fingers. In the
beginning it might be hard on your fingers. You
can just use instead of your fingers a leather plect-
rum.
b. If you string closer to the bridge the tone has
more overtones, than striking in the middle of the
string. Try it. Striking in the middle might let the
strings rattle against each other.
c. Also the power of striking the string and the
speed differs the tone quality.

6
Pflegehinweise
Bitte bedenken Sie, dass Holz ein Naturmaterial ist, das auf Veränderungen der Temperatur- und Luftfeuchte
reagiert. Um Rissbildungen im Holz zu vermeiden (und auch ein Verstimmen der Saiten) sollten die Raumbedingun-
gen in etwa konstant bleiben; die Temperatur nicht zu hoch sein.
Wichtig ist vor allem eine Luftfeuchtigkeit zwischen 50%-60%!!! Darauf sollten Sie besonders während der
winterlichen Heizperiode achten!
Wichtig: Wenn Sie eine Fußbodenheizung haben, stellen Sie das Monochord nicht auf den Boden!! Dies führt
zum Austrocknen des Holzes und zur Rissbildung
So schaffen Sie eine optimale Umgebung:
- Wählen Sie eine moderate Raumtemperatur
- Stellen Sie einen Luftbefeuchter auf (die schon für wenig Geld zu kaufen sind)
- Pflanzen sind ebenfalls gut für das Raumklima
Falls das Instrument dennoch einen Riss bekommen hat, spielen Sie es und überprüfen Sie, ob sich der Riss relevant
auf den Klang auswirkt.
Wenn Sie ihr Instrument reparieren lassen möchten, wenden Sie sich an ihren Fachhändler.
Bitte beachten Sie, dass bei Nichteinhaltung der oben stehenden Pflegehinweise KEINE Garantie für
auftretende Schäden übernommen werden kann!
Enjoy your New Instrument!
Feedback
We love to hear back from you about your experiences, suggestions or comments while working with our instru-
ments.
This manual suits for next models
1
Table of contents
Other FEELTONE Musical Instrument manuals


