The piping must be properly ushed prior to
installation. Turn off water supply.
Measure the distance from tile surface to NPT elbow
(connector inside the wall). If the measurement equals
or is less than 1½” continue to step 1.
If it is more than 1½” install the brass nipple between
the connector and the elbow. Add PTFE tape to both
threads. Continue to step 2.
1. Ensure the shower pipe tting is clean of dirt. Add
thread seal tape to the connector threads.
2. Tighten the connector into the tting. Control the
alignment of the connector (threads down).
3. Attach the shower column to the connector.
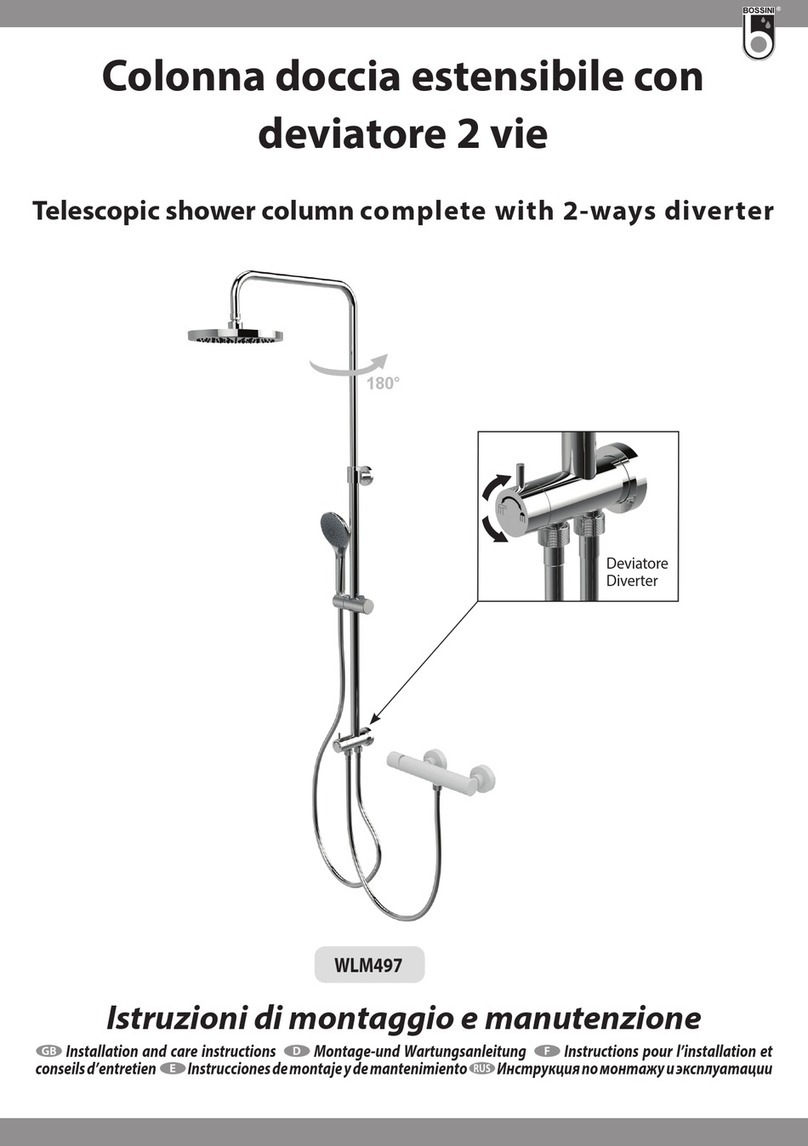
4. Attach the diverter to the shower column.
5. Place the wall mount to the peg behind the
diverter. The wall mount has adhesive attached (A).
6. Set the shower column straight using a level. Mark
the placement for the wall mount to the wall.
7. Attaching with screws: Mark the location of the
screws and drill ¼” holes. Add the screw anchors
and silicone to the holes. Attach the wall mount.
Screw in the ange. Go to step 9.
8. Attaching with adhesive: Remove the liner from
the double-sided adhesive (5.A). Carefully relocate
the mount according to the marking and rmly
press the mount against the wall for 30 seconds to
secure proper attachment.
9. Ensure the shower column stands parallel to the
wall and tighten the two set screws.
Installation without extension pipe
10. Attach the elbow to the connector and the shower
arm to the elbow. Control the arm alignment and
fasten the set screws. Arm can be turned left/
right to center it in your shower space. Ensure the
gasket is correctly in place in the shower head
and attach the shower plate. Use protective gloves
or wash your hands before this step to keep the
nozzles free from grease.
11. Attach the handheld shower: hex end to diverter,
conic head to handheld.
12. Open water supply and ensure there are no
leakages. The installation is complete.
Installation with extension pipe
13. Attach the elbow and the extension pipe together
and to the connector. Attach the shower arm to
the elbow. Control the alignment of the shower
arm and fasten the set screws. Arm can be turned
left/right to center it in your shower space. Ensure
the gasket is correctly in place in the shower head
and attach the shower plate. Use protective gloves
or wash your hands before this step to keep the
nozzles free from grease.
14. Attach the handheld shower: hex end to diverter,
conic head to handheld.
15. Open water supply and ensure there are no
leakages. The installation is complete.
Cleaning Instructions
Wipe off excess water from the bathroom after every
use to reduce soap scum and keep water spots from
appearing.
1. Wipe down the shower set & valve trim with a soft
dry towel.
2. Dry the oor and other at surfaces with a
squeegee.
3. If you have an extractor fan, use it!
4. If a showerhead nozzle gets blocked with lime, you
can rub it off with your nger while in the shower.
NOTE! Only use a mild detergent to clean the shower.
Never use products that contain abrasives, strong
acids, ammonia, or chlorine, as these can damage the
coatings.
Cleaning a Shower Head
If the water streams from the nozzles are uneven, get
skewed, or clogged, rst rub the nozzles with your
nger or use a soft toothbrush. Wash your hands rst
to keep grease off the nozzles or do it while in the
shower and gently rub the nozzles preferably with your
nger’s knuckle side (to avoid grease). This releases
mineral deposits from the nozzle and allows water
to ow freely. Do this easy maintenance as soon as
possible and you’ll prevent bigger problems in the long
run.
That should be enough for most but if there’s a lot of
buildup, you can use a mild vinegar solution to dissolve
the lime off. Mix white vinegar to water approximately
at 1:5 and soak the head in the solution. Let it sit for
1-2 hours and thoroughly rinse with water.
Cleaning a Shower Set or a Valve Trim
To keep soap scum and water spots from appearing,
wipe down the shower with a soft dry towel after use.
When you need to clean the shower, select a PH-
neutral detergent and use a soft cloth or sponge. Apply
detergent straight to the clo th and wipe the surfaces.
Rinse with plenty of tepid water. Finally, dry the pipes
and ttings by wiping them with a dry, soft cloth. This
ensures no marks remain and prevents water spots
from appearing.
Aention! Only use a mild detergent. Never use
products that contain abrasives, strong acids,
ammonia, or chlorine, as these can damage the
coatings.
Limited Lifetime Warranty
Warranty information at:
https://fennocasa.com/pages/warranty
