Fire Chief FCOS2200D User manual


Other manuals for FCOS2200D
1
Table of contents
Other Fire Chief Furnace manuals

Fire Chief
Fire Chief FCOS1600 User manual
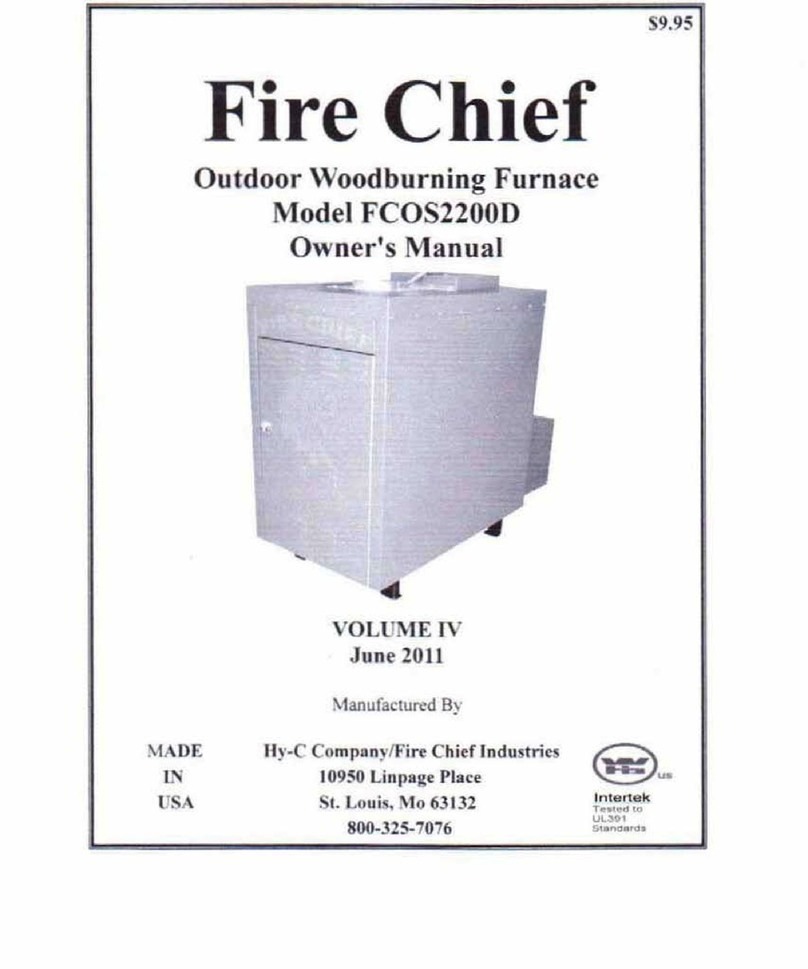
Fire Chief
Fire Chief FCOS2200D User manual

Fire Chief
Fire Chief FCOS1800D User manual
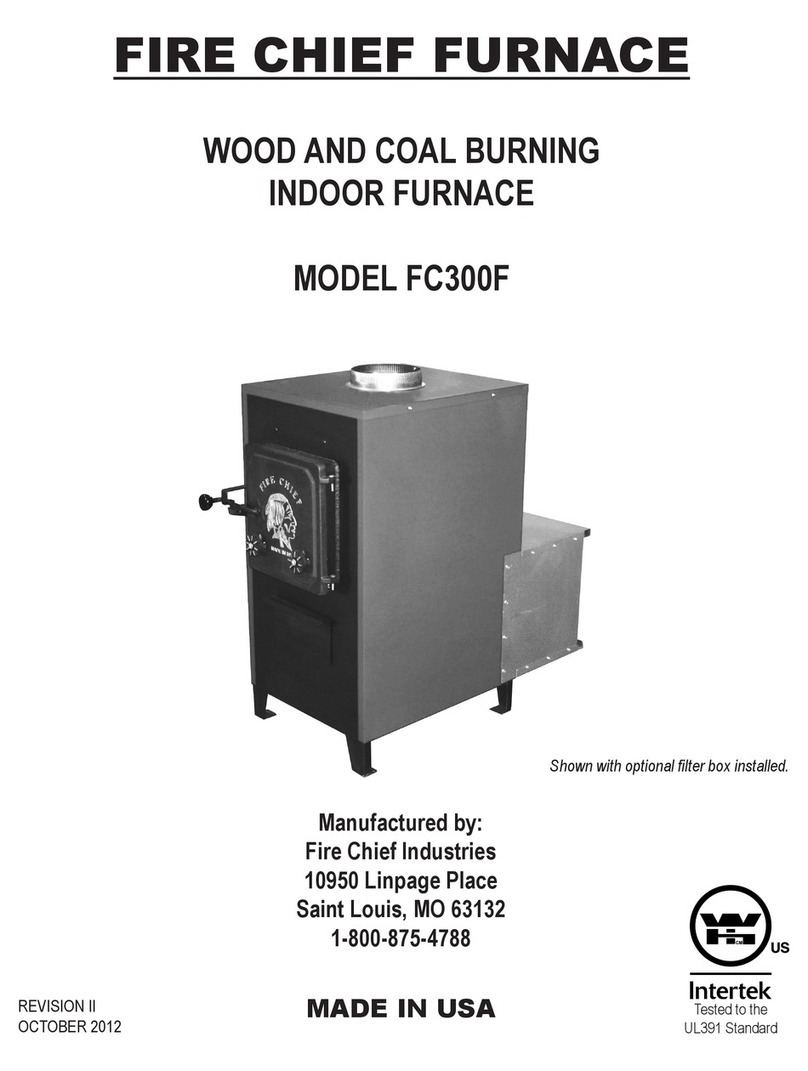
Fire Chief
Fire Chief FC300F User manual

Fire Chief
Fire Chief FC300 User manual
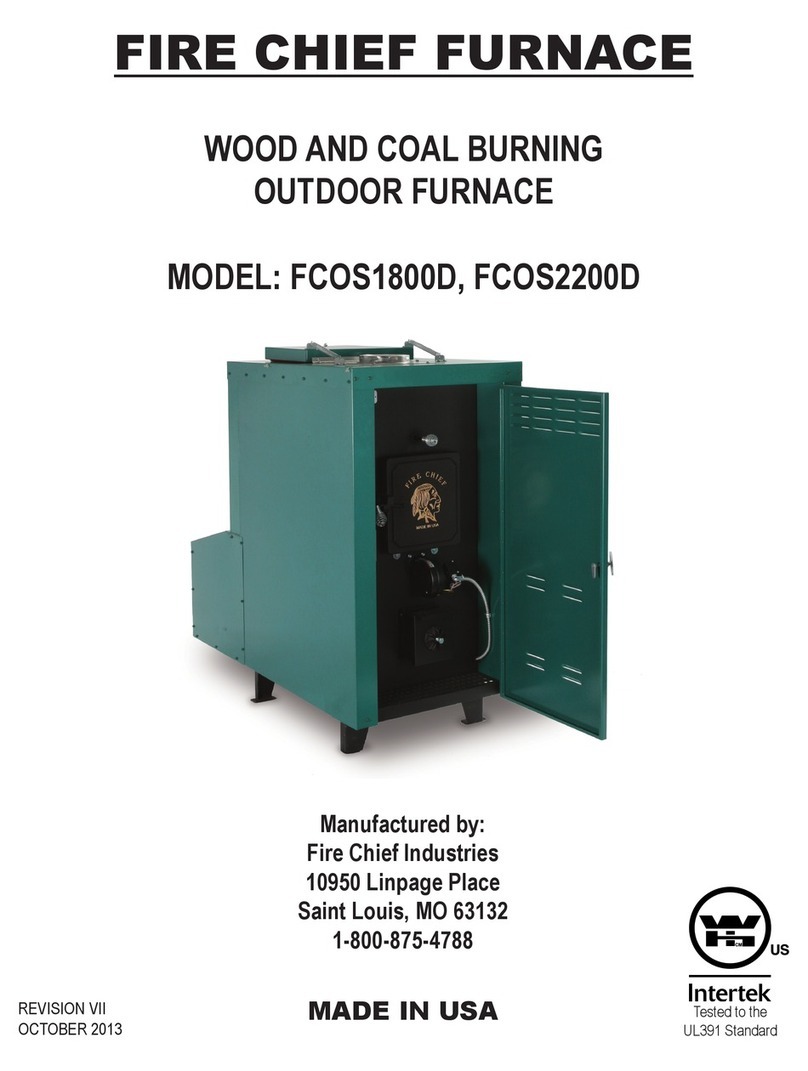
Fire Chief
Fire Chief FCOS1800D User manual

Fire Chief
Fire Chief FCOS2200 User manual

Fire Chief
Fire Chief FC300F User manual

Fire Chief
Fire Chief FC300F User manual

Fire Chief
Fire Chief FC450 User manual
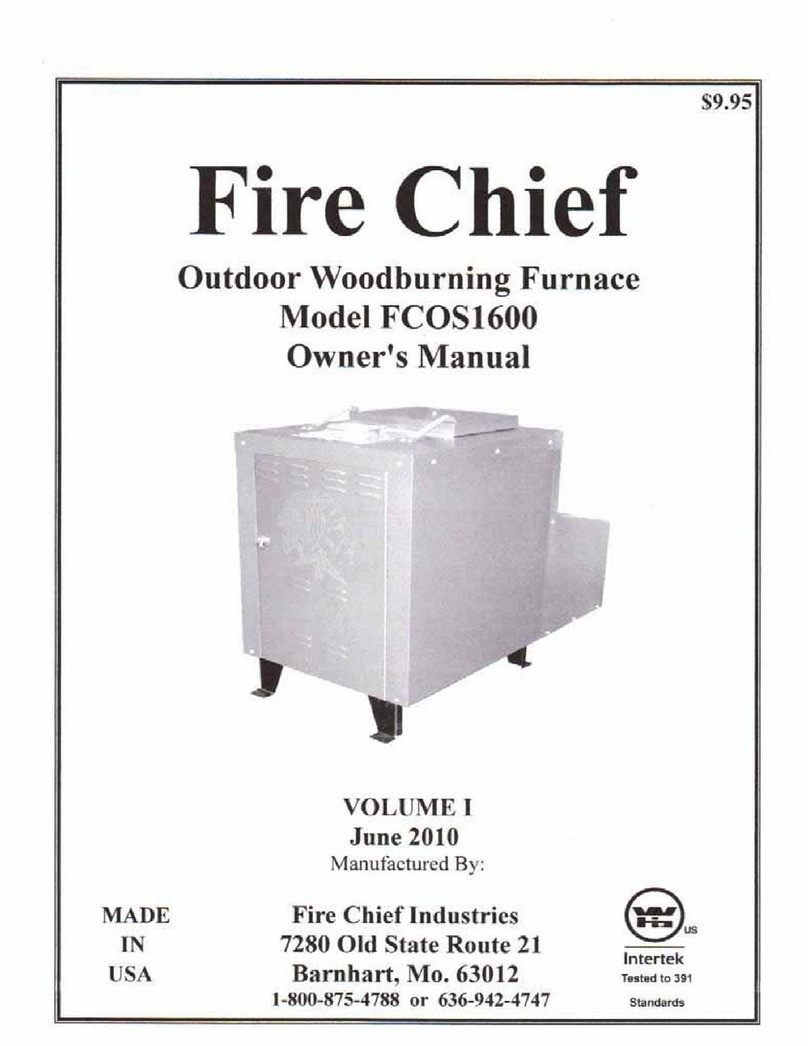
Fire Chief
Fire Chief FCOS1600 User manual

Fire Chief
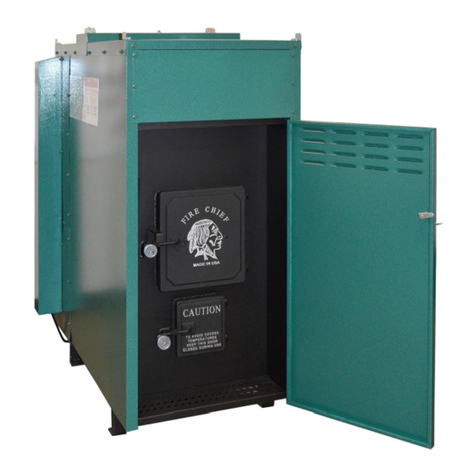
Fire Chief FCOS1600D User manual
Fire Chief
Fire Chief FC1900 User manual

Fire Chief
Fire Chief 500 User manual

Fire Chief
Fire Chief FC1500 User manual
Fire Chief
Fire Chief FC500E User manual

Fire Chief
Fire Chief FC1000 User manual

Fire Chief
Fire Chief 500 User manual
Popular Furnace manuals by other brands

VERDER
VERDER CARBOLITE GERO BLF 17/3 Installation, operation and maintenance instructions

International comfort products
International comfort products N92ESN installation instructions

Goodman
Goodman *MEC96 Technical manual

Keystoker
Keystoker A-80 Operating instructions and maintenance guide
Lennox
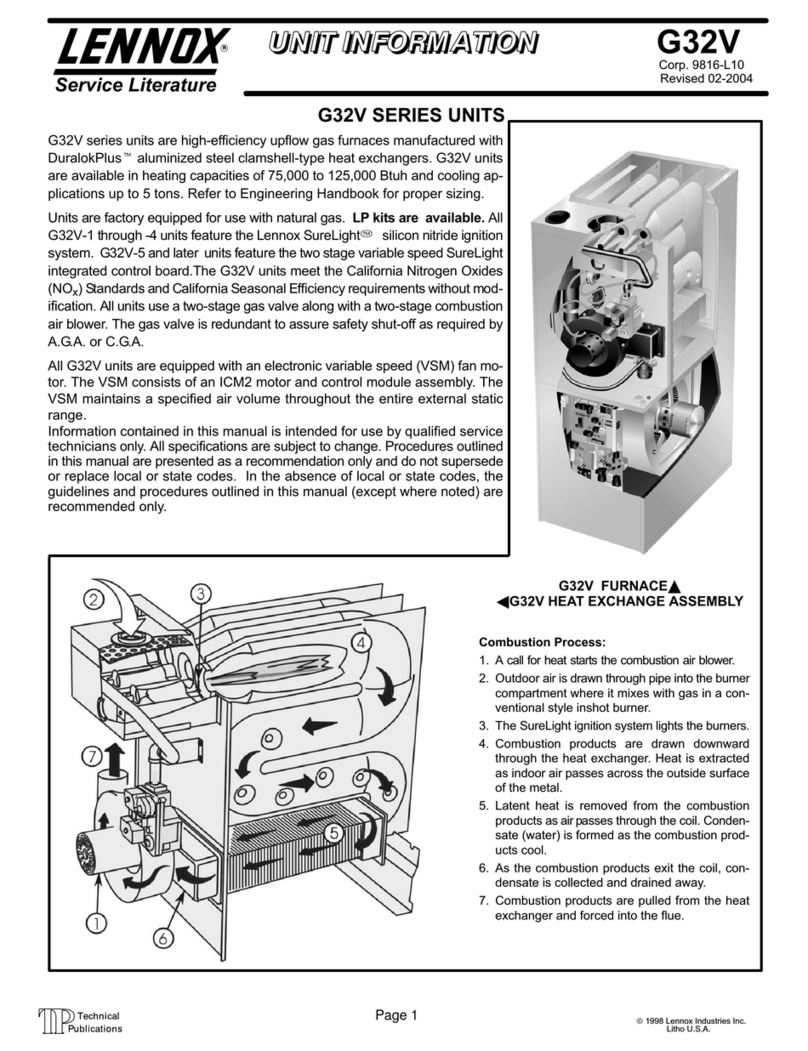
Lennox G32V SERIES Service literature
Carrier
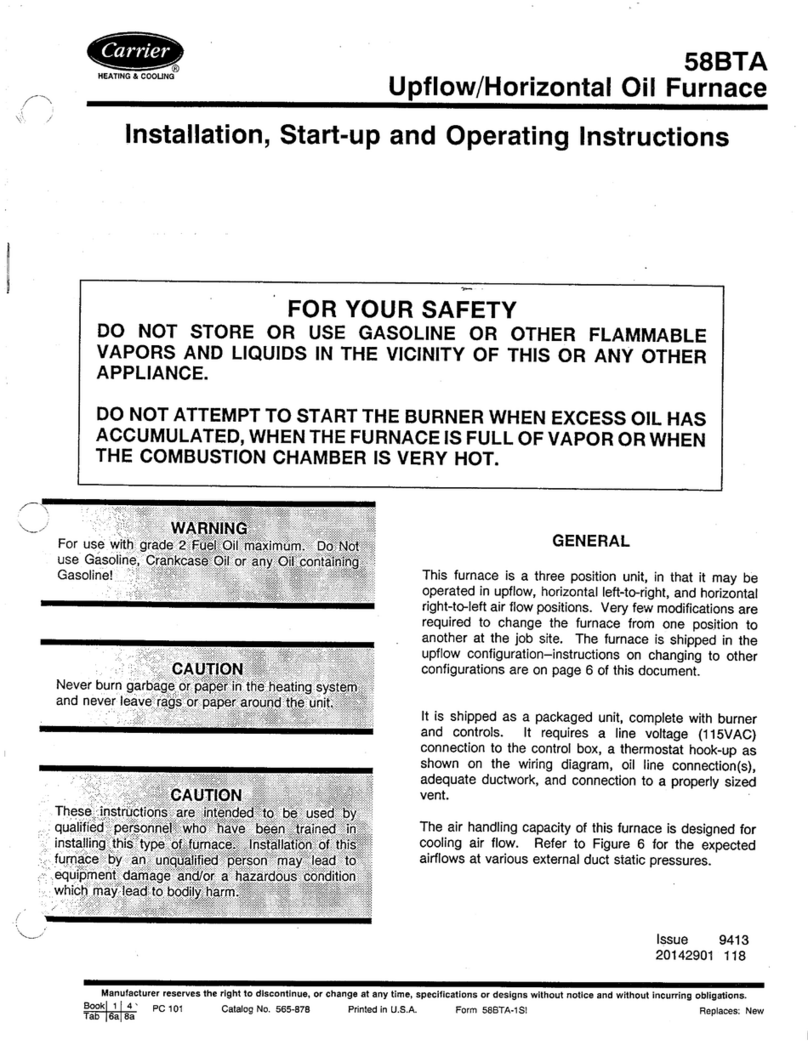
Carrier 58BTA Installation and operating instructions

Lennox
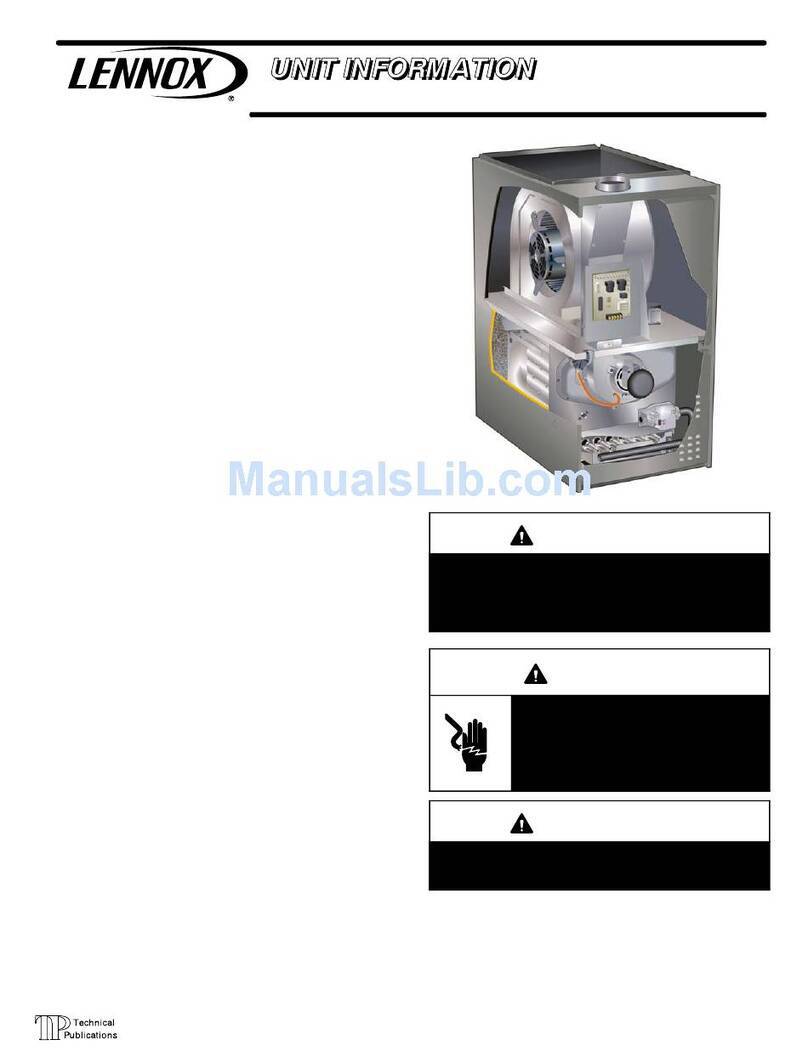
Lennox ML193DFE Unit information
Lennox
Lennox ML180DF045P24A Unit information
Nagas
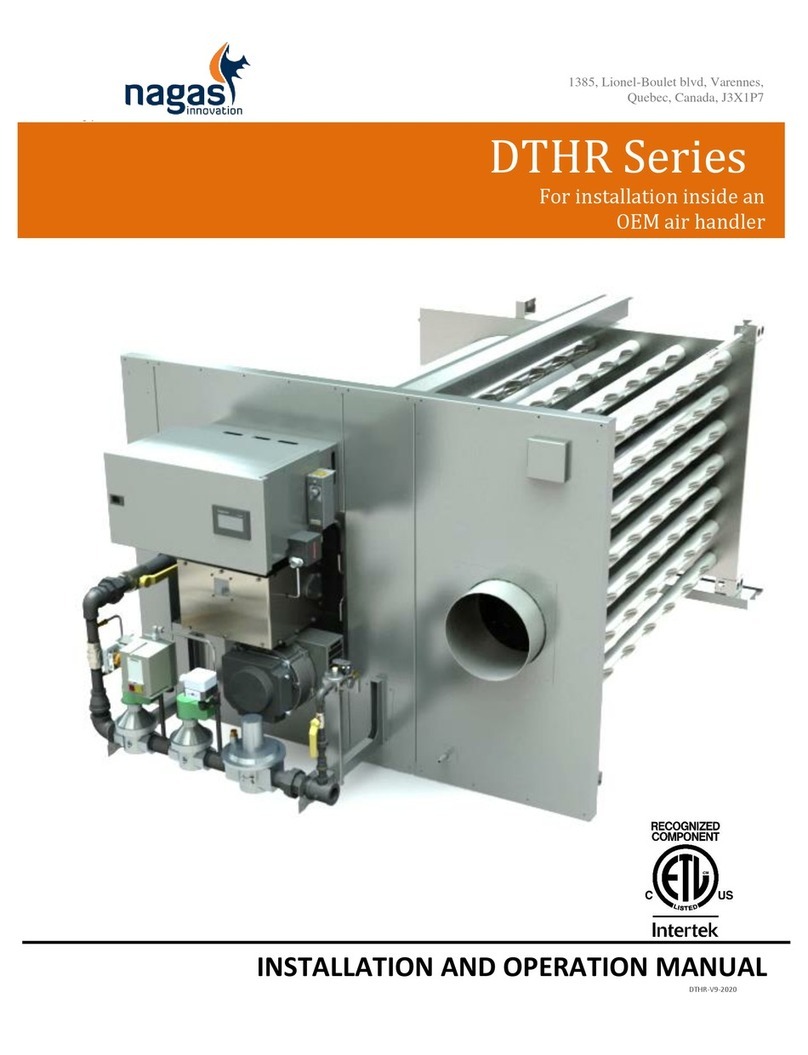
Nagas DTHR Series Installation and operation manual
Lennox
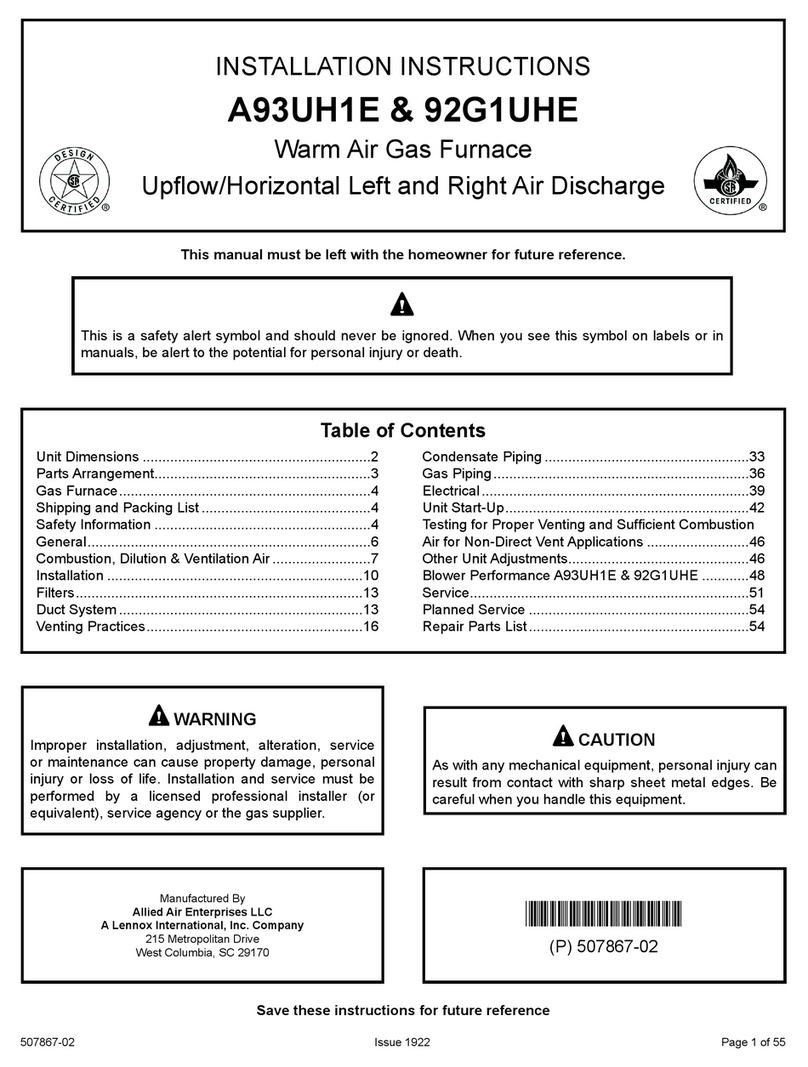
Lennox Allied Air A93UH1E installation instructions
Carrier
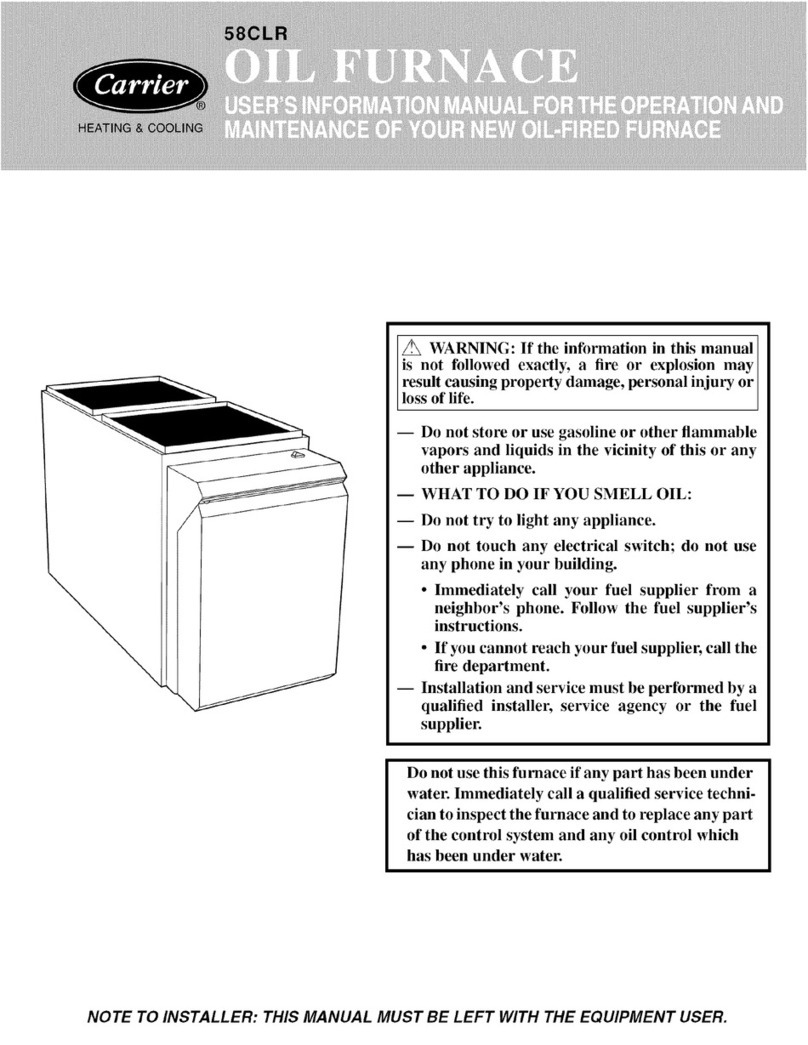
Carrier 58CLR User's information manual
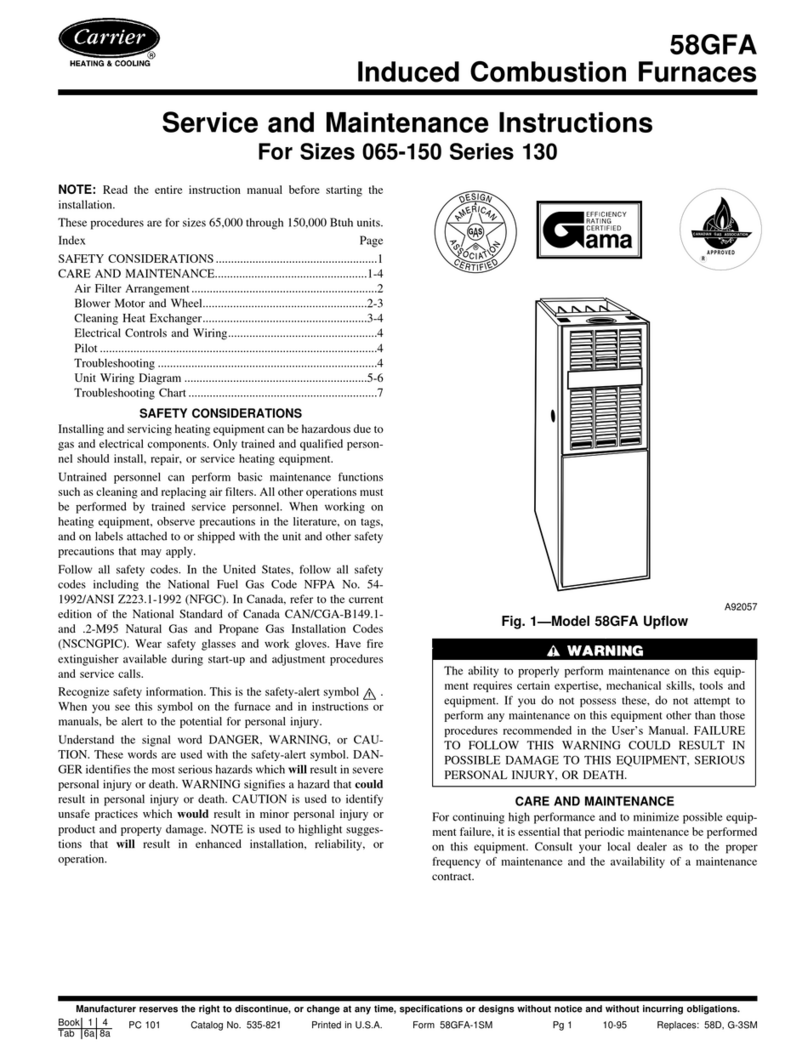
Carrier
Carrier INDUCED COMBUSTION FURNACES 58GFA Service and maintenance instructions
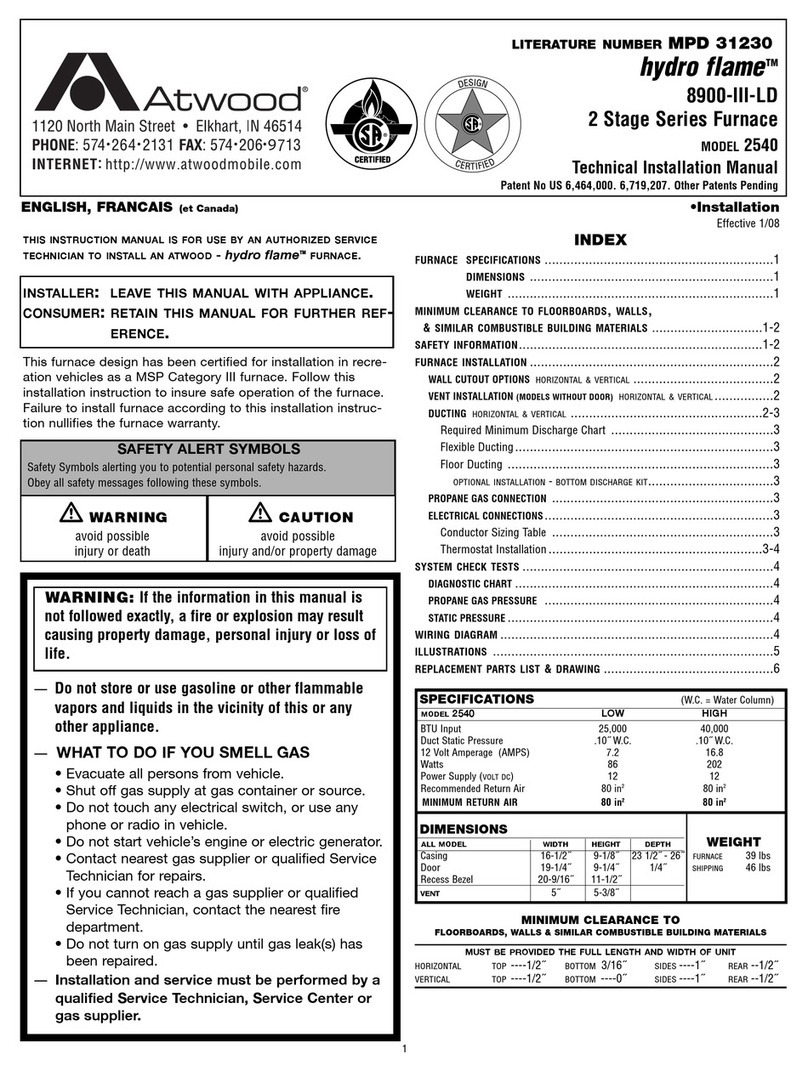
Atwood
Atwood HYDRO FLAME 2540 user manual

Central Boiler
Central Boiler CLASSIC EDGE 350 owner's manual
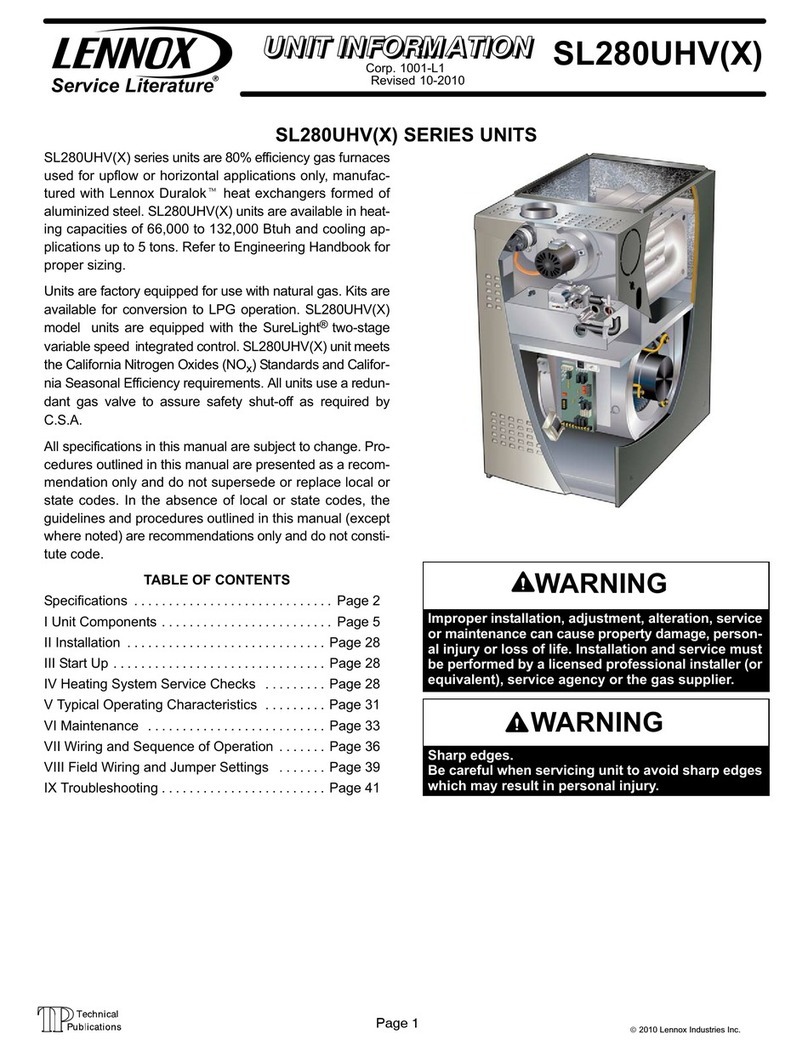
Lennox
Lennox SL280UHVX Series Unit information
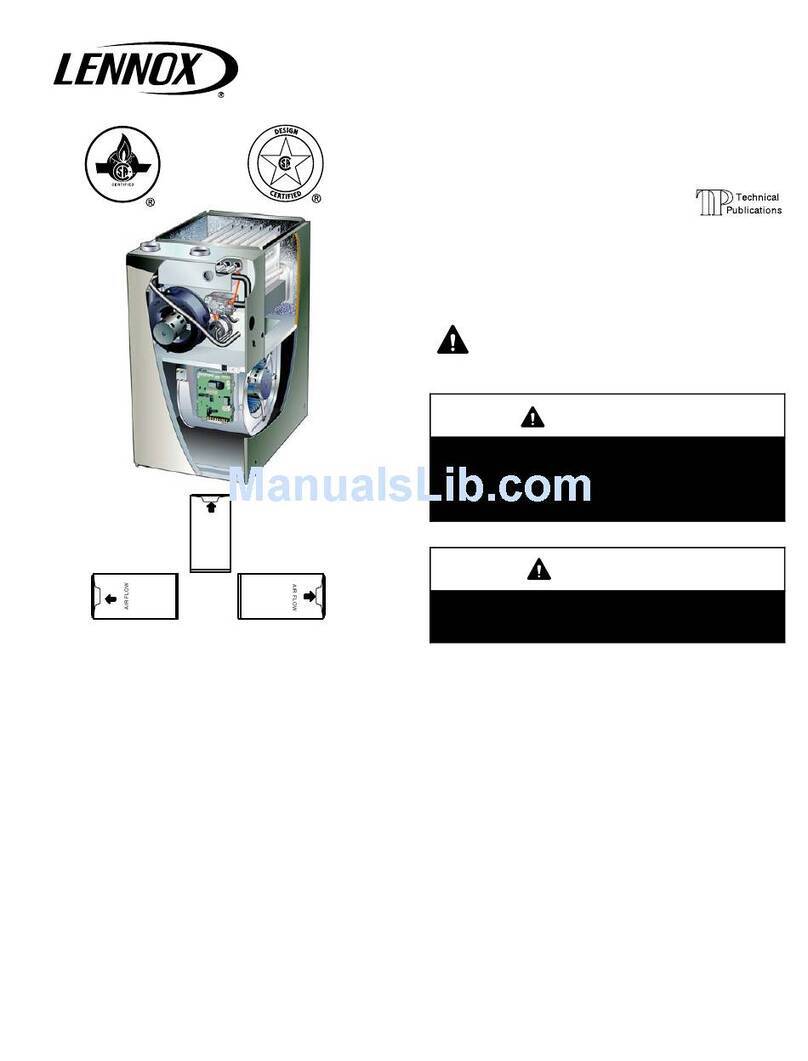
Lennox
Lennox EL296UHE installation instructions

VERDER
VERDER CARBOLITE GERO RWF 12/5 Installation, operation and maintenance instructions
Greenheck
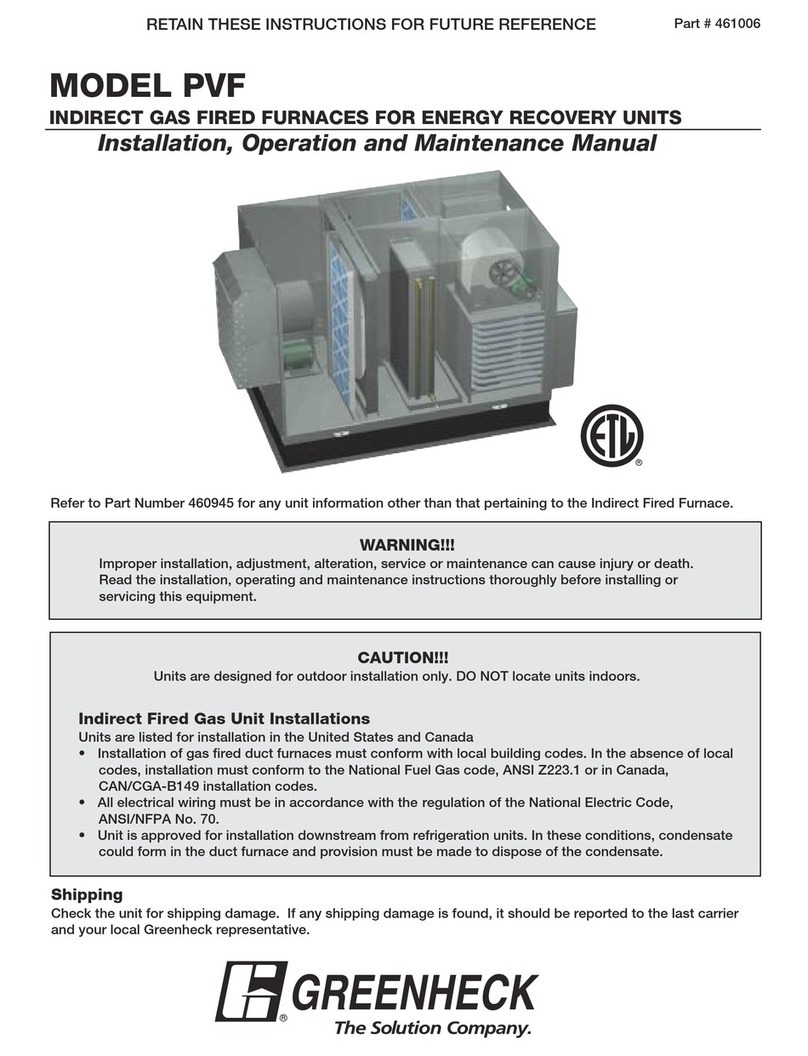
Greenheck PVF Installation, operation and maintenance manual