Fisher PC-R20R2 User manual


WARNING
To reduce the risk of fire or electric shock , do not expose the TV to rain or moisture.
RISK OF ELECTRIC SHOCK
DO NOT OPEN
CAUTION
RISQUE DE CHOC ELECTRIQUE ,
NE PAS OUVRIR
ATTENTION
RIESGO DE CHOQUE ELECTRICO
NO ABRIR
PRECAUCION
CAUTION:TO REDUCE THE RISK OF ELECTRIC SHOCK,
DO NOT REMOVE COVER(OR BACK) .
NO USER-SERVICEABLE PARTS INSIDE.
REFER SERVICING TO QUALIFIED SERVICE PERSONNEL
This symbol is intended to alert the user to the presence of uninsulated ¡°dangerous voltage ¡±within
the product¡¯s enclosure that may be of sufficient magnitude to constitute a risk of electric shock to
persons .
This symbol is intended to alert the user to the presence of important operating and maintenance
(servicing )instructions in the literature accompanying the appliance.
Note to the CATV Installer
This reminder is provided to call the CATV system installer¡¯s attention to Article 820-40 of the NEC that
provides guidelines for proper grounding and , in particular , specifies that the cable ground shall be connected
to the grounding system of the building as close to the point of cable entry as practical .
SAFETY PRECAUTIONS
Operate the TV only on AC 120Volts 60Hz.Never connect to DC supply or any others supply .
One blade of the power plug is wider than the other for safety purposes and will fit into the outlet , contact
your dealer.
If any liquid or solid object falls into the TV , unplug it and have it checked by qualified personnel before
operating it further.
When using TV games , computers , and similar products with your TV, keep the brightness and contrast
functions at low settings .If a fixed (non-moving)pattern is left on the screen for long periods of time at a high
brightness or contrast setting , the image can be permanently imprinted onto the screen .
Continuously watching the same channel can cause the imprint of station logos onto the TV screen .These
types of imprints are not covered by your warranty they are the results of misuse.
CAUTION
-2-
Thank you very much for your purchase of this product-the most natural Colour Television Receiver.
To enjoy your set to the full from the very beginning, read this manual carefully and keep it handy for ready
reference.
Design and specifications are subject to change without prior notice.

You are cautioned that any changes or modifications not expressly approved in this manual could void your authority to operate
this equipment.
This equipment has been tested and found to comply with the limits for a Class B digital device pursuant to Part
15 of the FCC Rules .These limits are designed to provide reasonable protection against harmful interference in
a residential installation. This equipment generates, uses , and can radiate radio frequency energy and , if not
installed and used in accordance with the instructions, may cause harmful interference with radio
communications .However, there is no guarantee that interference will not occur in a particular installation . If
this equipment does cause harmful interference to radio or television reception, which can be determined by
turning the equipment off and on , the user is encouraged to try to correct the interference by one or more of the
following measures :
NOTIFICATION
Reorient or relocate the receiving antennas .
Increase the separation between the equipment and receiver.
Connect the equipment into an outlet on a circuit different from that to which the receiver is connected.
Consult the dealer or an experienced radio/TV technician for help.
Protecting the TV
To prevent internal heat build-up, do not block the ventilation openings.
Do not install the TV in a hot or humid place , or in a place subject to excessive dust or mechanical
vibration.
Note on Caption Vision
This television receiver provides display of television closed captioning in accordance with 15.119 of the FCC
rules .
Use of this television for other than private viewing of programs broadcast on UHF or VHF or transmitted by
cable companies for the use of the general public may require authorization from the broadcaster-cable
company and /or program owner.
Owner¡¯s Record
The model and serial numbers are located on the rear of your TV.
Important Safety Instructions
1. Read these instructions.
2. Keep these instructions.
3. Heed all warnings.
4. Follow all instructions.
WARNING
To guard against injury , the following basic safety precautions should be observed in the installation , use , and
servicing of the set.
To reduce the risk of fire or electric shock, do not expose this apparatus to rain or moisture .
-3-
To reduce the risk of electric shock, do not use this polarized plug with an extension cord,
receptacle, or other outlet unless the blades can be fully inserted to prevent blade exposure.
Never tamper with any components inside your set, or any other adjustment controls not mentioned in this manual. All television
receivers are high voltage instruments. Your PICTURE TUBE is highly evacuation. If broken, glass fragments will be violently
expelled. Scratching, chipping or undue pressure is Dangerous and should be avoided. When you clean up dust or stick of a water
drop on the PICTURE TUBE FACE or CABINET, the power cord should be pulled out from the plug receptacle, then wipe the
receiver with driedsoft cloth. During thunder and lighting, unplug the power cord and antenna cord to prevent your TV set from
damage. All "inside work" on your receiver should be performed only by the TV service personnel.

Use
Power Sources
This set should be operated only from the type of
power source indicated on the serial /model plate. If
you are not sure of the type of electrical power
supplied to your home, consult your dealer or local
power company .For those sets designed to operate
from battery power, refer to the operating instructions.
Do not defeat the safety purpose of the polarized
or grounding-type plug. A polarized plug has two
blades with one wider than the other . A grounding
type plug has two blades and a third grounding
prong .The wide blade or the third prong are
provided for your safety .If the provided plug does
not fit into your outlet, consult an electrician for
replacement of the obsolete outlet.
Cleaning
Clean only with dry cloth.
-4-
Installation
Water and Moisture
Do not use this apparatus near water.
Never cover the slots and openings
with a cloth or other materials .
Never block the slots and openings
by placing the set on a bed , sofa rug
or other similar surface.
Never place the set in a confined
space , such as a bookcase , or built-
in cabinet , unless proper ventilation
is provided.
Do not install near any heat sources
such as radiators, het registers,
stoves, or other apparatus (including
amplifiers)that produce heat.
Ventilation
Do not block any ventilation openings. Install in
accordance with the manufacturer¡¯s instructions.
Grounding or Polarization

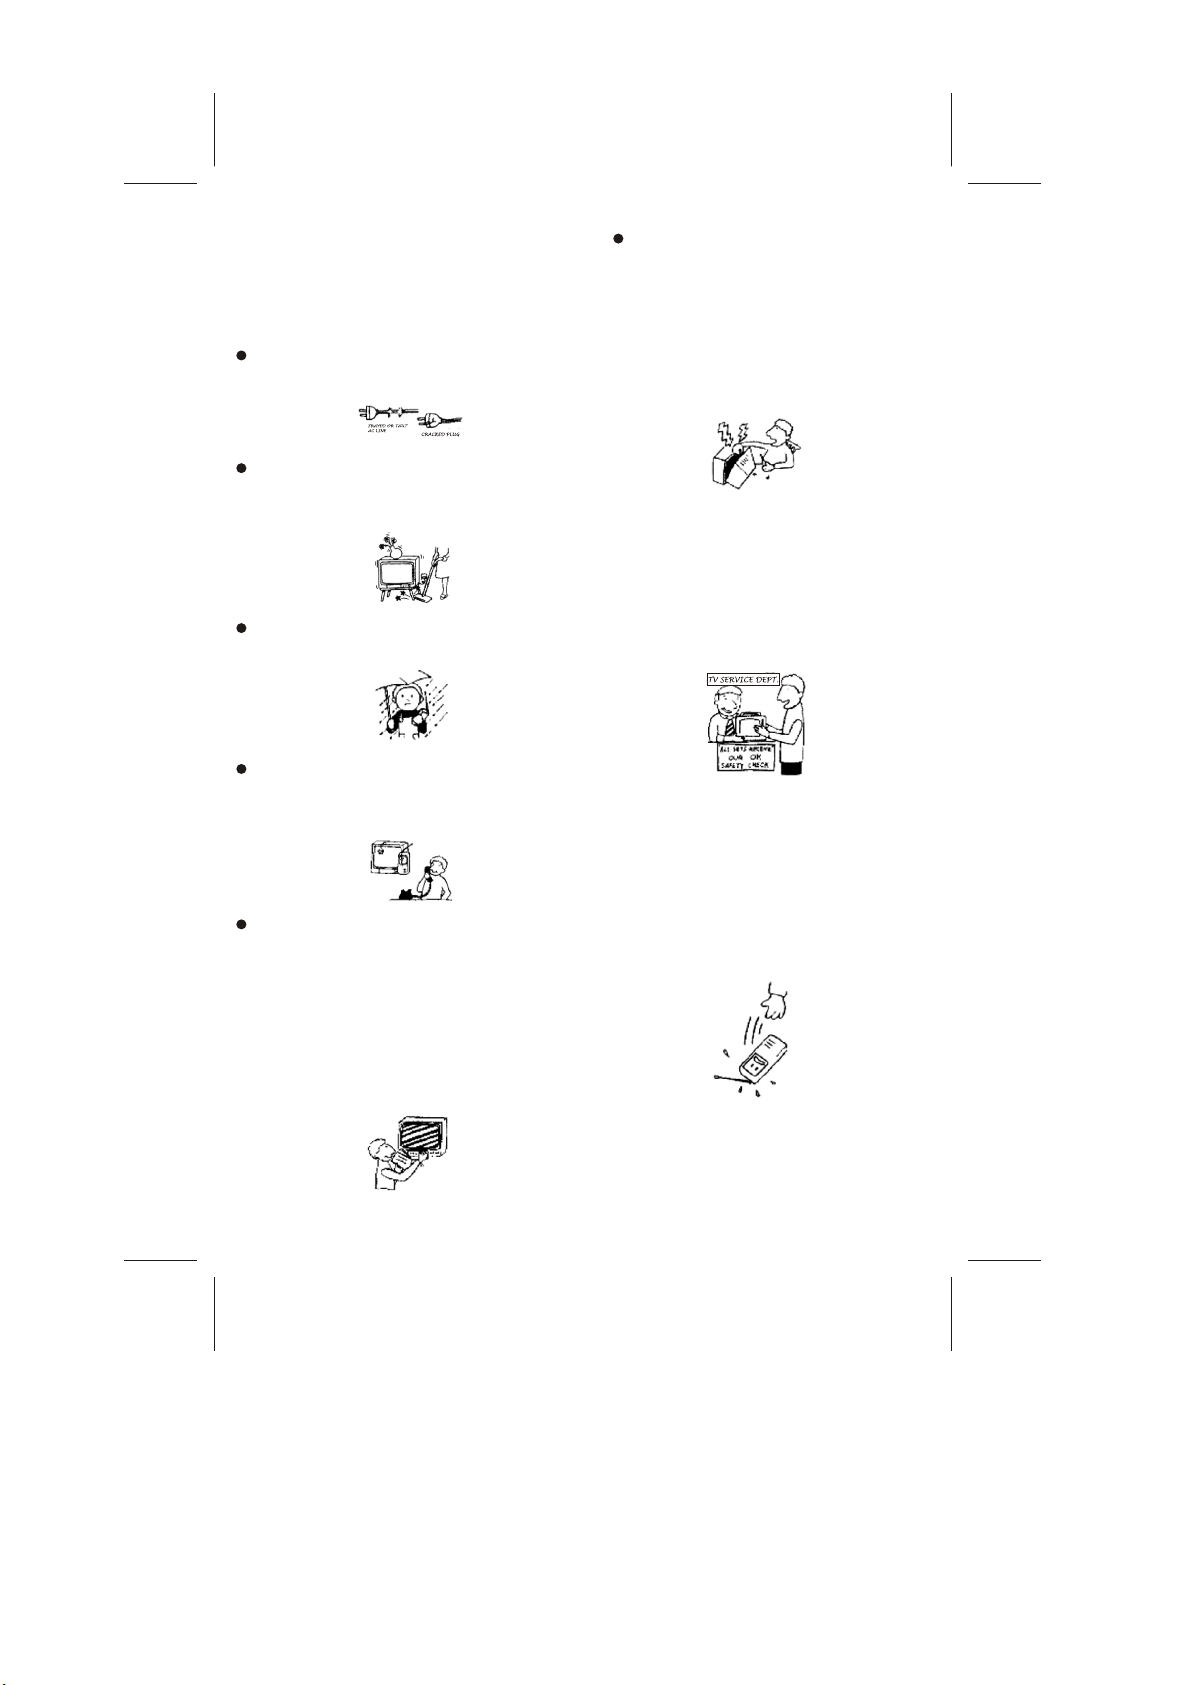
If a snapping or popping sound from a TV set is
continuous or frequent while the TV is operating
,unplug the TV and consult your dealer or service
technician .IT is normal for some TV sets to make
occasional snapping or popping sounds , particularly
when being turned on or off.
Accessories
Use only with the cart , stand , tripod, bracket , or
table specified by the manufacturer , or sold with
the apparatus . When a cart is used , use caution
when moving the cart/apparatus combination to
avoid injury from tip-over.
Power-Cord Protection
Protect the power cord from being walked on or
pinched particularly at plugs, convenience receptacles,
and the point where they exit from the apparatus.
-5-
Alternate Warning
For the set with a three-wire
grounding type AC plug
This plug will only fit into a grounding-type power
outlet .This is a safety feature. If you are unable to
insert the plug into the outlet, contact your electrician
to have a suitable outlet installed. Do not defeat the
safety purpose of the grounding plug.
Object and Liquid Entry
Never push objects of any kind into the set through
the cabinet slots as they may touch dangerous voltage
points or short out parts that could result in a fire or
electric shock .Never spill liquid of any kind on the set .
Unplug this apparatus during lightning storms or
when unused for long periods of time.
Refer all servicing to qualified service personnel.
Servicing is required when the apparatus has
been damaged in any way , such as power-supply
cord or plug is damaged, liquid has been spilled or
objects have fallen into the apparatus , the
apparatus has been exposed to rain or moisture ,
does not operate normally , or has been dropped.
Overloading
Do not overload wall outlets, extension cords or
convenience receptacles beyond their capacity ,
since this can result in fire or electric shock.
Always turn the set off when it is not to be used.
When the set is left unattended and unused for
long periods of time, unplug it from the wall outlet
as a precaution against the possibility of an
internal malfunction that could create a fire hazard.
Attachments
Only use attachments/accessories specified by the
manufacturer.

Grounding or Polarization
This set may be equipped with a polarized alternating current line plug (a plug having one blade wider than
other ). This plug will fit into the power outlet only one way .This is a safety feature, If you are unable to insert
the plug fully into the outlet , try reversing the plug .If the plug should still fail to fit , contact you electrician to
replace your obsolete outlet .Do not defeat the safety purpose of the polarized plug.
Antennas
Outdoor Antenna Grounding
If an outdoor antenna is installed , follow the precautions below. An outdoor antenna system should not be
located in the vicinity of overhead power lines or other electric light or power circuits , or where it can come in
contact with such power lines or circuits .
WHEN INSTALLING AN OUTDOOR ANTENNA SYSTEM , EXTREME CARE SHOULD BE
TAKEN TO KEEP FROM CONTACTING SUCH POWER LINES OR CIRCUITS AS CONTACT
WITH THEM IS ALMOST INVARIABLY FATAL .
Be sure the antenna system is grounded so as to provide some protection against voltage surges and built-up
static charges .Section 810 of the National Electrical Code (NEC)in USA and Section 54 of th Canadian
Electrical Code in Canada provides information with respect to proper grounding of the mast and supporting
structure , grounding of the lead-in wire to an antenna discharge unit ,size of grounding conductors , location of
antenna discharge unit , connection to grounding electrodes , and requirements for the grounding electrode.
Antenna Grounding According to the NEC
Refer to section 54-300 of Canada Electrical Code for Antenna Grounding .
For added protection for this television receiver during a lightning storm , or when it is left unattended and
unused for long periods of time , unplug it from the wall outlet and disconnect the antenna. This will prevent
damage to the receiver due to lightning and power-line surges .
Lightning
GROUNDING CONDUCTORS
(NEC SECTION 810-21)
ANTENNA DISCHARGE
(NEC SECTION 810-20)
ANTENNA LEAD
IN WIRE
GROUND
CLAMP
ELECTRIC
SERVICE
EQUIPMENT
GROUND CLAMPS
POWER SERVICE GROUNDING
ELECTRODE SYSTEM
(NEC ART 250. PART H)
NEC - NATIONAL ELECTRIC CODE
-6-

Service
Damage Requiring Service
Unplug the set from the wall outlet and refer servicing
to qualified service personnel under the following
conditions:
When the power cord or plug is
damaged or frayed.
If liquid has been spilled into the set
or objects have fallen into the
product.
If the set has been exposed to rain or
water.
If the set has been subject to
excessive shock by being dropped,
or the cabinet has been damaged.
If the set does not operate normally
when following the operating
instructions . Adjust only those
controls that are specified in the
operating instructions. Improper
adjustment of other controls may
result in damage and will often
require extensive work by a qualified
technician to restore the set to
normal operation.
When the set exhibits a distinct
change in performance ----this
indicates a need for service.
Servicing
Do not attempt to service the set yourself since
opening the cabinet may expose you to
dangerous voltage or other hazards. Refer all
servicing qualified service personnel.
Replacement Parts
When replacement parts are required , be sure
the service technician certifies in writing that he
has used replacement parts specified by the
manufacturer that have the same characteristics
as the original parts. Unauthorized substitutions
may result in fire , electric shock , or other hazards.
Safety Check
Upon completion of any service or repairs to the
set , ask the service technician to perform routine
safety checks (as specified by the manufacturer)to
determine that the set is in safe operating
condition, and to so certify .When the set reaches
the end of its useful life, improper disposal could
result in a picture tube implosion. Ask a qualified
service technician to dispose of the set.
-7-

-8-
RADIO FREQUENCY INTERFERENCE STATEMENT
This equipment has been tested and found to comply with the limits for a Class B digital device , pursuant to
Part 15 of the FCC rules .These limits are designed to provide reasonable protection against harmful
interference in a residential installation. This equipment generates , uses and can radiate radio frequency
energy and if not installed and used in accordance with the instructions , may cause harmful interference to
radio communications .However , there is no guarantee that interference will not occur in a particular installation.
If this equipment does cause harmful interference to radio or television reception, which can be determined by
turning the equipment off and on , the user is encouraged to try correct the interference by one or more of the
following measures:
- Reorient the receiving antenna.
- Increase the separation between the equipment and receiver.
- Connect the equipment into and outlet on a circuit different from that to which the receiver is connected.
- Consult the dealer or an experienced radio /TV technician for help.
Any special accessories needed for compliance must be specified in the instruction manual .
Warning : A shielded-type power cord is required in order to meet FCC emission limits and also to prevent
interference to the nearby radio and television reception . It is essential that only the supplied power cord be
used .
Use only shielded cables to connect I/O devices to this equipment .
You are cautioned that changes or modifications not expressly approved by the party responsible for
compliance could void your authority to operate the equipment.
Federal Communications Commission (FCC) Statement

-1-
MANUAL OF CONTENTS
CHAPTER 1 : --------------------------------------------------------------------------------10
CHAPTER 2 : -------------------------------------------------------11
CHAPTER 3 : ------------------------------------------------------------12-13
CHAPTER 4 : -----------------------------------------------------14-17
CHAPTER 5 : --------------------------------------------------------------------------------- 18
CHAPTER 6 : -------------------------------------------------------------------------------19
APPEARANCE
TURN ON THE TV AND SETUP
DESCRIPTION OF MENU
DESCRIPTION OF REMOTER
SERVICE TIPS
SPECIFICATION
-9-

-10-
CONTROL LOCATION
1. Remote Sensor
2. Power Indicator
3. Main Switch
4. Speakers
5. Program Down & Up Button
6. Volume Down & Up Button
7. Menu Button
8. AV/TV Button
9. Front AV In (Option)
10. Audio/Video - In/Out Jack
11. AC Power Cord
12. Terminal Antenna (75 Ohm)
3
21
5 86 74 9 4
10
12
11
CHAPTER 1 :CHAPTER 1 :
(STEREO)
(MONO)

-11-
INPUT AND OUTPUT TERMINALS
VIDEO AND AUDIO INPUT/OUTPUT TERMINALS
1. Video / Audio input for playback for VCR.
2. Video / Audio output for TV monitor output.
*Please keep AC cord unplugged when connecting TV system.
R R
LL
VIDEOVIDEO AUDIOAUDIO
AV-IN
AV-OUT
CHAPTER 2 :CHAPTER 2 :
NOTE:
This is a mono CTV even though there are R & L audio input & output jack. These audio R/L
input terminals are parallel connected inside and make mixed monaural sound output .There
are same monaural audio output come from R/L output terminals.
OUT IN
VIDEO VIDEOAUDIO AUDIO
(STEREO)
(MONO)

-12-
OPERATION INSTRUCTIONS
Video Menu Time Menu Setup Menu Exit Menu
1.Enter the video menu , you can select the picture quality instantly among four
preset modes and one user-set mode.
(user-set mode)
Custom Standard Sports Movies Mild
*You can adjust CONTRAST ,BRIGHT , SHARPNESS , COLOR and TINT items
by pressing the VOL. +/- buttons . The adjusted level is stored in Custom
mode.
Turn the TV set on, then power indicator will light up. After a few seconds , the currently program number
is displayed on the top right -hand corner of the screen.
MENU BUTTON
1.Press this button to select menu. VIDEO, TIME, and SETUP menu can be selected cyclically.
2.After enters each menu, you can select the desired adjusting item by the PROG.+/- buttons, and
adjust the item by the VOL. +/- buttons.
*When you select a item, symbols¡° / ¡±will display both sides of the item.
Video menu
Video
Time
Setup
Custom
Contrast
Bright
Sharpness
Color
Tint
16
16
16
16
-15
Video
Time
Setup
Clock
Timer
TV On
TV Off
Off
--:--
--:--
--:--
Time menu
1.CLOCK:
Press the VOL .- button to set hour, and the VOL.+ button set minute .
2.TIMER£º
When you select the "Timer ON" mode, you can set the time of TV ON or
TV OFF.
*TV On: The TV will automatically turn on at the preset time.
TV Off: The TV will automatically turn off at the preset time.
Video
ST
SAP
Mono
On
Audio menu(option)
1.ST:
Press the VOL .+/-buttons can select the stereo mode , the order shown
below:
Mono Spatial Linear Psuedo
2.SAP:
You can adjust the SAP ON to SAP OFF by the VOL+/-buttons ,.
You can use the Second Audio Program when you select the SAP ON .
3.BALANCE:
Press the VOL+/-buttons can adjust the left or right volume balance .
* The MTS/SAP function is only an option for some models.
Audio
Time
Setup
Balance 00
Audio Menu
Audio
Audio
CHAPTER 3 :CHAPTER 3 :
(Option)

-13-
OPERATION INSTRUCTIONS
1.SYSTEM
you can switch two signals :CABLE and ANTENNA .
2. CHANNEL
Select the cable signal ,there are 01~125 channels
Select the antenna signal , there are 02~69 channels .
3.SKIP
Select "Skip ON" by VOL.+/- Buttons to skip unnecessary program number.
4.AUTO SEARCH
Press VOL.+/-buttons to start auto searching.
5.FINE TUNE
In areas of inferior broadcast conditions where adjustment is necessary for a
better picture, adjust the tuning with the Fine Tune item.
PRESET MENU , CCD MENU AND V-CHIP MENU
Preset
System
Channel
Skip
Auto Search
Fine Tune
Antenna
03
Off
Closed
Caption
Mode
Channel
Field
Off
Capt.
1
Caption
1
CCD MENU
PRESET MENU
1.CAPTION
Set the caption OFF or ON .
2.MODE
Select the caption mode or teletext mode .
3.CHANNEL
Select channel 1 or channel 2 .
4.FIELD
Select field 1 or field 2 .
V-Chip
Input Pwd
V-CHIP MENU
Input the password¡°9999 ¡±to call up V-Chip, MPAA and TVPG item.
V-Chip
V-Chip On
MPAA PG
TVPG TV-14
1.V-CHIP
Set the V-Chip OFF or ON .
2.MPAA movie rating
Select the type of program
3.TVPG(TV Parental Guidelines)
Parents can guide their children watching some programmes by the item.
1.After enters the setup menu, you press the PROG+/-buttons to select
PRESET MENU, CCD MENU and V-CHIP MENU.
2.Select the Language item by the PROG+/-buttons, and press the VOL.+/-
buttons to select the desired language . The screen menu is automatically
displayed in that language.
The order shown below:
English Espanol Portugues
Setup menu
Video
Time
Setup
Preset
Captain
V-Chip
Language
Audio
CHAPTER 3 :CHAPTER 3 :
Content-V B
Content-S B
Content-L B
Content-D B

-14-
LOCATION OF CONTROL (REMOTE HANDSET UNIT)
G
O
R
P
V
OL
+
+
-
-
1
5
2
6
9
3
4
8
7
0
SCAN
LOCK
MENU A.V.
Q.
VIEW
P.P.
T.Q.
VIEW
POWER (STAND BY) BUTTON ( )
Press this button to turn the TV on/off.
PROGRAM SELECTION BUTTONS (0-9, --/---)
Use 0-9 digit buttons ,you can call directly one or two digits program number that you want. when you only
want to select one digit program number ,you must press 0 button at first , then to select a digit from 1-9 .You
press two digit buttons directly to select two digits program number.
Press ¡°--/--- ¡±key to display the symbol¡°1_ _¡±on the screen , then select two digits from 00~25. You
can get three digit program number.
SCAN BUTTON
Press this button , you can automatically browse the every channels which you have .
MUTE BUTTON ( )
Press once to mute the sound, press again to return to previously set sound level.
PROGRAM UP/DOWN BUTTON (PROG +/-)
Press the Program Up Button to select the program forwards.
Press the Program Down Button to select the program backwards.
--/---
PRESET LANGUAGE
V-CHIP CCD
CHAPTER 4 :CHAPTER 4 :

-15-
LOCATION OF CONTROL (REMOTE HANDSET UNIT)
SLEEP BUTTON ( )
This key is used to set the sleep timer in 10 minutes step up to four hours. Before the 30 minutes ,the
interval is 10 minutes .After the 30 minutes ,the interval is 30 minutes . When the preset time runs to 0. TV
set will go into stand by mode. To switch off this function, press this key step by step until "sleep off" is
displayed on the screen.
A.V. BUTTON
Press this button to display external video signal such as VCR or CD video player. AV will be displayed on
the screen. Press this button again to switch back to TV signal from AV.
MENU BUTTON (MENU)
Use "MENU" button for tuning procedure, please refer to page 12-13 for the details.
RECALL BUTTON ( )
Press this button sequentially to call up the program number and time on the screen.
* If you do not set the time, " --:--" will display on the screen .
QUICK VIEW BUTTON (Q.VIEW)
Press this button to return to the previously viewed program.
VOLUME UP/DOWN BUTTONS (VOL+/-)
Press Volume Up/Down Buttons to adjust sound level.
PERSONAL PRESETS BUTTON (P.P.)
You can select STANDARD , SPORTS , MOVIES , MILD and CUSTOM by pressing this button.
CCD BUTTON
Press this button you can enter the CCD MENU
Please read the page13 for the details .
LANGUAGE BUTTON
Press the button the language will be change.
There are three languages to select ,that is English ,Espanol and Portugues .
PRESET BUTTON
Press this button you can enter the PRESET MENU, please refer to page 13 for the details.
T.Q.VIEW BUTTON
This key is used to set the time of returning previously channel in thirty seconds step up to five minutes.
The interval is thirty seconds . TV automatically return to the previously channel at the preset time.
CHAPTER 4 :CHAPTER 4 :
TV AV1(Rear input) AV2(Front AV)(option)

-16-
LOCATION OF CONTROL (REMOTE HANDSET UNIT)
LOCK BUTTON
Press the "LOCK" button ,The key locked ( ) is displayed on the screen. Then the symbol will
disappear after five seconds and enter child locked mode. You can't use any key on the TV set.
*You can cancel this mode by pressing the 'LOCK" button again.
*The locked key for control or prevent your children from watching the program.
CHAPTER 4 :CHAPTER 4 :
V-CHIP BUTTON
Press the button you can enter the V-CHIP MENU, please refer to page 13 for the details.
The V-chip is a standard for placing program-rating information on a television program, so that parents
can choose to filter what their children see.
1. Input the password 9999 to call up V-Chip, MPAA and TVPG item.
2.You can select the V-Chip OFF or ON.
3.MPAA(ratings for movies)
You can select MPAA (N/A, G , PG, PG-13 , R , NC-17 , and X).
4.TVPG(Parental Guidelines)
You can select age-based.
TVPG (None, TV-Y , TV-Y7 , TV-G , TV-PG , PG-14 , TV-MA Content).
According to above the selection, you can also select following contents,
Content-FV B/U(Fantagy Violence)
Content V B/U (Violence)
Content S B/U (Sexual situations)
Content L B/U (Strong language)
Content D B/U (Suggestive dialog)
You can select block" B" or unblock" U "by +/- keys.

BATTERY INSTALLATION (REMOTE CONTROL UNIT)
THE CAUSES OF INTERFERENCE
Incorporated in your TV receiver are the most up-
to-date devices to eliminate interference. Local
radiation however, can create disturbances which
visibly affect your picture. Proper installation, a
good aerial are your best safe-guards against
these disturbances.
RF INTERFERENCE
Moving ripples across the screen are caused by
nearby transmitting or receiving-short-wave radio
equipment.
DIATHERMY
Herringbone pattern and partial picture loss can
result from the operation of diathermy equipment
from a nearby doctor's surgery or hospital.
SNOW
Weak TV signals from long distant stations result
in an instead picture and give the effect of falling
snow. An antenna adjustment or antenna
amplifier may be needed.
GHOST
Multiple image caused by TV signals reflected
back from surrounding buildings, hills, aircraft, etc.
is minimized by correct aerial positioning.
CAR IGNITION
Nearby cars and electrical motors can cause small
-17
1. Remove the battery cover.
2. Insert the 2 UM3-AA 1.5V batteries making sure the polarity (+ or -) of the batteries matches the polarity
marks inside the unit.
3. Replace the battery cover.
Replace with new batteries when the TV set begins to show the following symptoms:
Operation is unsteady or erratic. Sometimes the TV set does not function with Remote Control
Unit.
Remark:
1) Alkaline Batterie Recommended
2) Remove batteries when they are exhausted or if the remote control is not to be used for a long time.
CHAPTER 4 :CHAPTER 4 :

-18-
SERVICE TIPS
BEFORE CALLING FOR SERVICE, HAVE YOU
CHECKED ( ) THE FOLLOWING CHART
ON SYMPTOMS AND SOLUTIONS?
No picture, no sound
Poor sound, picture OK
Poor picture, sound OK
Weak picture
Blurred picture
Double image
Lines in picture
Distorted picture
Weak reception on some channels
Horizontal bars
Picture rolls vertically
Poor colour
No colour
Misoperation of Remote control
No Remote control
On Screen Display Control outside the screen
Try different channel,if OK, probably stationtrouble
Check aerialconnections on back ofset
Check aerialfor broken wires
Re-orient aerial (ifindoor type)
Probably localinterference,suchas an appliance
Adjust fine tuning control
Adjust brightness control
Adjust contrastcontrol
Check ifstation is broadcasting colour
Adjust colour control
Check ifsystemswitchis correct
Checkifon/offswitchis "on"
CheckBatteriesinRemote control
Solution
Symptoms
CHAPTER 5 :CHAPTER 5 :

-1-
SPECIFICATIONS
Receiving System : M
Colour System :
Picture Tube : 20 inch screen
Ext. Antenna : 75 Ohm Coaxial Cable
Ext. In/Out :
Speaker : (8 Ohm) x 2
Audio Output : Maximum 3W
Power Consumption : AC 120V 60Hz, 84W
Dimension :
Net Weight : 22.8 Kg/50.26lbs
REMOTE CONTROL
Transmitting System : Infrared
Power Supply : DC 3V (1.5 x 2)
Dimension : 60(W) x 200(L) x 24(D)mm/
2.4
Net Weight : 100 g(approx)/0.22lbs
NTSC
Audio/video -in/out
525(W) x 510(D) x 464(H)mm/
20.7(W) x 20.1(D) x 18.3(H)inch
(W) x 7.9(L) x 0.9(D)inch
SANYO Sales & Marketing Corporation
0745-21NZM0-06
CHAPTER 6 :CHAPTER 6 :
-19-

-1--20-
Other manuals for PC-R20R2
1
Table of contents
Other Fisher CRT TV manuals