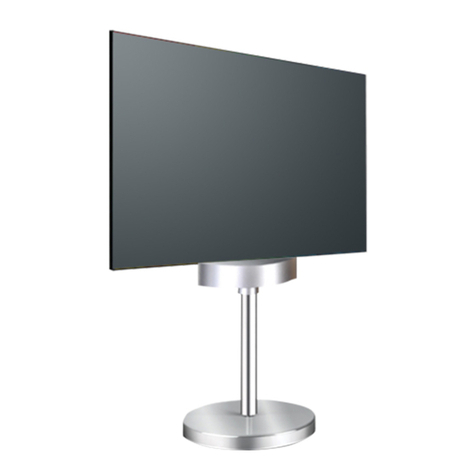
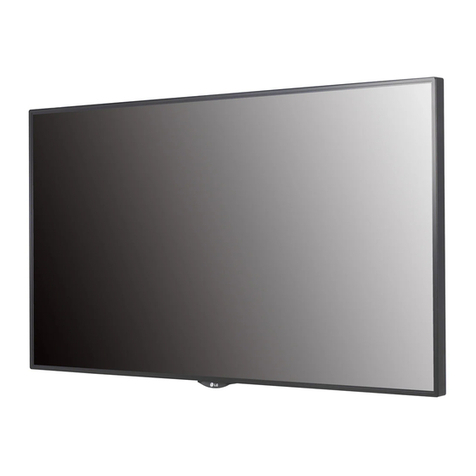
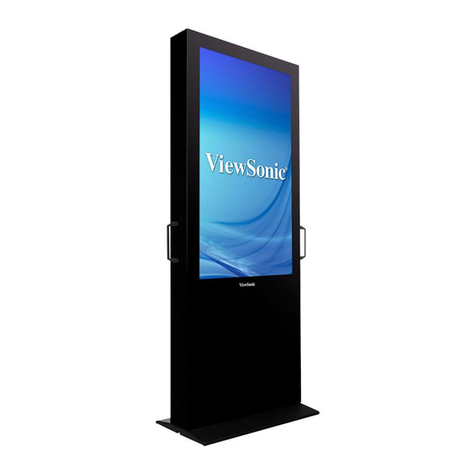
Flash Media M FUH Series User manual

User Manual
Digital Signage Menu Board
M**FUH

Safety instructions:
In order to ensure the reliable use of the equipment and the safety of
personnel, please comply with the following during installation, use and
maintenance:
System grounding: The system must have perfect grounding. Otherwise,
not only signal interference, instability or mechanical damage, but also
personal accidents may be caused by leakage.
>It is prohibited to change or add any parts to the mechanical and
electrical design of this product. Otherwise, the manufacturer is not
responsible for the harmful results.
>Do not use two-core plug to ensure that the input power supply of the
equipment is AC100-240V 50/60Hz.
>There are 220V high voltage components in the machine. Do not open
the housing without authorization to avoid the danger of electric shock.
Do not place the system equipment in an over-cooled or overheated place.
>The power supply of the equipment will heat up while working, so it is
necessary to keep the working environment well ventilated so as not to
damage the machine because of the high temperature.
>When rainy and humid weather or not in use for a long time, the power
switch of the equipment should be turned off.
>Be sure to unplug the AC power cord of the device from the AC power
outlet before removing or re-installing any parts of the device. Disconnect
or reconnect any electrical plugs or other connections to the equipment.
>Non-professionals without permission, please do not try to open the
equipment chassis, do not repair privately, so as to avoid accidents or
aggravate the damage to the equipment.
>Do not sprinkle any chemicals or liquids on or near the equipment.

1
CONTENTS
:
Digital Signage Menu Board.................................................................................................01
1
:
Introduction........................................................................................................... 02
1.1.
Product Introduction................................................................................ 02
1.2.
Product Structure......................................................................................02
2
:
Installation............................................................................................................. 03
2.1.
Product unboxing..................................................................................... 03
2.2.
Installation Guide.
.................................................................................... 03
2.2.1.
Wall Mount..............................................................................................04
3
:
User Guide................................................................................................................. 05
3.1.
Power on
....................................................................................................... 05
3.2.
Remote Control.............................................................................................. 05
4
:
OSD Menu
......................................................................................................... 06
4.1.
System Setting.......................................................................................... 06
4.2.
System Management................................................................................10
4.3.
Network Setting......................................................................................... 13
4.4.
Date and Time............................................................................................17
4.5.
Timing Power on/off
..................................................................................20
4.6.
Timer Strategy
.......................................................................................... 21
4.7.
File Management.......................................................................................23
4.8.
Single (Stand-alone) publishing
................................................................23
5
:
Safety and Maintenance....................................................................................... 25
6
:
Service Policy........................................................................................................26

2
WIFI 3G/4G
VGA AUDIO IN USB
US
B
LAN HDMI
AC
SWICH
AC
IN
I. Overview
1.1 Product Introduction
Digital signage adopts LG original IPS commercial panel, 450 cd/㎡, the wider
color range and high restoration showing professional image quality in any
lighting environment. Anti- spot tech ensures a long- term well performance
without black spot. Built- in GTV publishing system makes multi- terminals
remote control comes true. The intelligent power on & off function save more
cost for you. Reliable and high compatibility, the product is widely applied in
shopping malls, supermarkets, commercial chains, convenience stores,
restaurants and so on.
1.2 Product Structure
Front View Side view Back view
Port Introduction:
01
AC IN
02
AC Switch
03
LAN
04
HDMI

3
05
VGA
06
AUDIO IN
07
USB
08
USB
09
WIFI
10 3G/4G

4
II. Installation
2.1 Product unboxing
Due to the large size and heavy weight, we suggest at least two people in handling. Since the
display panel is fragile and easily scratched, please handle it gently. Do not place the
product face down without a protective pad.
After unpacking, check that the carton contains the following items:
2.1 Installation Notes
Avoid installing the product in kitchens, bathrooms or any other places with high
humidity. The manufacturer have no liability for installations performed by non-
professionals. You can save the box and packing materials for shipping the monitor at a later
date.
Panel *1
Warranty
card *1
Power
line *1
Quick Start
Guide *1
remote
control *1
Safety and
Environmental
Precautions *1
Certificate *1
产品合格证
AAA battery *2
WIFI antenna *1
快速启动指南

5
2.1.1
wall mounting
The installation instructions are for reference only (the picture below is a schematic diagram of the
43-inch product wall hanging):
Choose a suitable location on the wall, determine the installation hole position, install the hanging
board on the wall, pay attention to the level of equipment(when using the wall hanging board on
the wooden wall, it should be noted that the thickness of the wooden wall is at least 3 cm, and the
load-bearing capacity is 100 kg).
The digital signage advertising machine is fixed with a hook on the back of the
machine.
Hang the digital signage with the hook fixed on the wall-mounted plate, and tighten
the safety screws.
Step 2
Step 3
400x200
Concrete wall
Drilling depth
about 50mm
Level
gauge
Wall
Wall
Tighten the security screw

6
Section 3 User Guide
3.1
Turn on the power
When the machine is connected with power supply, turn on the power switch key to light up the
machine for use. (The above is a schematic diagram of the power interface of the 43-inch
product for reference)
3.2
Remote control introduction
For the convenience of use, most of the operations on the device can be completed through the
remote control, and the functions of each button are as follows:
Button
Power
MENU
SETU
P
SOUR
CE
HD
M
I
VGA
YPbPr
Function
Power on/off
Open display driver menu
Open OSD menu settings
Turn on the signal source setting menu
Program: confirmselection
move cursor up
move cursor down
move cursor left
move cursor right
last show
next show
Stop the show and go back
Main interface mute
Volume up
Volumn down
Select HDMI as the source
Select VGA as the signal source
Select YPbPr as source
This machine does not support this function
Power connector Power switch key
Note: Only by pressing the SETUP key on the main interface of the system can the
OSD menu be called out

7
Section 4 OSD menu function introduction
By default, the main interface of the digital signage is entered as follows:
Current playback status information are displayed on the top left, time and date are displayed
on the top right.
These information is displayed from left to right at the bottom of the page(Including apk
version information, firmware version information, IP information, local storage information,
etc.)
The working mode defaults to wired mode.
4.1
Basic Settings
Press the SETUP key to bring up the OSD main menu, as shown in the figure below. It is divided into basic setting and
advanced setting, and the basic setting module is displayed by default

8
4.1.1
screen rotation
On this page, move the cursor to the [Screen Rotation] menu, press the left and right
keys to select the screen mode, and press the OK key to adjust the screen display direction,
which must be consistent with the actual display mode.
4.1.2
Working mode
Move the cursor to the 【Working Mode】menu, the terminal platform can work in
stand-alone or networked conditions. Press the left and right keys to select the working mode,
and press the confirmation key to adjust the working mode.

9
Note: In different working modes, the content that can be set in the OSD menu will
be different
Stand-alone: The terminal is not connected to the Internet and runs on a stand-alone,
and does not support network-related functions and settings.
Wired network: The terminal is connected to a wired LAN, supports wired
network related functions and settings, does not support "WIFI settings" and "3G settings".
Wireless network: The terminal is connected to a wireless WIFI LAN, and supports
network-related functions and settings.

10
4.1.3
Server Settings
Here you can choose the connection mode between the terminal system and the server
platform, and set related parameters. When the server platform management software is
different, the "Server Settings" interface has different settings. The server platform
management software can be selected in [Advanced Settings > Management Software].
When the management software is GTV, the server settings are as shown above.
Server connection methods are divided into: IP mode and domain name mode. In
IP mode, you need to enter the server address and port number; in domain name
mode, you need to enter the server domain name and port number.
4.1.4
Date and time
In the main menu bar, move the cursor to 【Date and Time】, and enter the following interface to set the system
date and time.
Note: When the terminal works in stand-alone mode, there is no synchronization related function here.

11
Set date::
Select the [Time Setting] module and press the OK key to enter the time setting interface.
Move the cursor to the date display box and press the enter key to open the date adjustment
panel. Press the "+/-" button to adjust the date, after the adjustment is completed, press 【OK】
to save
.
Set time
Move the cursor to the time display box and press the enter key to open the time

12
adjustment panel. Press the "+/-" button to adjust the time, after the adjustment is completed,
press 【OK】to save.
set time zone
Move the cursor to the time zone option and press the enter key to open the time zone
selection panel. Use the up and down arrow keys to select the time zone where the terminal is
located.
Synchronize network time after power on:

13
When this function is enabled, the system of server execute the time synchronization
function after starting up, and automatically synchronize the server’s time to the terminal;
otherwise, the network time will not be synchronized after starting up.
Synchronize network time immediately:
Move the cursor to "Synchronize Network Time Now", press the OK button, and the
system will start to synchronize network time. After the synchronization is successful, a
prompt will be given. At this time, the server time is synchronized to the terminal, and the
terminal displays the same time as the server.
Note: Before synchronizing the network time, please select the time zone first. The
time after synchronization is correct only if the time zone is correctly selected first.
4.1.5
System Settings
Here you can set whether to display IP information on the main control interface.
Open: The main interface displays IP information.
Off: The main interface does not display IP information.
4.2
Advanced Settings
On the main interface of the OSD menu, use the right arrow button on the remote control to
select [Advanced Settings] to enter the advanced settings interface.
4.2.1
System Settings
Move the cursor to the [System Settings] menu to enter the “System Settings” interface.

14
Real-time clock display: The terminal interface can choose whether to display the
current time, here you can set the display position of the real-time clock.
Upper Left/Bottom Left/Upper Right/Bottom Right: Display the real-time clock on the upper
left, lower left, upper right or lower right of the screen. Off: The terminal screen does not
display the real-time clock.
Screen display language: move the cursor to the screen display language to select
the system language mode, support: Chinese, English, Japanese, Polish, Spanish.

15
Machine ID: The system supports modifying the ID of the host.
Play log: Set whether to enable the play log function. After enabling, the terminal
system will record the broadcasting status of the program and upload it to the
server platform.
U disk: enable or disable the terminal USB interface. After disabled, the USB
interface of the terminal will not support the connection of USB devices.
Scrolling subtitle setting: Here you can set whether the terminal screen supports
displaying scrolling subtitles.

16
Off: Scrolling subtitles are not supported, and scrolling subtitles will never be
displayed on the screen.
Always On: Support scrolling subtitles, the system will automatically play the
scrolling subtitles according to the actual situation of the playlist. If the
playlist contains scrolling words subtitles are displayed; otherwise, no subtitles are
displayed.
Touch assistive tools: Here you can set whether to display touch assistive tools on
the terminal screen.
Off: The assistive touch tool is not displayed on the screen. To call up the tool,
tap twice on the upper left corner and double tap on the lower left corner of the screen.
Always On: The touch assistive tool is displayed in the upper left corner of the
screen.
Storage: Set the storage address of the program to be played. In different working
modes, the optional memory is different.
In stand-alone mode, there are two types of built-in memory and U disk.
Restore factory settings: Select [Restore factory settings], and the following prompt
will appear on the interface. Select [OK], all "system settings" parameters will be
restored to factory settings; select [Cancel], then no change.

17

18
4.2.2
Timed switch machine
The system supports setting timer switch. Two modes are supported: daily mode and
weekly mode.
Daily Mode: After setting, the system will start or shut down at the set time every
day. For example: it can be set to turn on at 8:00 every morning and turn off at
22:00 in the evening.
Table of contents


