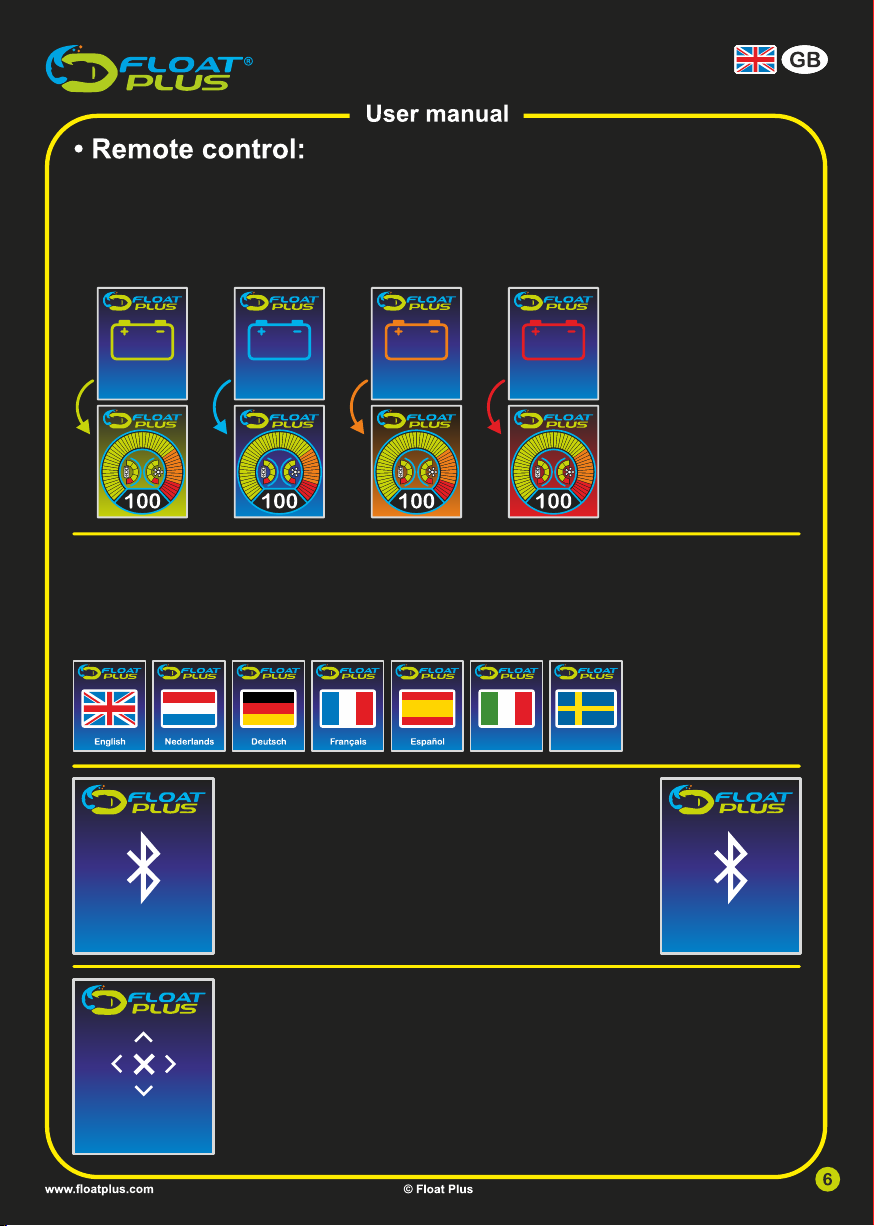
Language selection:
When you open the Setting menu for the first time, you will see a screen in which you can select your preferred
language. You can select your language by turning the rotary knob. To confirm your language selection, press
the push button once.
From now on, the flag of the country of your language selection will appear when you enter the Setting menu. If
you want to change your preferred language, you select ’Reset language’.
Battery choice:
You can select the battery by turning the control knob in the settings menu. Press the push button once to
confirm your battery choice. Your battery choice icon will now appear when you open the settings menu. If
you want to change your battery later, you can do this by selecting a different battery. The background
colour of the main screen changes after you select the battery.
Li-Ion Accu
12,6V 20Ah
Li-Ion
Li-Ion Accu
12,6V 42Ah
Li-Ion
Li-Ion Accu
16,8V 31Ah
Li-Ion
Pb-Accu
12 Volt
PB
Italia Sverige
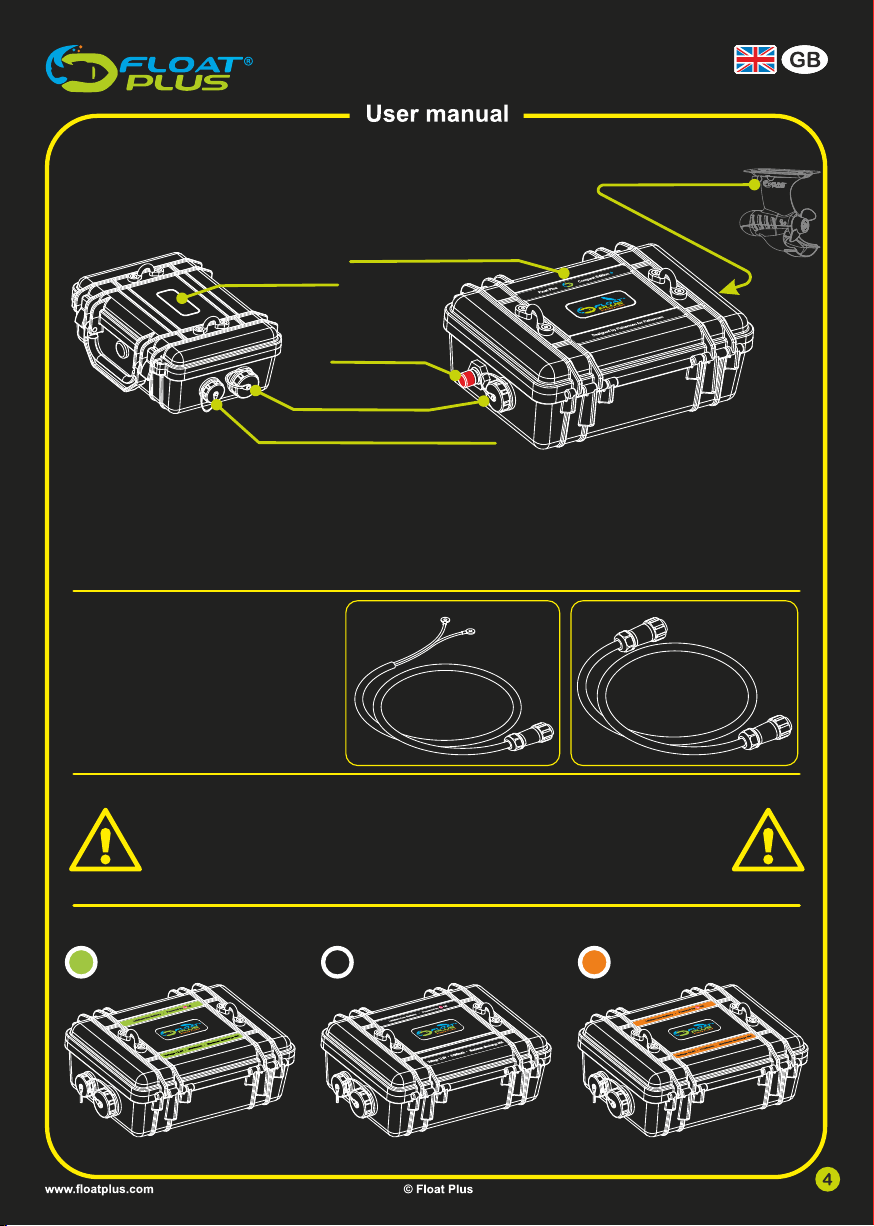
Bluetooth:
The remote control works with a Bluetooth connection.
The Bluetooth connection is standard connected with the system.
In the Settings menu it is possible to connect a different remote to
the system. At first the BT sign will show, check if the system is
connected to a power source (battery), then push once on the
white push button. The remote will start to search the BT signal. As
soon as the system is found, a unique connection number will
appear under the BT sign. Press again on the white push button
and the connection will be made.
Calibrate magnet sensor:
If necessary, it is possible to calibrate the magnet sensor of the rotary knob.
Follow the instructions.
motor numberScanning ...
Calibrate sensor