flyingwings Falcon Eco FPV User manual

FALCON EVO FPV
CRITICAL DATA
Centre of gravity, see “Radio Setup” Page
TARGET FLYING WEIGHT 800 grams
with 2200mah 3S battery
UHU POR
HOT GLUE GUN
CA GLUE
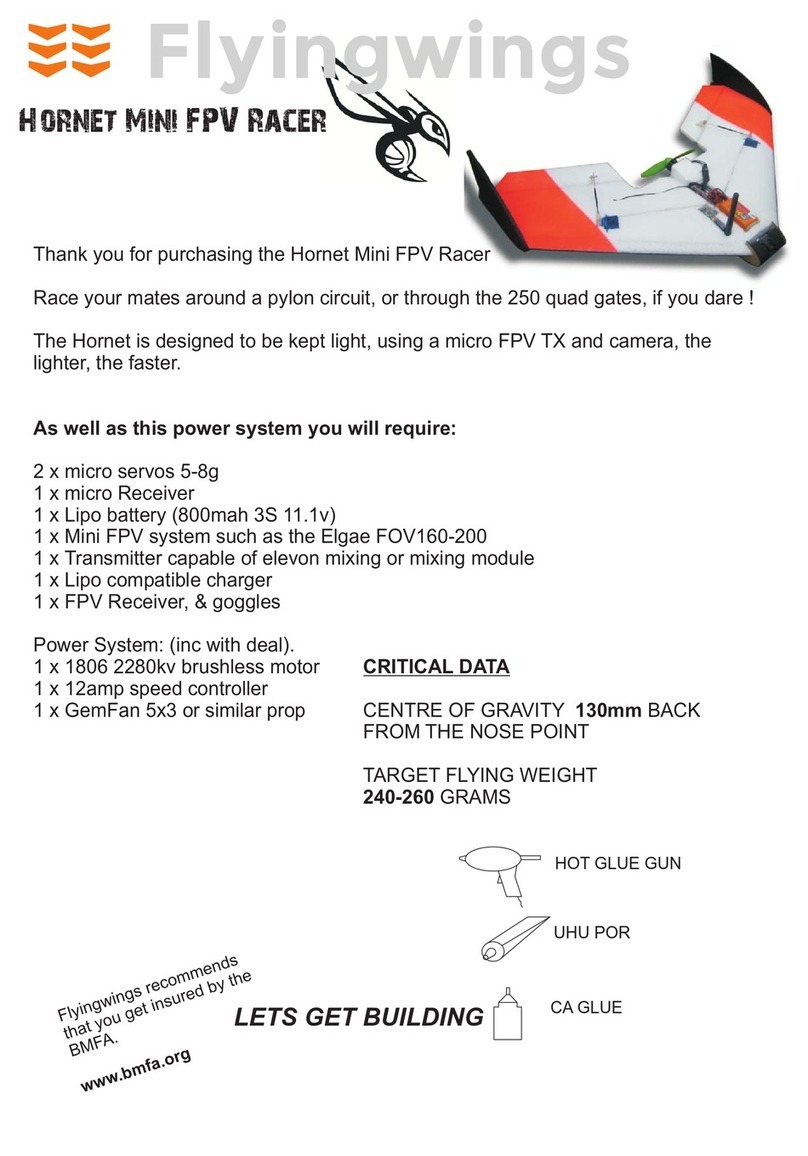
Thank you for purchasing the Falcon EVO FPV wing
The Falcon FPV is designed for First Person Viewing (FPV) and for UAV/Drone
experimentation.
The Falcon Evo comes with a plain “Monkey blunt” from section allowing
modification to fit any camera’s.
There is a power system for this model, see the website for details.
As well as this power system you will require:
2 x Micro size servos Approx 9g
1 x Long range receiver
1 x Lipo battery(s) (2200mah 3S 11.1v or 4000mah 3S Multistar *
1 x connectors set
1 x Transmitter capable of elevon mixing or mixing module
1 x Lipo compatible charger
Power System: (inc with deal).
1 x 2212/6 2200kv or 2212/10 1400kv outrunner
1 x 25-30amp speed controller
v 1.1

STEP 1Fuselage assembly
Glue in the two formers as shown, make sure
they are central, with the tabs proud of the foam
fuselage.
Glue in the two side cheeks as shown, make
sure they are central, with the tabs proud of the
foam fuselage.
Tip ! you can spray paint these side parts now, if
you wish.
On a flat surface, turn the fuselage on its side,
check that the sides fit before gluing. Its best to
use a slow drying glue here.
Check for alignment where arrows are pointing.
Repeat for other side, wait until dry.
STEP
STEP
2
3
MAKE A HANDED PAIR !!!!

Coat one side of the correx plastic belly plate with uhu
por glue. Do the same to the under side of the fuselage
inside the recessed part.
Wait 10-15 mins, and insert the front end first working
your way to the back, glue in the belly plate. Hold in
place with some strapping tape if necessary.
Follow this method and you will be fine, we shall run through the important parts before
gluing anything.
There are 3 Alignment points to consider for each wing panel.
Dry fit (without glue) the wing to the
fuselage and check the 3 alignment
points, do this for both wings
Note: we feel its not necessary to
cover or laminate the fuselage, but
we will leave it to you, now’s the
time to do it.
If you do cover the fuselage,
remove any tape where the wing
attaches to allow a good glue joint.
The rear of the wing top should be at
the same level as the fuselage
Front of the wing panel should slot into
the shape of the side cheeks
The slot cut into the wings should align
with the slot in the fuselage. Don’t
worry if it's a tiny bit out of alignment.
STEP
STEP
4
5Wing joining and alignment - Critical !!!
1
2
3

STEP 6Wing joining and gluing
Centre
62mm 62mm
Measure out the centre of the spar, it should be approx 375mm from one end, then mark out
62mm either side, there no need to be super accurate here.
Lay the fuselage on a flat surface on its side as
shown.
Off the wing to the fuselage and insert the carbon
spar, use the marks you made earlier to check its
central in the fuselage.
A Hot glue gun is useful here but uhu por will work.
Use plenty of glue.
Glue the wing to the fuselage, checking that its
level and at 90 degrees to the fuselage, this can
only be done by eye as the wing tapers.
See below.
Push through the carbon spar into the wing slot and glue
in place, repeat for the other wing, always checking
alignment and level of the wings.
Phew! that’s the hardest part of the whole build :-)
Covering the wing
We strongly recommend that you cover the wing with
either tapes or laminate, we will not go into any detail
in this manual. you can find covering techniques in
our Slipstream or Venturi Sport manual or on
Youtube.
We also suggest that you cover the elevons, so that
we can create a strong hinge, read on for more info
>>>
Carbon Spar
Bench
Front of
fuselage
Glue in wing spar capping strip

Using 25mm strapping tape or cutting 50mm tape
down the centre, attach the elevons.
1. Run a strip down the back edge of one side of
the wing, half on half off, offer up the elevon at a
downward angle as show, attach it to the tape.
2. Angle the elevon up and apply the tape to the
bottom part of the hinge. Ensure free movement.
Cut out servo template
Sand the front edge of each elevon as shown, as
a pair.
The cover the elevon in tape.
Align the elevon, as shown leaving wingtip
clearance of 3mm
3mm
Servo Location
STEP 7

Overlay the template and mark out
the servo position making changes
if your servo is a different shape
Now cut out the servo aperture,
checking with your servo to ensure
snug fit.
You can seat the servo with a blob
of glue, then use laminate or
strapping tape to retain
Use a ruler to mark out the plastic
horn position.
Ideally you want the holes in the
plastic horn sit over the hinge line
Cut the carbon rod to size, make sure to measure with the adaptors fitted but not glued,
when you are happy with the size then glue adaptors on with cyano glue
Metal Clevis Plastic Clevis
Adaptor
Servo and linkage installation
STEP 8
TOP
TOP
Neutral position of elevon
90
o

VTX
GPS
ESC
Battery
RX
STEP 9Glue on the ply motor plate to the foam motor
mount. Then glue on the motor block
assembly to the back of the fuselage.
Suggested component layout

Attach Wingtips with filament tape, thread 5” of filament tape through the
pre-cut slots and tape to top and bottom of wing tip. Secure the front with
another piece.
STEP 9Hatch attachment
Run a bead of glue along the front top of the hatch, shown as a black dot above, allow to dry. Run
a bead of glue along the fuselage aperture as shown as a black dot. Allow glue to dry for 10-15
mins, push in the hatch firmly, the glue will create a strong hinge.
Velcro strip

Radio setup
Left stick should make the right elevon go down and the right
one to go up and vice versa
Back stick should make both elevon go up equally and vice
versa
View from rear of plane
Radio notes: Select “wing type” Delta or elevon on a computer radio, or use a v-tail mixer
unit.
trouble shooting
Everyone likes model aircraft to handle differently, but we list some
common problems
Q. The wing is very twitchy in roll (Aileron)
A. Reduce the travel limits down
Q. The wing is too sensitive in Pitch (up and down),
A. Check centre of gravity, or add some more Exponential.
If fitting an autopilot, ensure the Falcon flys well in manual. Test Line of
sight ie not FPV
IMPORTANT
CENTRE OF GRAVITY
The centre of gravity is on the rear belly skid join as shown
With all the parts assembled and the battery in, the wing
should balance at this point.
If the nose slightly tips forward that’s OK, If however the
wing tips back, place some lead into the nose, until balance
is achieved, failing to do this may render the aircraft
unflyable.
Recommended control throws measured at trailing edge of elevon.
Up/Down +/- 20mm, Left/Right +/- 20mm, measure from the point shown by
the arrow >>
Important : When setting control throws, note that all 4 settings
(up,down,left,right) are the same whatever value. Ie all 75% or all 65%
We also suggest if available, to use Exponential on the elevons (Aileron &
Elevator) at 30%

Table of contents
Other flyingwings Toy manuals
Popular Toy manuals by other brands
Black Horse Model
Black Horse Model ZLIN 50LS Instruction manual book

Hasbro
Hasbro Playskool 31943 quick start guide

Mega Construx
Mega Construx POKEMON DYF13 quick start guide

Faller
Faller HALF-TIMBERED HOUSE instructions

Faller
Faller 4 BUILDING SITE CONTAINER instructions

LEGO
LEGO CREATOR 31058 instructions

Real Good Toys
Real Good Toys Classic Bungalow instructions

RESTORATION GAMES
RESTORATION GAMES Return to DARKTOWER REO9200 quick start guide

Trix
Trix Minitrix BR 110 manual

marklin
marklin ICE BR 406 88715 manual

SCALE-PARKFLYER
SCALE-PARKFLYER Mustang B Fatty Building instructions

marklin
marklin BR 290 39902 manual