3
(GB) SAFETY
9. Ne er carry the product by the cable.
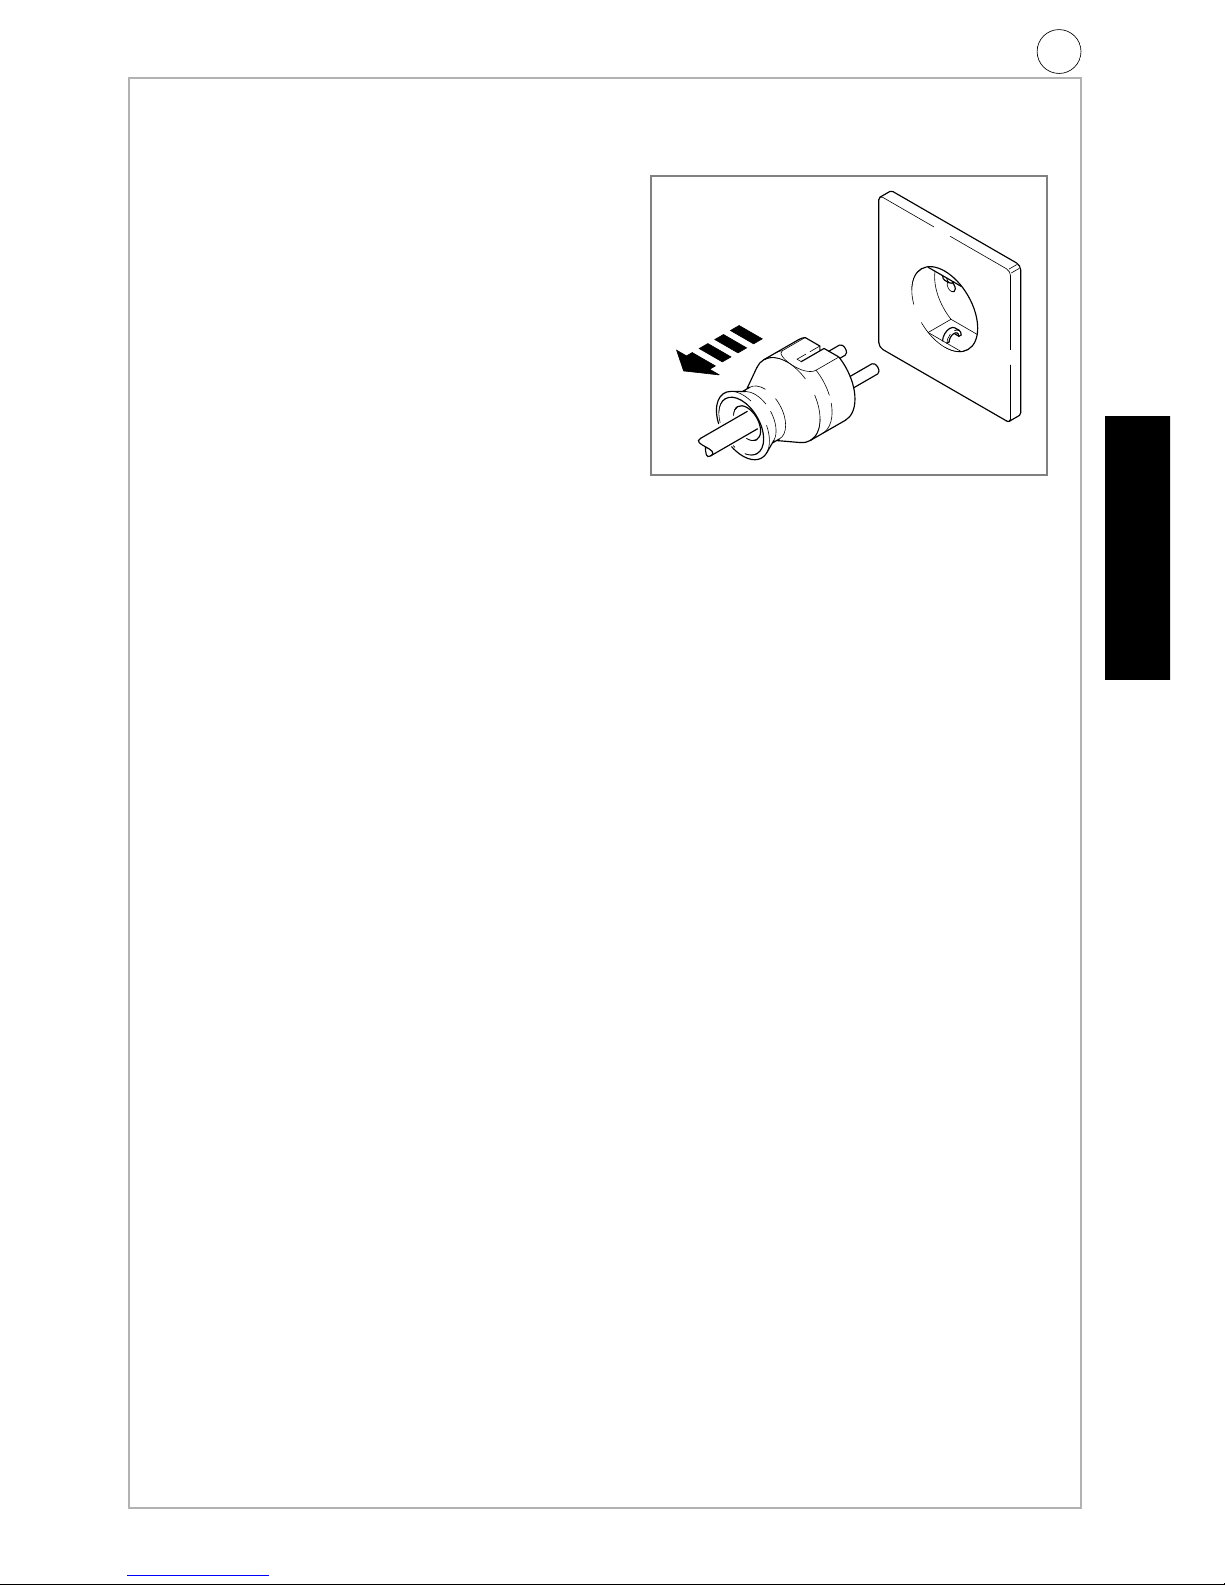
10. Ne er pull on the cable to disconnect any of
the plugs
11. Use only on AC mains supply oltage
shown on the product rating label.
12. Our products are double insulated to
EN60335. Under no circumstance should
an earth be connected to any part of the
product.
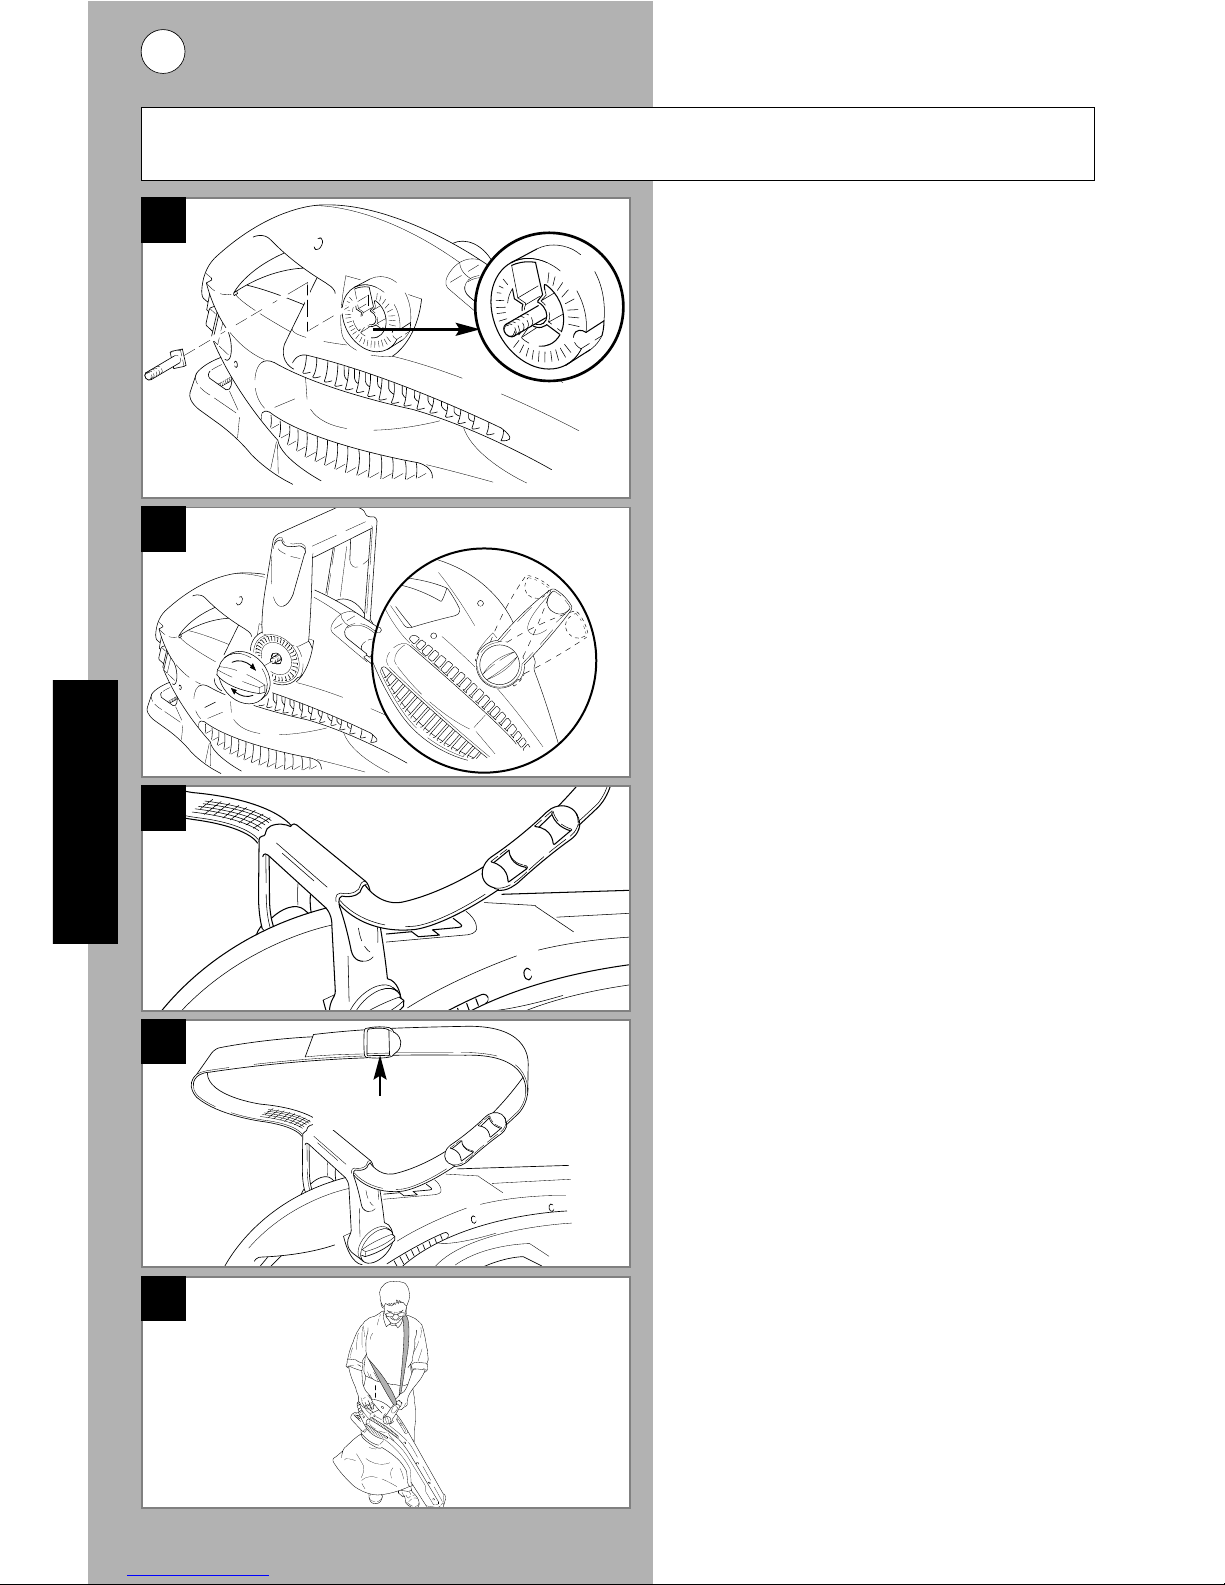
Preparation
1. Always wear suitable clothing, glo es, and
stout shoes.
2. The use of eye protection is recommended.
3. The use of ear protection is recommended.
4. To pre ent dust irritation, the wearing of a
face mask is recommended.
5. Do not wear loose clothing or jewellery that
can be drawn into the air inlet.
6. Do not wear clothing with attachments, i.e.
toggles or drawstrings that can be drawn
into the air inlet.
7. Do not use if any part is damaged or broken
or if any of the screws are loose. Ha e it
repaired by an authorised repairer.
8. Always check your Garden ac is in a safe
operating condition before use.
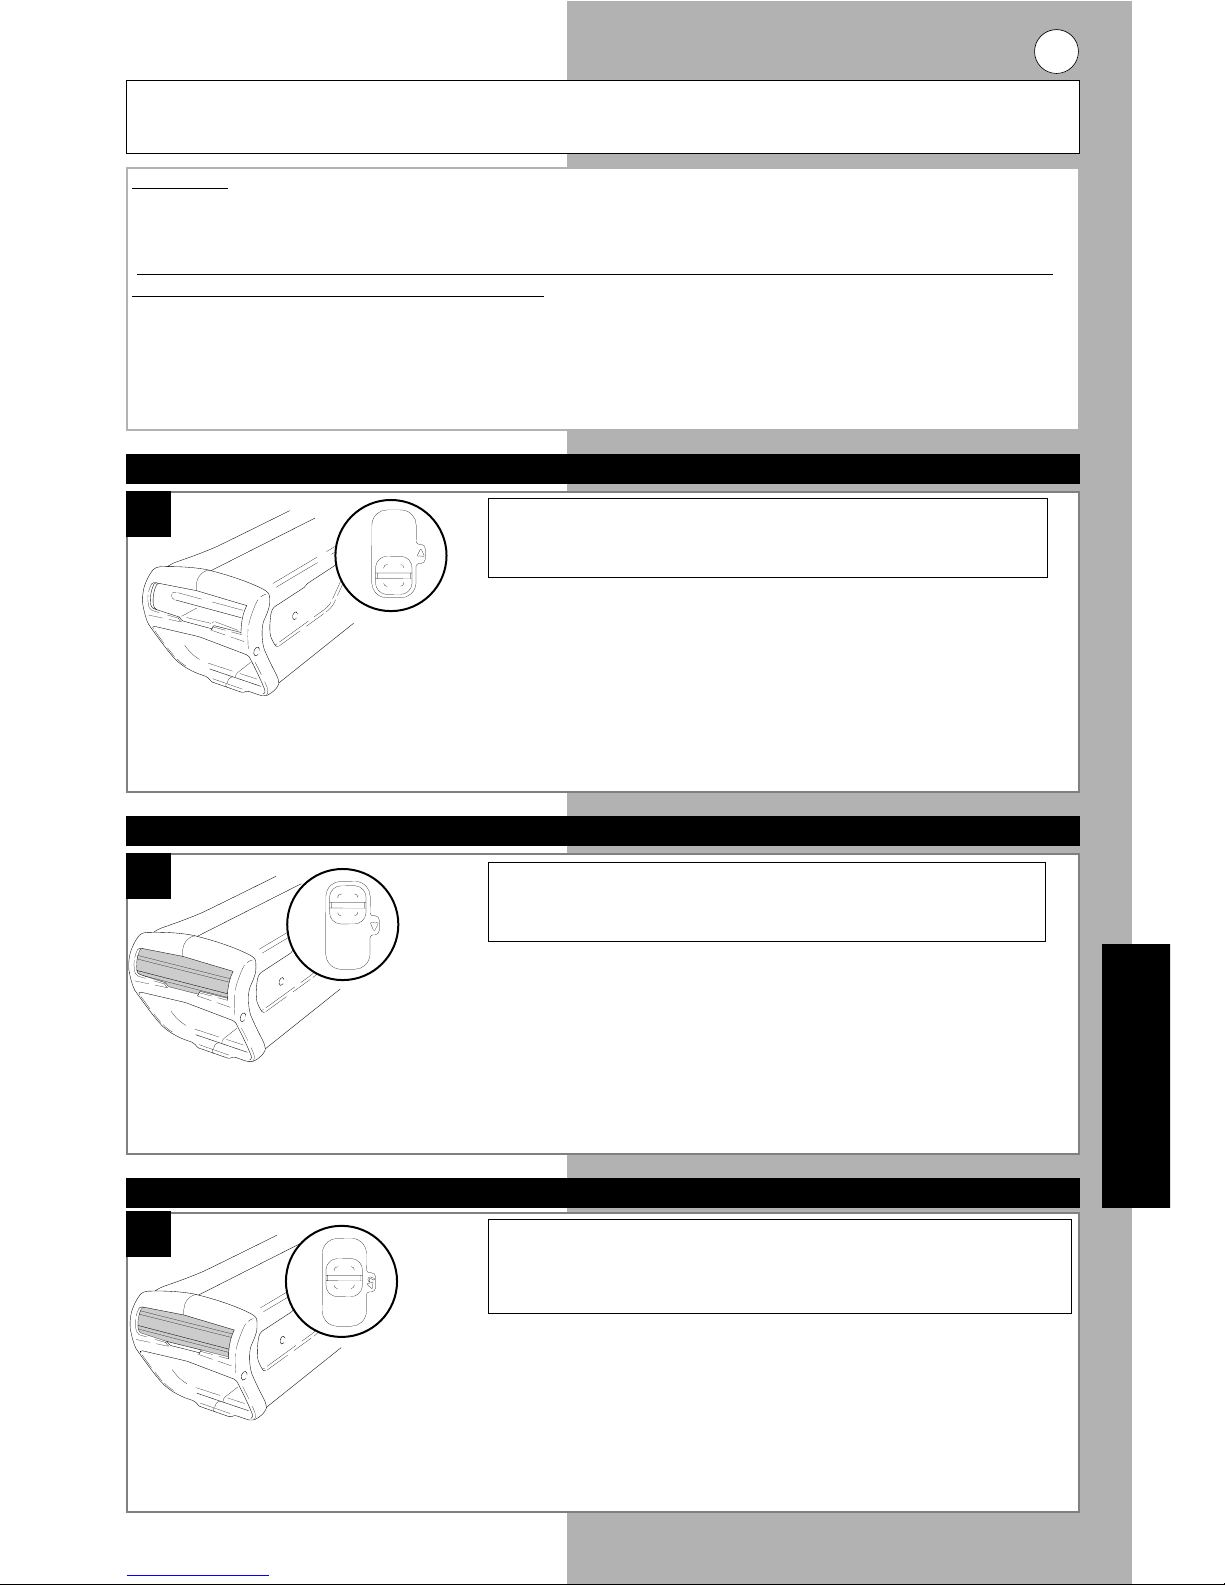
Use
1. Use the Garden ac only in daylight or good
artificial light.
2. Do not use the Garden ac when it is raining
or in damp and wet areas.
3. Ne er use the Garden ac in or near water
or ponds.
4. Know how to stop the Garden ac quickly in
an emergency.
5. On slopes, be extra careful of your footing
and wear non-slip footwear.
6. Ne er pick up or carry the Garden ac by
the cable.
7. Keep children, pets and bystanders at a
safe distance when using your Garden ac.
8. Keep long hair away from air inlet.
9. Keep all inlets clear of debris.
10. Always remain alert.
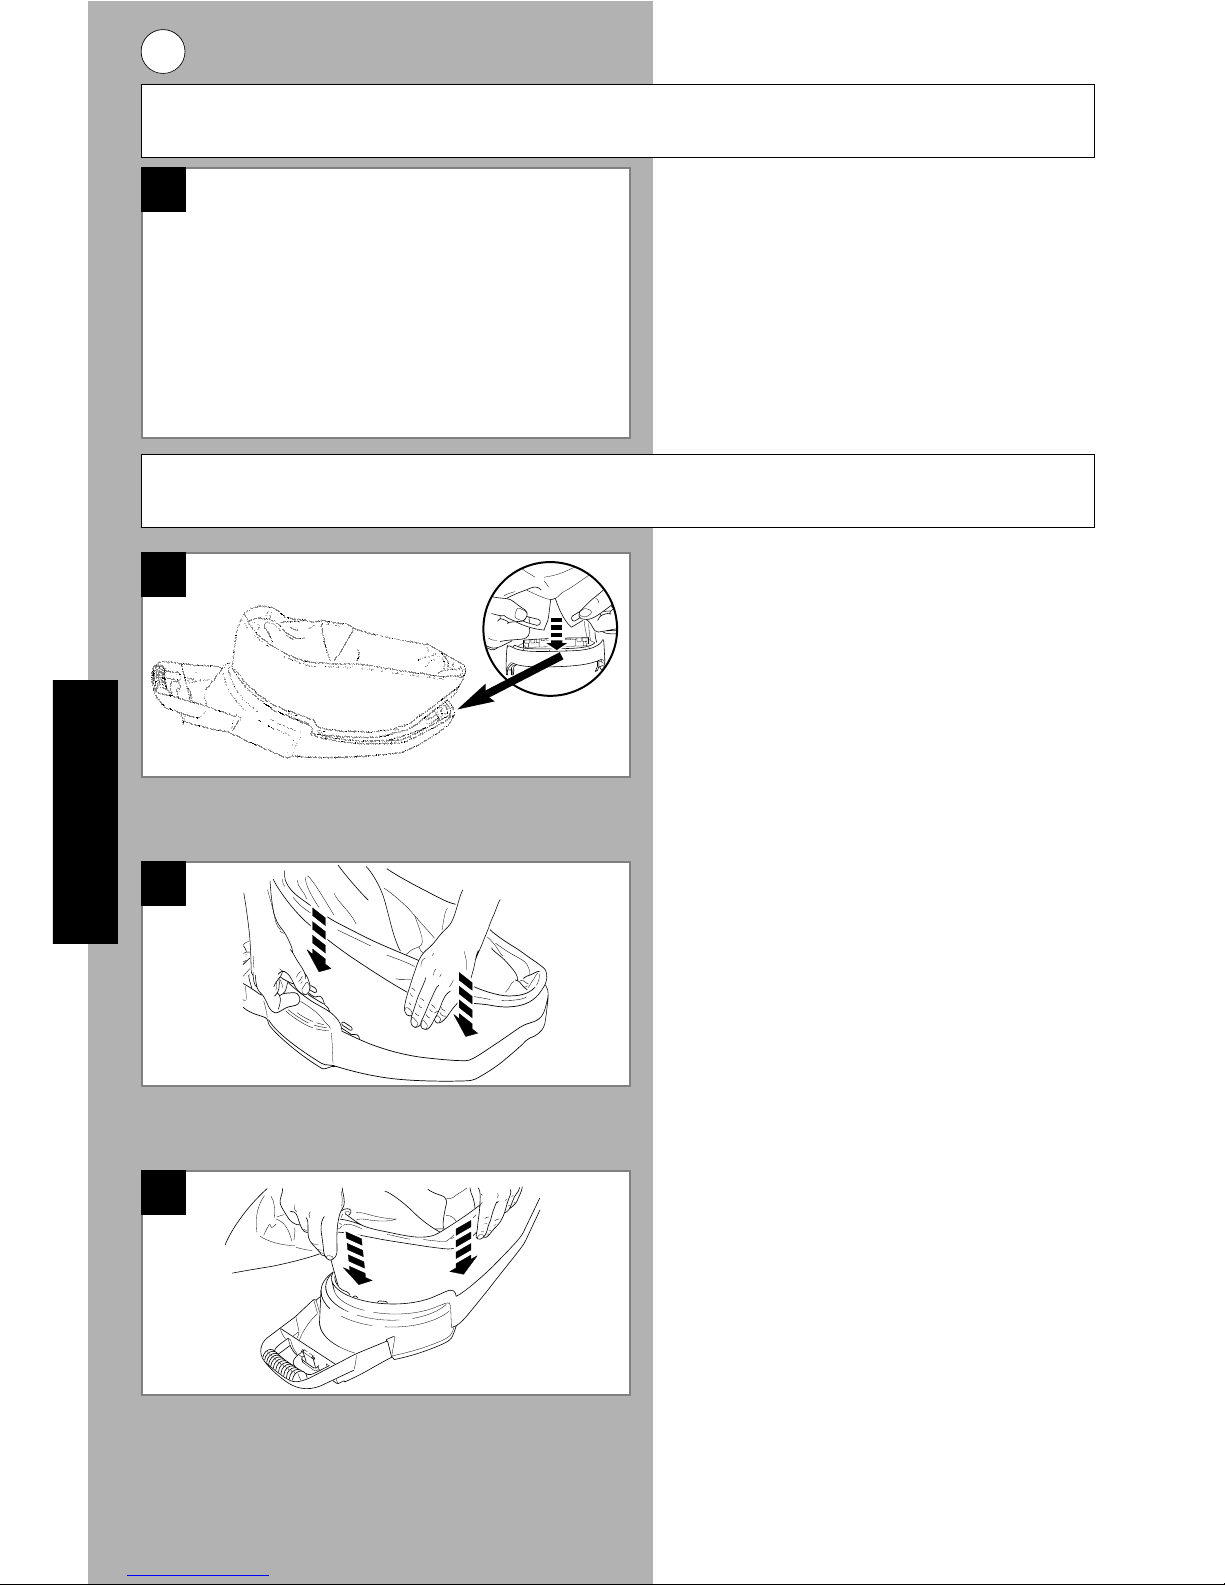
11. Do not attempt to use your Garden ac
without the fully assembled debris bag
fitted.
12. Ne er blow debris in the direction of
bystanders.
13. Do not o erreach. Keep proper footing and
balance at all times.
14. Remo e the plug from the mains :-
Maintenance and storage
1. Keep all nuts, bolts and screws tight to be
sure the Garden ac is in a safe working
condition.
2. Replace worn or damaged parts for safety.
3. Always store the product in a dry place
ensuring the cable is not likely to be
damaged on sharp edges etc.
4. Inspect the collection bag regularly. If the
collection bag becomes worn or damaged,
replace.
- before remo ing or replacing fully
assembled debris bag;
- before lea ing the Garden ac
unattended for any period;
- before clearing a blockage;
- before checking, cleaning or working
on the appliance;
- if the Garden ac starts to ibrate
abnormally. Check immediately.
Excessi e ibration can cause injury.