manuals.online logo
Brands
  1. Home
  2. •
  3. Brands
  4. •
  5. Force Technology
  6. •
  7. Garage Door Opener
  8. •
  9. Force Technology FS 1500 Mounting instructions

Force Technology FS 1500 Mounting instructions

A. CODES MEMORY QUANTITY SETTING
a) Press and hold SET Button until “1 ” appears on the display, next
press the UP button until “A” appears on the display to enter this function
setting then release the button.
b) Press the SET button again, the unit is now in remote quantity
adjustment mode. And then you will see a figure “A” again, but with flash dot
appears on the display.
c) Press UP /Down button once to set the remote quantity. (A or 1~9).
d) Figure “A ” means the maximal quantity 50pcs. Press UP/DOWN
button once to increase or decrease quantity.
The remote quantity is set on 5pcs*N, N=1~9. (The quantity is the
multiple of 5)
e) Press SET button to confirm the set and it will back to standby status
automatically and display “ll”.
NOTE: The remote quantity is set on “A” as standard in factory.
9. TRANSMITTER BUTTONS RECOGNITION FUNCTION SETTING
a) Press and hold SET button to enter this function setting until “9”
appears on the display then release the button.
b) Press the SET button again. The unit is now in buttons recognition
function adjustment mode. And then you will see a figure “0” with flash dot
appears on the display.
c) Press UP /Down button once to select if you want the upper 3
buttons can control the only one opener, or only the separate coded button
can control the opener.
Figure “0. ” means the buttons recognition function is open. If you
coded first button with first opener, then the first button will be the only
button on the remote can control the first opener. It’s suit for the users
who have more than 1 automation doors/gates at home. At most 4.
Figure “1.” means the buttons recognition function is closed. It means
if you coded one of the upper 3 buttons with 1 opener, then all the
upper 3 buttons on the remote can control this opener. It’s suit for the
users who only have 1 automation door at home. The bottom 4
th
button is to control the LED strip.
(
If you installed On-Rail LED strip
optionally.
)
d) Press SET button to confirm the set and it will back to standby status
automatically and display “ll”.
NOTE: 1. The buttons recognition is set on “0.” as standard in factory.
2. After you changed the buttons un-recognition into recognition,
please notice that only the coded button can control the opener.
Decrease
quantity
Increase quantity
Buttons
recognition
function is open
Buttons
recognition
function is closed

Popular Garage Door Opener manuals by other brands

CAME BX-243V installation manual

CAME

CAME BX-243V installation manual

Grifco GSD-SDO instruction manual

Grifco

Grifco GSD-SDO instruction manual

Chamberlain HD220 user guide

Chamberlain

Chamberlain HD220 user guide

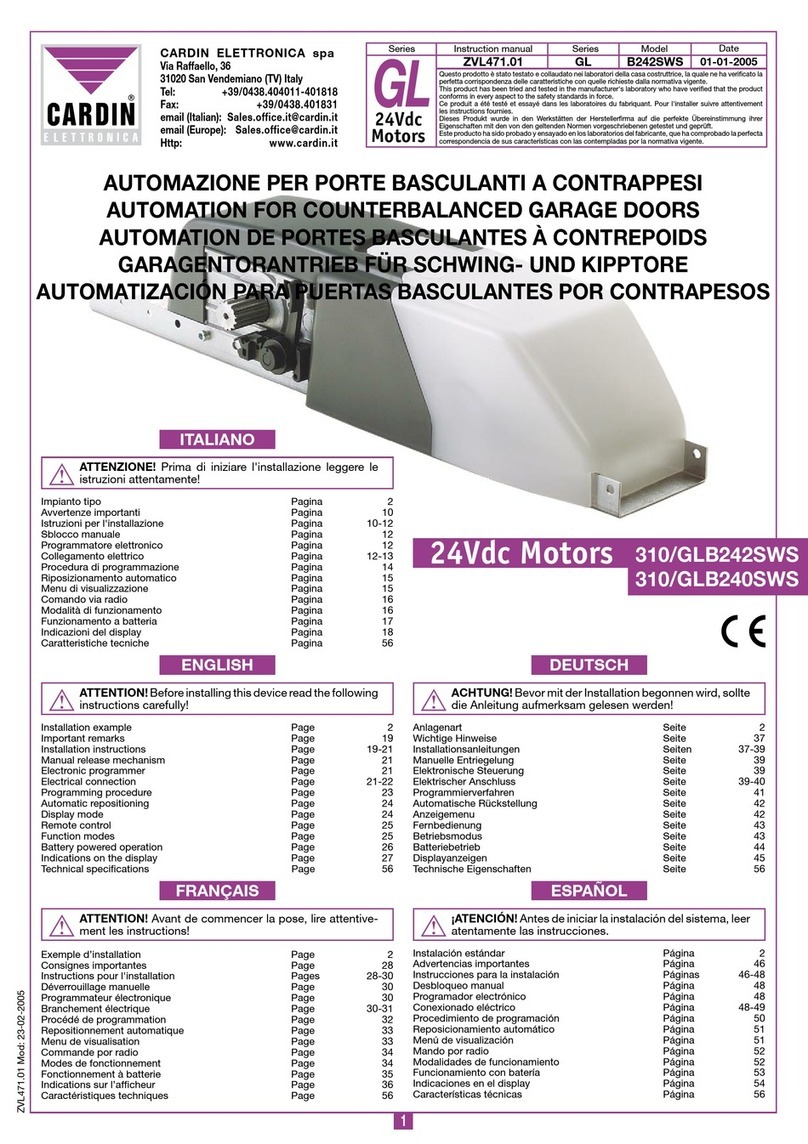
Cardin Elettronica 310/GLB242SWS instruction manual

Cardin Elettronica

Cardin Elettronica 310/GLB242SWS instruction manual

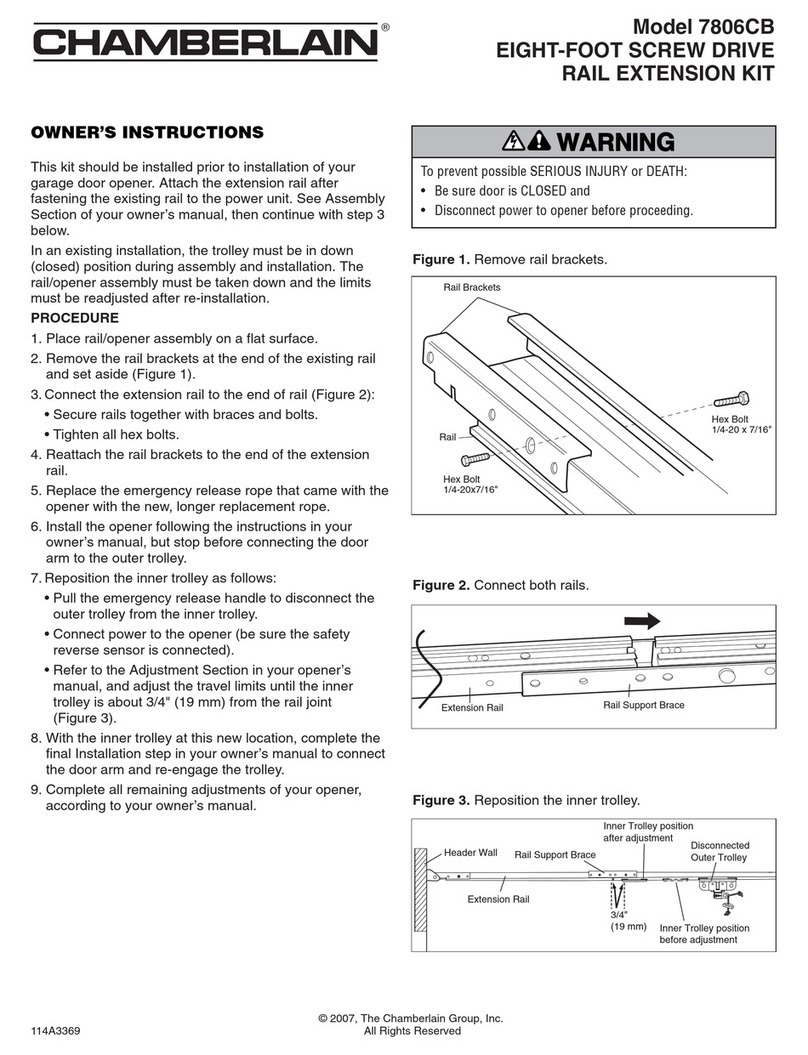
Chamberlain 7806CB Owner's instructions

Chamberlain

Chamberlain 7806CB Owner's instructions

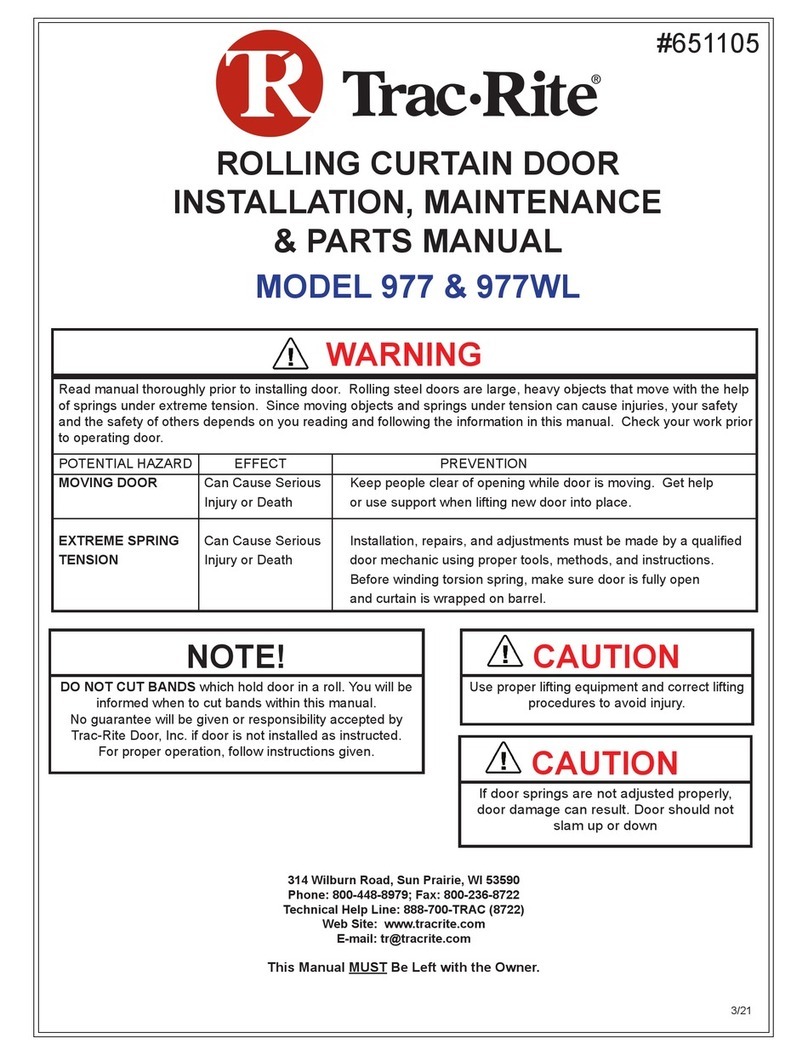
Trac-Rite 977 Installation, maintenance & parts manual

Trac-Rite

Trac-Rite 977 Installation, maintenance & parts manual

Chamberlain Merlin Professional MR600 Installation and operating instructions

Chamberlain

Chamberlain Merlin Professional MR600 Installation and operating instructions

Craftsman 139.53963SRT owner's manual

Craftsman

Craftsman 139.53963SRT owner's manual

Chamberlain CSW200UL8 manual

Chamberlain

Chamberlain CSW200UL8 manual

DITEC CROSS30 Installation and maintenance manual

DITEC

DITEC CROSS30 Installation and maintenance manual

Chamberlain HD520EV user manual

Chamberlain

Chamberlain HD520EV user manual

Normstahl Ultra excellent installation instructions

Normstahl

Normstahl Ultra excellent installation instructions

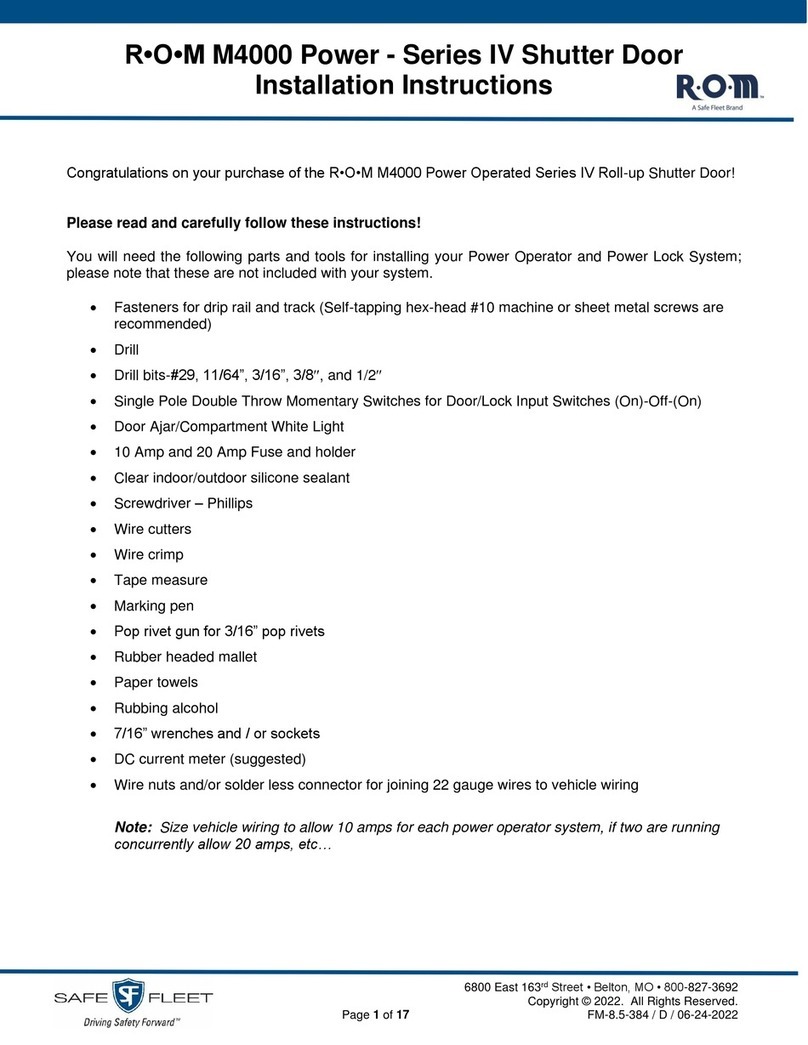
Safe Fleet R O M IV Series installation instructions

Safe Fleet

Safe Fleet R O M IV Series installation instructions

Smart Openers Smart Lifter installation manual

Smart Openers

Smart Openers Smart Lifter installation manual

Chamberlain Power Drive 3132E FS2 owner's manual

Chamberlain

Chamberlain Power Drive 3132E FS2 owner's manual

DITEC PWR50 H Technical manual

DITEC

DITEC PWR50 H Technical manual

BFT EOS 1200 U Installation and user manual

BFT

BFT EOS 1200 U Installation and user manual

Chamberlain 8155 user guide

Chamberlain

Chamberlain 8155 user guide

manuals.online logo
manuals.online logoBrands
  • About & Mission
  • Contact us
  • Privacy Policy
  • Terms and Conditions

Copyright 2025 Manuals.Online. All Rights Reserved.