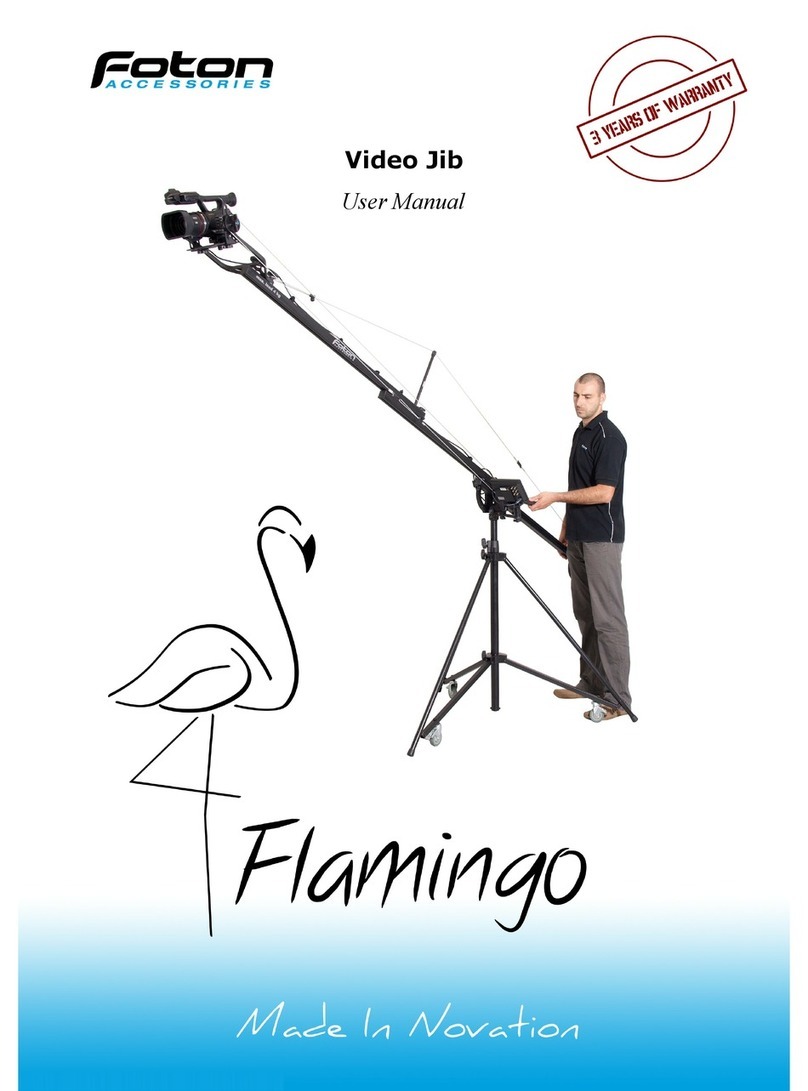
Foton Accessories STORK User manual

SmartCrane

Dear Customer,
thank you for choosing SmartCrane “STORK”.
This unique product is com ination of professional Crane and fully functional Slider.
SmartCrane gives cameraman rand new possi ilities, letting him capture images from
unusual angle or taking dynamic and smooth shots.
Thanks to innovative solutions, Crane's Head keeps right Camcorder vertical position
independently of the oom movement. Cameraman may adjust camera position pointing it
- if needed - up or down.
Numerous accessory sockets let you mount additional equipment such as lighting or
microphone. Crane is also supplied with special holding arm for LCD Screen.
Slider lets you achieve new quality in film production, changing static takes in dynamic film
scenes. Light and sta le design is perfect for unusual places, no matter indoors or
outdoors. Thanks to modular uild, Slider may e disassem led from Tripod and used
separately. Slider is equipped with own adjusta le feet that guarantee sta le position
despite of edding. You may also use various availa le surrounding elements such as chairs
or ta les as mounting ase.
We strongly recommend reading this User Guide carefully, as it will help you assem le
SmartCrane properly and introduce you to asic product operations.

1. Basic information.
Specifications:
Maximum oom length - 365 cm
Minimum oom length - 182 cm
Tripod maximum height - 145 cm
Maximum operation height - 310 cm
Slider length - 160 cm
Packaging:
Trolley and accessories
Boom (Slider)
Tripod
Weight:
Tripod - 9.9 kg
Boom (Slider) - 8.7 kg
Trolley - 2.6 kg
SmartCrane with additional weights - 27.6 kg
Maximum SmartCrane load: 4 kg

1
2 3
4
5
6
2. Assembly.
To assem le the SmartCrane “STORK”, you need to
mount the oom (Slider) in the holder on top of the
Tripod (1) and secure it with kno s 2 and 3. Next you
need to put the rake on and lock it with kno s
(5 and 6).
Tripods Head is equipped with horizontal movement
fixing kno (4). Regulating kno s 2 and 3 lets you
adjust vertical arm movement resistance.
Disassem ling occurs in similar manner.

aż do momentu wyczucia oporu. 8
7
9
3. ripod.
Tripod legs are equipped with regulated feet that
let you level SmartCrane despite of edding.
Tripod is supplied with three wheels for easy
SmartCrane transportation. Each such wheel is
equipped with own reak which let you sta ilize
SmartCrane properly.
If you’d like to use wheels instead of feet, first you
need to loosen the kno (9) and push the leg
racing down. Then you need to fix the kno (9)
again to secure the tripod.

4. Crane.
10
o odpowiednio do ranej długości. 11
Before you start Crane operations, you’ll need to
set right arm length first. Next you’ll have to put
the cord on the head's and the crank's
wheels (10). “STORK” is supplied with three cords
of different length. The choice is ased on set
arm length.
While operating the crane, the crank (11) let you
move the head and adjust camcorder vertical
position.
The crank and the head are equipped with
independent F-Absorbers - innovative a sor ing
systems which guarantee smooth camera
operation.

12
13 14
Mounting additional weights (15) at the end of crane arm is necessary for proper crane
functionality. Telescopic system lets you prolong arm’s length on oth ends which facilitates crane
leveling.
LCD holding arm (16) may e mounted in different places, which helps adjusting SmartCrane
to cameraman individual needs.
15 16
Three asic regulations (12, 13 and 14) helps you to level
camcorder properly. That means that should keep right
vertical position while let freely.

5. Slider.
11
17
18
To prepare Slider for work, first you’ll have to set
oom (Slider) in desired position and then secure
it with additional supporting arms (17 and 18).
Supporting arms applied properly guarantee
sliders sta ility. Telescopic design of supporting
elements (17 and 18) allows easy and secure
adjust of Sliders position.
In Slider operation mode, the crank (11) may e
used as a trolley drive.

160 cm
Slider may e used as a separate device.
Thanks to adjusta le feet it may e properly
leveled on different edding and surfaces.
You may also use surrounding equipment,
f. e. chairs, stools or ta les as mounting
asis, to get right high or angle.

19
6. rolley.
After mounting trolley on sliders rails you
may link it with the cord (19). With linked
trolley, you can use the crank as a trolley
drive.
Trolley is equipped with dou le set of wheels
with adjusta le grip. In horizontal and
o lique sliders position, additional wheels act
as rakes.

While not used, trolley may e attached at the end of cranes arm for easier storage. It also helps to
get right crane alance.
In vertical sliders position, trolleys
head may e mounted at 90 degrees
angle for easier operations.

Supplied elements let you transform trolley, making it suita le for independent work. It may e set
to move in straight line or in circles. Silicon overlays effectively eliminate vi rations eing result of
harsh surface.
Thank you for choosing our product. We've made all the possi le effort to make SmartCrane
“STORK” product of the est quality and exceptional functionality. Please let us know, if operating
our product creates any questions or this User Guide does not explain any issue in sufficient way.
We promise to provide any needed help for you to get full advantage of our product.
Foton Accessories Team
Foton Accessories
Telephone: 62 764 46 63
E-mail: info@fotonexport.com
www.fotonexport.com
This manual suits for next models
1
Table of contents
Other Foton Accessories Camera Accessories manuals
Popular Camera Accessories manuals by other brands

Trojan
Trojan GC2 48V quick start guide

Calumet
Calumet 7100 Series CK7114 operating instructions

Ropox
Ropox 4Single Series User manual and installation instructions

Cambo
Cambo Wide DS Digital Series Main operating instructions

Samsung
Samsung SHG-120 Specification sheet

Ryobi
Ryobi BPL-1820 Owner's operating manual