En-10
TROUBLESHOOTING
Instructions relating to heating (*) are applicable only to “HEAT & COOL MODEL” (Reverse Cycle).
Instructions relating to “the OPERATION indicator lamp” (**) are applicable to “CEILING SUSPENSION TYPE” and “FLOOR
CONSOLE/UNDER CEILING DUAL TYPE”.
In the event of a malfunction (burning smell, etc.), immediately stop operation, turn off the elec-
trical breaker, and consult authorized service personnel.
Merely turning off the unit’s power switch will not completely disconnect the unit from the power
source. Always be sure to turn off the electrical breaker to ensure that power is completely off.
Before requesting service, perform the following checks:
WARNING!
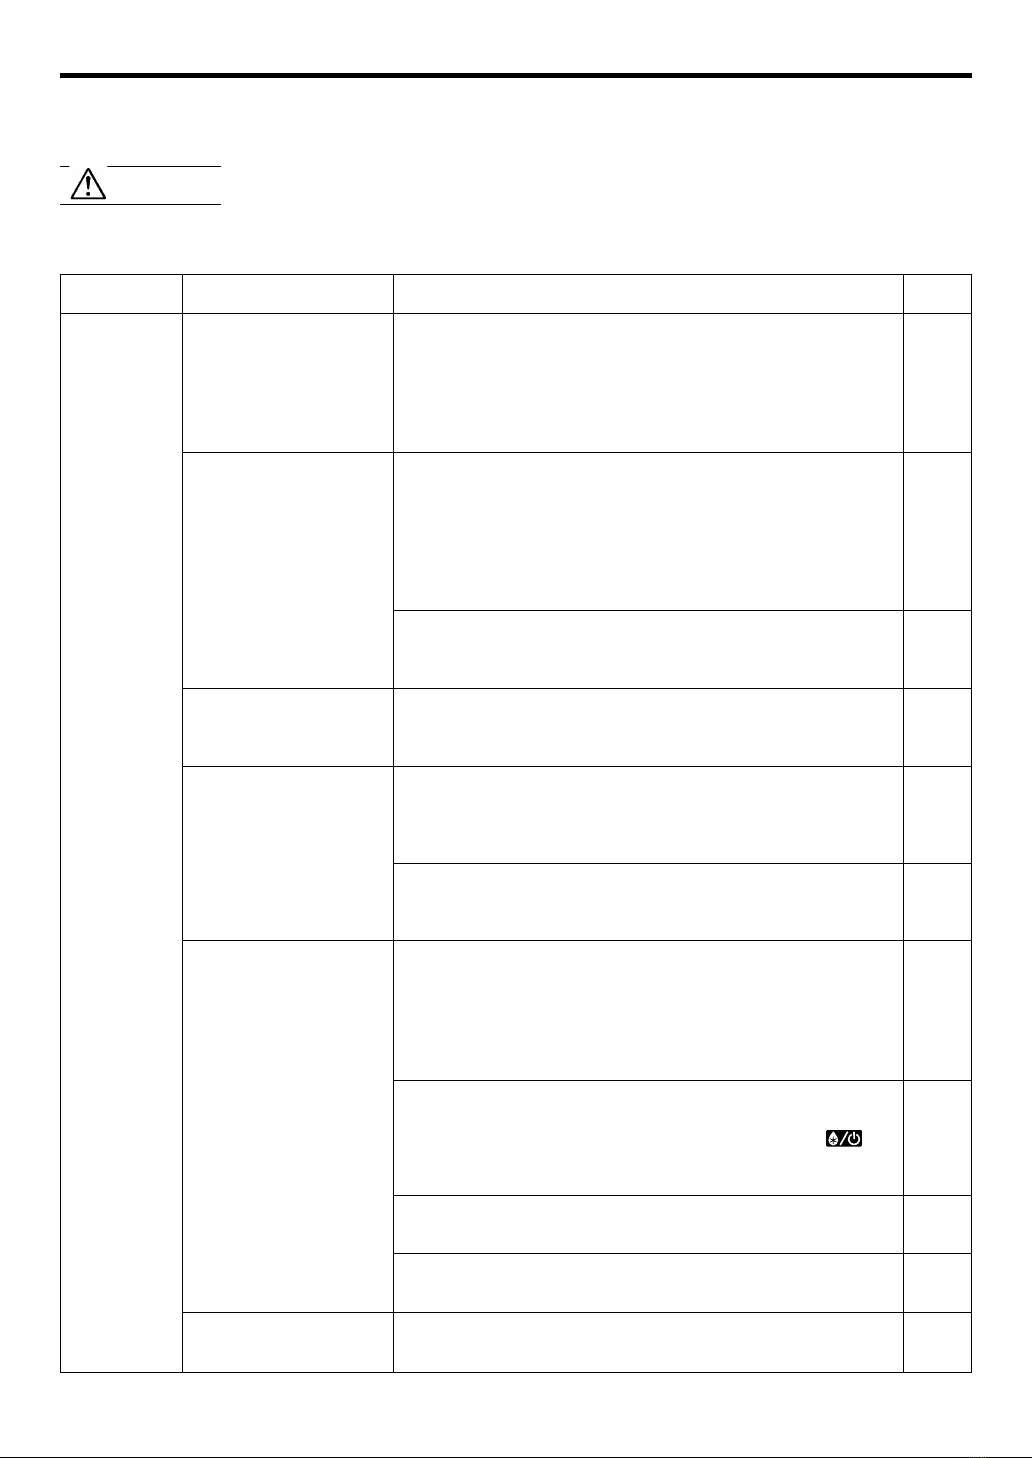
Symptom
Doesn’t operate immedi-
ately:
Noise is heard:
Smells:
Mist or steam are
emitted:
Airflow is weak or stops:
Water is produced from
the outdoor unit:
Problem
●If the unit is stopped and then immediately started again, the com-
pressor will not operate for about 3 minutes, in order to prevent
fuse blowouts.
●Whenever the electrical breaker is turned off then on again, the
protection circuit will operate for about 3 minutes, preventing unit
operation during that period.
●During operation and immediately after stopping the unit, the
sound of water flowing in the air conditioner’s piping may be
heard. Also, noise may be particularly noticeable for about 2 to 3
minutes after starting operation (sound of coolant flowing).
●During operation, a slight squeaking sound may be heard. This is
the result of minute expansion and contraction of the panel due
to temperature changes.
*●During Heating operation, a sizzling sound may be heard occa-
sionally. This sound is produced by the Automatic Defrosting op-
eration.
●Some smell may be emitted from the indoor unit. This smell is
the result of room smells (furniture, tobacco, etc.) which have
been taken into the air conditioner.
●During Cooling operation, a thin mist may be seen emitted from
the indoor unit. This results from the sudden Cooling of room air
by the air emitted from the air conditioner, resulting in condensa-
tion and misting.
*●During Heating operation, the outdoor unit’s fan may stop, and
steam may be seen rising from the unit. This is due to the Auto-
matic Defrosting operation.
*●When Heating operation is started, fan speed is temporarily very
low, to allow internal parts to warm up.
*●During Heating operation, if the room temperature rises above
the thermostat setting, the outdoor unit will stop, and the indoor
unit will operate at very low fan speed. If you wish to warm the
room further, set the thermostat to a higher setting.
*●During Heating operation, the unit will temporarily stop opera-
tion (between 2 and 16 minutes) as the Automatic Defrosting mode
operates. During the Automatic Defrosting operation, will
be shown on the remote controller display **and the OPERA-
TION indicator lamp will flash.
●The fan may operate at very low speed when the unit is monitor-
ing the room’s temperature.
●In the monitor AUTO operation, the fan will operate at very low
speed.
*●During Heating operation, water may be produced from the out-
door unit due to the Automatic Defrosting operation.
See Page
—
—
11
—
—
11
—
11
—
—
11
NORMAL
FUNCTION
9363004021_OM_en.p65 30/9/05, 10:1910