14
EN
3. Function
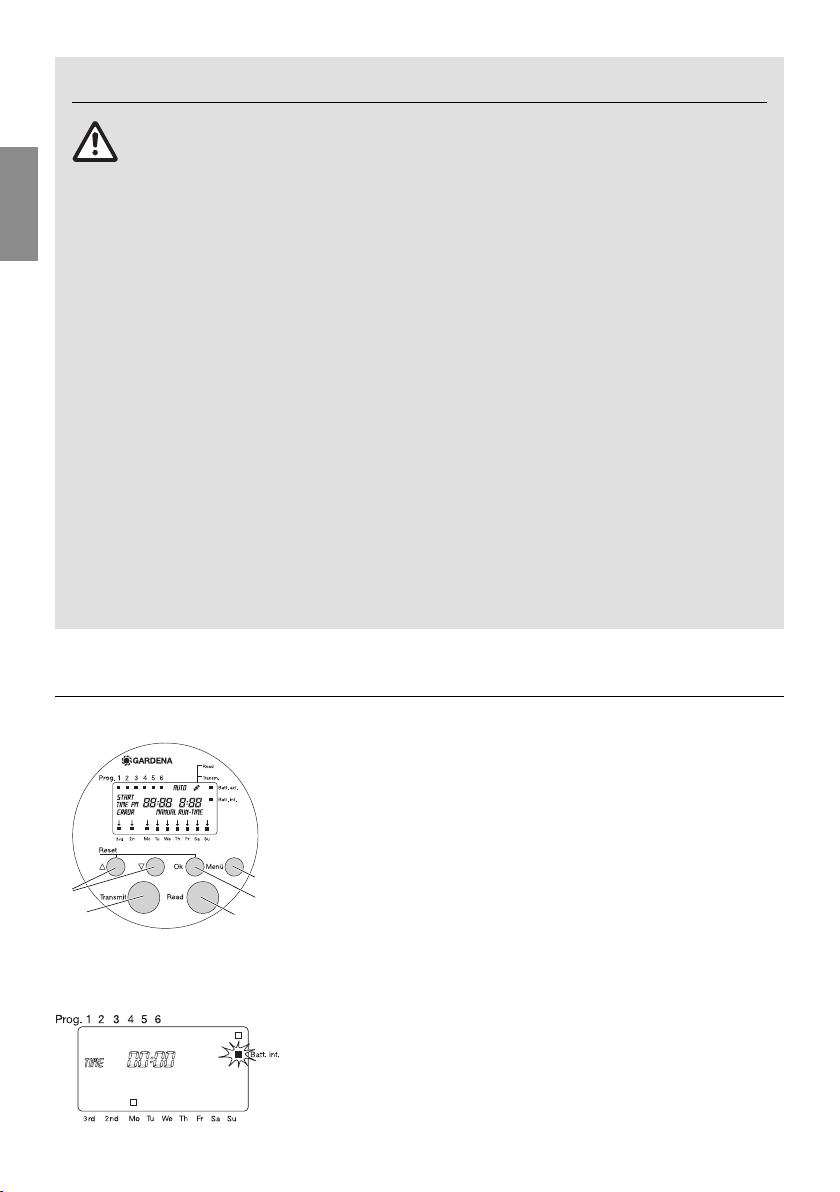
1▲-▼ keys: For changing or advancing specific data
already entered. (If you hold down one of
the ▲-▼keys the display runs through the
hours or minutes, for example, more quickly.)
2Ok key: Confirms the values set using the ▲-▼keys.
3Menu key: Changes the programming level.
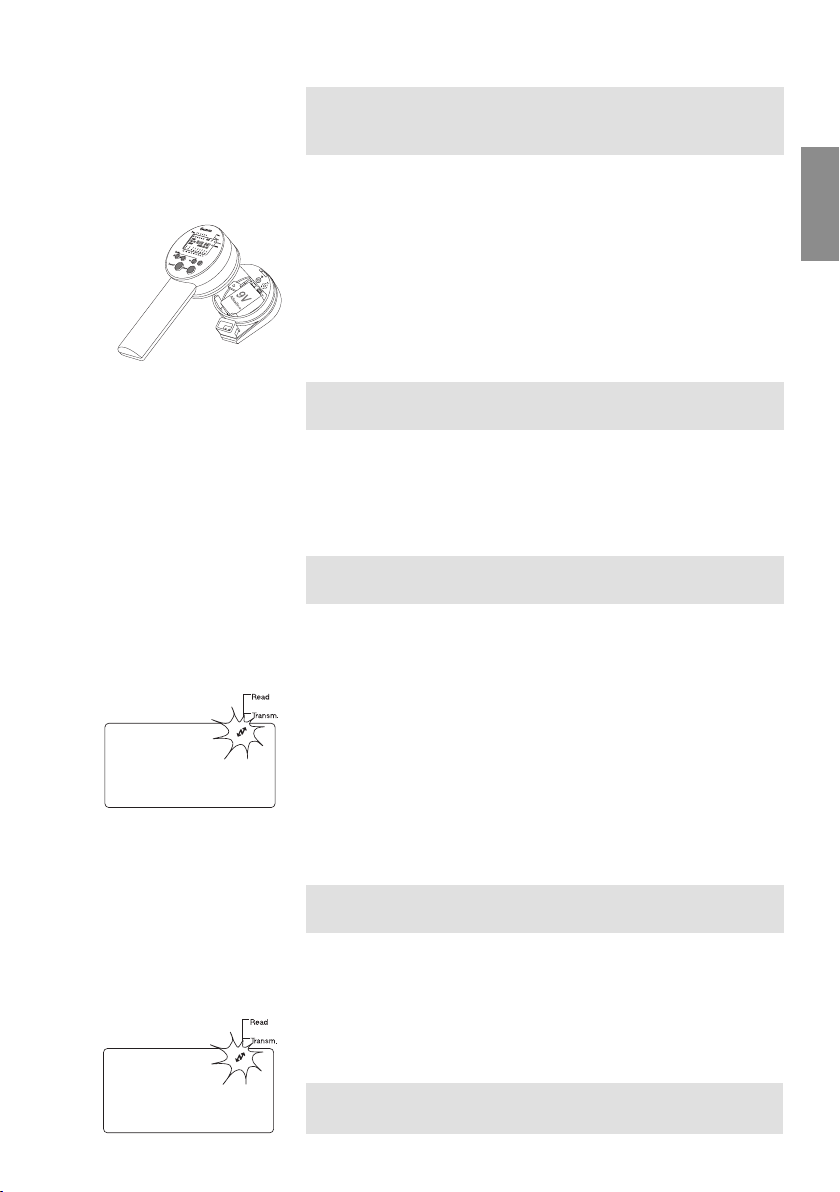
4Transmit key: Transfers data from the Programming Unit
to the Control Unit.
5Read key: Transfers data from the Control Unit to the
Programming Unit.
The display includes a symbol to indicate the charge condition
of the batteries in the Programming Unit and the Control Unit.
Battery condition in the Programming Unit:
If the voltage falls below a certain level, the symbol Batt. int. will
blink until the battery is replaced. If the battery is not replaced
after the first blinking of symbol Batt. int. it is possible to switch
from the energy-saving to operating mode (approx. 40 times) on
the Programming Unit.
Key allocation
Battery status display
12
3
5
4
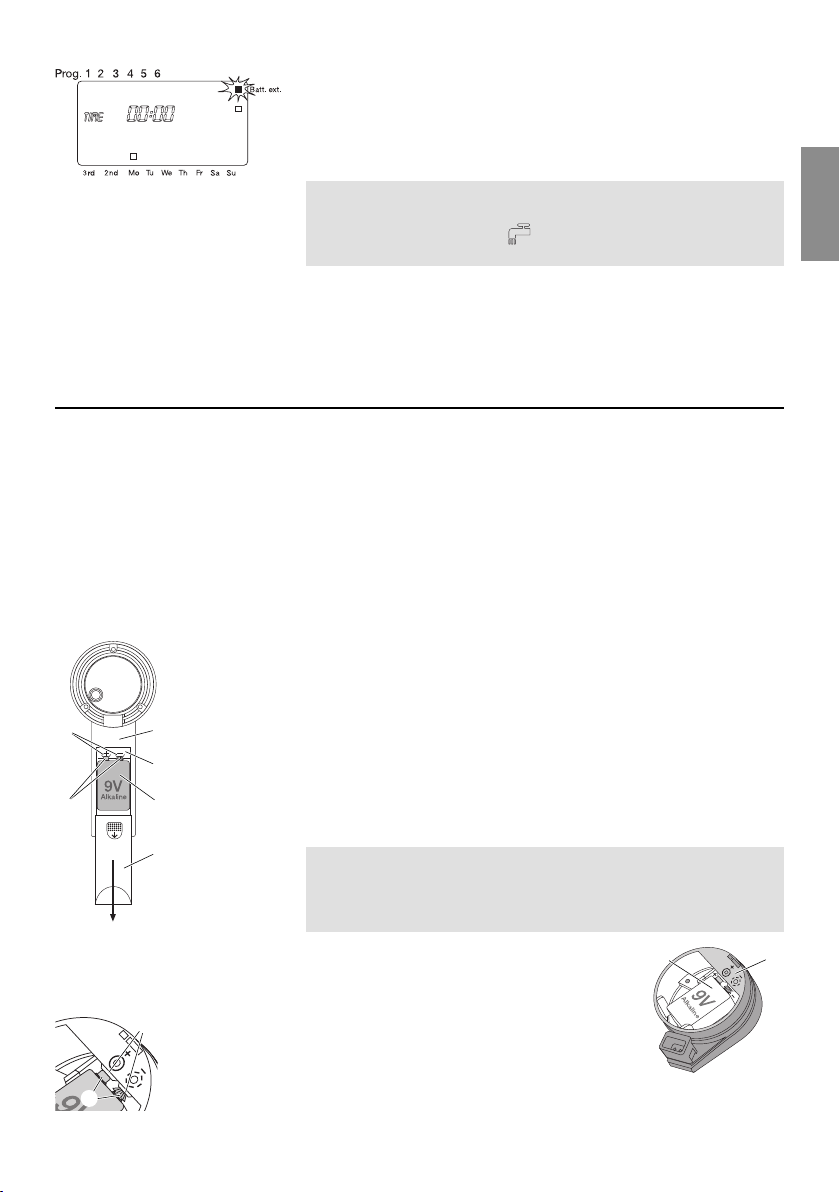
2. For Your Safety
Only alkaline batteries of the type 9 V
IEC 6LR61 should be used to attain
the maximum running time of 1 year.
We recommend e.g. the manufacturers
Varta and Energizer.
vTo prevent data transfer errors, the battery
must be replaced in good time.
LCD display:
It can occur that the LCD display blanks if the
outside temperature is very high or very low.
This has no effect whatsoever on the retention
of data and the correct transmission of data.
The LCD display will return when temperature
range is back to normal operating range.
Programming Unit:
The Programming Unit is splash water proof.
vHowever, protect the unit from jets of water
and do not leave it within the watering range.
Control Unit:
The Control Unit is connected to the Irrigation
Valve and is splash-proof when the cover is
closed.
vEnsure that the cover is always closed when
the Control Unit is positioned near the area
to be watered.
Wintering:
vStore the Control Unit away from frost at
the beginning of the frosty period or remove
the battery.
Warning!
This machine produces an electromagnetical
field during operation. This field may under
some circumstances interfere with active or
passive medical implants. To reduce the risk of
serious or fatal injury, we recommend persons
with medical implants to consult their physician
and the medical implant manufacturer before
operating this machine.
Danger!
Small parts could be swallowed during
assembly and there is a risk of suffocation
from the polybag. Keep infants away during
assembly.