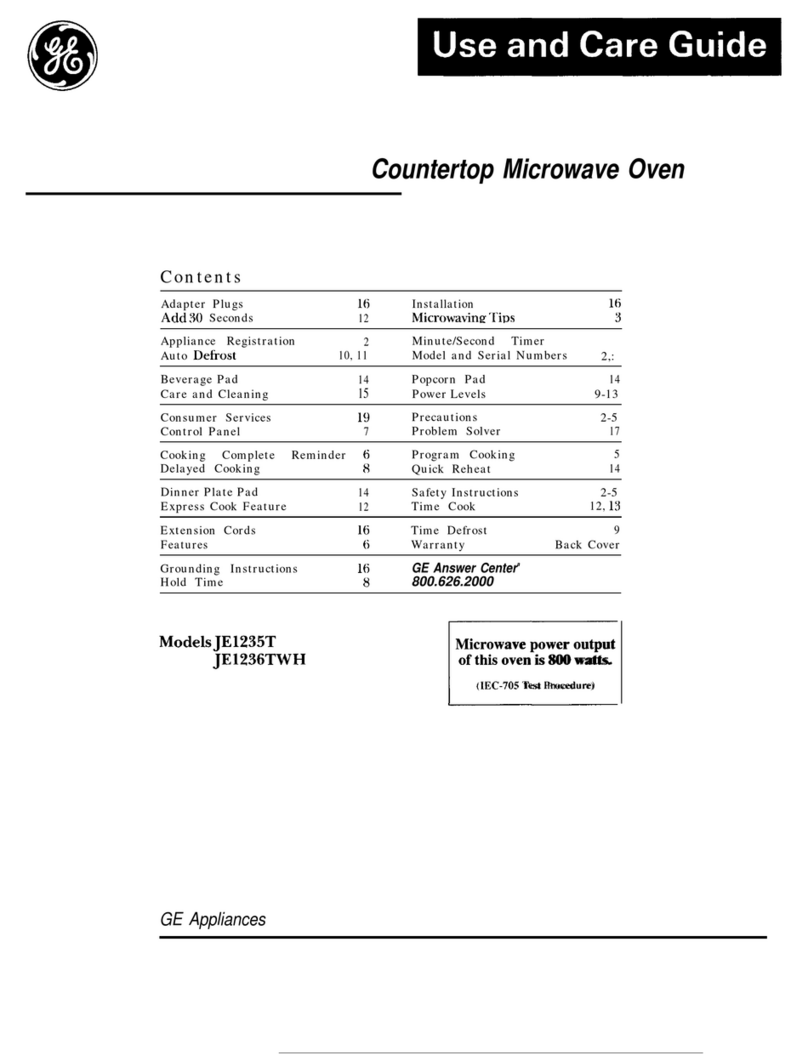
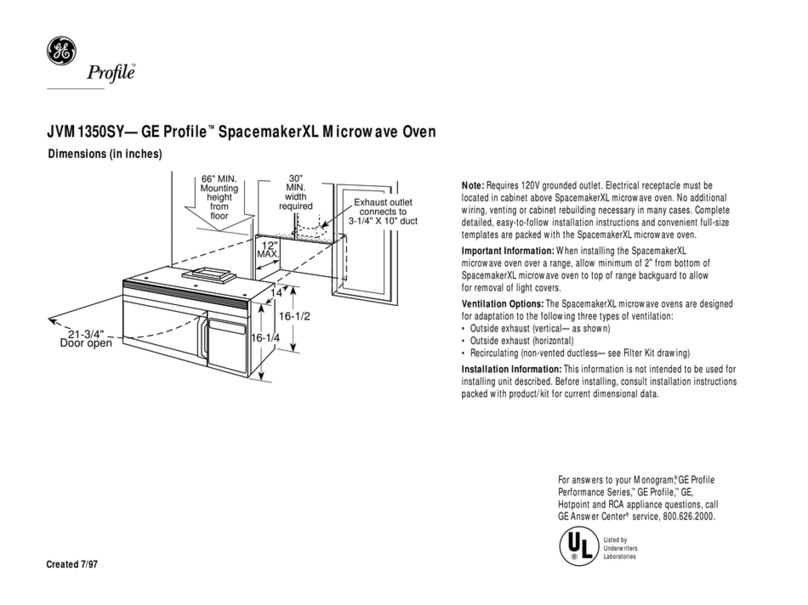
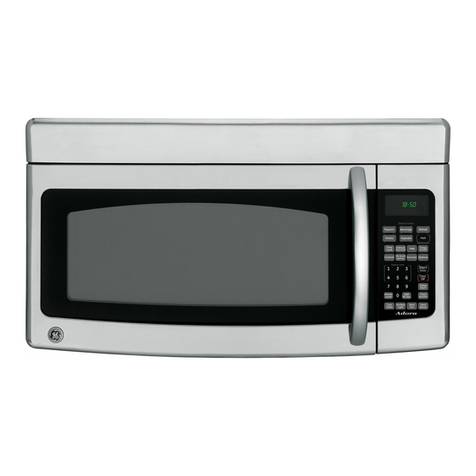
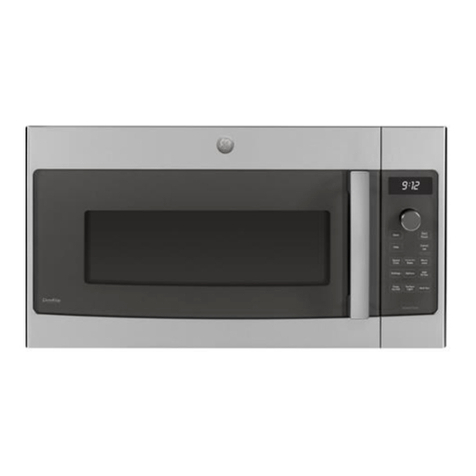
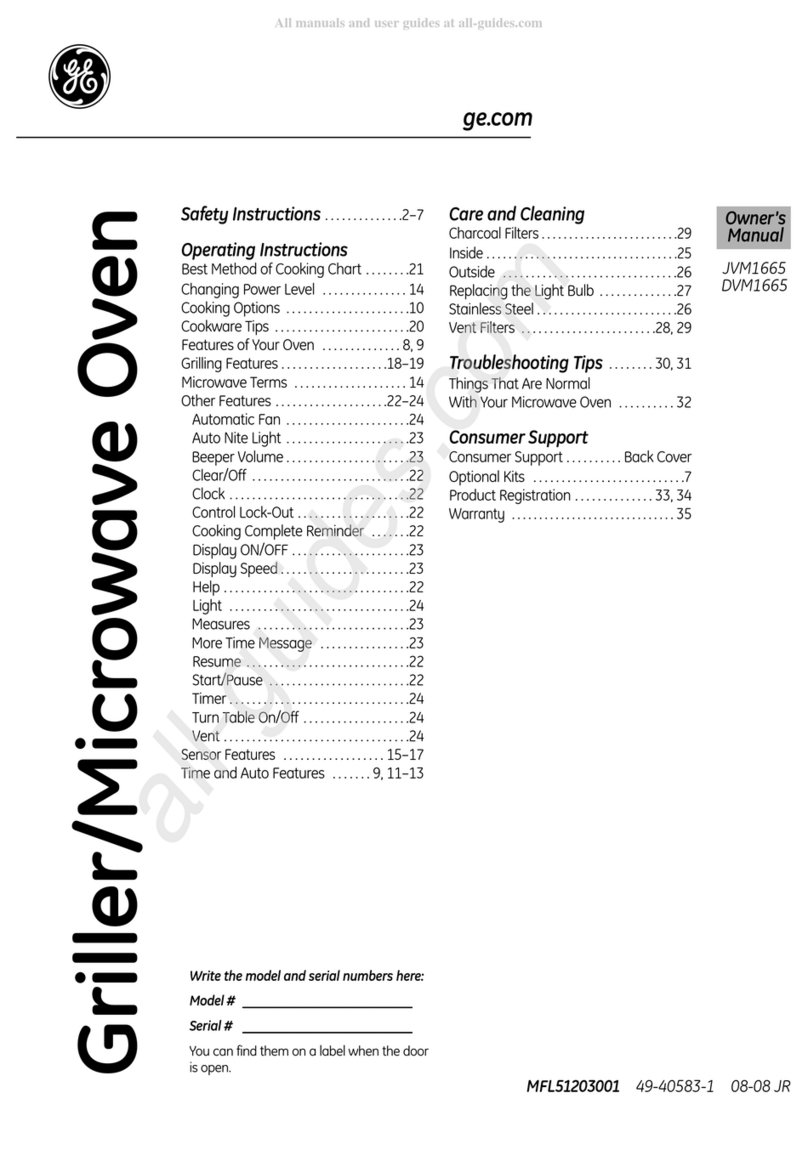
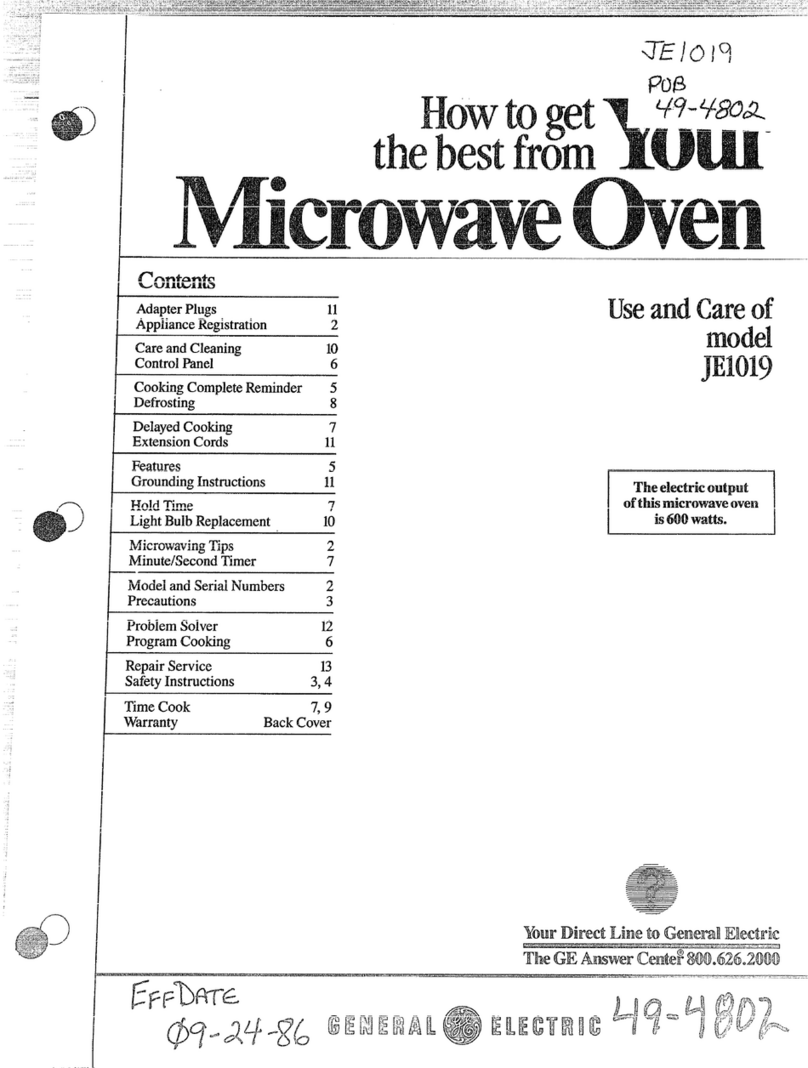
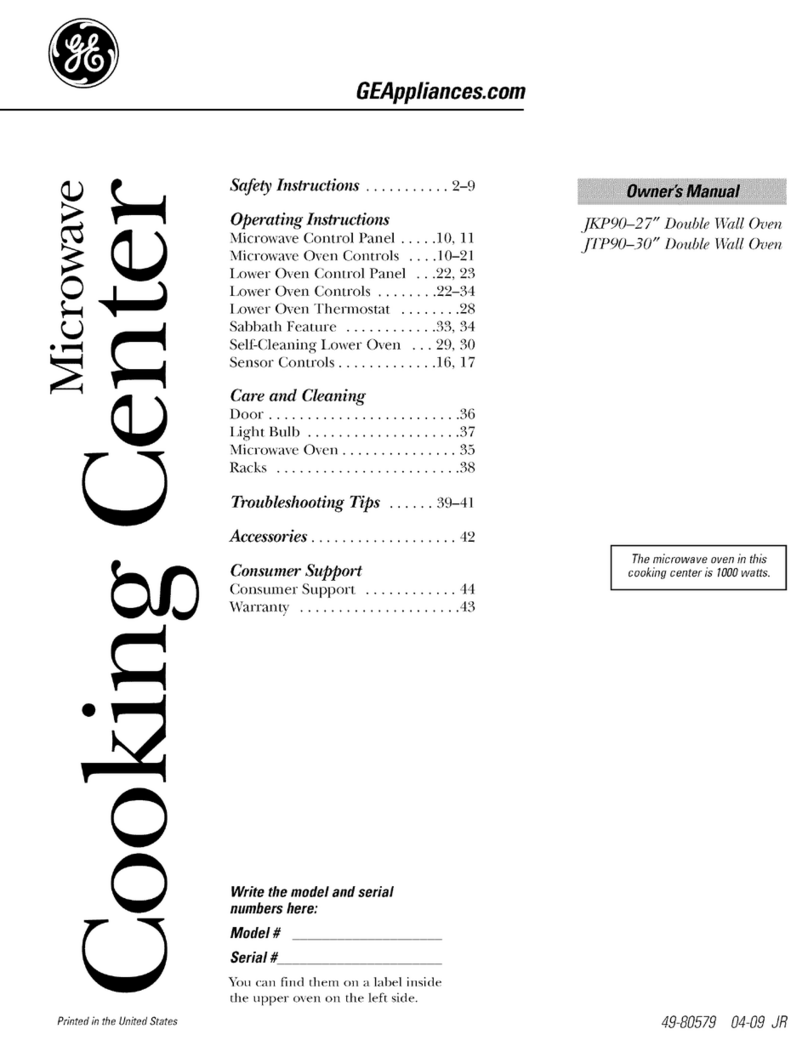
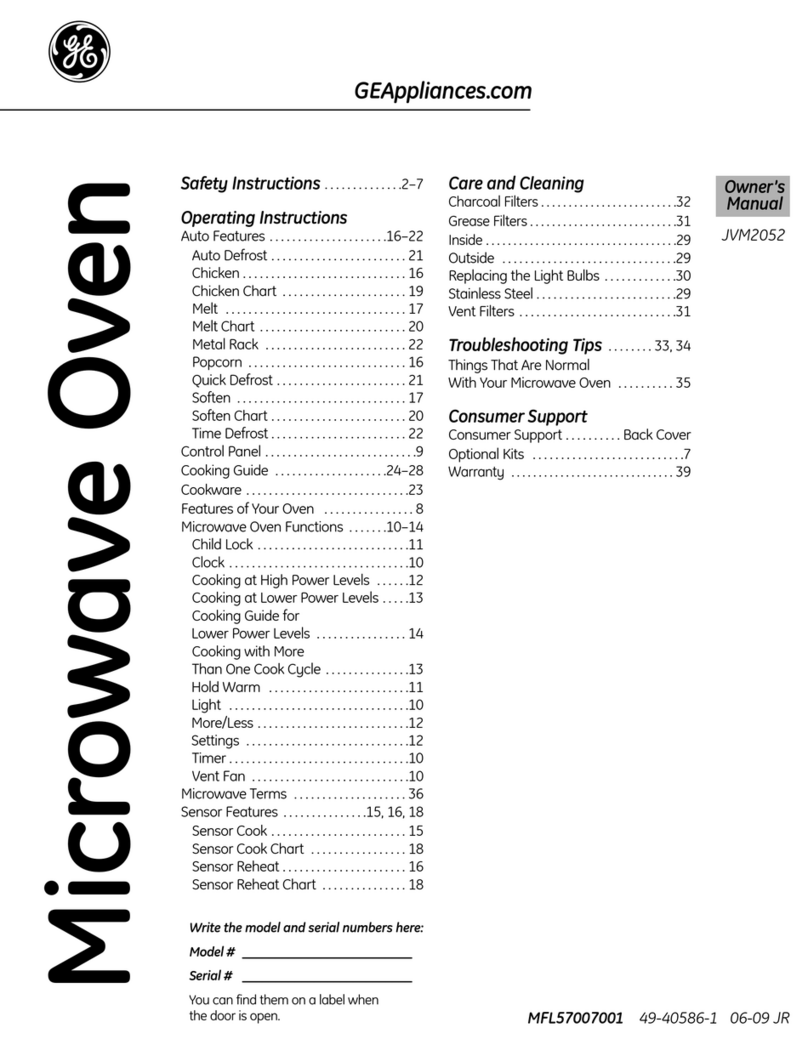
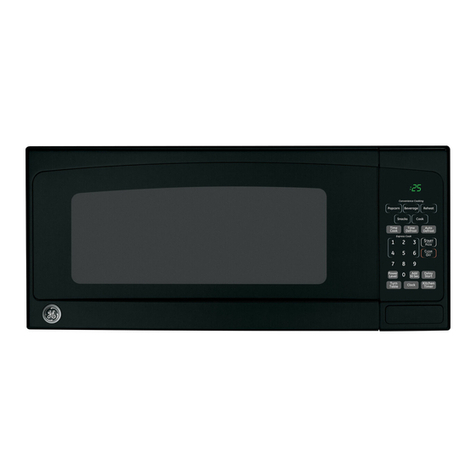
GE SpacemakerXL JVM1630 User manual

Models: 10_ Watts
JVM1630
JVM1631
SpacemakerXLMicrowave Oven
Owner's Manual
Important SafetyInformation
Operating Instructions
_5
Otke__b_#res 24
M
m
Helpful Information
[]

READ ALL SAFETY
INFORMATION BEFORE USING

Welcome to the GE thmily.
We're proud of our quality
products and we believe in
dependable set vice.
You'll see it in this easy-t(_-
use manual and you'll hear
it in the fi-iendly voices of
our cons/lllaer service
department.
Best of all, you'll experience
these \values each time you
use your microwave. That's
important, because your
new microwave will Ix' part
of your tamily for a long
time.
Start Herd... Before using your Microwave
Write down the model and
serial numbers here, They
are on a label inside the
oven.
Stapleyourreceipt tothe
insideback cover ofthis
manual Youwill needit
to obtainservice under
warranty,
Model number
Serial number
Date otpurchase
Help us
help you
Be[bre you call tor sera, ice,
there are a t;ew things you
can do to help us ser_,e you
betten
Read this manual
It contains insttnactlons to
help you use and maintain
your microwave properly.
If you received a damaged
oven...immediately contact
the dealer (or builder)
that sold you the oven.
Save time and money,
Check the section titled
"If Something Goes
Wrong" before caning.
This section helps you
solve common problems
that might occur.
If you do need service, you
can relax knowing help is
only a phone call away.
A list of tolbii-ee customer
service numbers is included
in the back of this manual.

READ ALL SAFETY
INFORMATION BEFORE USING
>>>>>>>>>>>
" Read and fi311owthe
specific "Precautions to
Avoid Possible Exposure
to Excessive Microwave
Enet'gy" on page 2.
• This appliance must be
grounded. Connect only
to properly grounded
outlet. See Grounding
Instructions section on
page 10.
• Do not mount this
appliance over a sink.
• Install or locate this
appliance only in
accordance with the
provided Installation
Instructions.
• This ovel_th_range oven
was designed for use over
ranges no wider than 36'.
It may Ix. installed over
both gas and electric
cooking equipment.
• Do not operate this
appliance if it has a
damaged power cord or
plug, if it is not working
properly, or if it has tx.en
damaged or dropped.
If the power cord is
damaged, it mlJ.st be
replaced by General
Electric Setwice or an
authorized service agent
using a power cord
available ti-om Genel_al
Electric.
• Use this appliance only
fi_r its inmnded use as
described in this manual.
Do not use corrosive
chemicals or vapors in this
appliance. This microwave
oven is specifically
designed m heat, diT or
cook ti_od, and is not
intended ti)r labor'atot T
or industrial use.

,, Do not cover or block
any openings on the
appliance.
"Do not store this
appliance outdoors.
Do not use this product
near water--for example,
in a wet basement, near
a swimming pool or
near a sink.
*'Keep power cord away
from heated surfaces.
• Do not immerse power
cord or plug in water:
•'lb reduce the risk of fire
in the oven cavity:
- Do not overcook tbod.
Carefully attend
appliance if papm;
plastic or other
combustible materials
are placed inside the
oven while cooking.
Remove wire twist-ties
and metal handles fl-om
paper or plastic con-
tainers befbre placing
them in the oven.
Do not use the oven
for storage purposes.
Do not leave paper
producls, cooking
utensils or food in the
oven when not in use.
If materials inside oven
should ignite, keep the
oven door ch)sed, turn
the oven off and
disconnect the power
cord, or shut off power
at the fllse or circuit
breaker panel. If the
door is opened, the fire
may spread.
• See door surtace
cleaning insmlctions in
the Care and Cleaning
section(s) of this manual.
• This appliance should
be serviced only by
qualified service
personnel. Contact
nearest authorized
ser_dce facility for
examination, repair
or adjustment.
• As with any appliance,
close supervision is
necessat T when used
by children.
SAVE THESE INSTRUCTIONS

m
SPECIAL NOTES ABOUT MICROWAVING
th_CLEAB/OFF_
Arcing is the microwave
term fbr sparks in the
oven. Arcing is caused by:
*Metal or tbil touching
the side of the oven.
"Foil not molded to tbod
(upturned edges act like
antennas).
*Metal, such as twist-ties,
poultry pins, or gold-
rimmed dishes, in the
microwave.
"Recycled paper towels
containing small metal
pieces being used in the
microwave.
*Do not pop popcorn in
your microwave oven
unless in a special
microwave popcorn
accessory or unless you
use popcorn labeled fbr
use ill microwave ovens.
*Some products such as
whole eggs and sealed
containers._for example,
closed jars--will explode
and should not be heated
in this microwave oven.
Such use of the microx*rave
oven could result in injury.
*Do not boil eggs in a
microwave oven. Pressure
will build up inside egg
yolk and will cause it to
burst, possibly resulting
in i_jury.
"Operating the microwave
with no tbod inside fbr
more than a minute or
two may cause damage
to the oven and could
start a tire. It increases
the heat around the
magnetron and can
shorten the lit_bof the
oven.
"Foods with unbroken
outer "skin" such as
potatoes, hot dogs,
sausages, tomatoes,
apples, chicken livers
and other giblet.s, and
egg yolLs should be
pierced to allow steam to
escape during cooking.

'L!J.
'*Avoid heating baby todd
in glass jars, even with
the lid die Make sure all
intant todd is thoroughly
cooked. Stir todd to
distribute the heat evenly.
Be careful to prevent
scalding when warming
tbrrmda or breast milk.
The container may tbel
cooler than the milk
really is. Always test the
milk betore t;t.eding
the baby.
'*Spontaneous boiling--
Under certain special
circumstances, liquids
may start to boil during
or shortly atier removal
ti-om the illicrowave
oven. 'lb prevent burns
ti-om splashing liquid, we
recommend the tollowing:
betore removing the
container ti-om the oven,
allow the container to
stand in the oven tor 30
to 40 seconds atier the
oven has shut ottl Do not
boil liquids in narrow-
necked containers s/lch
as soft drink bottles, wine
flasks and especially
narrow-necked cott;t.e
cups. Even if the
container is opened,
excessive steam can build
up and cause it to burst
Or oveFflO_,A I.
"Don't defl-ost fl-ozen
beverages in narrow-
necked bottles (especially
carbonated beverages).
Even if the container is
opened, pressure can
build up. This can cause
the container to burst,
possibly resulting in
i_jury.
"Hot tbods and steam
can cause burns. Be
caretul when opening
any containers of hot
R)od, including popcorn
bags, cooking pouches
and boxes. 'lb prevent
possible i_jury, direct
steam away fl-om hands
and tace.
,, Do not overcook
potatoes. They could
dehydrate and catch
fire, causing damage
to your own.
"Cook meat and poultry
thoroughly--meat to at
least an INTERNAL
temperature of 160°E
and poultry to at least an
INTERNAL temperature
of 180°E Cooking to
these temperatures
usually protects against
toodborne illness.

m
SPECIAL NOTES ABOUT MICRO WAV1NG
Make sure all cookware
used in your micro)wave
oven is suitable fbr
microwaving. Most glass
casseroles, cooking dishes,
measuring cups, custard
cups, pottery or china
dinnerware which does not
have metallic trim or glaze
with a metallic sheen can
be used. Sortie cookware
is labeled "suitable tier
microwaving,"
" If you are not sure ifa
dish is microwavt.-safi',
use this test: Place in the
oven both the dish you
are testing and aglass
measuring cup filled with
1 cup of watet_-_set the
measuring cup either
in or next to the dish.
Microwave 30-45 seconds
at high. If the dish heats,
it should not be used fi)r
microwaving.
If the dish remains cool
and only the water in the
cup heats, then the dish
is microwave-saSh.
'* llyou use a meat the_
mometer while cooking,
make sure it is sa_b fk_r
HSe ill i]rlicroiarave ovens.
,*Do not use recycled
paper products. R_.cycled
paper towels, napkins
and waxed paper can
contain metal flecks
which may cause arcing
or ignite. Paper products
containing nylon or
nylon filaments should
be avoided, as they may
also ignite.
'*Some styrot_)am trays
(like those that meat is
packaged on) have a thin
strip of metal embedded
in the bottom. When
microwaved, the metal
can burn the floor of the
oven or ignite a paper
towel.
,*Do not use the rtlicrowav_.
to dry newspapers.
'*Not all plastic wrap is
suitable fk_ruse in micro-
wave ovens. Check the
package tier proper use.
"Paper towels, waxed
paper and plastic _*gr'ap
can be used to cover
dishes in order to retain
moistt_r_' and pr_'ve_t
spattering. Be sure to
vent plastic wt_ap so steam
can _scape.
"(3ookware lllay become
hot because of heat
trans£1'rred ti-om the
heated ti_od. Pot holders
may be needed to handle
the cookware.
""Boilable" cooking
pouches and tightly
closed plastic bags should
be slit, pierced or vented
as directed by package.
If they are not, plastic
could burst during or
immed-iately after
cooking, pos_siblyresulting
in injury. Also, plastic
storage containers should
be at least partially
uncovered because they
fk)rm a tight seal. When
cooking with container's
tightly covered with
plastic wrap, remove
cow, ring cal"¢,ti_llyand
diR'ct steam away ti-om
hands and tare.

I.,I
" Use ibil only as
directed in this manual.
_' dinners may be
microwaved in fbil trays
less than 3/4" high;
remove the top tbil cover
and return the tray to
the box. When using tbil
in the microwave oven,
keep the tbil at least
1" msrayfrom the sides
of the oven.
• Plastic cookvrare--Plastic
cookware designed fbr
microwave cooking is
very useflal, but should
be used caretuny. Even
microwave-sat;e plastic
may not be as tolerant
of overcooking
conditions as are glass or
ceramic materials and
may soften or char if
suhjected to short periods
of overcooking. In
longer exposures to ovet_
cooking, the tbod and
cookware could ignite.
Folh)w these guidelines:
I Use microwave_atb
plastics only and use
them in strict compliance
with the cooDa_are
l_lanufac turer's
recommendations.
2 Do not microwave empty
containers.
3 Do not permit children
to use plastic cooku_are
without complete
supervision.
The fire will operate
automatically under
certain conditions (see
Automatic Fan t;eamre).
Take care to prevent the
starting and spreading of
accidental cooking fires
while the vent fire is in use.
• Clean the underside of
the microwave often.
Do not allow grease
to build up on the
microwave or the
tian filters.
• In the event of a grease
fire on the snrtiace units
beh)w the microwave
oven, smother a flaming
pan on the snrtace unit
hy covering the pan
completely with a lid, a
cookie sheet or a flat tray.
• Use care when cleaning
the vent tian filters.
Corrosive cleaning
agems, such as lye-based
oven cleaners, may
damage the filters.
• When preparing flaming
fbods under the
microwave, turn the
_an on.
• Never leave surfi_ce units
beneath your microwave
oven unattended at high
heat settings. Boilovers
cause smoking and
greasy spillovers that may
ignite and spread if the
microwave vent tan is
operating. 'lb minimize
automatic tian operation,
use adequate sized
cookware and use high
heat on surtiace units
only when necessary.

GROUNDINGINSTRUCTIONS/OPTIONALKITS
AWARNING
Improperuseofthe
groundingplug can resultin
a risk ofelectric shock,
This appliance must be
grounded. In the event of
an electrical short circuit,
grounding reduces the
risk of electric shock by
providing an escape wire
tbr the electric current.
This appliance is equipped
with a power cord having
a grounding wire with a
grounding plug. The plug
nmst be plugged into an
outlet that is properly
installed and grounded.
Consult a qualified electri-
cian or service technician if
the grounding instructions
are not completely under-
stood, or if doubt exists as
to whether the appliance is
properly grounded.
If the ouOet is a standard
2-prong wall outlet, it is
your personal responsibility
and obligation m have it
replaced with a properly
grounded %prong wan
outlet.
Do not under any circum-
stances cut or ren]ove tile
third {ground) prong ti-om
the power cord.
Do not use an adapter
plug with this appliance.
Do not use an extension
cord with this appliance.
It the power cord is too
short, have a qualified
electrician or service
technician install an outlet
near the appliance.
For best operation, plug
this appliance into its own
electrical outlet to prevent
flickering of lights, blowing
of fuse or tripping of
circuit breaker.
Filler Panel Kits
JX48WH--White
JX48BL--Black
JX48CT--Bisque
When replacing a 36"
t_ange hood, filler panel
kits fill in the additional
width to provide a custom
built-in appearance.
10
For installation between
cabinets only; not tbr
end-oi_abinet installation.
Each kit contains Iwo
3"_wide filler panels.
Filter Kits
JX81D--Recirculating
Charcoal Filter Kit
Filter kits are used when
the microwave oven cannot
be vented to the outside.
DecorativePanel Kit
JX22SS--Stainless Steel
When replacing a Hi/Low
t_ange, the decot_ative panel
kit fills in the area between
the microwave and the
t_ange leti by the Hi/Low
model.
Available at extt_a cost fl-om
your GE supplien

l atures of"Your Microwave
(77troughout this man_lal, f_at'ur_ and appearance
may vary[tom your model.)
1 Door Handle, Pull to
open the doon ']'he
door must be securely
latched for the
microwave to operate.
2 Door Latches,
3 Window with Metal
Shield. Screen allows
cooking to be viewed
while keeping
microwaves cotltlned
in the oven.
4 Touch Control Panel.
5 CooktopLights.
6 GreaseFilters,
7 RemovableTurntable.
'Ihrntable and support
must be in place when
using the oven. The
turntable may be
removed tbr cleaning.
8 ConvenienceGuide.
NOTE:Rating plate, oven
vent(s) and oven light are
located on the inside walls
of the microwave oven.
11

The Controls on Your Microwave Oven
(Throughout this manual, jkatur_ and appearance may vary.[tom your model.)
Youcan
microwave by
time or with the
convenience
features,
DEFROST
AUTO/TIME
1 2 3
4 5 6
POWER ADD
30 SEC.
Time Features
_meCookmg
IME COOl(I& II (Pressonceortwice) Amount ot cooking time.
Amount ot deti-osting time.
EXPRESSCO0_ Starts immediately!
Power level 1-10.
Star_s immediately!
12

POPCORN BEVERAGE
REHEAT DEFROST
Convenience Features
POPCORN Starts immediately!
3.5 oz.
3.ooL
1.7_oL
Starts immediately!
Food type 1-6
more/less time
1-3 servings
1-3 servings
13

14
Variable power levels add
flexibility to microwave
cooking. The power levels
on the microwave oven
can be compared to the
snriace unils on a range.
High (power level 10) or
fllll power is the tastest way
to cook and gives you
100% powen Each power
level gives you microwave
energy a certain percent of
the time. Power level 7 is
microwave energy 70% of
the time. Power level 3 is
energy 30% of the time.
A high setting (10) will
cook faster but flood may
need more frequent
stirring, rotating or turning
oven Most cooking will be
done on High (power level
10). A lower setting will
cook more evenly and need
less stirring or rotating of
the _bod.
Some _bods may have
better flavor, texture or
appearance if one of the
lower settings is used. Use
a lower power level when
cooking ibods that have a
tendency to boil ovm, such
as scalloped potatoes.
Rest periods (when the
microwave energy cycles
o_) give time ibr the _bod
to "equalize" or tr'ansi;..r
heat to the inside of the
ibod. An example of this is
shown with power level 3----
the defi-ost cycle. If micro-
wave energy did not cycle
oii; the outside of the fbod
would cook beibre the
inside was defrosted.
Here are some examples
of uses tor various power
levels:

Time I atures
TimeCookI
Allows you to microwave
for any time up to 99
minutes and 99 seconds.
Power level 10 (High)
is automatically set, but
you may change it tbr
more flexibility.
You may open the door
during Time Cook to
check the tood. Close the
door and press S'IART
to resume cooking.
Time Cook II
Lets you change power
levels automatically during
cooking. Here's how to
do it:
1Press TIME COOK.
2Enter the first cook time.
3Change the power level
if you don't want flfil
powen (Press POWER
LEVEL. Select a desired
power level 1-10.)
4Press TIME COOK.
5 Enter the second cook
time.
6Change the power level
if you don't want flfil
powen (Press POWER
LEVEL. Select a power
level 1-10.)
7Press STAKE
At the end of Time Cook 1,
Time Cook II counts down.
15

Cooking Guide ]br 7 me Cook I & H
NOTE:Usepower level High (10)unlessotherwise noted,
1 lb. 1,11V_-qt.oblong glass baking dish,
place 1/4 cup waten
lO-oz, package In 1-qt. casserole.
1 lb. cut in half In 1½<It. casserole, place 1/2 cup u-amn
l(I-oz, package In 1-qt. casserole, place 2 tablespoons
water:
lO-oz, package In 1-qt. casserole, place 1/4 cup waten
1 bunch In 2-qt. casserole, place 1/2 cup waten
1 bunch
(1¼ m 1½ Ibs.)
1 bunch
(1¼ m 1½ Ibs.)
l(,M)z, package
lO_)z, package
1 medium head
(about 2lbs.)
6 to 9 rain.,
Me&High (7)
5 to 7 min.
9 to 11 min.
6 to 8 min.
6 to 8 min.
17 to 21 min.
7 to 10 min.
9 to 13 min.
5 to 7min.
5 to 7min.
8 to 11 min.
7to 10 min.
In 2-qt. casserole, place 1/2 cup waten
In 2-qt. oblong glass baking dish, place
1/4 cup waten
In 1-qt. casserole.
In 1-qt. casserole, place 3 tablespoons
wateg
In li/_-or 2-qt. casserole, place 1/4 cup
wateE
In 2- or 3-qt. casserole, place 1/4 cup
water.
1 lb. 7 to 9 min. In 1½-qt. casserole, place 1/4 cup u-ate_:
10-oz. package 5 to 7 min. In 1-qt. casserole, place 2 tablespoons
wateg
1 medium head 9 to 14 min. In 9-qt. casserole, place 1/9 cup watel:
1 medium head 10 to 17 min. In 9-qt. casserole, place 1/9 cup watel:
10-oz. package 5 to 7 min. In 1-qt. casserole, place 2 tablespoons
wateg
16

In 1<It. casserole, place 2 tablespoons
watel2
10-oz. package
4 potatoes
to 8 oz. each
1(6to8oz.)
5 to 7 min.
3 to 4 min.
)er ear
5 to 6 min.
3 to 4 min.
ler ear
5 to 7 min.
9 to 12 min.
5 to 7 min.
9 to 12 min.
3 to 4 min.
5 to 7 min.
5 to 7 min.
5 to 7 min.
8 to 11 min.
In 2Nt. oblong glass baking dish, place
corn. If corn is in husk, use no water;
if corn has been husked, add 1/4 cup
x*ratm: Rearrange after half of time.
Place in 2-qt. oblong glass baking dish.
Cover with vented plastic wrap.
Rearrange after half of time.
In 1-qt. casserole, place 3 tablespoons
watel_
In 1-qt. casserole, place 1/4 cup waten
In 1-qt. casserole, place 2 tablespoons
watel_
Peel and cut into 1 inch ctlbes. Place
in 2_t. casserole with 1/2 cup waten
Stir atier half of time.
Pierce with cooking fork. Place in
center of the oven. Let stand 5 minutes.
In 2<It. cas;serole, place x*rashed spinach.
In 1<lt. casserole, place 3 tablespoons
watel_
In 1E,-c!t. casserole, place 1/4 cup x*rateE
Cut in half and remove fibrous
membranes. In 2-qt. oblong glass
baking dish, place squash cut-side-
down. Turn cut_sidemp after 4minutes.
17

7 me I atures
18
Allows you to defrost fbr
the length of time you
select. See the Defrosting
Guide fbr suggested times.
Power level 3 is automati-
cally set, but you may
change this fbr more
flexibility. You may defrost
small items more quickly
hy raising the power level
after entering the time.
However, they will need
more frequent attention
than usual.
Power level 7 cuks the total
defrosting time in about
half_ power level 10 cuts
the total time to approxi-
mately 1/3. Rotate or stir
fbod frequently.
At one half of selected
defrosting time, the oven
signals TURN. At this time,
turn tbod over and break
apart or rearrange pieces
fbr more even defrosting.
Shield any warm areas with
small pieces of [bil.
A dull thumping noise may
be heard during defrosting.
This sound is normal when
the oven is not operating
at High powen
Defrostinglips
"Foods frozen in paper or
plastic can be defrosted
in the package. Tightly
closed packages should
be slit, pierced or vented
AIgPER tbod has partially
defrosted. Plastic storage
containers should be at
least partially uncovered.
"Family-size, prepackaged
frozen dinners can be
defrosted and micro-
waved. If the fbod is in a
fbil container, tr'anst;..r it
to a microwave-satb dish.
" Foods that spoil easily,
such as milk, eggs, fish,
stuffings, poultry and
pork, should not be
alh)wed to sit out [br
more than one hour
after defrosting. Room
temperature promotes
the growth of harmful
bacteria.
,, For more even defrosting
of larger tbods, such as
beef, lamb and veal
masks, use Auto Defrost.
"Be sure large meats are
completely defrosted
betbre cooking.
"When defrosmd, tood
should be cool but
softened in all areas. Ifstin
slightly icy, return to the
micro_a_avevery briefly, or
let it stand a few minutes.

Dq'rosting Guide
1 rain.
3 to 5 rain.
6 to 8 rain.
5 to 7 rain. Place block in casserole, 'l\lrn over and
break up after half the time.
3 to 6 rain.
2 to 5 rain.
2 to 5 min.
i 5 toymin.
Ro_t:_ _ef, la_ voal,_ork 12 to 16 rain.
per lb.
Steaks, _hops 5 to 7rain.
per lb.
15 to 19 rain.
17 m 21 rain.
to 13 rain.
r lb.
to 9 rain.
r lb.
Place unopened package in oven.
Let stand 5 minutes atier defi-osting.
Place unopened package in oven.
Microwave just until ti_anks can be
separated. Let stand 5 minutes, if
necessary, to complete defi-osting.
Turn meat over after half the time.
Use power level 1.
Place unwrapped meat in cooking dish.
Turn over afier half the time and shield
warm areas with tbil. When finished,
separate pieces and let stand to complete
defi-osting.
Place wrapped chicken in dish. Unwrap
and turn over atier half the time. When
finished, sepat_ate pieces and microwave
2 to 4 minutes more, if necessary.
Let stand to finish defi-osting.
Place wrapped chicken in dish. After half
the time, unwrap and turn chicken ovet:
Shield warm areas with tbil. Finish
defi-osting. If necessary, run cold water in
the cavity until giblets can be removed.
Place unwrapped hen in the oven breast-
side-up. 'I\lrn over atier half the time.
Run cool water in the cavity until giblets
can be rel13oved.
Place unwrapped breast in dish breasl-
side-down. Atier half the time, turn over
and shield warm areas with fbil. Finish
defi-osting. Let stand 1 to 2 hours in
reti-igerator to complete defi-osting.
19

7 me I atures
This is a quick way to set
cooking time for 1-6 minutes,
Press one of the Express
Cook pads (fi-om 1 to 6)
fbr 1 to 6 minutes of
cooking at power level 10.
For example, press the
2 pad ibr 2 minutes of
cooking time.
The power level can be
changed as time is
counting down. Press
POWER LEVEL and
enter 1-10.
ADD
30SEC.
Youcan usethis feature
two ways:
'*It will add 30 seconds to
the time counting down
each time the pad is
pressed.
"It can be used as a quick
way to set 30 seconds of
cooking time.
2O
Other manuals for SpacemakerXL JVM1630
5
This manual suits for next models
1
Table of contents
Other GE Microwave Oven manuals

GE
GE JE1050GA User manual

GE
GE JNM7196SFSS User manual

GE
GE JES0737DN Manual

GE
GE JVM6175SF1SS User manual

GE
GE JNM6171DFBB Operating manual

GE
GE Spacemaker 49-40614 User manual

GE
GE Spacemaker 49-4425 Installation instructions

GE
GE JNM3184 User manual

GE
GE JE1237T Use and care manual

GE
GE JE1425K Use and care manual

GE
GE JES1657 User manual

GE
GE JVM3162DJWW User manual

GE
GE JVM6172 User manual

GE
GE SpacemakerXL JVM1410 User manual

GE
GE JE85T Use and care manual

GE
GE JEB1095 User manual

GE
GE JES1460DSBB User manual

GE
GE Appliances WES1450 User manual

GE
GE Spacemaker 164 D2588P063 User manual

GE
GE Spacemaker III JE660J User manual