Install screens.
(Screens
should be
brand new.
Replace
them if
they are old
or worn).
Use pliers to
tighten 1/2
turn beyond
hand-tight
5. Connect water supply
hoses to wall faucets
Avoid a
Repair!
Avoid a
Repair!
Install screen washers; without
them debris will clog the valve
and flooding will occur
Do not mix hot and cold water
supplies. Mixing them will
result in poor wash perfomance
Drain
hose
Fill hoses
and parts
bag
Styrofoam block &
owner’s manual
Circles or ovals are color matched
between pictures to help show
location on product
1. Unpack your washer
Installation Instruction - Quick Reference Guide
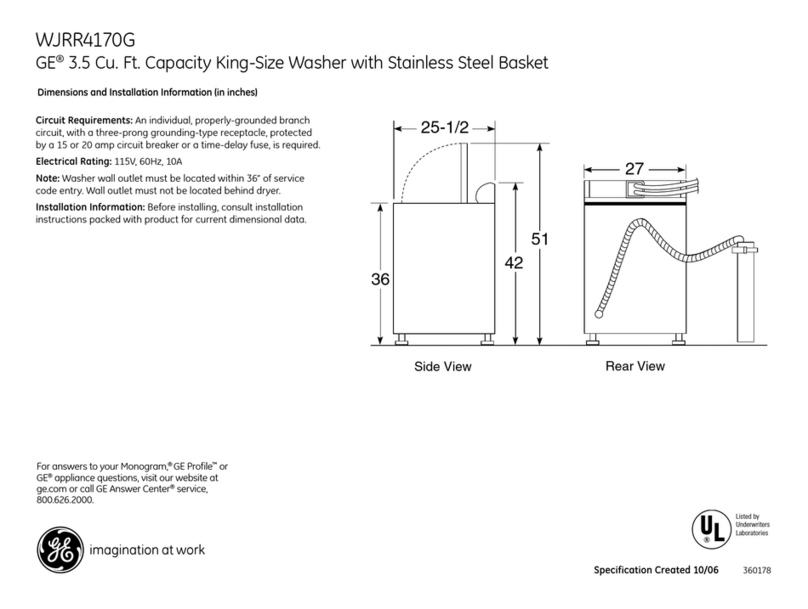
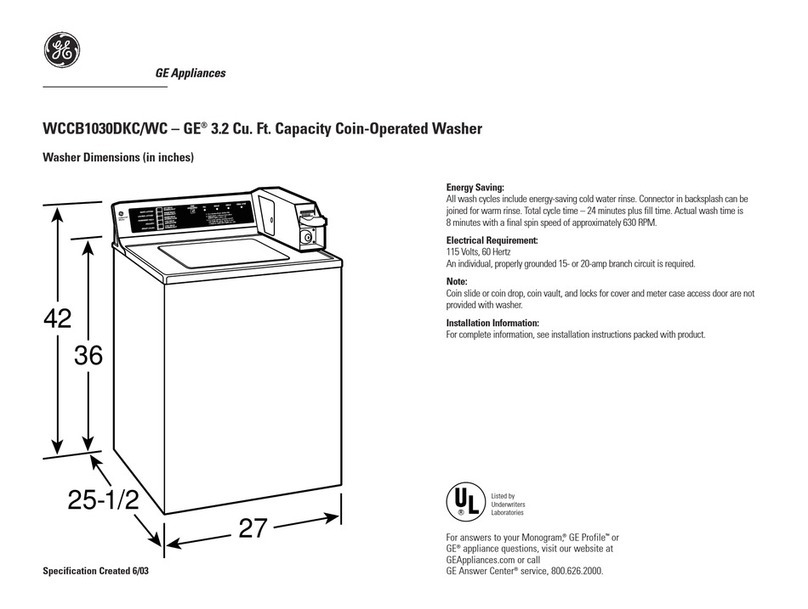
For the complete and detailed installation instructions as well as all safety concerns and warnings, please refer to the installation instructions manual.
Phillips Head
Screwdriver or 1/4"
Nut Driver
Slip Joint
Pliers
Level
Tools you will need
Use screwdriver
3. Install drain hose to the
back of the washer
Avoid a
Repair!
Use clamps and screws for drain
hose installation; without them
leaks and flooding may occur
Install washers. (Washers should
be brand new. Replace them if
they are old or worn). Use pliers
to tighten 1/2 turn beyond
hand-tight
4. Connect water supply
hoses to back of washer
Avoid a
Repair!
Do not cross thread the water
hoses and do not forget to
install the washers. Flooding
may occur
2. Remove metal rod from
bottom right
Remove rod by pulling on
yellow plastic handle
Avoid a
Repair!
Remove metal rod. Leaving rod
in place WILL result in severe
damage to the washer
Use cable tie
6. Connect drain hose
to drain opening
Avoid a
Repair!
Meet 30” drain hose height
requirement. Less than 30”
without U clip WILL NOT allow
proper washer operation
Congratulations! Your installation is successful and complete.
Refer to your Owner’s Manual for operation instructions.
8. Installation
complete!
Avoid a
Repair!
Check for leaks after you turn
on the water
Avoid a
Repair!
Avoid a
Repair!
7. Level your washer
and plug it in
Tilt washer
forward 4 to 6
inches and
then set it back
down – rear legs
will self-align
Ensure washer is properly
leveled, otherwise damage
WILL occur
Ensure that washer is powered
by 115V, 15 or 20 amp wall
receptacle
Level
front legs
left to right
Dele la vuelta para instrucciones en español
clip
