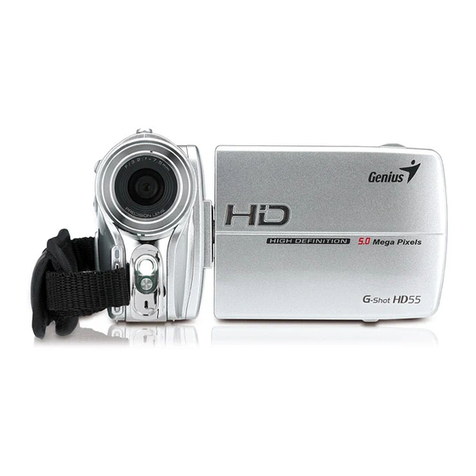
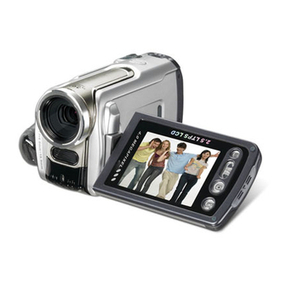
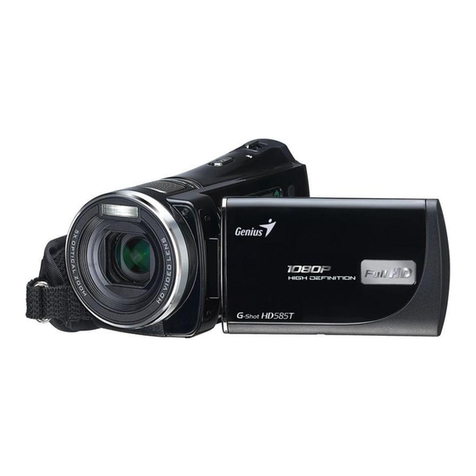
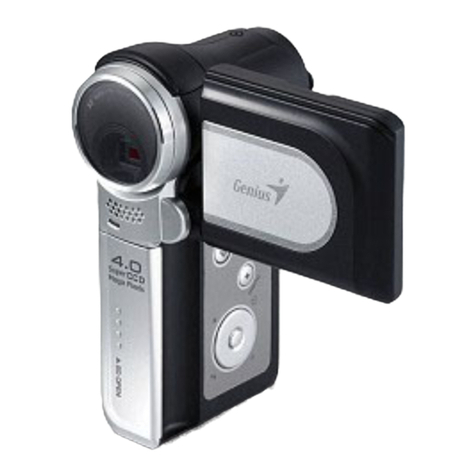
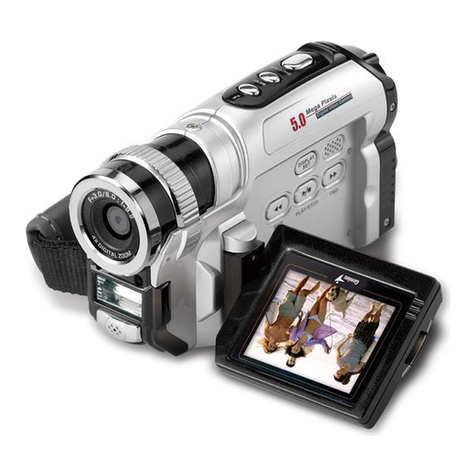
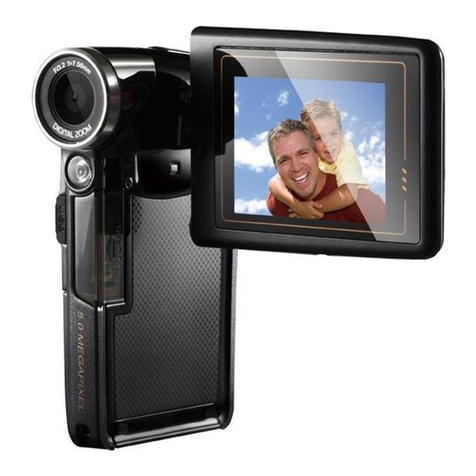
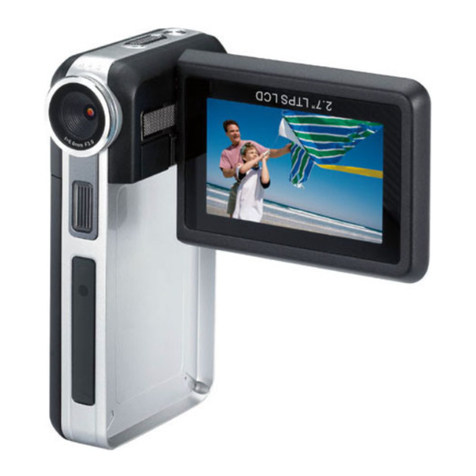
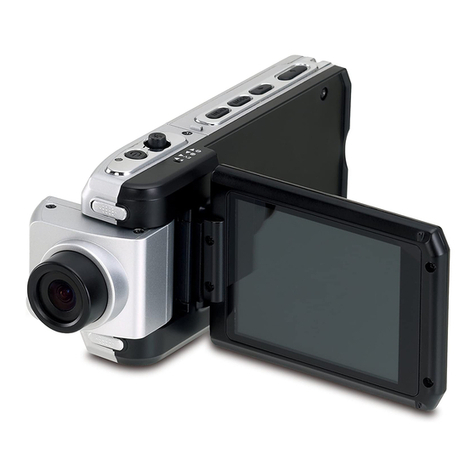
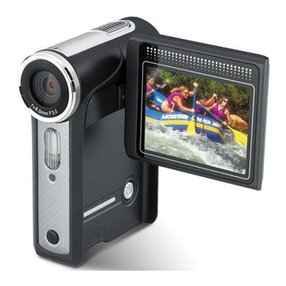
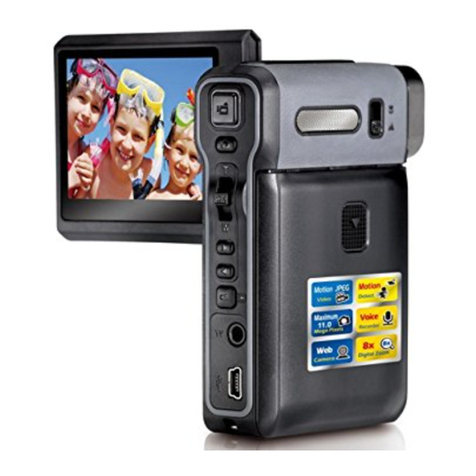
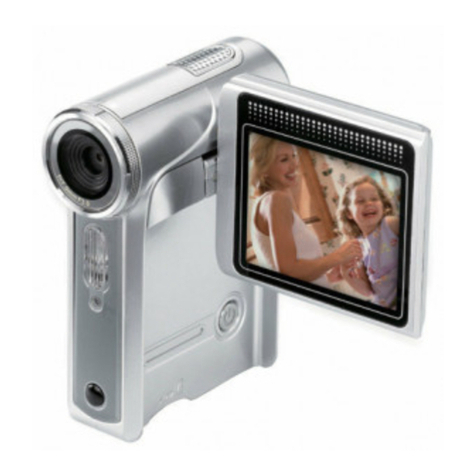
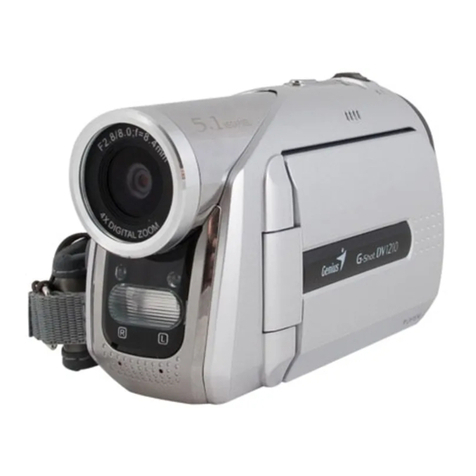
Genius G-Shot HD520 User manual

English
-1-
WEEE Warning Message
Symbol for Separate Collection in European Countries
This symbol indicates that this product is to be collected
separately.
The following apply only to users in European countries:
zThis product is designated for separate collection at an
appropriate collection point. Do not dispose of as
household waste.
zFor more information, contact the retailer or the local
authorities in charge of waste management.
FCC STATEMENT
This device complies with Part 15 of the FCC Rules. Operation is subject to the
following two conditions:
(1). This device may not cause harmful interference, and
(2). This device must accept any interference received, including interference that
may cause undesired operation.
Note:
This equipment has been tested and found to comply with the limits for Class B digital
devices, pursuant to Part 15 of the FCC rules. These limits are designed to provide
reasonable protection against harmful interference in a residential installation. This
equipment generates uses and can radiate radio frequency energy and, if not installed
and used in accordance with the instructions, may cause harmful interference to radio
communications.
However, there is no guarantee that interference will not occur in a particular
installation. If this equipment does cause harmful interference to radio or television
reception, which can be determined by turning the equipment off and on, the user is
encouraged to try to correct the interference by one or more of the following
measures:
Reorient or relocate the receiving antenna
Increase the separation between the equipment and receiver
Connect the equipment into an outlet on a circuit different from that to which the
receiver is connected

English
-2-
Use of shielded cable is required to comply with Class B limits in Subpart B of Part 15
of the FCC rules.
Do not make any changes or modifications to the equipment unless otherwise
specified in the manual. If such changes or modifications should be made, you could
be required to stop operation of the equipment.
Product Information
1. Product design and specifications are subject to change without notice. This
includes primary product specifications, software, software drivers, and user’s
manual. This User Manual is a general reference guide for the product.
2. The product and accessories that come with your camera may be different from
those described in this manual. This is due to the fact that different retailers often
specify slightly different product inclusions and accessories to suit their market
requirements, customer demographics, and geographical preferences. Products
very often vary between retailers especially with accessories such as batteries,
memory cards, cables, carrying cases/pouches, and language support.
Occasionally a retailer will specify a unique product color, appearance, and internal
memory capacity. Contact your dealer for precise product definition and included
accessories.
3. The illustrations in this manual are for the purpose of explanation and may differ
from the actual design of your camera.
4. The manufacturer assumes no liability for any errors or discrepancies in this user
manual.
5. For driver updates, you can check the “Download” section of our website,
www.geniusnet.com
SAFETY INSTRUCTIONS
Read and understand all Warnings and Cautions before using this product.
Warnings
If foreign objects or water have OKed the camera, turn the
power OFF and remove the battery.
Continued use in this state might cause fire or electric shock. Consult
the store of purchase.
If the camera has fallen or its case has been damaged, turn the
power OFF and remove the battery.
Continued use in this state might cause fire or electric shock. Consult
the store of purchase.

English
-3-
Do not disassemble, change or repair the camera.
This might cause fire or electric shock. For repair or internal inspection,
ask retailer where you purchased it.
Do not use the camera in areas near water.
This might cause fire or electric shock. Take special care during rain,
snow, on the beach, or near the shore.
Do not place the camera on inclined or unstable surfaces.
This might cause the camera to fall or tilt over, causing injury.
Keep the batteries out of the reach of children.
Swallowing batteries might cause poisoning. If the battery is accidentally
swallowed, immediately consult a physician.
Do not use the camera while you are walking, driving or riding a
motorcycle.
This might cause you to fall over or result in a traffic accident.
Cautions
Insert the batteries paying careful attention to the polarity (+ or –) of
the terminals.
Inserting the batteries with its polarities inverted might cause fire and injury,
or damage to the surrounding areas due to the battery rupturing or leaking.
Do not fire the flash close to anyone’s eyes.
This might cause damage to the person’s eyesight.
Do not subject the LCD monitor to impact.
This might damage the glass on the screen or cause the internal fluid to
leak. If the internal fluid OKs your eyes or comes into contact with your
body or clothes, rinse with fresh water.
If the internal fluid has OKed your eyes, consult a physician to receive
treatment.
A camera is a precision instrument. Do not drop it, strike it or use
excessive force when handling the camera.
This might cause damage to the camera.
Do not use the camera in humid, steamy, smoky, or dusty places.
This might cause fire or electric shock.
Do not remove the battery immediately after long period of
continuous use.
The battery becomes hot during use. Touching a hot battery might cause
burns.
Do not wrap the camera or place it in cloth or blankets.
This might cause heat to build up and deform the case, resulting in fire.
Use the camera in a well-ventilated place.
Do not leave the camera in places where the temperature may rise
significantly, such as inside a car.
This might adversely affect the case or the parts inside, resulting in fire.
English
-4-
Before you move the camera, disconnect cords and cables.
Failure to do this might damage cords and cables, resulting in fire and
electric shock.
Notes on Battery Usage
When you use the battery, carefully read and strictly observe the Safety Instructions
and the notes described below:
Use only the specified battery
Avoid using the battery in extremely cold environments as low temperatures can
shorten the battery life and reduce camera performance.
When you are using the new rechargeable battery or rechargeable battery that
has not been used for an extended period of time (the battery that passed the
expiry date is an exception) might affect the number of images that can be
captured. Therefore, to maximize its performance and lifetime, we recommend
that you fully charge the battery and discharge it for at least one complete cycle
before use.
The battery may feel warm after long period of continuous use of the camera or
the flash. This is normal and not a malfunction.
The camera may feel warm after long period of continuous use. This is normal and
not a malfunction.
If the battery is not to be used for a long period of time, remove it from the camera
to prevent leakage or corrosion.
If the battery is not to be used for a long period of time, store it after no battery
power left. If the battery is stored for a long time in a fully charged state, its
performance may be impaired.
Always keep the battery terminals in a clean state.
Risk of explosion if battery is replaced by an incorrect type.
Dispose of used batteries according to the instructions.
We recommend the battery should be charged 8 hours for first time use.

English
-5-
CONTENTS
GETTING TO KNOW YOUR CAMERA ___________________ 8
OVERVIEW ____________________________________________ 8
STANDARD ACCESSORIES _________________________________ 8
FRONT VIEW___________________________________________ 9
KEYPAD ILLUSTRATION __________________________________ 9
SIDE VIEW ___________________________________________ 10
TOP VIEW ____________________________________________ 10
BOTTOM VIEW ________________________________________ 10
GETTING STARTED __________________________________ 11
INSTALLING THE BATTERY _______________________________ 11
INSERTING AND REMOVING AN SD CARD ____________________ 11
RECORD MODE______________________________________ 12
BUTTON FUNCTION_____________________________________ 12
LCD MONITOR INFORMATION ____________________________ 13
H.264 MOVIE RECORDING _______________________________ 14
PICTURE RECORDING ___________________________________ 14
USING DIGITAL ZOOM __________________________________ 14
MENU MODE________________________________________ 14
MENU MODE________________________________________ 15
MENU MODE _________________________________________ 16
Mode set ___________________________________________ 16

English
-6-
Video Size___________________________________________ 16
Possible recording time / sec (video clip) __________________ 16
Possible number of shots (still image)_____________________ 16
IMAGE SIZE ________________________________________ 17
Select Image size for the image resolution. _________________ 17
QUALITY___________________________________________ 17
METERING _________________________________________ 17
EFFECT ___________________________________________ 18
EIS________________________________________________ 18
SET UP ____________________________________________ 18
MODE/PLAYBACK ___________________________________ 20
PLAYBACK MODE ______________________________________ 20
MP3/ PMP/ VOICE RECORDING/MOTION DETECTION /E BOOK MODE
____________________________________________________ 20
TRANSFER MP3 MUSIC TO THE CAMERA ____________________ 20
How to use MP3 _____________________________________ 20
PMPMODE___________________________________________ 21
MOTION DETECTION MODE ______________________________ 21
Trimming ___________________________________________ 22
Display image information _____________________________ 22
Protect _____________________________________________ 22
Slide Show __________________________________________ 22
Delete______________________________________________ 23
Copy to Card ________________________________________ 23
Resize______________________________________________ 23
Rotate______________________________________________ 23
DELETE BUTTON ____________________________________ 24
VIEWING MOVIE ON PC______________________________ 25
SYSTEM REQUIREMENT _____________________________ 25

English
-7-
ARCSOFT MEDIAIMPRESSION________________________ 28
CONNECTING YOUR CAMERA TO A COMPUTER________________ 36
Web Camera Mode ___________________________________ 36
SPECIFICATIONS ____________________________________ 37
TROUBLESHOOTING_________________________________ 38

English
-8-
Getting to Know Your Camera
Overview
Thank you for purchasing the new digital video camera!
This multi-function digital video camera with a 5 Mega Pixel CMOS sensor can take
H.264 movies which videos can be taken with in certain amount of memory. High
quality images with up to 11 mega pixels can also delivered smoothly. With a color
LCD monitor, users can compose images and examine them easily. The G-Shot
HD520 can also connect DV to a HDTV by HDMI cable, and easily playback recorded
high-definition videos on the wide screen of an HDTV.
Other features provided by this camera include the following:
zTrue 5.0 Mega pixel CMOS sensor
zH.264 Digital Video Camera
zVoice Recorder
zMusic Player
zSecurity Motion Detection
zWeb Camera
zStabilization
z5X Digital Zoom
z2.5” LTPS LCD
zSupports up to 8GB SD Card
zFace Detection
zZ-Lighting
Standard Accessories
Unpack the package and make sure all standard accessories listed below are
included:
Digital Video Camera
USB Cable
AV out Cable
HDMI Cable
CD-ROM
Lithium-ion Rechargeable Battery
Power adaptor
AC Plug Adaptor for EU to US
Earphone
Pouch & Strap
Quick Guide

English
-9-
A
V/Earphone Button
Function Button
USB 2.0 port/ Adaptor
Menu Button
Mode/Playback Button
Delete/Exposure
Camera Button
Warranty Card
Front View
KeyPad illustration
Lens
LCD Panel
HDMI Port
Movie Shutter Button
Microphone
Flash

English
-10-
Side View
Top View
Bottom View
Battery cover
Tele/Wide
Flash
Memory card slot
Speaker
Macro/Landscape
Tripod Slot

English
-11-
Getting Started
Installing the Battery
Before using the camera, you must insert the NP60 rechargeable Li-ion Battery.
1. Follow the arrow direction and slide it
outwards to remove the battery cover.
2. Insert the batteries according to the correct
polarity marks ( + or -).
3. Close the battery cover firmly.
Inserting and Removing an SD Card
The camera comes with internal memory (64MB) which allows you to store pictures,
movies, recorded voice and music. You can expand the memory
capacity by using an optional SD memory card up to 8GB. To
insert a memory card:
1. Insert the memory card into the correct position.
2. To remove an installed SD card, press the card inwards to
release it.
3. When the card pops out, gently remove it from its slot.
NOTE
zWhen a memory card is being used, movies and pictures are saved on the card rather
than the built-in memory.

English
-12-
Record Mode
Button Function
Power Button: Press down for one second to turn on or turn
off the camera.
Movie Shutter Button:
1. Press Start to take a movie, or record voice.
2. To stop recording, press it again.
OK Button:
Used to move cursor to sub menu or confirm action.
:Down play and pause button:
Press the OK button down to play and pause for playing
Movie clip and voice.
Self-timer enabled
Z-Lighting:
Press the OK button up for Z-Lighting to deal with very high
contrast scenes in dark and bright areas.
Face Detection
Press the OK button to the right for the face detection
function.
MENU:
Press menu to start the menu setting.
MODE:
Press Mode to select the sub menu functions.
Delete/+/-: Delete the file or adjust White Balance and
exposure.
: Take a picture
Tele/Wide Button: Digital Zoom in and out.
Flash Mode:
A
Auto Flash: the flash fires automatically according to
light conditions. Use this mode for general photography.
Fill-in Flash: the flash will fire for every shot taken.

English
-13-
Flash Off, the flash will not fire under any circumstances.
Use this mode when taking images in a place where flash
photography is prohibited, or when the subject is distant
(beyond the range of the flash).
S
Slow Sync: The flash will fire and the camera will set
the shutter speed at proper speed.
Macro switch: Switch between Macro Mode and Normal
Mode.
Focus range : Macro :20 cm
Normal : 1.2m ~ Infinity
LCD Monitor Information
The indicators below will display on the LCD when movies and pictures are recorded:

English
-14-
H.264 Movie Recording
Press the Movie Shutter button ( ) to start recording. When a movie is recording, a
time indicator will display on the LCD monitor. To stop recording, press the Movie
Shutter Button ( ) again.
Picture Recording
Press the Picture Shutter Button ( ) to take a picture.
Using Digital Zoom
The digital zoom magnifies the images when recording movies or taking pictures.
1. To zoom in/out, press the Tele/Wide Button.
2. The digital zoom can be set from 1x to 5x and the magnification ratio is shown on
the LCD monitor.

English
-15-
MENU MODE
MODE SET VIDEO SIZE IMAGE SIZE QUALITY METERING
zAUTO
zPROGRAM
zDAWN
zAUCTION
zEXIT
zHD1280X
720)
zTV (640 x
480)
zWeb (320
x 240)
zEXIT
zHIGH (11M)
zSTANDARD
(5M)
zLOW (VGA)
zEXIT
zS.FINE
zFINE
zNORMAL
zEXIT
zMULTI1
zSPOT
zEXIT
SHOOTING EFFECT OSD INF. EIS SETUP
zSINGLE
zCONTINUOUS
zEXIT
zNormal
zB/W
zSepia
zNegative
zRGB
zEXIT
zOFF
zBASIC
zDETAIL
zGRID 3X3
zGRID 6X4
zEXIT
zOFF
zON
zEXIT
zS. Sound
zSH. Sound
zSYS.VOLUME
zQ.VIEW
zPWR SAVE
zIMPRINT
zDATE & TIME
zLANGUAGE
zFILE
zUSB
zVIDEO
zFREQ.
zRESET ALL
zFORMAT
zEXIT

English
-16-
Menu Mode
Mode set
1. Press the Menu button to open the menu setting,
2. Use the OK button up and down to move to the sub menu, and use press it right
and left to move between main menus.
3. Press OK to confirm the option you select.
4. Press MENU to exit.
5. There are four options.
zAUTO
zPROGRAM
zDAWN
zAUCTION
Video Size
Select Video Size for Movie Clip size when
recording.
zHD
zVGA
zWEB
Possible recording time / sec (video clip)
SD memory Card capacity
Quality 256MB 512MB 1GB 2GB 4GB 8GB
HD 00:05:09 00:10:33 00:21:11 00:42:39 01:23:22 02:47:25
TV 00:14:15 00:29:33 00:58:39 01:58:07 03:50:52 07:43:35
WEB 00:46:35 01:35:30 03:11:39 06:25:55 12:34:19 23:59:59
Possible number of shots (still image)
SD memory Card capacity
Quality 32 MB
internal
memory 128
MB 256
MB 512
MB 1GB 2GB 4GB 8GB
11MP 145 91 187 377 759 1484 2980
5MP 3 98 198 405 814 1640 3206 6437
VGA 29 820 1650 3383 6788 9999 9999 9999

English
-17-
IMAGE SIZE
Select Image size for the image resolution.
zHIGH (11M)
zSTANDARD (5M)
zLOW (VGA)
zEXIT
QUALITY
Select Quality to set the appropriate compression ratio for the captured and recorded
images.
zS.FINE
zFINE
zNORMAL
zEXIT
METERING
Metering gives you more superior exposure
conditions and a brighter picture.
zMulti Metering
Exposure will be evaluated according to the average
of the available light source in the image area; this is
suitable for general use.
zSPOT
If the subject is against the light source or has little contrast, use this function to make the
subject brighter.
zEXIT
SHOOTING
zSINGLE
zCONTINUOUS
You can have the continuous shooting by pressing
and holding the shutter button and ending it by
releasing the shutter button.
zEXIT

English
-18-
EFFECT
zNormal
zB/W
zSepia
zNegative
zRGB
zEXIT
OSD INF.
zOFF
zBASIC
zDETAIL
zGRID 3X3
zGRID 6X4
zEXIT
EIS
EIS can only be used in Movie Recording. If you
prefer to record a movie not using EIS, turn it OFF
to cancel the setting.
zOFF
zON
zEXIT
SET UP
Enter SET UP mode by pressing the Menu Button and pressing the OK button to select
SETUP.
zS. Sound/SH. Sound
Select the sound you prefer and press the OK button to confirm the setting. Or you can
select “OFF” to turn off the start up sound.
zSYS.VOLUME
Select the volume you prefer and press the OK button to confirm the setting. Or you can
select “OFF” to turn it off.
zQ.VIEW
Select the time you prefer and press OK button to confirm the setting. Or you can select
“OFF” to turn off the Quick View Time.
zPWR SAVE
Select the time you prefer for the power saving mode and press OK button to confirm the
setting. Or you can select “OFF” to disable the power saving functions.
zIMPRINT
The function allows you to print the date or date & time on the image.

English
-19-
zDATE & TIME
Select the type of date and time.
zLANGUAGE
1. English 6. Italian 11. S. Chinese
2. Japanese 7.Turkish 12. T. Chinese
3. French 8. Russian 13. Arabic
4. German 9. Thai
5. Spanish 10. Portuguese
zFILE
This setting allows you to name the files.
If RESET is selected, the next file name will be set from 0001 even after formatting,
deleting all, or inserting a new memory card.
If SERIES is selected, the file name will follow the latest stored file name installed.
zUSB
Computer If computer is selected, the camera turns off the LCD Monitor and
automatically connects to your PC.
Printer If printer is selected, the camera lets you to select the detail options of
printer setting via the PictBridge function when the printer is connected.
PC CAM Install the PC CAM function after you open MSN Messenger or AMCAP.
zVIDEO
NTSC U.S.A, Canada, Japan, South, Korea, Taiwan, Mexico
PAL Australia, Austria, Belgium, China, Denmark, Finland, Germany,
UK, Italy, Kuwait, Malaysia, New Zealand, Singapore, Spain,
Sweden, Switzerland, Thailand, Norway.
zFREQ.
50Hz UK, Germany, Italy, Spain, France, Netherlands, China, Japan,
Portugal.
60Hz USA, Taiwan, Korea, Japan
zRESET ALL
The option resets all default settings except for Date, Time, Language and Light Freq.
zFORMAT
This function allows you to format the memory card or the built-in flash memory.
zEXIT

English
-20-
Mode/Playback
Playback Mode
Press the Mode/Playback Button, then press the OK button to go to last
still image, movie clips, or voice clip that are stored in the memory.
1. Select an image that you want to playback by moving the OK left or
right.
2. For movies, press the OK button down to play a movie. Hold the OK
button left or right to go backward/forward through the movie.
MP3/ PMP/ Voice Recording/Motion Detection /E
Book Mode
Press the Mode/Playback Button, and press the OK button up/down
to select this mode. Press OK button again to enter the mode above
you select.
Transfer MP3 Music to the camera
1. Connect your camera to the computer USB port.
2. Transfer MP3 music to My Computer\Removable Disk\MP3.
3. If you can’t find the MP3 folder from the SD card, format the SD card
first.
4. Once all the music is transferred, disconnect the USB cable from the
PC.
How to use MP3
1. Press the mode button and select MP3 mode by pressing the
OK button.
2. Select the folder where you stored the digital music files.
3. Select the music file you would like to play by pressing the OK
button up or down and start playing the song by pressing the OK
button.
4. The music can be played from the built-in speaker or an
earphone. If you use the earphone, connect the earphone to the
earphone jack.
Table of contents
Other Genius Camcorder manuals

Genius
Genius G-Shot DV53 User manual

Genius
Genius HD54 User manual

Genius
Genius VIDEOCAM EXPRESSII User manual

Genius
Genius HD550T User manual

Genius
Genius HD-527 User manual

Genius
Genius DVR-FHD560 User manual

Genius
Genius G-Shot DV815z User manual

Genius
Genius DV600 User manual

Genius
Genius DV210 User manual

Genius
Genius DV510 User manual

Genius
Genius DV505 User manual

Genius
Genius DV5122 User manual

Genius
Genius G-SHOT DV506 User manual

Genius
Genius DV5131 User manual

Genius
Genius DV601 User manual

Genius
Genius HD55 User manual

Genius
Genius DV410 User manual

Genius
Genius DV610 User manual

Genius
Genius DV1110 User manual

Genius
Genius DV611 User manual