GHERARDI G100 User manual

RUTA 33 - KM 741.5
PHONE: +54 3464 422356/ 378/ 013
425933/ 34/ 35
Fax: +54 3464 424110
E-MAIL:
URL: www.gherardi.com.ar
2170 - Casilda - Santa Fe
ARGENTINA
comext@gherardi.com.ar
info@gherardi.com.ar

Operator’s Manual
-Page 1-
TABLE OF CONTENTS
¨
¨¨
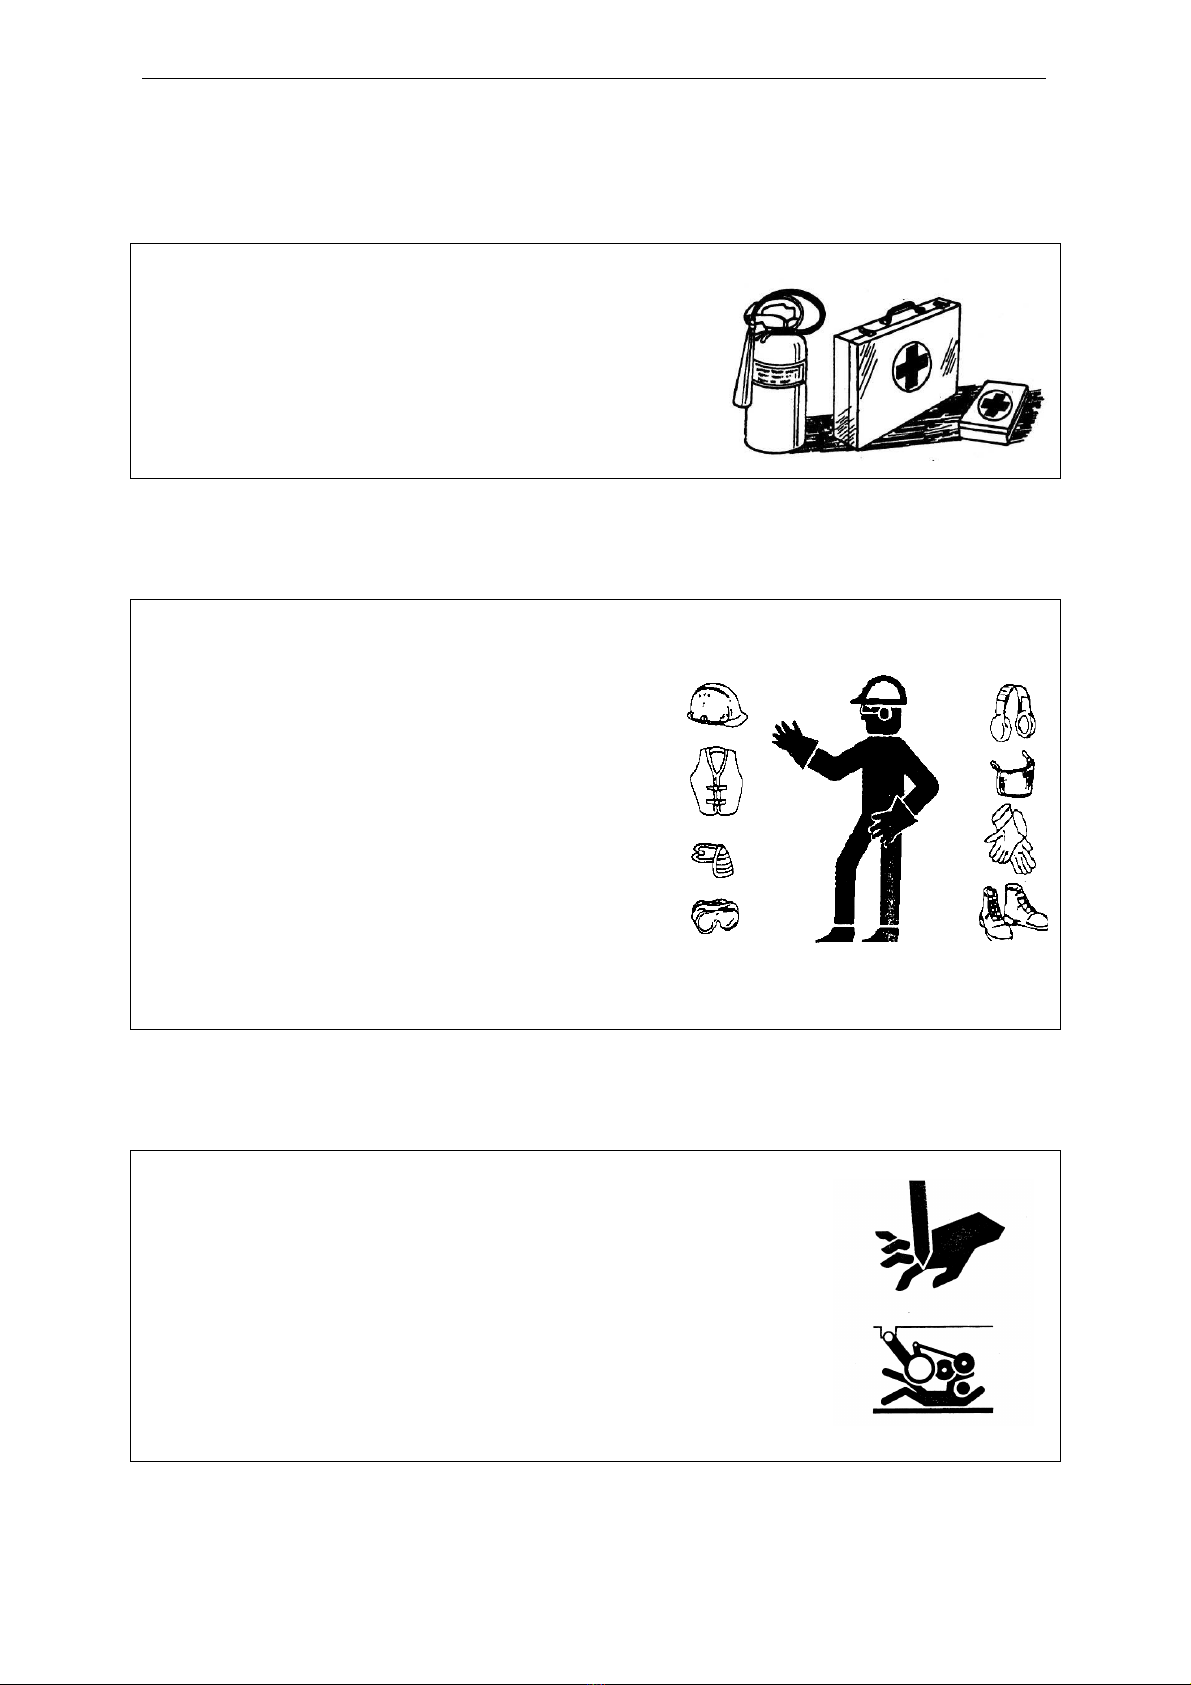
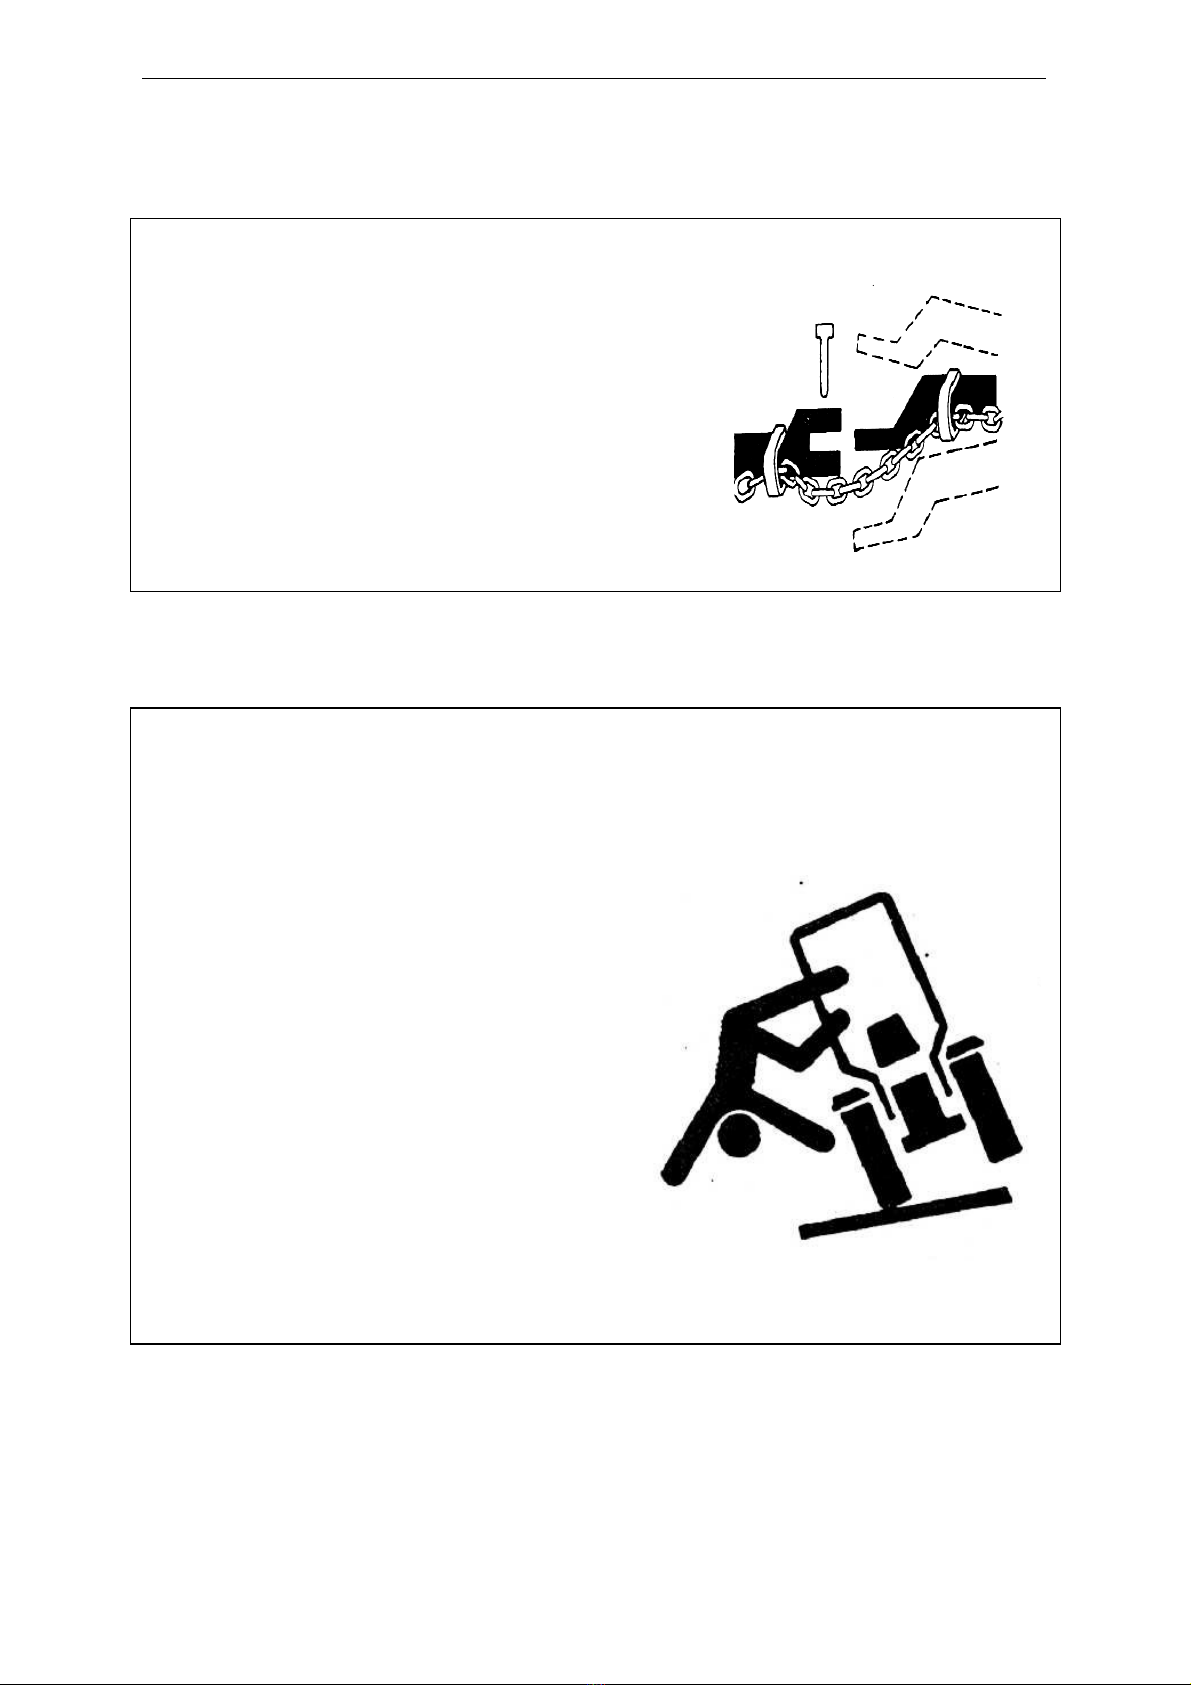
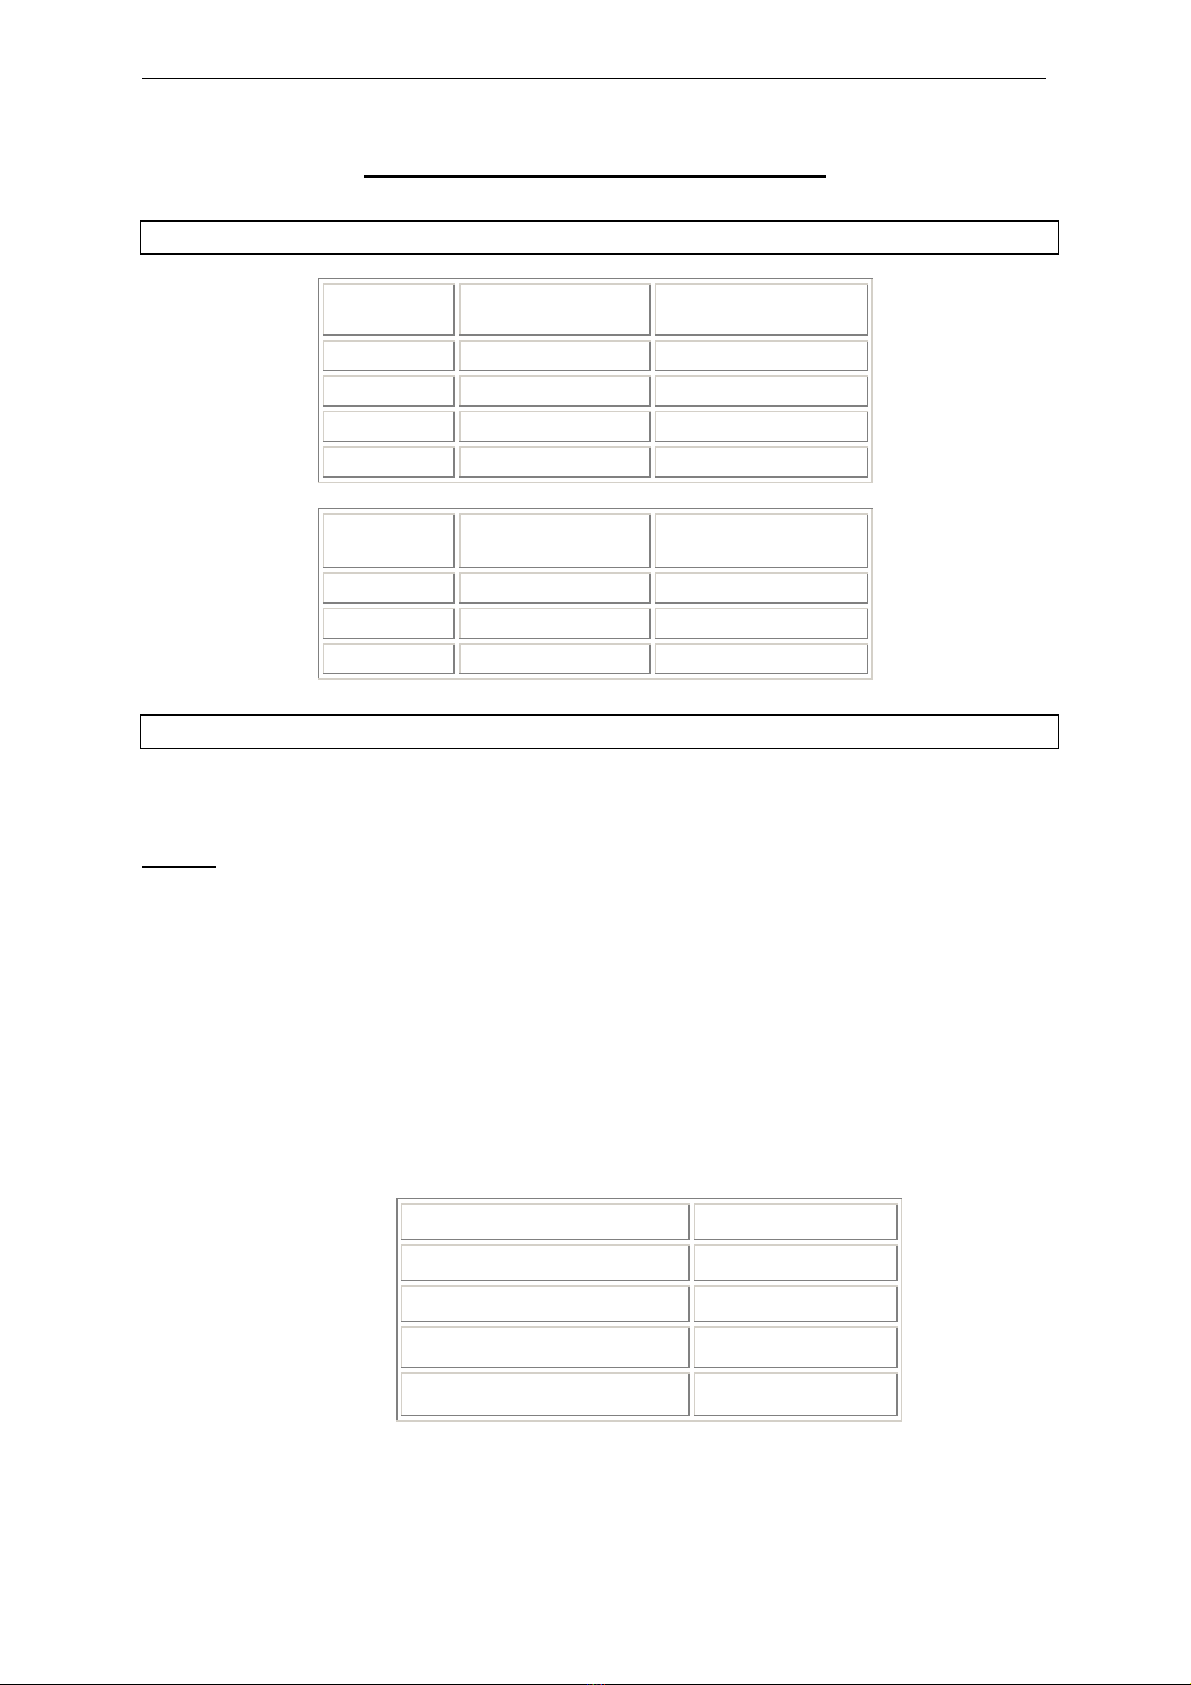
¨SAFETY ........................................................................................... Page 2
¨
¨¨
¨SERVICING AND MAINTENANCE .................................................... Page 8
¨
¨¨
¨TECHNICAL SPECIFICATIONS ........................................ Page 9
-
OPERATING CAPACITY
-
DRILL OVERVIEW
¨
¨¨
¨PREPARING THE MACHINE FOR TRANSPORT AND
OPERATION...................................................... Page 11
-
TRANSPORT POSITION TO OPERATING POSITION ............................ Page 12
-
OPERATING POSITION TO TRANSPORT POSITION ............................ Page 13
¨
¨¨
¨DRILL PREPARATION AND SETUP ............................................ Page 14
-
OPENERS PENETRATION CAPACITY.................................................... Page 14
-
ADJUSTING PLANTING ASSEMBLIES................................................................ Page 14
-
ADJUSTING SEEDING DEPTH.............................................................. Page 15
-
ADJUSTING MARKERS.................................................................................. Page 16
-
OBTAINING VARIABLE DISTANCE ................................................................... Page 17
-
ADJUSTING SEEDING POPULATION.................................................................. Page 18
ROWS TO USE ACCORDING THE SEEDING SPACING ................... Page 19
SOYBEAN SEEDING.................................................................................. Page 21
¨
¨¨
¨NO-TILL ...................................................................................... Page 22
-
BLADES FOR NO-TILL .................................................................. Page 22
-
BLADE TYPES ........................................................................................... Page 22
¨
¨¨
¨FERTILIZING ..................................................................................... Page 23
-
FERTILIZATION POSSIBILITIES............................................................... Page 23
-
ADJUSTING THE APPLICATION RATE.................................................................. Page 24
-
DETERMINING THE APPLICATION RATE ............................................................. Page 24
¨
¨¨
¨PLANTING PASTURES …………………………………………….. Page 25
CHARTS…………................................................................................... Page 26
- SEEDING POPULATION CHART (17.5 cm) ........................................................... Page 26
- SEEDING POPULATION CHART (21 cm) .............................................................. Page 27
- FERTILIZER APPLICATION RATE CHART ............................................................ Page 28
- FODDER DENSITY CHART (17.5cm) .................................................................. Page 29
- FODDER DENSITY CHART (21 cm) .................................................................. Page 30

Operator’s Manual
-Page 2-
SAFETY
RECOGNIZING SAFETY WARNINGS
This is a safety-alert symbol. When yo see this
Symbol on yo r machine or in this man al,
be alert to the potential
for personal inj ry when operating the machine.
Follow recommended preca tions and safe operating
practices.
UNDERSTANDING SIGNAL WORDS
A signal word
-DANGER, WARNING, or CAUTION- is sed with
the safety-alert symbol. DANGER identifies the most
serio s hazards.
DANGER or WARNING safety signs are located
near specific hazards. General preca tions are listed on
CAUTION safety signs.
CAUTION also calls attention to safety messages in this man al.
FOLLOWING SAFETY INSTRUCTIONS
Caref lly read all safety messages in this man al and
on yo r machine safety signs. Keep safety signs in good
condition.
Replace missing or damaged safety signs. Be s re
new eq ipment components and repair parts incl de
the c rrent safety signs. Replacement safety signs are
available from yo r GHERARDI dealer.
Learn how to operate the machine and how to se
controls properly. Do not let anyone operate the
machine witho t instr ction.
Keep yo r machine in proper working condition.
Una thorized modifications to the machine may
impair the f nction and/or safety and affect machine life.
If yo do not nderstand any part of this man al and need assistance, contact yo r
GHERARDI dealer.

Operator’s Manual
-Page 3-
PREPARING FOR EMERGENCIES
Be prepared if a fire starts.
Keep a first aid kit and fire exting isher handy.
Keep emergency n mbers for doctors, amb lance service,
hospital, and fire department near yo r telephone.
WEARING PROTECTIVE CLOTHING
Avoid lose-fitting clothing and se safety eq ipment
appropriate to the job.
Prolonged expos re to lo d noise can ca se
impairment or loss of hearing.
Wear a s itable hearing protective device s ch
as earm ffs or earpl gs (mainly when working
with NEUMATIC machines).
Safely operating the eq ipment req ires
the operator’s f ll attention. Do not wear radio or m sic
headphones while operating the machine.
SAFE OPERATION
Always wear protective gloves d ring adj stment operations.
Always raise cylinders and move safety locks into position
before adj stment or maintenance operations nder
the machine.

Operator’s Manual
-Page 4-
AVOIDING HIGH PRESSURE LEAKS
Leaking fl id nder press re can penetrate
the skin ca sing serio s inj ry.
Avoid the hazard by relieving press re
before disconnecting hydra lic or other lines.
Tighten all connections before applying
press re to the circ it.
Search for leaks with a piece of cardboard.
Do not p t hands or body near high press re leaks.
If, in spite of this preca tion, an accident occ rs, see a specialist doctor immediately.
PRACTISING SAFE MAINTENANCE
Understand service proced re before operating the machine.
Keep area clean and dry.
Never l bricate, service, or adj st the machine
while it is moving. Keep hands, feet, and clothing
away from power-driven parts.
Disengage all power and operate controls to relieve
press re. Lower the eq ipment to the gro nd.
Stop the engine. Remove the key.
Allow machine to cool.
Sec rely s pport any machine elements
that m st be raised for service work.
Keep all parts in good condition and properly
installed. Fix damage immediately.
Replace worn or broken parts.
Remove any b ild p of grease, oil, or debris.
Disconnect battery gro nd cable (-) before making
adj stments on electrical systems or welding on machine.

Operator’s Manual
-Page 5-
USING A SAFETY CHAIN
A safety chain will help control drawn eq ipment
sho ld it accidentally separate from the drawbar.
Using the appropriate adapter parts, attach the
chain to the tractor drawbar s pport or other
specified anchor location. Allow only eno gh
slack in the chain to permit t rning.
Use a chain with a strength rating eq al to or
greater than the gross weight of the towed machine.
Do not se safety chain for towing.
SAFELY TRANSPORTING THE MACHINE
Shift tractor into the lowest gear when transporting
down steep slopes or hills.
Make s re that lights and flashing warning lights
are easily visible from behind.
Stop slowly.
Bear in mind the width of the machine yo are
transporting.
Empty fertilizer and seed boxes completely
before transporting the drill.
DO NOT EXCEED maxim m speed of 10 mph
(16 km/h) if drill is not empty.
DO NOT EXCEED maxim m speed of
10 mph (16 km/h) when transporting two
hitched nits.
Lock p cylinders of hydra lic lifting system
before transporting the drill. Hydra lic fail re
can allow machine to fall rapidly.

Operator’s Manual
-Page 6-
KEEPING RIDERS OFF THE MACHINE
Only allow the operator on the machine, keep riders
off.
Riders on machine are s bject to inj ry s ch as
being str ck by foreign objects and being thrown
off the machine.
Riders also obstr ct the operator's view res lting
in the machine being operated in an nsafe manner.
TOWING LOADS SAFELY AND SLOWLY
Braking f lly from the transporting speed can
ca se the towed load to lose control and overt rn.
Red ce speed if towed load speed is greater
han the tractor weight and the towed load has no
brakes.
Observe these recommended maxim m road
speeds and weight.
* When towing a load eq al to or lower than
the tractor weight, do not travel faster than 20 mph
(35 km/h).
* Red ce speed to 10 mph (15 km/h) when towing
a load whose weight is p to the do ble the tractor weight.
* Do not tow loads that do ble the tractor weight.
* Use additional ca tion when towing loads nder
adverse s rface conditions, when t rning, and on slopes.

Operator’s Manual
-Page 7-
HANDLING PESTICIDES AND FERTILIZERS
SAFELY
Keep powders off yo r skin or hair.
Keep containers in a low position when po ring.
Let the wind take d sts, smokes or spray away from
yo when mixing with seeds or filling tanks.
Wear a filter respirator if d st cannot be avoided.
Wear safety glasses to protect yo r eyes.
Wash exposed skin areas freq ently.
DO NOT allow pesticides to remain on yo r skin.
Do not smoke when handling pesticides.
Always dispose of sed containers or n sed pesticides
properly. Keep treated seeds and fertilizers apart.
Store pesticides in clearly labeled places and in a
closed b ilding.
Store pesticides clearly labeled in their original
containers.

Operator’s Manual
-Page 8-
SERVICING AND MAINTENANCE
n
nn
n
CHECK the tightness of all bolts during the first seven (7) days of operation.
n
nn
n
GREASE all nipples and lubricate all mechanisms before starting the machine.
SEE frequency of greasing required.
n
nn
n
OIL all machine chains at regular intervals. They must not lack lubrication.
n
nn
n
DO NOT park the machine when openers are in the ground once the task is
finished, since the openers and springs will have to bear the load. The machine
must rest on the cylinder locks with the hydraulic circuit discharged.
n
nn
n
DO NOT transport the machine with a loaded box, the maximum transporting
speed is 10 mph (15 km/h).
n
nn
n
CLEAN seed boxes properly and meters regularly leaving them free of seeds.
n
nn
n
FERTILIZER COMPARTMENT: Clean compartment thoroughly. In cold weather
and if the drill is to be used the following day, it would be convenient to fill up the
compartments the night before and cover the machine with a canvas. This will
prevent humidity condensation within the compartment. Clean all elements
thoroughly when planting is complete if elements are not to be used for a long
time. Rinse with water and apply fuel oil or a light lubricant to avoid the corrosive
effects of fertilizers. For correct system operation, use quality products with no big
lumps. For good results, choose products with humidity-resistant formulation. ASK
YOUR PROVIDER.
n
nn
n
The words LEFT-RIGHT-FRONT and REAR as used in this manual are
determined looking the machine from behind.

Operator’s Manual
-Page 9-
TECHNICAL SPECIFICATIONS
1. OPERATING CAPACITY
2. DRILL OVERVIEW
2.1 – PRIMARY BOX
Capacity 1000 litres. Meters with double external roller located on the two shafts.
Gearbox.
Options:
a) Lengthwise partition for different species of seeds in each half of the box.
b) Lengthwise baffle to cancel half seedbox when planting at 35 cm and at 70 cm between rows.
2.2 – LEGUME BOX
Capacity 140 litres. Meters with simple external pulley wheel. Seeds are placed inside the openers or
ahead of the press wheel. Speed variator to achieve various seed population rates.
2.3 – FERTILIZER COMPARTMENT
Two compartments of 480 litres each. Meters are “Chevron” type with brush and bottom that tilts for
easy cleaning. Protective cover.
2.4 – HYDRAULIC CIRCUIT
One connection to tractor. Two connections to tractor (optional).
Sequential box for markers’ alternate drive.
Divider box controlling proportional flow to raise drill evenly.
No. of rows
Spacing in cm
Working width in m
25 17.5 4.37
13 35 4.55
9 52.5 4.72
7 70 4.90
No. of rows
Spacing in cm
Working width in m
21 21 4.41
11 42 4.62
7 63 4.41
# cyl./task
2
# cyl./transport
2
# cyl./marker
2
# cyl. raising drill tongue
1
# cyl. raising level action
1

Operator’s Manual
-Page 10-
2.5 – RAISING
By means of two hydraulic cylinders mounted on the wheel supports. Movable arm system to ensure
permanent contact of wheels and soil.
Hitch with leveling system.
2.6 – WHEELS
Two rims for 12.40 x 28 tires. Opener to soil clearance 0.15 m in operating position. In transport
position, clearance reaches 0.40 m.
Important: Tire tread lugs must be oriented contrary to the tractor wheels (top of lugs pointing
backwards). DO NOT use FATE O tires.
2.7 – TRANSPORTING
Two rims for 9.00 x 20 tires. Driven by two hydraulic cylinders. Hydraulic folding of tongue.
Transport width: 3.40 m (regardless of any attachments)
2.8 – OPENERS
Smooth double discs of 14” or 15” (depending on the planting assembly model).
Articulated shaft with rod and spring to control penetration capacity.
2.9 – DEPTH CONTROL
-One simple side wheel for depth gauge (with openers at 17.5 or 21 cm).
-Two side wheels for depth gauge (when multiples of 17.5 or 21 cm are used).
-Single press wheel (for shafts at 17.5 cm).
-Wheels with camber angle, with optional cutaway discs for no-tillage operation (for shafts with
14” discs and when there are NO depth gauge wheels attached).
2.10 – SEED PRESSING
-Elastic pressing stub (applied to any model with shafts).
-
Seed press wheel (for shafts with 15” discs). Rubber tread. Mounted on a single arm support.
Variable load spring. Double bearing.
2.11 – CLOSERS
- Closing wheels with camber angle
Closing wheel pivots are shifted.
For no-tillage operations, the system is complemented with cutaway discs curving inwards that can be
mounted on the inner or outer part of the angled wheels.
-
Simple press wheels.
For conventional seeding and for shafts with 14” disc and at 17.5 cm distance.
2.12 – NO-TILL
For no-tillage operations, different models of blades can be used: FLUTED, TURBO, WAVY (of
various numbers of waves), etc.
The supporting arms of the blades can be:
FIXED - with a single supporting arm.
FLOATING - articulated with recordable load spring and safety fuse pin.
2.13 – FERTILIZATION
Meters are CHEVRON type with brush and bottom that tilts for easy cleaning.
Openers with inclined blade of 16”. Depth control spring. Disc cleaning wheel for NO-TILL and
CONVENTIONAL operations (in firm soil conditions).
Openers with double flat disc, spring for articulation, and adjustable shank for CONVENTIONAL
seeding.

Operator’s Manual
-Page 11-
3
2
1
PREPARING THE MACHINE FOR TRANSPORT AND OPERATION
Warnings
Before operating the hydraulic circuit, remove the safety
bolts for transport from each of the drive wheels (big ones).
Bolts are mounted on the support of each wheel shank (Fig.
1, Item 1).
The bolt in Fig. 1, Item 2 is removed only when wheel
“flotation” (permanent contact with soil) is desired in no-till
drill.
On the right side, both bolts (Fig. 1, Items 1 & 2) must be
installed on the support (Fig. 1, Item 3).
On the left side, only the bolt (Fig. 1, Item 2) must be
installed on the support (Fig. 1, Item 3), while the bolt (Item
1) is used to fix the third point of the tongue, when it is
folded.
Shunt valve. (Figure 2)
* The lever in position No. 1 activates the transport
system cylinder circuit and the folding of the tongue.
* The lever in position No. 2 activates the cylinder circuit
to lower and raise the drill, the markers cylinder circuit
and the leveling cylinder system at the end of the tongue.
Planting assemblies. (Figure 3)
* Before setting the drill in transport position, lower it completely and put detent hooks in each rod of
the opener shafts, in position No. 2 (Fig. 3A, Item 1) to obtain more clearance for transport.
* In operating position and before planting, lower the drill completely and put detent hooks in position
No. 1 (Fig. 3A, Item 1), so as to lower the assembly and achieve minimum clearance for working, thus
increasing the openers flotation range.
1
2
2
3
1
FIGURE 1
FIGURE
3
A B
C
FIGURE 2

Operator’s Manual
-Page 12-
3
12
1
1- TRANSPORT POSITION TO OPERATING POSITION
•Remove safety bolts from the drive
wheels (Fig. 1, Item 3 ). For ease of
operation, check that the strain
tensor that secures the tongue to the
drive wheel is not tight (Fig. 4, Item
3).
•Shift valve lever to position No. 2
(Fig. 2).
•Remove the strain tensor that
secures the drill tongue to the wheel
hub (Fig. 4, Item 3).
•Move the hydraulic system to lower
the drive wheels until they touch the
soil and monitor that the tongue load
is relieved on the drawbar.
•Set the valve lever in position No. 1 (Fig. 2). Relieve the pressure of the hydraulic circuit and
disengage hoses.
•Drive the tractor away. Fold the drill tongue.
•Set the tractor in an approximate hitching position to
prepare for work.
•Engage hoses again with tractor in operating position.
•Remove the lock with the threaded end (Fig. 5, Item 1)
that holds the drill tongue during transport (if it is under
strain, work on the hydraulic circuit for ease of
operation).
•Engage the hydraulic circuit to lower the tongue. Secure
on its base with the eight (8) corresponding fasteners.
•Lower the folding jack located at the end of the tongue.
This operation is not necessary if the transport wheels
(9.00 x 20) raising mechanism is used to determine the
tongue height. In order to do this, set the shunk valve lever in position No. 1 and lower the
transport wheels until the tractor’s hitch height matches that of the drill.
•Release (move backwards) the locks in each of the cylinders (Fig. 6, Item 1) of the transport
wheels. This was already done if you decided to match the drill tongue height with the
transport wheels height. Activate hydraulic system and raise wheels completely.
•Set the valve lever in position No. 2.
•Use the hydraulic system to lower the machine.
•Couple the tractor. If both parts do not match, fold the hitch jack (Fig. 7, Item 2), disengage the
leveling cylinder (Fig. 7, Item 4), and engage the hydraulic circuit to obtain the desired
coupling height.
•Before operating, NEVER FORGET to set the assembly rod hook in operating position (Fig. 3,
Item 1).
IMPORTANT: When in operation, the tongue cylinder (Fig. 7, Item 4) must be completely closed. Do
not put the lock or any stops. To level the machine, adjust the perforated plate. (Fig. 7, Item 3).
IMPORTANT:
Drive the drill into the ground.
Put detent hook on the assembly rods in position 2 (Fig. 3A) to get clearance for transport.
FIGURE 4
FIGURE
5

Operator’s Manual
-Page 13-
2- OPERATING POSITION TO TRANSPORT POSITION
•Raise the machine completely.
•Lock the leveling cylinder in the tongue end (Fig. 7, Item 4).
•Shift valve lever to position No. 1.
•Engage the hydraulic circuit until the transport wheels touch
the ground and the tongue load is relieved onto the tractor
drawbar.
•Disengage the tractor and travel a short distance, taking into
account that hoses are still connected.
•Finish raising the drill for transport. Put locks in each wheel in
place (Fig. 1, Item 3 ).
•Remove the fasteners from the drill tongue, activate the
hydraulic system and lift tongue. Put the threaded end of the
tongue in place (Fig. 5, Item 4).
•Engage the hydraulic control so that the system is loaded on
the transport cylinders locks.
•Set the valve lever in position No. 2. Stop the engine and relieve pressure. Disengage hoses.
Move the tractor towards the transport tongue.
•Unfold the transport tongue; couple brace or third
point (Fig. 4, Item 2) in the upper part, in the same
place where the other support brace is (Fig. 4, Item
1). With the threaded end in the third point, reach
the tractor coupling height. Couple it.
•Attach hoses. Raise large (operation) wheels
entirely and complete the travel distance. Lock the
wheel supports with their corresponding bolts (Fig.
1, Item 3).
•Shift valve lever to position No. 1; stop the engine
and relieve pressure. Disengage hoses.
•With the threaded end in the third point (Fig. 7, Item
3) level the machine for longitudinal transport. The
tongue load on the drawbar can be varied by engaging the third point. If possible, slightly load
it towards the front.
•Couple the strain tensor that connects the tongue to the wheel hub coupling (Fig. 4, Item 3).
NOTE: If you park the drill in transport position and wish to uncouple the tractor, lower the hitch jack
(located in the front toolholder bar) to maintain the transport tongue height and couple it again later.
3- DRAWBAR TO TRACTOR AND LEVELING
When the drill needs to be in operation position (driven into the ground), it must be horizontal
regarding the ground. To achieve this position, raise or lower the plate located at the tongue end (Fig.
7, Item 3) or reverse it if necessary.
1
FIGURE 6
1
3
4
FIGURE 7
2

Operator’s Manual
-Page 14-
1
DRILL PREPARATION AND SETUP
1- OPENERS PENETRATION CAPACITY
The penetration capacity of openers is determined by a double spring system (Fig. 8, Items 1 & 2) that
allows two different load possibilities on the openers.
Fitting the U-part (Fig. 8, Item 4) will activate the outer spring (Fig. 8, Item 2), which provides the
greatest penetration capacity.
For conventional seeding, load can be reduced by removing the U-part (Fig. 8, Item 4), so only the
inner spring will operate on the opener (Fig. 8, Item 1).
IMPORTANT: For conventional seeding, the openers load should be controlled by limiting the closure
of the cylinder rod through its threaded end (Fig. 9, Item 1) or by placing stop elements. If this step is
skipped, plugging may occur, especially if depth gauge wheels are attached.
2- ADJUSTING PLANTING ASSEMBLIES
The mechanism for raising and lowering the drill uses the two (2) hydraulic cylinders mounted on each
side of the wheels.
The detent hook (Fig.7) in each rod of the opener shafts can adopt three different positions, as shown
in Figure 3 A.
-
Position 1 - detent hook for OPERATING position.
-
Position 2 - detent hook for TRANSPORT position.
-
Position 3 - detent hook to CANCEL the operation of planting assemblies when the distances
used are multiples of regular row spacing.
For the first two positions (1 & 2), the drill should be completely driven into the ground and in a
firm place to free the hook and then change its position.
For the third position (3), the planting assembly should be lifted from behind. The help of
another person is needed for this operation.
2
4
1
3
FIGURE 8
FIGURE 9

Operator’s Manual
-Page 15-
3- ADJUSTING SEEDING DEPTH
SIDE WHEELS ATTACHED TO SEEDER DISCS:
For planting assemblies with 14” discs:
When these wheels are used, the closing wheels, whether angled or single pressing wheels, are
articulated by the spring (Fig. 10B, Item 1).
The depth control will be performed by the attached wheels, and their position is controlled by the
knob in the serrated section (Fig. 10 A, Item 1). Before adjusting the wheels’ position, the fastening
bolt of the mechanism must be loosened (Fig. 10 A, Item 2); the bolt will again be fastened once the
desired position is achieved. If the knob (Fig. 10 A, Item 1) is moved backwards, the seeding depth
increases. If it is moved forward, the seeding depth is reduced.
For planting assemblies with 15” discs:
1
2
3
The position of the attached depth gauge wheel (Fig. 11, Item 3) is controlled by the threaded end
(Fig. 11, Item 1). The scale ruler (Fig. 11, Item 2) is used as a reference to set all planting assemblies
at the same depth.
Attached wheels are set:
-one per seed row (spacing 21 cm)
-two per seed row (for multiples of 21 cm)
The supporting arms of the wheels are “right” or “left” depending on their application. Washers are
used to adjust the rubber edge to the face of the opener disc.
1
2
3
2
4
3
1
4
FIGURE 10 B
FIGURE 11
FIGURE 10 A

Operator’s Manual
-Page 16-
CAUTION: The proper adjustment of these wheels is highly important. If they are too tight against the
opener discs, the operation of the assembly could be stopped. On the contrary, if the distance from
the discs is too wide, soil or stubble will accumulate and, consequently, jamming or hairspinning will
occur.
A)
SIMPLE ANGLED PRESS OR CLOSING WHEELS: Only applied to planting assemblies
with 14” discs. For these wheels to perform as depth gauge wheels, when no attached
wheels are being used (or if they were removed for some reason), the selector knob (Fig. 10
A, Item 1) must be connected to the parts (Fig. 10 B, Item 4) with pin and bushing (Fig. 10 B,
Item 2).
IMPORTANT:
NEVER OPERATE THE TWO DEPTH CONTROLLING MECHANISMS AT THE
SAME TIME, SINCE THEY SELECT SEEDING DEPTH INVERSELY; THAT IS TO SAY, IF
ATTACHED WHEELS ARE BEING USED, NO CLOSING WHEELS MUST BE USED TO CONTROL
DEPTH, OR VICEVERSA.
4- ADJUSTING MARKERS
A) DISTANCE IN CENTIMETERS
Markers will be located in such a way that the guide furrow, indicated by the marker disc, matches
the tractor center on the next field passing.
Marker distance can be calculated as follows.
Distance between the last disc opener and the guide furrow “A” will be equal
to:
(No. of furrows – 1) x furrow spacing + furrow spacing
2
(25 furrows - 1 ) x 17.5 cm + 17.5 cm = 227.5 cm
2
Distance between the center of the drill and the guide furrow “B” will be equal
to:
the number of planting assemblies x furrow spacing
25 furrows x 17.5 cm = 437.5 cm
FIGURE 12
DRILL CENTER
PART
LAST
OPENER
DISTANCE “B”
DISTANCE “A”

Operator’s Manual
-Page 17-
Nº of FURROWS
25 13 9 7 21 11 7
FURROW SPACING (cm)
17.5 35 52.5 70 21 42 63
DIST. “A” (cm)
227.5 245 262.5 280 231 252 252
DIST. “B” (cm)
437.5 455 472.5 490 441 462 441
To modify the distance of marker discs, do the following:
-
Loosen the bolts on the marker arm (Fig.12, Item 2).
-Measure the distance from the last opener (distance “A”) or from the drill center (distance “B”).
-
Set the marker to the measured distance.
-Tighten the setscrews.
-Readjust, if necessary, after some field tractor passings.
B) ANGLE (BETWEEN THE OPENER DISC AND THE GROUND)
The disc angle can be modified to increase or decrease the marking down pressure.
Loosen the bolts (Fig.13, Item1).
Give desired angle and tighten again.
C) SPEED (WHEN RAISING AND LOWERING THE MARKER)
The markers’ folding speed can be adjusted.
If you are not satisfied with the folding speed, contact GHERARDI Customer Service Department.
5- OBTAINING VARIABLE DISTANCE
Seeding can be performed in multiples of the distances set for the drills (i. e., 17.5 cm or 21 cm).
SETTING AT 17.5 CM
SETTING AT 21 CM
17,5 35 52,5 70 21 42 63
To obtain distance multiples, the shafts detent hook (Fig. 3) will need to be changed to position
number 3 (Fig. 3 A).
To do this, the locking stop on the outer spring must be removed (Fig. 8, Item 4) and the planting
assembly must be lifted from behind until the corresponding hole for the hook becomes visible.
SEE PAGE 13, SECTION 2 - ADJUSTING PLANTING ASSEMBLIES
1
2
FIGURE 13

Operator’s Manual
-Page 18-
6- ADJUSTING SEEDING POPULATION
Obtaining seeding population:
The charts on the machine provide a guide about the seeding population (or fertilizer rate) the drill will
apply depending on the adjustments performed. Differences in seed (or fertilizer) types, level of
humidity, soil preparation, etc. can account for variations in the values shown. Therefore, it is
advisable to perform a check on the field conditions, proceeding as follows:
¨
¨¨
¨Select the gear and/or the adjustment mark indicated in the corresponding charts for the
desired population
.
¨
¨¨
¨
Travel 100 m (machine driven into the ground) on the ground to cultivate. Also, with the
drill standing still, raise the wheel (by setting the drill for longitudinal transport), and make
it turn 27 times for 12.4 x 28 tires.
¨
¨¨
¨Collect seeds (or fertilizer) from at least 5 meters.
¨
¨¨
¨Weigh and establish the average for one meter.
¨
¨¨
¨Multiply the average weight (in kg) that a meter delivers in 100 m of traveling distance (or
27 wheel turns) by the number of rows in one hectare, corresponding to the row spacing
that will be cultivated according to the following chart:
DISTANCE
NO. OF ROWS / HA
17.5 cm
571
21 cm
476
35 cm
286
42 cm
238
52.5 cm
190
63 cm
159
70 cm
143
The result will be the KG / HA that the drill is seeding.
Example: If in a 100 m distance, out of 5 meters, 560 g (or 0.560 kg) were obtained. Seeding
population will be: 0.560 kg = 0.120 kg per meter
5
0.120 Kg x 571 = 68.5 Kg / Ha with 17.5 cm of row spacing.
If rows are spaced 35 cm apart, the seeding population will be:
0.120 Kg x 286 = 34.3 Kg / Ha with a 35 cm in row spacing.
IMPORTANT:
CHARTS ON THE MACHINE ARE ESTIMATES FOR ROWS SPACED 17.5 CM OR
21 CM APART (EXCEPT IN THE FERTILIZER CHARTS, WHERE ROW SPACING IS SPECIFIED
FOR EACH FERTILIZER RATE). WHEN INTERMEDIATE ROWS ARE USED, VALUES SHOWN IN
THE CHART MUST BE DIVIDED.
For drills set at 17.5 cm
For 13 rows = divide the indicated value by 1.9.
For 9 rows = divide the indicated value by 2.7.
For 7 rows = divide the indicated value by 3.5.

Operator’s Manual
-Page 19-
For drills set at 21 cm
For 11 rows = divide the chart value by 1.9.
For 7 rows = divide the chart value by 2.7.
You will then be able to know the number of seeds the machine is delivering.
The inverse operation can also be performed, that is, multiplying the desired kg/ha by the factors
indicated above, and the result can be matched to the corresponding value on the reference chart.
For example: for 70 kg/ha of soybean, in furrows spaced at 35 cm (13 rows), the operation will be:
70 x 2 = 140. The result of 140 Kg for soybean in the position shown in the chart will mean the 70
Kg/Ha planted in alternate rows (13 rows at 35 cm distance).
IMPORTANT:
Speed-change gearbox: To shift gears (different positions of the levers), you should do the following:
1 – The machine must be off the ground.
2 – Turn the gearbox external steering wheel forwards and backwards until the levers can be shifted to
the intended position. The wheel movement allows the geartooth fitting, thus facilitating side
movement.
3 – Turn the steering wheel forward to allow the internal gear engagement.
Gearbox manufacturer can be reached at:
GARRO FABRIL S.A.
Colón y Ruta 8 - C.C. 350
2600 Venado Tuerto (SF)
Tel. +54 3462 422694 / 427705 / 427698 - Fax +54 3462 427718
NOTE:
It would be necessary to exert certain pressure to move the levers. Turn the steering wheel
forward and backwards as many times as necessary to achieve the movement of the above
mentioned levers.
ROWS TO USE ACCORDING TO THE SEEDING SPACING
When planting spacing is in multiples, short or long shafts can be used indistinctly. It is advisable to
alternate their use in each season, so as to get an even wear of the planting assemblies’ active
elements.
In seedings at 35, 70, and 42 cm, only one line of meters is used. In such cases, an internal separator
can be placed within the box to avoid seeds from running into the meter area that is not being used.
S. S.: Short Shaft
L. S: Long Shaft
Table of contents
Popular Seeder manuals by other brands

Lesco
Lesco OSH220L owner's manual

Seederman
Seederman GS2 Owners Manual and Operating Guide

PIEROBON
PIEROBON TD 21 Series OPERATOR'S MANUAL AND SPARE PARTS

Maschio
Maschio Gaspardo SP Series Use and maintenance

Landoll
Landoll BRILLION SL Series Operator's manual

KingKutter
KingKutter S-XB Operation and parts manual

GREAT PLAINS
GREAT PLAINS CTA4000HD Operator's manual

Duratech
Duratech HAYBUSTER 77C DRILL Operating instructions and parts manual

Alpego
Alpego JET-M Use and maintenance manual

Herd
Herd GT-77 Instructions for assembly, operation and maintenance

Brillion
Brillion SS-10 Assembly instructions operator's manual

Monosem
Monosem MONSHOX NG Plus ME user manual