manuals.online logo
Brands
  1. Home
  2. •
  3. Brands
  4. •
  5. Gibson
  6. •
  7. Car Spares
  8. •
  9. Gibson 69522 User manual

Gibson 69522 User manual

Popular Car Spares manuals by other brands

Hellwig 5812 installation instructions
Hellwig

Hellwig 5812 installation instructions

Boomba Racing EVO X installation manual
Boomba Racing

Boomba Racing EVO X installation manual

Trans Dapt 4201 installation guide

Trans Dapt

Trans Dapt 4201 installation guide

Aero-motive 11802 installation instructions

Aero-motive

Aero-motive 11802 installation instructions

Aero-motive 11801 installation instructions

Aero-motive

Aero-motive 11801 installation instructions

DU-HA 20115 installation instructions

DU-HA

DU-HA 20115 installation instructions

Spectre Performance 9049 Intake Installation Instructions

Spectre Performance

Spectre Performance 9049 Intake Installation Instructions

Westin 27-1155 instruction sheet

Westin

Westin 27-1155 instruction sheet

Reese R20 instruction manual

Reese

Reese R20 instruction manual

WABCO ABS Maintenance manual

WABCO

WABCO ABS Maintenance manual

Go Rhino DOMINATOR SERIES Assembly/installation instructions

Go Rhino

Go Rhino DOMINATOR SERIES Assembly/installation instructions

Go Rhino DOMINATOR 2 SERIES Assembly/installation instructions

Go Rhino

Go Rhino DOMINATOR 2 SERIES Assembly/installation instructions
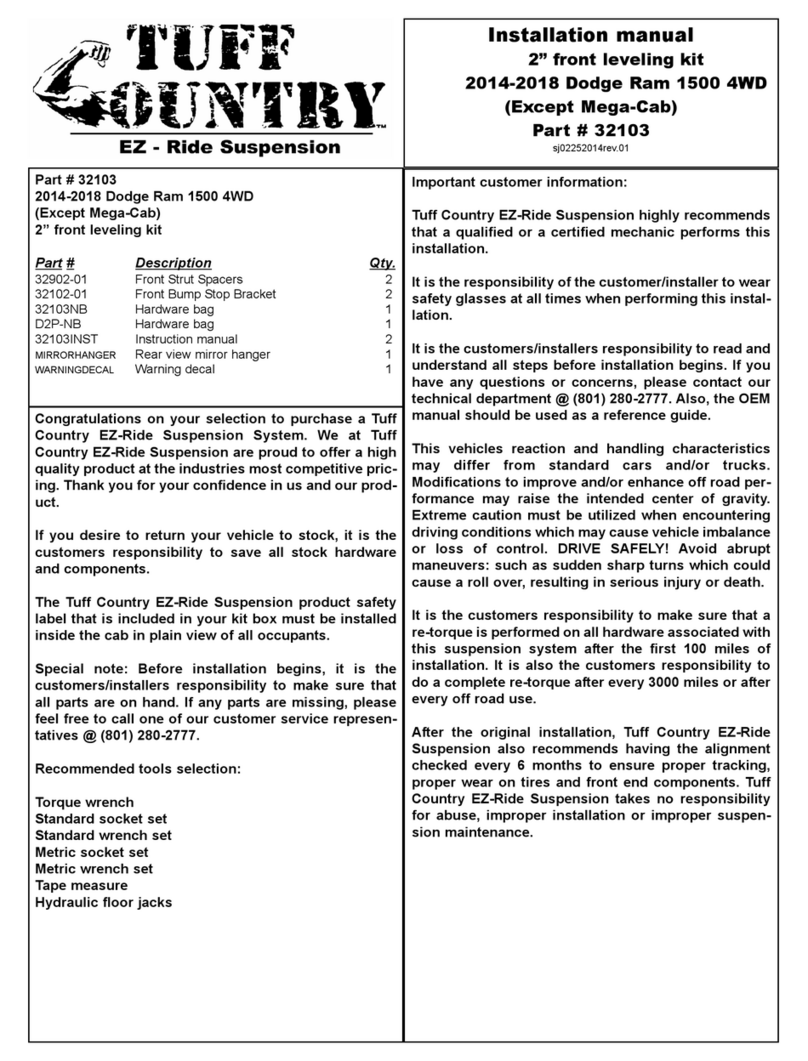
Magnaflow 18941 installation instructions

Magnaflow

Magnaflow 18941 installation instructions

Tuff Country 32103 installation manual

Tuff Country

Tuff Country 32103 installation manual

ADD 2003 – Current Chevy 1500/2500 ADD Lite installation instructions

ADD

ADD 2003 – Current Chevy 1500/2500 ADD Lite installation instructions

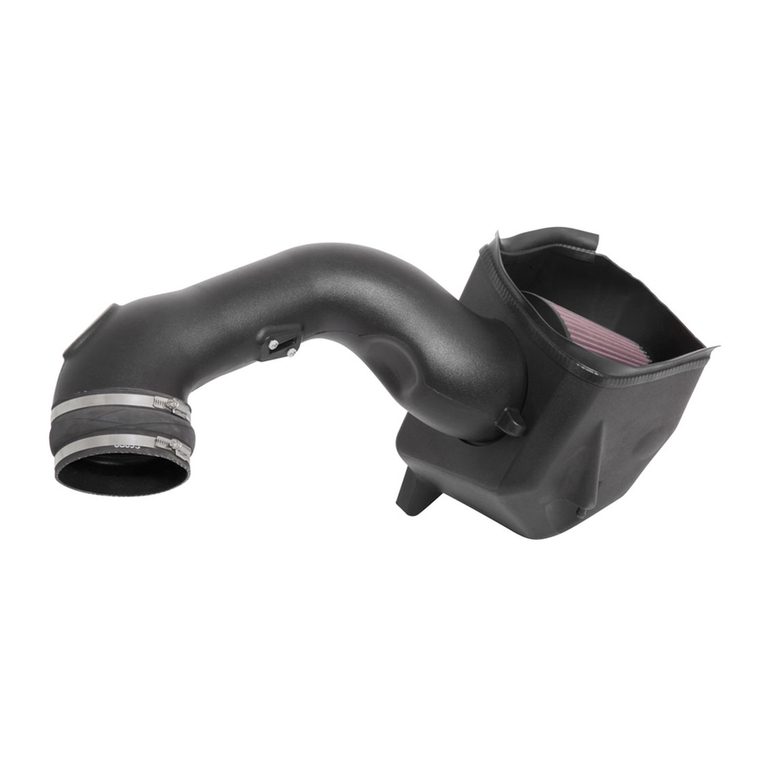
ADD 2007-2014 Jeep JK venom installation instructions
ADD

ADD 2007-2014 Jeep JK venom installation instructions

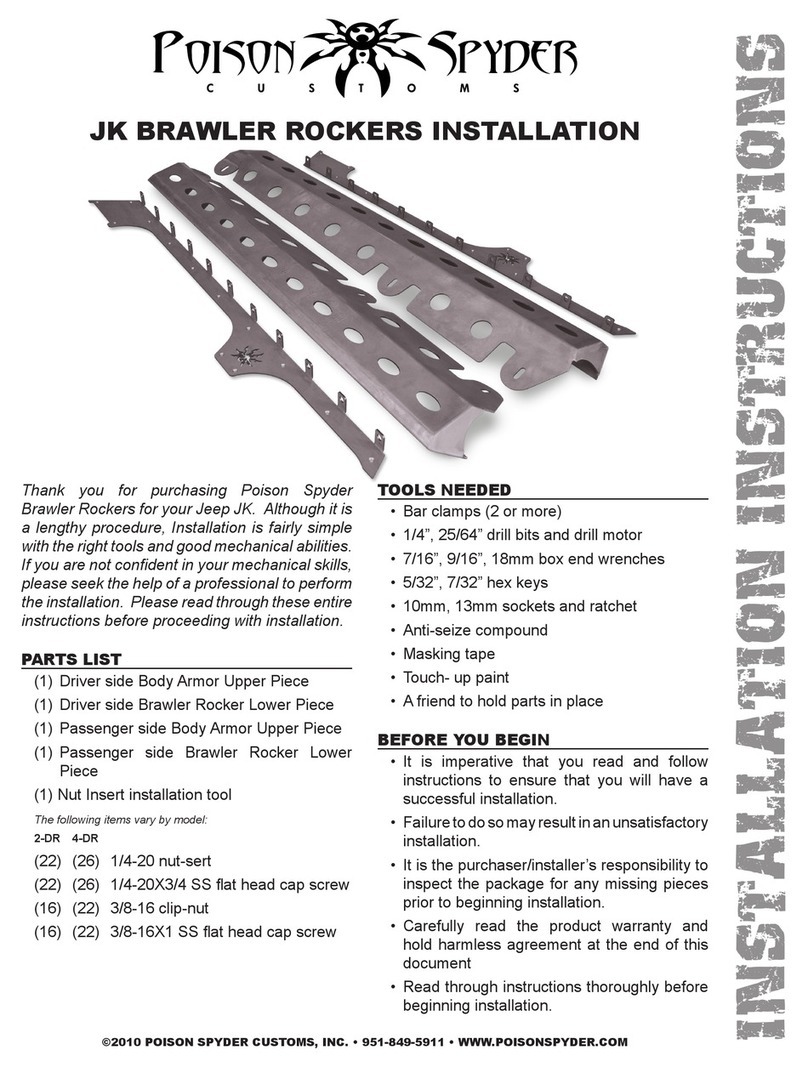
Airaid 400-279 installation instructions
Airaid

Airaid 400-279 installation instructions

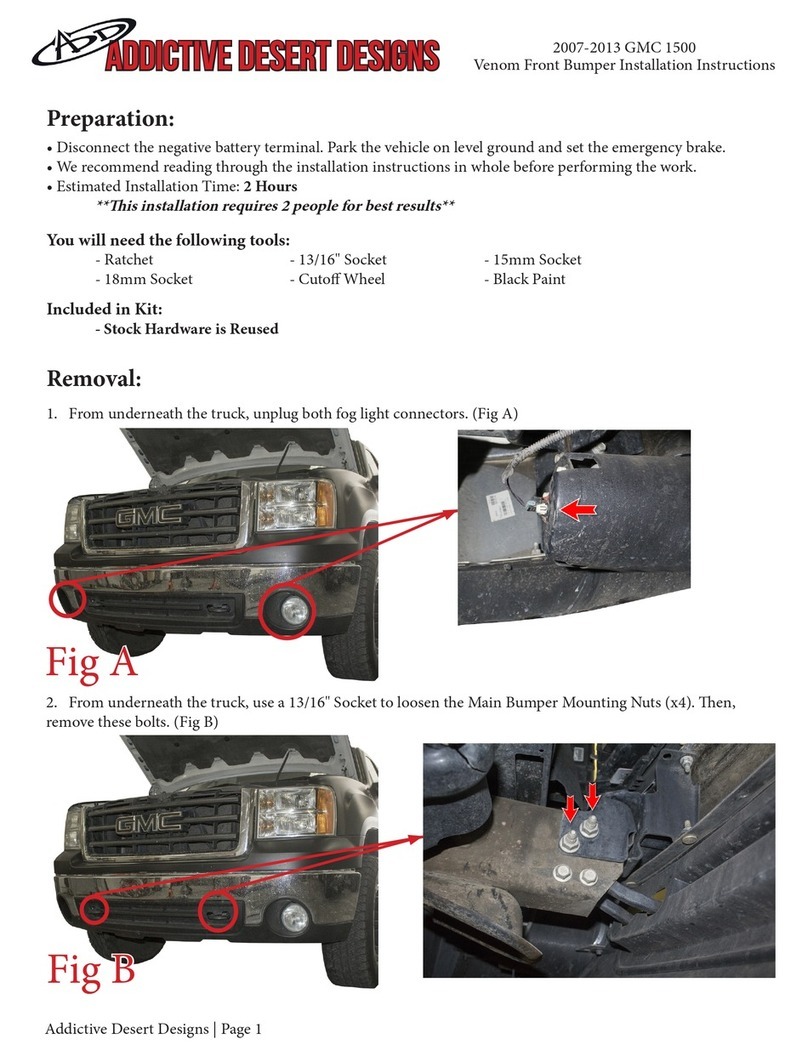
Poison Spyder JK BRAWLER ROCKERS Installation instructions manual
Poison Spyder

Poison Spyder JK BRAWLER ROCKERS Installation instructions manual

manuals.online logo
manuals.online logoBrands
  • About & Mission
  • Contact us
  • Privacy Policy
  • Terms and Conditions

Copyright 2025 Manuals.Online. All Rights Reserved.

INSTRUCTION MANUAL
CAT-BACK STAINLESS EXTREME DUAL EXHAUST
FORD EXPEDITION/NAVIGATOR 4.6L-5.4L 2/4WD
PART # 69522
ITEM PART # QUANTITY DESCRIPTION
A 321- 700176S 1 3” STAINLESS HEADPIPE
B 758250S 1 STAINLESS SUPERFLOW MUFFLER
C 829- 700585S 1 2-1/2” S.S DRIVERSIDE TAILPIPE
D 830- 700586S 1 2-1/2” S.S PASSENGER SIDE TAILPIPE
E 831- 700587S 2 2-1/2” STAINLESS EXIT PIPES
F 500396 2 3-1/2” STAINLESS TIP
G 5757 5 2-1/2” CLAMP
H OHD300 1 3” CLAMP
I 40083 1 REAR MUFFLER HANGER
J 08269 1 10” METAL HANGER
K BO-101 1 BOLT KIT FOR 10” HANGER
L ZIP 2 ZIP TIE
M 829-700585S-1 1 2 ½” Stainless Exit Pipe
Thank you for purchasing our Gibson exhaust system for your vehicle. If you need further
assistance, please do not hesitate to call our technical dept at (800) 528-3044 Monday
through Friday, 8:00 am to 5:00 pm.
54X20X12
EXHAUST INSTALLATION PART # 69522
WHEN INSTALLING THIS EXHAUST SYSTEM ,MAKE SURE TO USE PROPER SAFETY
PRECAUTIONS.USE JACK STANDS WHEN UNDER THE TRUCK, SET PARKING BRAKE, BLOCK TIRES
AND USE SAFETY GLASSES AND GLOVES. DO NOT WORK WITH HOT PIPES!
SUGGESTED TOOLS
9/16 “, ½”, 15 MM WRENCH AND SOCKET, WD-40, HACKSAW OR SAWZALL, JACKSTAND
Lay out the exhaust on the floor
so it looks like the drawing and
compare parts with manual. To
remove the stock exhaust, un-
clamp it just in front of the
muffler. You may need to heat it
up for easier removal. Leave all
rubber grommets in place. Use
WD-40 to aid in removal of
exhaust and the hangers. Now cut
off your stock tailpipe just behind
the muffler.
Install head pipe #A onto your
existing stock front pipe and
secure with clamp # G. Use a
jack stand to support the
converter. Do not tighten.
Install muffler #B onto head
pipe 1 ½” to 2” with the louvers
facing towards the converter.
Use a jack stand to support the
muffler. Use clamp # H to
secure the muffler to the head
pipe. Do not tighten. Outlets
should be on the bottom.
Install rear mufflerT-
hanger # I into rubber
grommets located just above
the muffler outlets. Shorter
side of the hanger will be
inserted on the passenger
side grommet. Slide clamp
onto passenger side muffler
outlet. Do not tighten.
Measure approx. 12” from
the rear of the frame
and use the bolt that is
there, and install 10”
hanger # J use the 3rd
hole on the hanger and
install re-using the
factory nut.
Next, install drivers side
tailpipe # C into muffler
1-1/2” to 2” route between
spare tire and shocks use
clamp # G to secure, do not
tighten. Next install exit
pipe #M onto tail pipe. Use
clamp #G to secure, do not
tighten
Install passenger side
tailpipe # D into muffler
1-1/2” to 2”, use clamp # I
to secure. Do not tighten.
Slide welded hanger into
rubber grommet.
Install exit pipes # E onto
tailpipes, and rotate until
level.
Install your stainless tips
to your desired look, then
go back tighten all clamps
from the front working
your way back.
MAKE SURE YOU HAVE A 1” CLEARNACE ON
ALL RUBBER BRAKE LINES, SHOCK BOOTS,
TIRE, FUEL LINES, ETC…