manuals.online logo
Brands
  1. Home
  2. •
  3. Brands
  4. •
  5. Go Rhino
  6. •
  7. Car Spares
  8. •
  9. Go Rhino DOMINATOR D2 SERIES User manual

Go Rhino DOMINATOR D2 SERIES User manual

This manual suits for next models

1

Other Go Rhino Car Spares manuals

Go Rhino DOMINATOR II Series User manual

Go Rhino

Go Rhino DOMINATOR II Series User manual

Go Rhino DOMINATOR SERIES Programming manual

Go Rhino

Go Rhino DOMINATOR SERIES Programming manual

Go Rhino Dominator 2 series User manual

Go Rhino

Go Rhino Dominator 2 series User manual

Go Rhino DOMINATOR II Series User manual

Go Rhino

Go Rhino DOMINATOR II Series User manual

Go Rhino DOMINATOR 2 SERIES Programming manual

Go Rhino

Go Rhino DOMINATOR 2 SERIES Programming manual

Go Rhino dominator d2 series User manual

Go Rhino

Go Rhino dominator d2 series User manual

Go Rhino DOMINATOR II Series User manual

Go Rhino

Go Rhino DOMINATOR II Series User manual

Go Rhino DOMINATOR 2 SERIES Programming manual

Go Rhino

Go Rhino DOMINATOR 2 SERIES Programming manual

Go Rhino dominator 2 series User manual

Go Rhino

Go Rhino dominator 2 series User manual

Popular Car Spares manuals by other brands

Hellwig 5812 installation instructions
Hellwig

Hellwig 5812 installation instructions

Boomba Racing EVO X installation manual
Boomba Racing

Boomba Racing EVO X installation manual

Trans Dapt 4201 installation guide

Trans Dapt

Trans Dapt 4201 installation guide

Aero-motive 11802 installation instructions

Aero-motive

Aero-motive 11802 installation instructions

Aero-motive 11801 installation instructions

Aero-motive

Aero-motive 11801 installation instructions

DU-HA 20115 installation instructions

DU-HA

DU-HA 20115 installation instructions

Spectre Performance 9049 Intake Installation Instructions

Spectre Performance

Spectre Performance 9049 Intake Installation Instructions

Westin 27-1155 instruction sheet

Westin

Westin 27-1155 instruction sheet

Reese R20 instruction manual

Reese

Reese R20 instruction manual

WABCO ABS Maintenance manual

WABCO

WABCO ABS Maintenance manual

Magnaflow 18941 installation instructions

Magnaflow

Magnaflow 18941 installation instructions

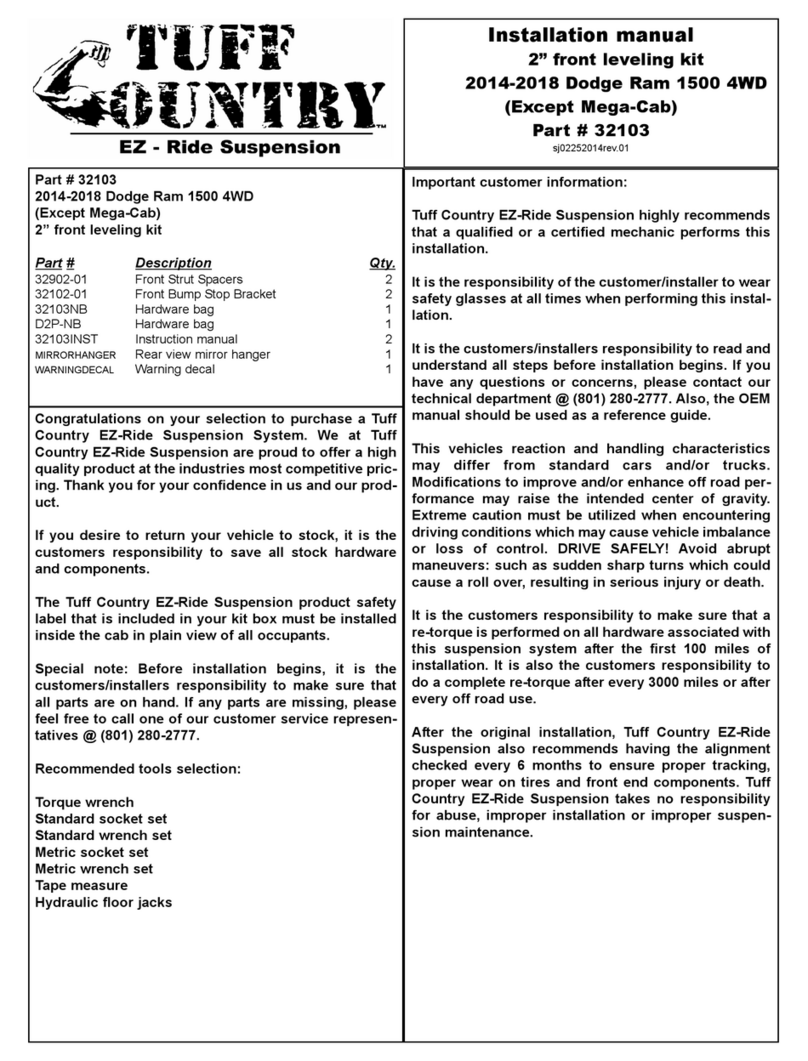
Tuff Country 32103 installation manual

Tuff Country

Tuff Country 32103 installation manual

ADD 2003 – Current Chevy 1500/2500 ADD Lite installation instructions

ADD

ADD 2003 – Current Chevy 1500/2500 ADD Lite installation instructions

ADD 2007-2014 Jeep JK venom installation instructions
ADD

ADD 2007-2014 Jeep JK venom installation instructions

Gibson 69522 instruction manual

Gibson

Gibson 69522 instruction manual
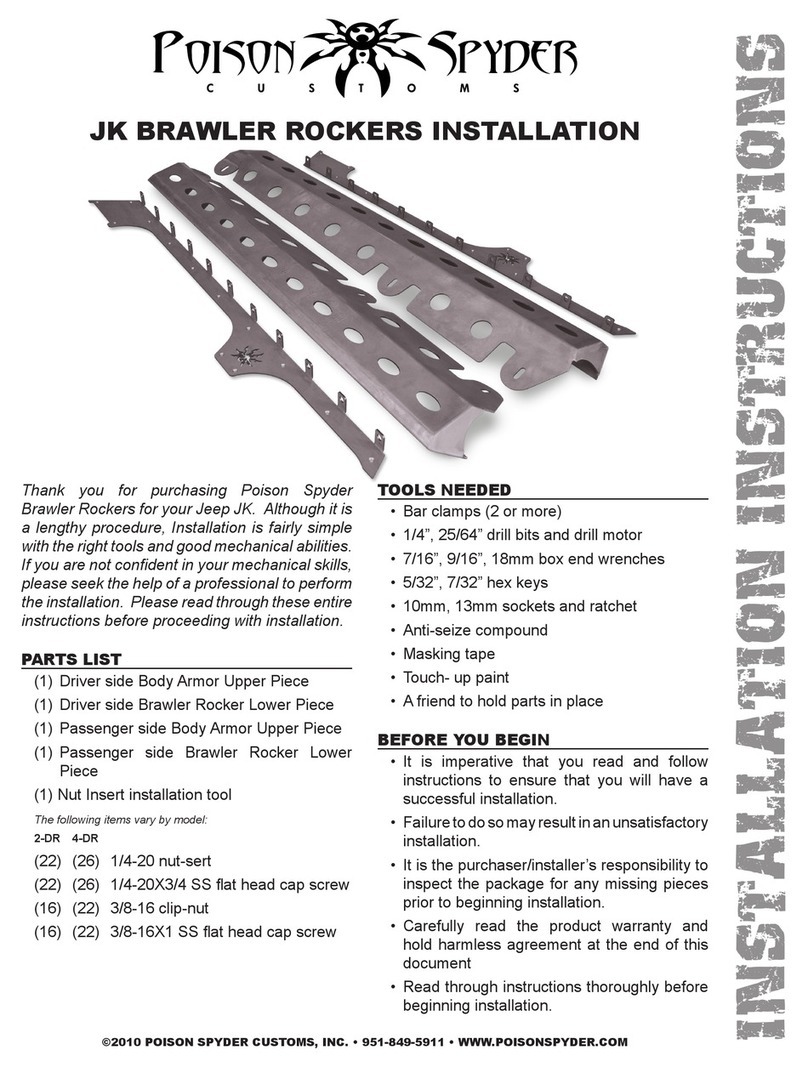
Airaid 400-279 installation instructions
Airaid

Airaid 400-279 installation instructions

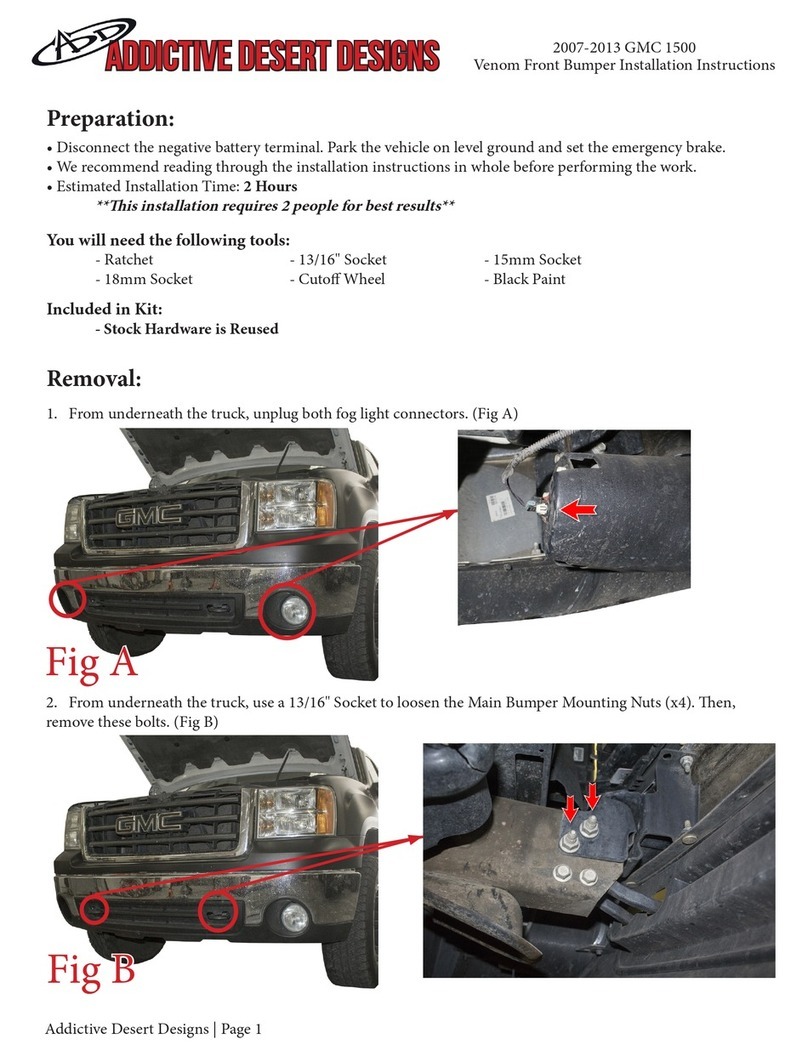
Poison Spyder JK BRAWLER ROCKERS Installation instructions manual
Poison Spyder

Poison Spyder JK BRAWLER ROCKERS Installation instructions manual

ADD 2007-2013 GMC 1500 installation instructions

ADD

ADD 2007-2013 GMC 1500 installation instructions

manuals.online logo
manuals.online logoBrands
  • About & Mission
  • Contact us
  • Privacy Policy
  • Terms and Conditions

Copyright 2025 Manuals.Online. All Rights Reserved.

INSTALLATION INSTRUCTIONS
PART NO. D24105 (B-PS)
2009-14 DODGE RAM 1500 CREW CAB P/U 4DR 2/4WD
2010-15 2500, 3500 CREW CAB P/U 4DR 2/4WD
Do not attempt to install this product on any vehicle other than the one it is designed for and listed above!
PACKING LIST
QTY PARTS DESCRIPTION
24 3/8”X 1 ¼”HEX BOLTS
42 3/8”FLAT
W
ASHERS
30 3/8”LOCK
W
ASHERS
18 3/8”HEX NUTS
QTY
6
6
1
1
PARTS DESCRIPTION
4105TP
T-PLATE
D06 SIDE STEP MOUNTINGBRACKETS
D24105P
PASSENGER
SIDE STEP
D24105DDRIVERSIDE STEP
INSTALLATION INSTRUCTIONS
READ THE INSTRUCTIONS COMPLETELY BEFORE YOU BEGIN THE INSTALLATION
OBLONG
HOLE
HEXAGON SHAPED HOLES BODY PANEL
STEP 1. THIS INSTALLATION USES (3) MOUNTING BRACKETS PER SIDE. BEGIN BY INSTALLING THE
PASSENGER SIDE FRONT BRACKET. LOCATE THE (2) HEXAGON SHAPED HOLES IN THE UNDERSIDE OF
THE BODY PANEL AT THE FRONT OF THE CAB AND REMOVE THE TAPE COVERING THE OBLONG HOLE.
T-PLATE
STEP 2. INSERT (1) OF THE T-PLATES THROUGH THE OBLONG HOLE IN THE BODY PANEL AND POSITION
THE PLATE INSIDE THE PANEL AS SHOWN.
T-PLATE
3/8”FLAT WASHER,
LOCK WASHER & HEX NUT
3/8”X 1 ¼”HEX
BOLTS,
LOCK WASHERS, & FLAT
WASHERS
MOUNTING BRACKET
STEP 3. ATTACH ONE OF THE MOUNTING BRACKETS TO THE BODY PANEL USING THE T-PLATE (2) 3/8”X 1
¼” HEX BOLTS, (3) 3/8”FLAT WASHERS, (3) 3/8”LOCK WASHERS AND (1) 3/8”HEX NUT. HAND TIGHTEN.
STEP 4. REPEAT THE ABOVE PROCEDURE TO INSTALL THE CENTER AND REAR MOUNTING BRACKETS.
3/8”X 1 ¼”HEX BOLTS, FLAT WASHERS,
LOCK WASHERS & HEX NUTS
PASSENGERSIDE STEP
STEP 5. ATTACH THE PASSENGER SIDE STEP TO THE MOUNTING BRACKETS USING (2) 3/8”X 1 ¼”HEX
BOLTS, (4) FLATWASHERS, (2) LOCK WASHERS AND (2) HEX NUTS FOR EACH BRACKET.
STEP 6. ALIGN THE SIDE STEP WITH THE VEHICLE AND TIGHTEN ALL MOUNTING BRACKET AND SIDE
STEP NUTS AND BOLTS. REPEAT THE ABOVE PROCEDURE TO INSTALL THE DRIVER SIDE BRACKETS AND
SIDE STEP.