5
04
BAKING, COOLING, AND STORING
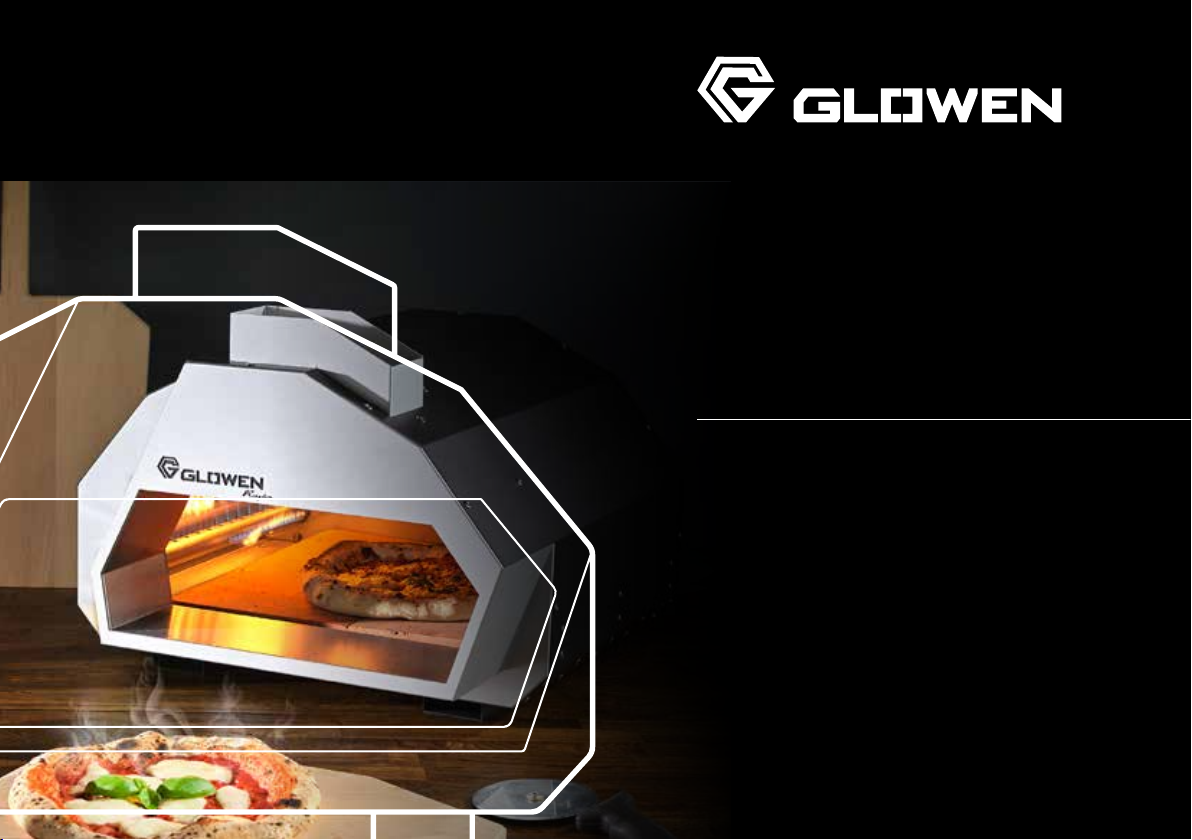
GLOWEN RAPTOR
Cooling and storing the oven
After baking, it is essential to put out
the fire. If you fire with gas, just turn off
the gas in the regulator, but if you use
firewood, wait for it to burn to the end,
discard excess ash in a metal container
with water, and wait for the oven to cool.
Do not use water to cool the range.
It is recommended to clean and move
the oven when it has cooled down
(approximately 2 hours after the end of
firing). Glowen Raptor must be stored in
a dry and closed place to protect against
weather influences.
Always check if you have dry firewood
before firing with wood, but if you are
firing with gas, check all gas connections,
tanks, pipes, and regulators to avoid gas
leakage risk.
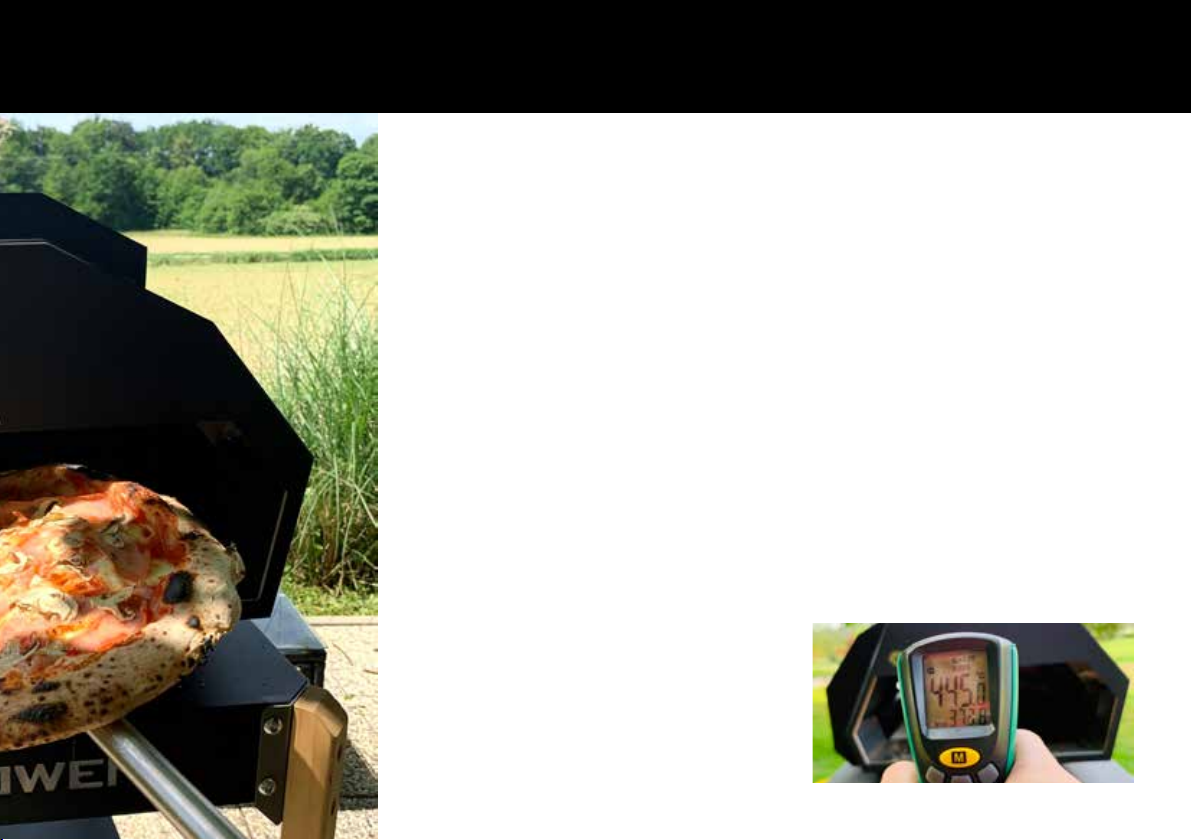
Achieving appropriate temperatures
Glowen Raptor is designed to reach
temperatures above 500°C. The perfect
cooking temperature depends on the
dish you want to prepare. For Glowen
dough pizza, a suitable temperature of
420 ° C is in the middle of the baking
plate. Read the recipe on page 15.
Suppose you are not using Glowen
Raptor at the moment, or you need
a lower temperature. In that case, we
recommend reducing the gas supply or
not adding additional firewood to the
firebox while the oven is empty.