GoFish GoFish Cam User manual

GoFish Cam
Underwater Fishing Camera
Basic Owner’s Manual
August 10, 2017
Version: 0.012

Thank you for purchasing the GoFish Cam – the underwater, inline fishing Camera. Please
review these instructions carefully before using the product and save this manual for future use.
You will need to download the iOS application or Android
application in order to register your GoFish Cam. Please
register your camera before using it. Please see the app
description pages on the iOS App Store or Google Play store
for minimum system requirements for your device.

Table&of&Contents&
You will need to download the iOS application or Android application in order to register your
GoFish Cam. Please register your camera before using it. Please see the app description
pages on the iOS App Store or Google Play store for minimum system requirements for your
device. 2
Warnings and Notes 6
Handling of this unit 7
A Note about condensation 8
Check before using underwater 9
Do not attach/remove the Rear Cap or lens cap in sandy or dusty locations, near
water, or with wet hands. If sand or dust adheres to this unit, water may leak in. 9
To prevent water from seeping into the unit, be careful not to trap foreign objects like
sand, hair, or dust between the rear cap / lens cap and the main unit. 10
Using this unit underwater 10
Caring for this unit after using it underwater 10
In case water enters this unit, stop the use immediately. Remove both lens cap and rear
cap and let unit air dry indoors in a room temperature environment and contact us letting
leakage due to wrong handling by customers are not subject to compensation. 11
When using in a cold climate or at low temperatures 11
Names and Functions of Main Parts 13
Charging the battery 14
Charging Warnings 15
Indicator lights when operating 15
Right Indicator 15
Left Indicator 15
Charging and recording time* 16
When the red indicator light is not on during charging 16
Recording to a card 17
This unit does not support memory cards that exceed the capacities listed above. 17
Inserting/Removing a microSD Card 18
Please note, do not insert or remove the microSD card when the unit is turned on. Turn
the camera OFF first. 18
Turning this unit on/off 19
About battery level indications 19

Wi-Fi® function 19
Using the "GoFish Cam App" on your smartphone 20
Connecting to a smartphone 20
Setting date and time 22
Using the Setup Menu 22
White Balance 23
Upside Down 23
About 23
Change WiFi Credentials 23
Format Camera 23
Formatting a microSD card will erase ALL the data stored on the card, so make sure you
have copies of any data that is on the card before performing a formatting operation.
Once you format a card, you will not be able to easily recover lost information. 24
Using this unit for different styles of fishing 24
Using this unit for cast & retrieve 24
Using this unit for trolling 24
Using this unit for bottom fishing 25
Using this unit for float fishing - with the GoFish Cam live-stream float accessory 25
Do not open the unit when the accessory is attached. Remove accessory, dry the
surface of the unit, before opening either end of the unit. 25
Recording 27
Check before recording 27
Recording with this unit 28
Recording in dark locations (Night Vision Mode) 29
Using the Recording Function 29
Pixels/Frame Rate 29
PLAYBACK 30
Playback using a smartphone 30
EDITING 32
Editing using a smartphone 32
SHARING 33
Sharing using a smartphone 33
Using a PC 34
Troubleshooting 34

Caution 37
About this unit 37
About personal information 38
Disclaimer 38
About the microSD card 39
About firmware updates 40
Manually resetting the unit 40
About the battery 40
Disposal of the product at end of life 40
About Copyright 41
!

Warnings and Notes
IMPORTANT INFORMATION ABOUT THE WATERPROOF/DUSTPROOF AND ANTI-SHOCK
PERFORMANCE OF THIS UNIT
1. Waterproof/Dustproof Performance*
This unit’s waterproof/dustproof rating complies with the “IPX8” rating. Provided the care
and maintenance guidelines described in this document are strictly followed, this unit
can operate underwater, to a depth of 150m (492 Feet) for a time not exceeding 1 hour.
2. Anti-Shock Performance**
This unit has cleared a test conducted by GoFish Cam, which complies with MIL-STD
810G Method 516.5-Shock (a drop test performed from a height of 1.22m (4.0 Feet) onto
3cm (0.10 feet) thick plywood.
This does not guarantee no destruction, no malfunction, or waterproofing in all conditions.
3. Portrait Rights
Be sure to pay special attention to the privacy policy, terms and conditions, and terms of
use, etc. when you use this unit and the mobile application. Use it at your own risk.
4. Indemnity about recorded content
GoFish Cam does not accept any responsibility for damages directly or indirectly due to
any type of problems that result in loss of recording or edited content, and does not
guarantee any content if recording or editing does not work properly. Likewise, the
above also applies in a case where any type of repair is made to this unit.
* This means that this unit can be used underwater for specified time in specified pressure in accordance with the
handling method established by GoFish Cam.
** “MIL-STD 810G Method 516.5-Shock” is the test method standard of the U.S. Defense Department, which
specifies performing drop tests from a height of 122 cm (4.0 feet), at 26 orientations (8 corners, 12 ridges, 6 faces)
using 5 sets of devices, and passing the 26 orientation drops within 5 devices. (If failure occurs during the test, a new
set is used to pass the drop orientation test within a total of 5 devices.) GoFish Cam’s test method is based on the
above “MIL-STD 810G Method 516.5-Shock”. This drop test was passed. (Disregarding appearance change such as
loss of paint or distortion of the part where drop impact is applied.)

Handling of this unit
●The waterproof performance may be degraded due to the strong water pressure when
this unit is used deeper than 150m (492 Feet) underwater. GoFish Cam does not
recommend using this unit deeper than 150m.
●When this unit is splashed with detergent, soap, hot spring, bath additive, sun oil,
sunscreen, chemical, etc., wipe it off immediately.
●If used in salt water, rinse in clean freshwater, such as tap water
●Waterproof function of this unit is for seawater and freshwater only.
●Any malfunction caused by customer misuse, or mishandling will not be covered by the
warranty.
●Cards are not waterproof. Do not handle with a wet hand. Also, do not insert wet card
into this unit.
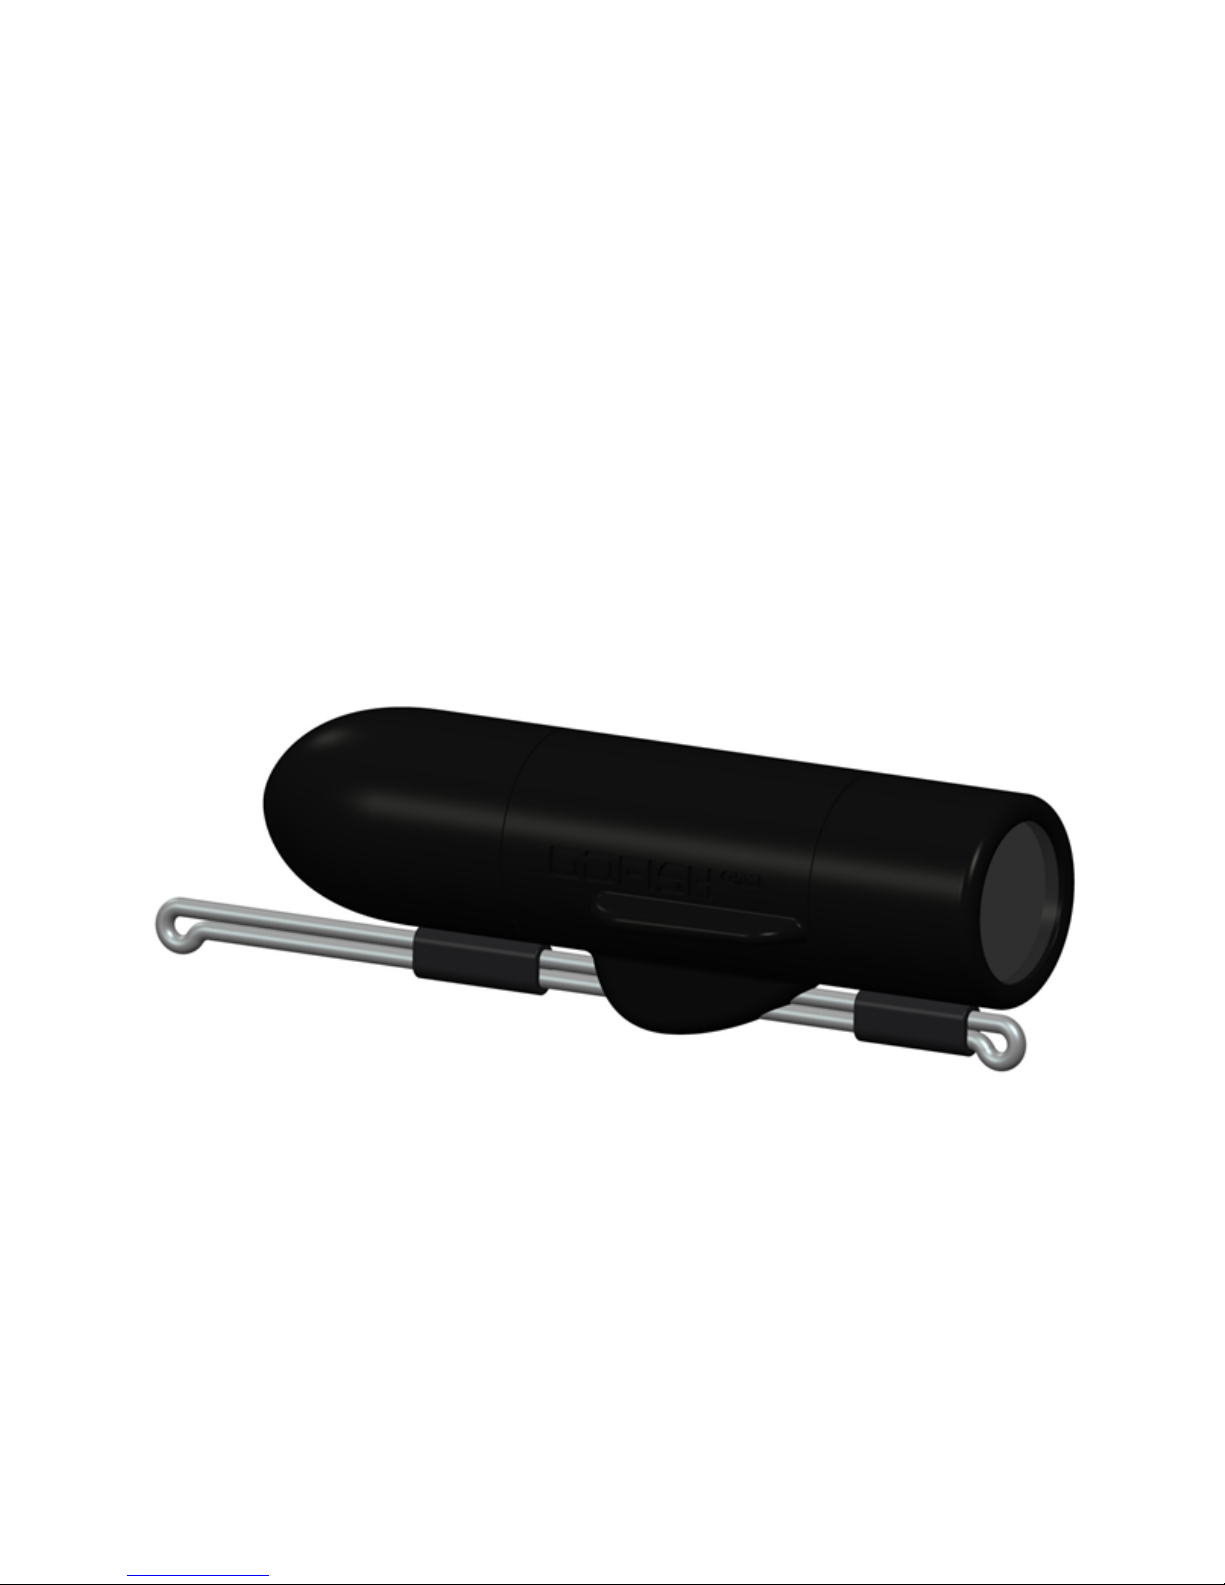
●Do not attach/remove the Rear Cap or Lens Cap when your hands are wet or water
droplets are present on this unit. If water droplets get inside this unit, the terminals may
rust and cause malfunctions. Other types of damage may also result.
●Do not leave this unit for a long period of time in places where temperature is very low
(at high altitude, extreme depth, etc.) or very high (inside a car under strong sunlight,
close to a heater, on the beach, etc.) waterproof performance and battery performance
may be degraded.
●The inside of this unit is not waterproof. Water leakage will cause malfunction.
●The sound quality may be lowered when using this unit. This is for ensuring the
waterproof performance of this unit, and not a malfunction. Removing the Rear Cap will
restore the original volume. It is not recommended to remove the Rear Cap near open
water, underwater, with wet hands, or when the unit is wet. Removing the Rear Cap
could expose the internals to moisture in the air which can cause damage to the
internals, and will also affect the impact rating and durability of the unit if dropped.
●This unit is not waterproof when the Rear Cap is off when usb connection is in use. In
this case, do not use this unit underwater or touch it with wet hands.
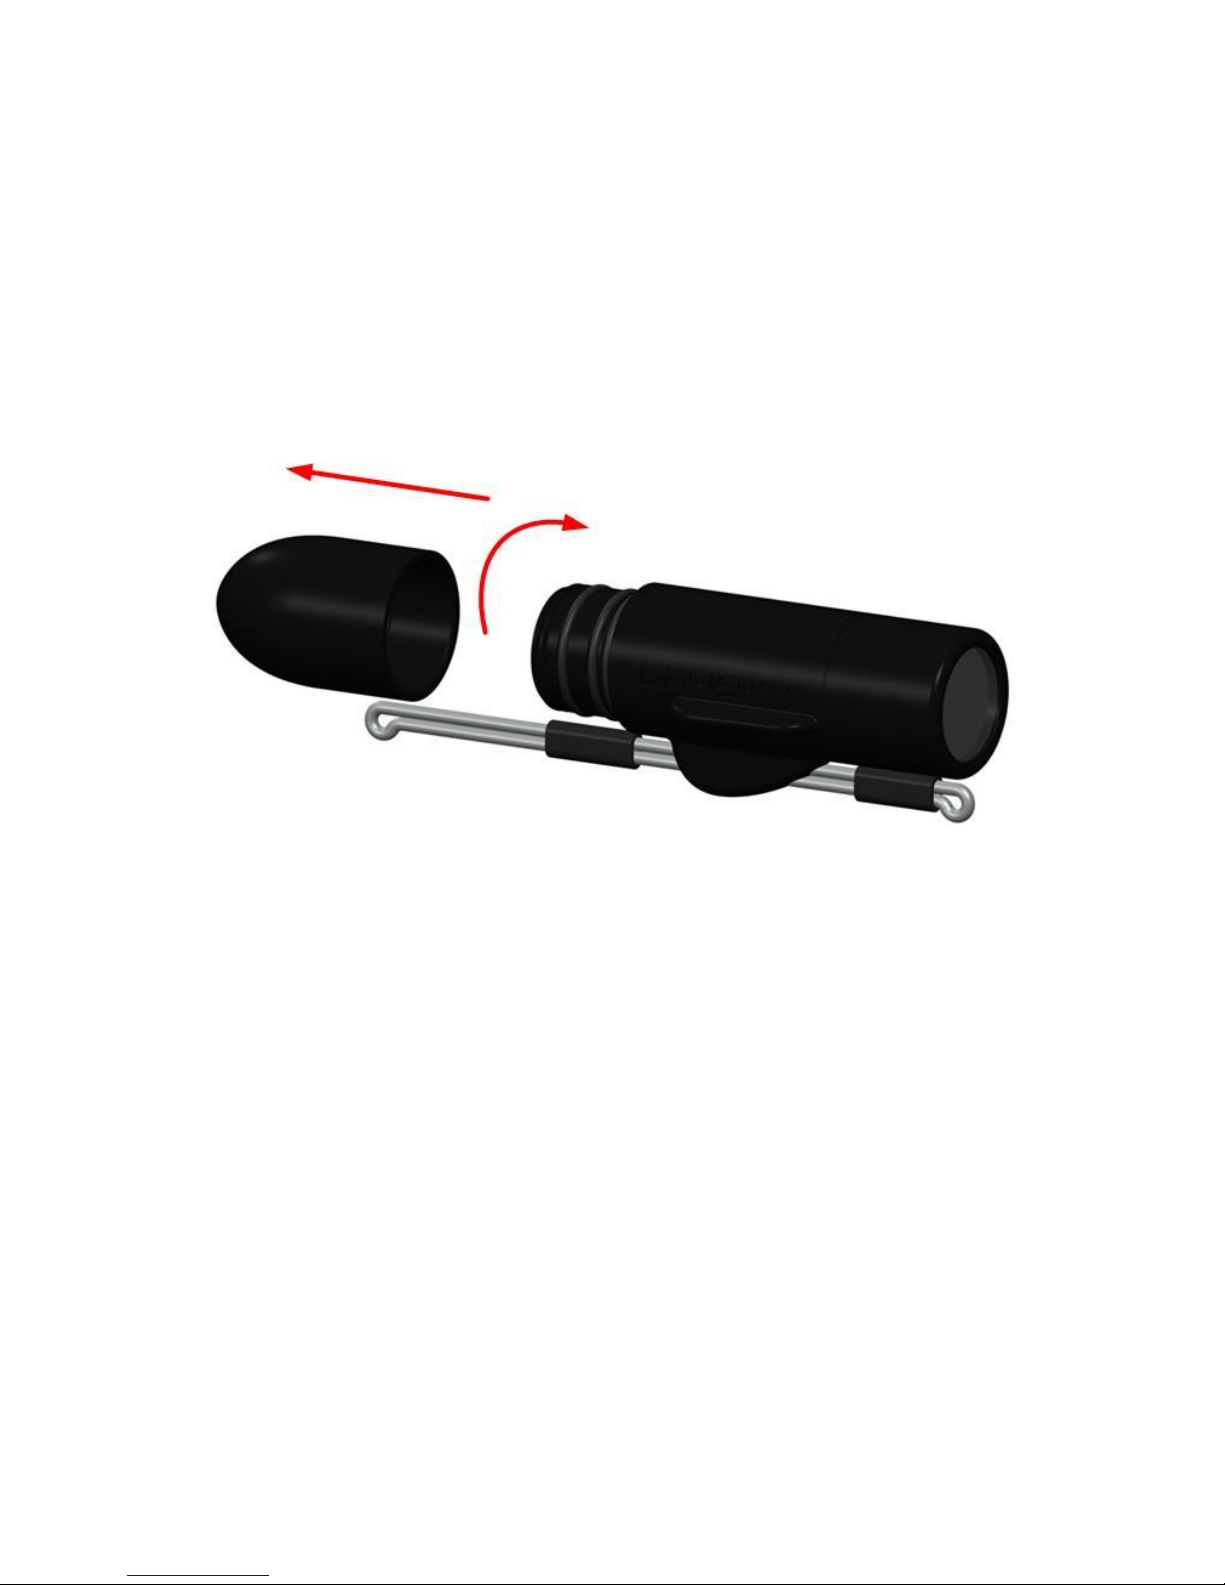
If any foreign objects are found on the internal components,
threaded portions, rubber seals, or other parts of this unit, remove
them with a soft dry cloth.
If any liquid such as water droplets are found on the internal
components, threaded portions, rubber seals, or other parts of this
unit, wipe it off with a soft dry cloth. Do not attach/remove the Rear

Cap or Lens Cap near open water, underwater, with wet hands, or
when the unit is wet. Doing so may cause water to leak in.
If you attach/remove the Rear Cap or Lens Cap in a sandy or dusty
place, sand or other foreign objects may adhere to the internal
components, threaded portions (portions of this unit, Rear Cap and
Lens Cap with helical threads), rubber seals or other parts of this
unit. Be extra careful when attaching parts to this unit. If foreign
objects are caught in it, water may leak in and cause malfunctions
and other problems.
NOTE: The unit contains small parts that’ could be a choking hazard, and is not intended for
small children, always use with adult supervision.
A Note about condensation
●Condensation occurs when there is a change in temperature or humidity, such as when
the unit is taken from outside or a cold room to a warm room. Please be careful, as it
may cause the lens to become soiled, moldy, or damaged.
●When taking the unit to a place that has a different temperature, if the unit is accustomed
to the room temperature of the destination for about one hour, condensation can be
prevented. When the difference in temperature is severe, place the unit in a plastic bag
or the like, remove air from the bag, and seal the bag.
●When condensation occurs, turn off this unit, bring the unit indoors in a room
temperature, remove the Rear Cap and lens cap and leave this unit for approximately 2
hours. Once this unit adjusts to the ambient temperature, the condensation will
disappear naturally. Note: Do not leave this unit open (without the caps) outdoors or
near water, humid locations, or salt water/air.
●The inside of this unit is not waterproof. Condensation can cause water droplets which
will cause malfunction.

Check before using underwater
Do not attach/remove the Rear Cap or lens cap in sandy or dusty locations, near
water, or with wet hands. If sand or dust adheres to this unit, water may leak in.
Step 1: Rotate the Rear Cap and lens cap in the directions of the arrows to remove
them.
Figure 1
Step 2: Check that no foreign objects are found on the internal components, threaded
portions, and rubber seals of this unit.
●If there are any foreign objects, such as lint, hair, sand, etc., water will
leak within a few seconds causing malfunction.
●If there are foreign objects adhering to the unit like dust or lint, remove it
with a dry, soft cloth.
●If there is any liquid, wipe it off with a dry, soft cloth.
●If there are foreign objects that cannot be reached or removed with a dry,
soft cloth - use a commercially available air blower (or compressed air
can) to remove them.
Step 3: Check that the rear cap, lens cap, and rubber seals are neither cracked nor
deformed.
Step 4: Rotate the rear cap and lens cap in the OPPOSITE direction as used in Step 1.
Tighten, them firmly to ensure that they are not loose and no gaps between
caps and housing body are present.

To prevent water from seeping into the unit, be careful not to trap foreign objects
like sand, hair, or dust between the rear cap / lens cap and the main unit.
Using this unit underwater
●Use this unit underwater at a depth of down to 150M (492 feet) with the water
temperature between -5°C and 40°C (23F and 104F)
●Do not use this unit at a depth of over 150M (492 feet)
●Do not use it in hot water over 40°C (104F) (in a bath or hot spring)
●Do not use this unit underwater longer than 3 hours continuously
●Do not attach/remove the Rear Cap or lens cap.
●Do not apply shock to this unit underwater. (Waterproof performance may not be
maintained, and there is a chance of a water leak.)
●Do not dive into the water holding this unit. Do not use this unit in a location where the
water will splash strongly, such as rapid flow or waterfall. Strong water pressure may be
applied, and it may cause malfunction.
This unit will sink in the water. Take care not to drop this unit.
Caring for this unit after using it underwater
●Do not attach/remove the Rear Cap or lens cap until you remove the sand and dust by
rinsing and drying this unit.
●Make sure to clean the unit after using it.
○Thoroughly wipe off any water droplets, sand, dirt, and saline matter on your
hands, body, hair, etc.
○It is recommended to clean the unit indoors, avoiding places where water spray
or sand/dirt may fall.
●Do not leave this unit uncared for longer than 60 minutes after using it underwater
○Leaving this unit with foreign objects or saline matter on it may cause damage,
discoloration, corrosion, unusual odor, or deterioration of the waterproof
performance.
●Rinse this unit without removing the Rear Cap and lens cap.
○After use at the seaside or underwater, soak the unit in fresh water pooled in a
shallow container for about 10 minutes.
●Wipe off water drops on this unit with a soft dry cloth and dry this unit in a shaded area
that is well ventilated.
○Dry this unit on a dry cloth.
○Do not dry this unit with hot air from dryer or similar. It will deteriorate the
waterproof performance or cause failure due to deformation.

○Do not use chemicals such as benzene, thinner, alcohol or cleanser, soap or
detergents.
●After checking that there are no water droplets, remove the Rear Cap and lens cap, and
wipe off any water droplets or sand left inside with a soft, dry cloth.
○If you remove the Rear Cap or Lens Cap without thoroughly drying this unit,
water droplets may form on the card or other parts. Also, water may accumulate
in the gap around the card slot or the USB terminal connector. Be sure to wipe
any water off with a soft, dry cloth.
○If you attach the Rear Cap or Lens Cap while still wet, water droplets may seep
into this unit and cause condensation or malfunctions.
In case water enters this unit, stop the use immediately. Remove both lens cap
and rear cap and let unit air dry indoors in a room temperature environment and
resulting from water leakage due to wrong handling by customers are not subject
to compensation.
When using in a cold climate or at low
temperatures
●It may cause injury to the skin if you directly touch the metal parts of the unit in places
where temperature is very low (environments under 0°C / 32F, such as ice fishing,
northern waters, deep waters, winter climates, or places at high altitude) for a long
period of time. GoFish Cam will not be held liable for any such injuries.
●The performance of the battery (recording time / operating time) may decrease
temporarily when using in a temperature lower than 0°C / 32F, (cold places such as ice
fishing, northern waters, deep waters, winter climates, or places at high altitude). Make
sure you charge the battery sufficiently before use.
●The battery cannot be recharged at temperatures lower than 0°C / 32F. Charge the
battery sufficiently in a place where the ambient temperature is between 10°C and 30°C
(50F and 86F).
●If the unit is used in cold places such as ice fishing, northern waters, deep waters, winter
climates, places at high altitude, some parts of the unit may become hard to move. This
is not a malfunction. Let the unit warm up before forcing any parts to move.
●If the Wi-Fi® function is used in cold places such as ice fishing, northern waters, deep
waters, winter climates, or places at high altitude, playback and app connectivity may not
be performed correctly.

●If the unit is consistently used in cold places such as ice fishing, northern waters, deep
waters, winter climates, or places at high altitude, overall productivity of battery life of
unit may decrease over time

Names and Functions of Main Parts
Figure 2

Charging the battery
When this unit is purchased, the battery is not charged. Charge the battery fully before using
this unit for the first time.
●This unit has a built-in rechargeable lithium-ion battery. Do not ever remove or attempt to
remove this unit’s batteries. If you need to dispose of your GoFish Cam, please send it
back to GoFish Cam so we can properly dispose of it..
●It is recommended to charge the battery in a temperature between 10°C and 30°C (50F
and 86F).
●When this unit is turned on, it takes longer than usual to charge the battery.
Figure 3
1) Rotate and remove the rear cap to remove it, see page 8 for removal instructions.
2) Connect the USB cable (provided) to the GoFish Cam and connect the other end to a
Wall Outlet or a PC. The left indicator light on the back of the unit will turn red to indicate
that it is charging. Once the unit is completely charged the charging light will turn off.
3) Once charging is complete, disconnect the USB cable from the GoFish Cam and replace
the rear cap, see page 8 for removal instructions. Make sure the cap is tightened
completely so that water cannot enter the camera.

Charging Warnings
●Do not use any other USB cables except the supplied one. (Operation is not guaranteed with any other USB cables.)
●Do not heat or expose to flame.
●Do not leave the unit (including built-in battery) in a car exposed to direct sunlight for a long period of time with doors and
windows closed.
●If the operating time is very short even after the battery has been recharged, the battery has worn out.
●When the PC is in a power saving mode such as a standby state, the battery may not be charged. Cancel the power saving mode,
and connect this unit again.
●Operation is not guaranteed when devices are connected through USB hubs or by using extension cables.
●Operation cannot be guaranteed on all devices having a USB terminal.
Indicator lights when operating
Right Indicator
When this unit is turned on, the indicator light on the right side stays on. The color of the
indicator light shows the recording mode:
Green 1080 @ 60fps
Dark Blue 1080 @ 30fps
Light Blue 720 @ 60fps
Once the unit is recording, the above indicator lights will flash.
Left Indicator
The left indicator light signals the WiFi status and recharge status. When the WiFi is searching,
the light will flash orange. Once the WiFi has established a connection, the light will remain
solid orange.
If at any time the unit is on and charging is in process, the left indicator light will turn red
and will remain on with whichever right indicator light is also on at the time. The red light
will go off when unit is charged.

Charging and recording time*
Charging Time
Frame Rate
Maximum Continuous
Recording Time
Actual Recording Time
2.5 Hours
1080pHD @ 60 FPS
With Lights
2 Hours
1.5 Hours
1.5 Hours
1.3 Hours
1080pHD @ 30 FPS
With Lights
2.5 Hours
1.5
2 Hours
1.3
720pHD @ 60 FPS
With Lights
3 Hours
1.6
2.5 Hours
1.5
Note: Battery Life with WiFi on will be diminished. Maximum time with WiFi is 1.5 Hours. We
recommend charging this unit while using WiFi to review and edit footage with the "GoFish Cam
App"GoFish Cam App“GoFish Cam App”
* These times are approximations. The indicated charging time is for when the battery has been discharged completely. Charging time and recording
time vary depending on the usage conditions such as high / low temperature and may change over time. The actual recording time refers to the
recording time when repeatedly starting / stopping recording, turning this unit on/off, etc. The Unit heats up after use or charging. This is not a
malfunction.
When the red indicator light is not on during charging
If the red light is not on when USB is plugged in
●Check that the USB terminals of this unit or the connecting device, such as PC
are not dirty or covered with a foreign object, and reconnect correctly. If a foreign
object or dirt is present, turn off this unit before removing.
●The environment is at an extremely high or low temperature. Wait until the
temperature has returned to an appropriate level and try charging again. If you
are still unable to charge, there may be a fault in this unit or the connecting
device. Try a different connecting device.
●The red light might be worn out, try leaving the unit plugged in for an hour and
see if battery has been charged.
If the red light is on but has exceeded expected charging times
●When the battery is over discharged or the temperature of the battery is too high
or low. It can be charged, but it may take a few more hours to complete the
charging normally.
If the red light goes off:
●Charging has finished.

Recording to a card
Your GoFish Cam can record video to a microSD card allowing you to review the
footage at a later time. In order to record video, you will need to use a microSD card
with an SD Speed Class Rating of Class 4 or higher. If you use an SD Speed Class
Rating with a lower speed rating the recording may stop suddenly or other unexplained
behavior may occur. You can use any of the following cards in your GoFish Cam:
●microSD card - 1 GB to 2 GB
●microSDHC card - 4 GB to 32 GB
●microSDHX card - 48 Gb to 64 GB
This unit does not support memory cards that exceed the capacities listed
above.

Inserting/Removing a microSD Card
When using a microSD card not supplied from GoFish Cam, or one previously used on other
equipment, for the first time on this unit, format the microSD card. Note: When a microSD card
is formatted, all of the recorded data is deleted. Once the data is deleted, it cannot be restored.
Figure 4
1) Rotate and remove the rear cap to remove it, see page 8 for removal instructions.
2) Turn the unit OFF.
3) Insert (remove) the microSD card into (from) the MicroSD card slot with the terminals
facing down. Push it straight in until it clicks into place. Press the center of the microSD
card and pull it straight out to remove.
4) Replace the rear cap, see page 8 for removal instructions. Make sure the cap is
tightened completely so that water cannot enter the camera.
Please note, do not insert or remove the microSD card when the unit is turned on.
Turn the camera OFF first.

Turning this unit on/off
Push the power switch to the right to turn on this unit. The indicator on the right hand side will
flash a couple times and then stay on. To turn off this unit, move the power switch to the middle
position. All indicator lights will go off. To turn the unit on with night vision, move the power
switch to the left position.
About battery level indications
You can check the battery level of the unit by looking at the mobile app on the live camera feed screen.
When the battery level reaches a low level, the right indicator light will flash rapidly.
Wi-Fi® function
●Use this unit as a wireless LAN device
○When using equipment or computer systems that require more reliable security than wireless LAN
devices, ensure that the appropriate measures are taken for safety designs and defects for the
systems used. GoFish Cam will not take any responsibility for any damage that arises when using
this unit for any purpose other than as a wireless LAN device.
●Use of the Wi-Fi function of this unit is presumed to be in countries where this unit is sold
○There is the risk that this unit violates the radiowave regulations if used in countries other than
those where this unit is sold, and GoFish Cam takes no responsibility for any violations
●There is the risk that data sent and received via radio waves may be intercepted
○Please note that there is the risk that data sent and received via radio waves may be intercepted by
a third party.
●Do not use this unit in areas with magnetic fields, static electricity or interference
○Do not use this unit in areas with magnetic fields, static electricity or interference, such as near
microwave ovens. Radio waves may not reach this unit.
○Using this unit near devices such as cordless telephones or any other wireless LAN device that use
the 2.4 GHz radio wave band may cause a decrease in performance in both devices.
●Before use
○To use a Wi-Fi function with this unit, you need a device equipped with a wireless LAN function.
○For the operations and settings of your device such as the smartphone, please read the operating
instructions of the device.
❏This unit uses the 2.4 GHz frequency band. You cannot establish a wireless LAN connection using the 5
GHz frequency band.
❏Before sending videos, we recommend you charge the battery fully. We recommend charging while
reviewing, editing, and sharing footage.
❏Depending on radio wave conditions, it may not be possible to connect to Wi-Fi networks.
❏When using the Wi-Fi function, do not cover the Wi-Fi transmitter with your hand.
❏NOTE: On some mobile devices when connecting to the unit in your WiFi settings an error message
may indicate “not connected to internet” This does not mean there is something wrong with your

unit; the unit’s WiFi is a hotspot to connect solely to it and not the internet. You will still be able to
connect to the unit even with this error message showing.
Using the "GoFish Cam App" on your
smartphone
You will need to download the iOS application or Android application in order to register your
GoFish cam. Please see the app description pages on App Store or Google Play store for
minimum system requirements for your device.
For Android Apps
For iOS Apps
OS Version
Android 5.0* or later
iOS 9.0* or later
Installation
Procedure
1. Connect your Android
device to a network
2. Select “Google Play™
Store”.
3. Enter "GoFish Cam App"
into the search box.
4. Select "GoFish Cam App"
and install it.
1. Connect your iOS device to
a network.
2. Select “App StoreSM “
3. Enter "GoFish Cam App"
into the search box.
4. Select "GoFish Cam App"
and install it.
*The supported OS versions are current as of July 2017 and subject to change. After you have downloaded the app,
please make sure you keep the app up to date. Refer to the Tutorial inside the app for updated instructions on how
to operate the application. The app may not work properly depending on the type of smartphone you are using. For
more information on the "GoFish Cam App" check the support section at GoFishCam.com. Please note that
downloading the app over a mobile / cellular network will use data and fees may be incurred depending on the details
of your contract.
Connecting to a smartphone
1) Install the "GoFish Cam App" on your phone.
2) Make sure that WiFi is turned on on your smartphone
3) Unscrew the cap from the GoFish Cam and press the Wi-Fi button. The Wi-Fi
indicator light will flash orange. See page 8 for removal instructions.
Table of contents
Popular Fishing Equipment manuals by other brands

Avet Reels
Avet Reels Two Speed Assembly SX 6 - 4 parts list

ORVIS
ORVIS CLEARWATER LARGE ARBOR user manual

ORVIS
ORVIS BFR Dragonfly Large Arbor FlyReel quick start guide

Future Carping
Future Carping Gediao V70 Product Operation Instruction

Brinkmann
Brinkmann 800-1512-0 Owner's manual & operating instructions

Eskimo
Eskimo StingRay S33 Operator's manual