Gold Digger GC-1061 User manual

cC
OWNER’S MANUAL MODEL GC-1061
Please read before using this equipment
Metal Detector
FEATURES
With your Metal Detector, you can hunt
for coins, relics, jewelry, gold, and silver
just about anywhere. This metal detector
is very versatile and easy to use.
The detector’s features include:
Earphone Jack –
lets you connect
earphones (not supplied) to the detector
for privacy.
View Meter and Pointer – shows the
probable type of metal being detected .
Waterproof Search Coil – lets you use
the detector’s search coil even if you
must put it under water.
Note: The search coil is waterproof, but
the control housing is not waterproof.
Adjustable stem – lets you adjust the
detector’s length for comfortable use.
Note: Your metal detector requires six
AA alkaline batteries (not supplied)
TREASURE HUNTER’ CODE OF
ETHICS
All treasure hunters might be judged by the
example you set. Here are a few basic rules
you should follow while using your detector.
Always get permission before searching
any site.
Respect the rights and property of
others.
Observe all national, state, and local
laws while treasure hunting.
Never destroy historical or
archaeological treasures. If you are not
sure about an object you have found,
contact a museum or historical society
in your area.
Leave the land and vegetation as it was.
Fill in any holes you dig.
Use your detector only in safe areas.
Dispose of any junk you find, only in
approved areas. Do not leave it for the
next treasure hunter to find.
2

cC
PREPARATION
de ele Prologo
Muchas gracias por su compra del produ
ADJUSTINGTHE STEM
Follow these steps to adjust the metal
detector’s stem.
1.Turn the stem’s lock nut clockwise
until it loosens.
2.Lengthen or shorten the stem so when
you stand upright with the detector in
your hand, the search coil is level with
and about 1/2 to 2 inches above the
ground with your arm relaxed at your
side.
3.T
urn the stem’s lock nut counter
clockwise to lock it in place.
ADJUSTING THE SEARCH
COIL
Loosen the knobs at the search coil’s end, then
adjust the search coil to the desired angle. (The
search coil should be parallel with the ground.)
Tighten the knobs just enough to keep the search
coil from rotating or wobbling.
INSTALLING BATTERIES
You need six AA batteries to power your
detector.
Cautions:
Use only fresh batteries of the required
size and recommended type.
Do not mix old and new batteries, different
types of batteries (standard, alkaline, or
rechargeable), or rechargeable batteries of
different capacities.
1.If the detector is on, turn VOLUME on the
control housing) to OFF. (The control
clicks.)
2.Press on the battery compartment cover
and slide the cover off in the direction of
the arrow.
3.Insert the batteries into the compartment as
indicated by the polarity symbols (+ and -)
marked inside the compartment.
4.Replace the cover.
Cautions:
Always remove old or weak batteries,
batteries can leak chemicals that can
destroy electronic parts.
If you do not plan to use the detector
for a week or more, remove the
batteries.
Dispose of old batteries promptly and
properly.
Please change the batteries when LOW
BAT light is on.
3
4

cC
OPERATION
USING EARPHONES
You can connect a pair of stereo earphones
(not supplied) to the detector so you can
listen to it privately. Using earphones also
saves battery power and makes it easier to
identify subtle changes in the sounds you
hear, for better detection results.
To connect earphones to the detector, insert
the earphones’ 1/8-inch plug into the EAR
jack on the side of the control housing.
Note
: The detector’s internal speaker
disconnects when you connect earphones.
Listening Safely
To protect your hearing, follow these guidelines
when you use earphones.
Set the volume to the lowest setting
before you begin listening. After you
begin listening, adjust the volume to a
comfortable level.
Do not listen at extremely high volume
levels. Extended high volume listening
can lead to permanent hearing loss.
Once you set the volume, do not increase
it. Over time, your ears adapt to the
volume level, so a volume level that does
not cause discomfort might still damage
your hearing.
Traffic Safety
Do not wear earphones while operating your
detector near high-traffic areas.
Even though some earphones are designed to let
you hear some outside sounds when listening at
normal volume levels, they still can present a
traffic hazard.
Your metal detector distinguishes between ferrous
and non-ferrous metals. Ferrous metals contain
iron, while non-ferrous metals such as gold,
copper, platinum, lead, nickel do not
. The
detector can not discriminate silver, aluminum
and fine copper.
When the detector senses a metallic object, the
meter reading changes.
PREPARING THE DETECTOR
Turning On the Detector
Hold the detector in a comfortable position, then
rotate VOLUME away from OFF to the desired
sound level.
Tuning the Detector
1. Rotate VOLUME
to the 11 o’clock
position.
2. Set DISCRIMINATION to its midpoint.
3. Hold the search coil about 1 foot above the
ground and keep away from any metal object.
4. Hold down the RED button on the handle until
the pointer on the view meter rests at or near 0,
then release the RED button.
Note: Press the RED button on the handle at any
time during operation to automatically return the
pointer to 0.
5
6

cC
TESTING AND USING THE
DETECTOR
To learn how the detector reacts to different metals,
you should test it before you use it the first time. You
can test the detector indoors or outdoors.
Indoor Testing
1. Remove any watches, rings, or other metal
jewelry you are wearing, then place the detector
on a wooden or plastic table.
2. Adjust the search coil’s angle so the flat part
faces the ceiling.
Note: Never test the detector on a floor inside a
building. Most buildings have metal of some kind
in the floor, which might interfere with the
objects you are testing or mask the signal
completely. Test with the coil in correct direction.
Otherwise the test result will be wrong.
3. Rotate VOLUME to the 11 o’clock position.
4. Set DISCRIMINATION to its midpoint.
5. Hold down the RED button on the handle until
the pointer on the view meter rests at or near 0,
then release the RED button.
6. Move a sample of the material you want the
detector to find (such as a gold ring or a coin)
about 2 inches above the search coil.
Outdoor Testing and Use
1. Find an area on the ground outside where
there is no metal.
2. Place a sample of the material you want
the detector to find (such as a gold ring
or a coin) on the ground. (If you are
using valuable metal such as gold to test
the detector, mark the area where you
placed the item, to help you find it later.
Do not place it in tall grass or weeds.)
3. Rotate VOLUME about two-thirds
clockwise. Set DISCRIMINATION to its
midpoint.
4. Press and release the RED button on the
handle until the pointer is at or near 0. Then
release the RED button.
5. While holding the search coil level and
about 1-2 inches above the ground, slowly
move the search coil over the area where
you placed the sample, sweeping the search
coil in a side-to-side motion.
Search Coil Sweeping Hints:
Never sweep the search coil as if it were a
pendulum. Raising the search coil while
sweeping or at the end of a sweep causes
false readings.
Sweep slowly – hurrying makes you miss
targets.
When the detector detects a ferrous metal,
sound becomes lower or even disappears.
Meanwhile the meter pointer moves to left.
When the detector finds a non-ferrous metal, it
makes louder sound and the meter pointer goes
to right.
If the detector does not detect the material,
check the battery power and verify that the
battery is properly connected. Also, you might
need to tune the detector (see “Tuning the
Detector”).
Notes:
The detector responds with a strong
signal on the meter when it detects most
valuable metal objects. If a signal does
not repeat after you sweep the search coil
When the detector detects a ferrous metal, sound
becomes lower or even disappears. Meanwhile
the meter pointer moves to left. When the
detector finds a non-
ferrous metal, it makes
louder sound and the meter pointer goes to right.
If the detector does not detect the material,
check the battery power and verify that the
battery is properly connected. Also, you might
need to tune the detector (see “Tuning the
Detector”).
Note:
If you are using a coin, the detector
detects it more easily if you hold it so a
flat side is parallel with the flat side of the
search coil (not the edge).
7
8

cC
TROUBLESHOOTING
over the target a few times, the target
is probably junk metal.
False signals can be caused by trashy
ground, electrical interference, or
large irregular pieces of junk metal.
False signals are usually broken or
non-repeatable.
Try finding other metal in the area. When
you find a metal item, wait a few seconds, to
allow the detector time to reset (or, press the
RED button on the handle to return the
pointer to the center of the view meter).
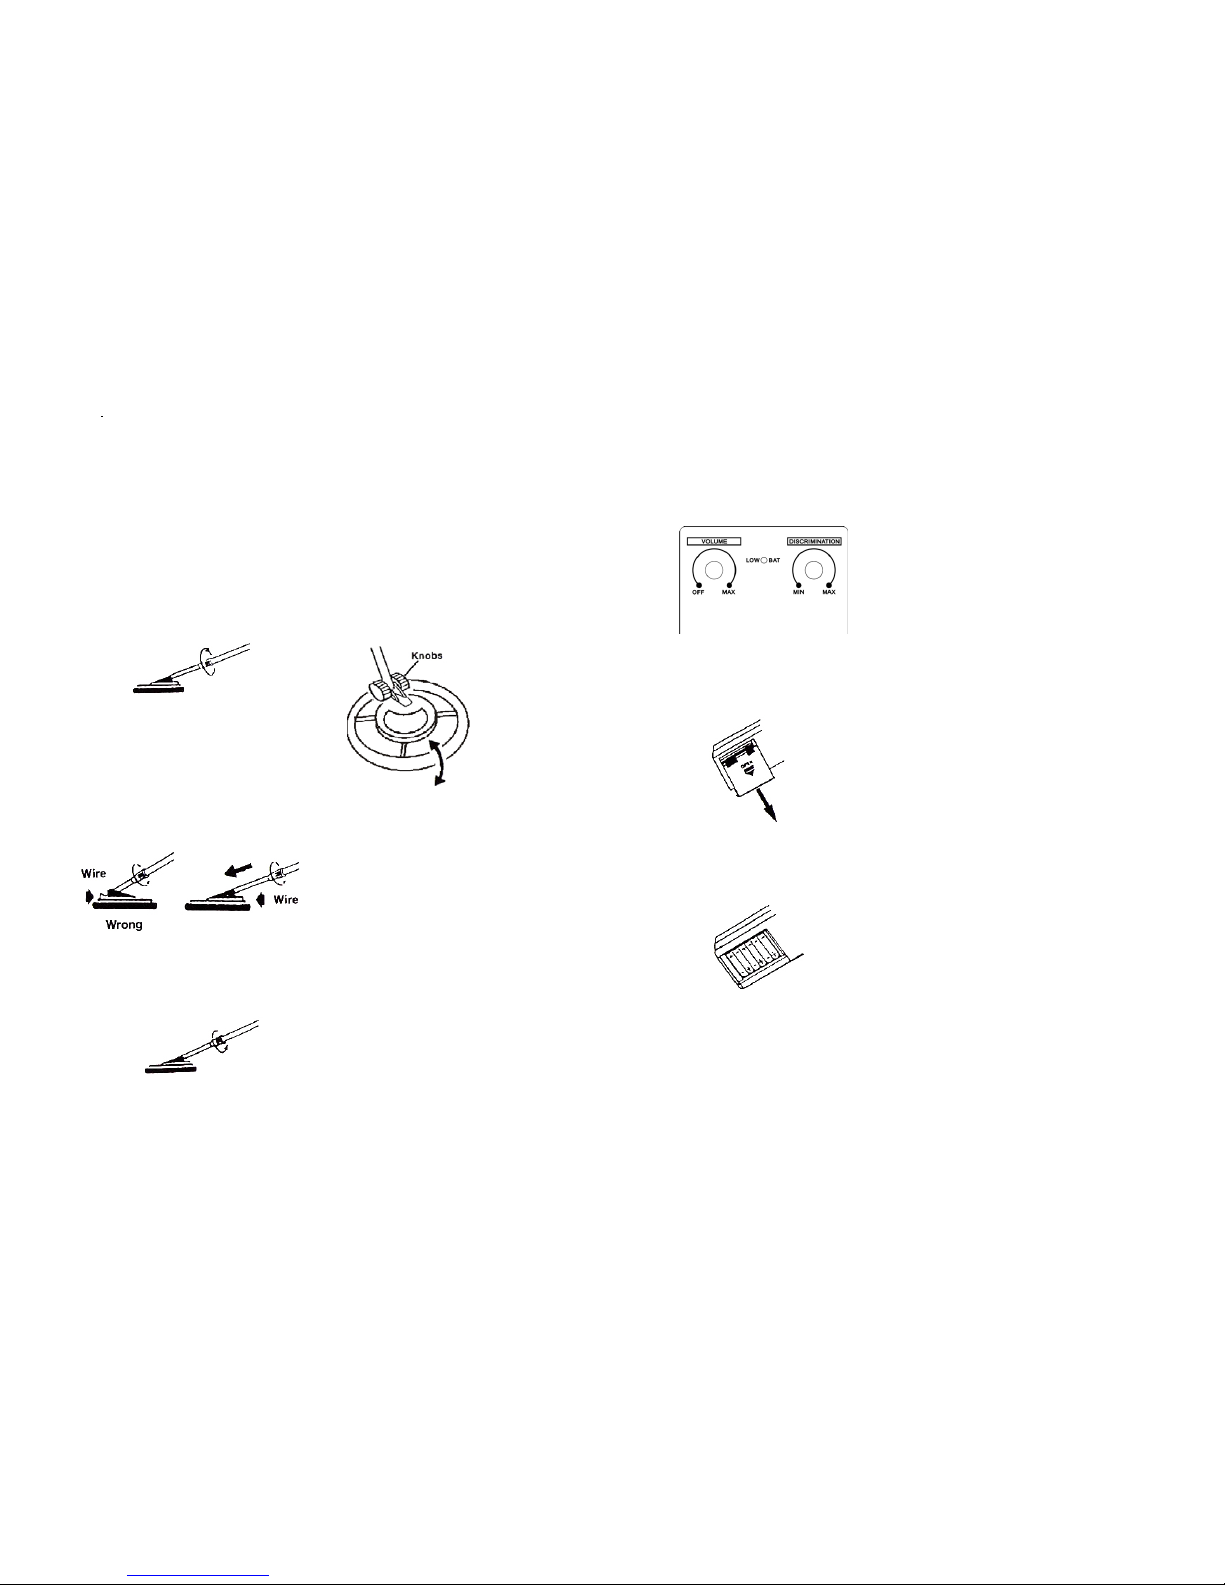
FINE-TUNING THE DETECTOR
Adjusting DISCRIMINATION
After you become familiar with how your
detector works, you can fine-tune it to make
it more selective in what it finds.
Discrimination is the detectors’ ability to
differentiate between types of metal. The
detector’s DISCRIMINATION setting
determines whether the detector will
distinguish between different types of
ferrous and non-ferrous metals.
You can set DISCRIMINATION from
minimum (fully counterclockwise), to
maximum (fully clockwise), or anywhere in
between. As you set DISCRIMINATION to
higher levels, the detector first discriminates
iron, then metal objects like pull tabs and
nickel.
PINPOINTING A TARGET
Accurately pinpointing a target makes digging it up
easier.
Accurate pinpointing takes practice, and we
suggest you practice finding and digging up small
metal objects on your own property before you
search other locations.
Sometimes, targets are difficult to accurately locate
due to the sweep direction. Try changing your
sweep direction to pinpoint a target.
Follow these steps to pinpoint a target.
1. When the detector detects a buried target,
continue sweeping the search coil over the
target in narrowing side-to-side motion.
Make a visual note of the exact spot on the
ground where the detector beeps.
2. Stop the search coil directly over this spot on
the ground. Then move the search coil straight
forward away from you and straight back
toward you a couple of times.
Make a visual note of the exact spot on the
ground where the detector beeps.
3. Repeat Steps 1-2 at a right angle to the
original search line, making an “X”
pattern. The target should be directly
below the “X” at the point of the loudest
response.
Note:
If trash in an area is so heavy that you get
false signals, slow your sweep speed and use
shorter sweeps.
Recently buried coins might not respond the
same as coins buried for a long period of
time because of oxidation.
Some nails, nuts, bolts, and other iron
objects (such as old bottle caps) oxidize and
create a “halo” effect. A halo effect is caused
by a mixture of natural elements in the
ground and the oxidat
ion created by
different metals. Because of the metal
mixtures, target signals might not be in a
“fixed” position. This effect makes these
objects very hard to detect accurately.
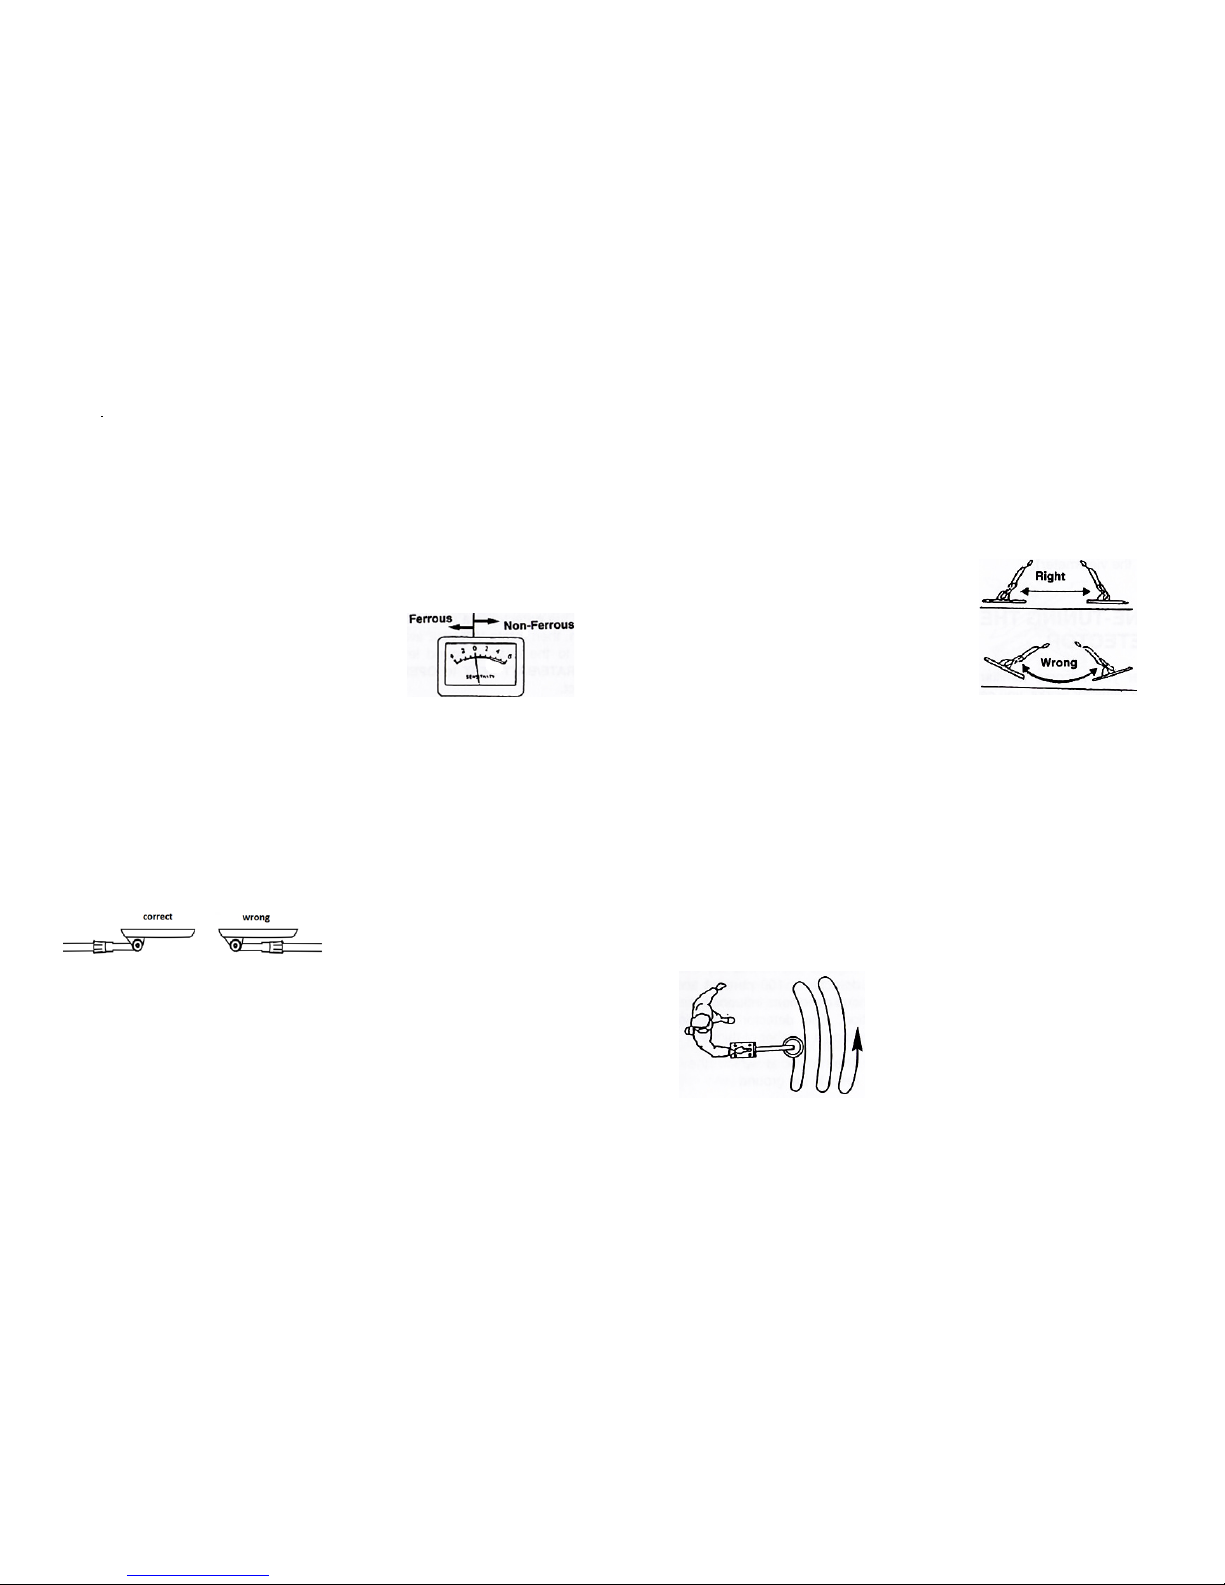
When you set DISCRIMINATION fully
clockwise, silver still can
not be
discriminated. The sound will be lower or
even disappear and the pointer will move to
left when the unit detects discriminated
metal. The sound will be higher and the
pointer will move to right when the unit
detects metal which is not discriminated.
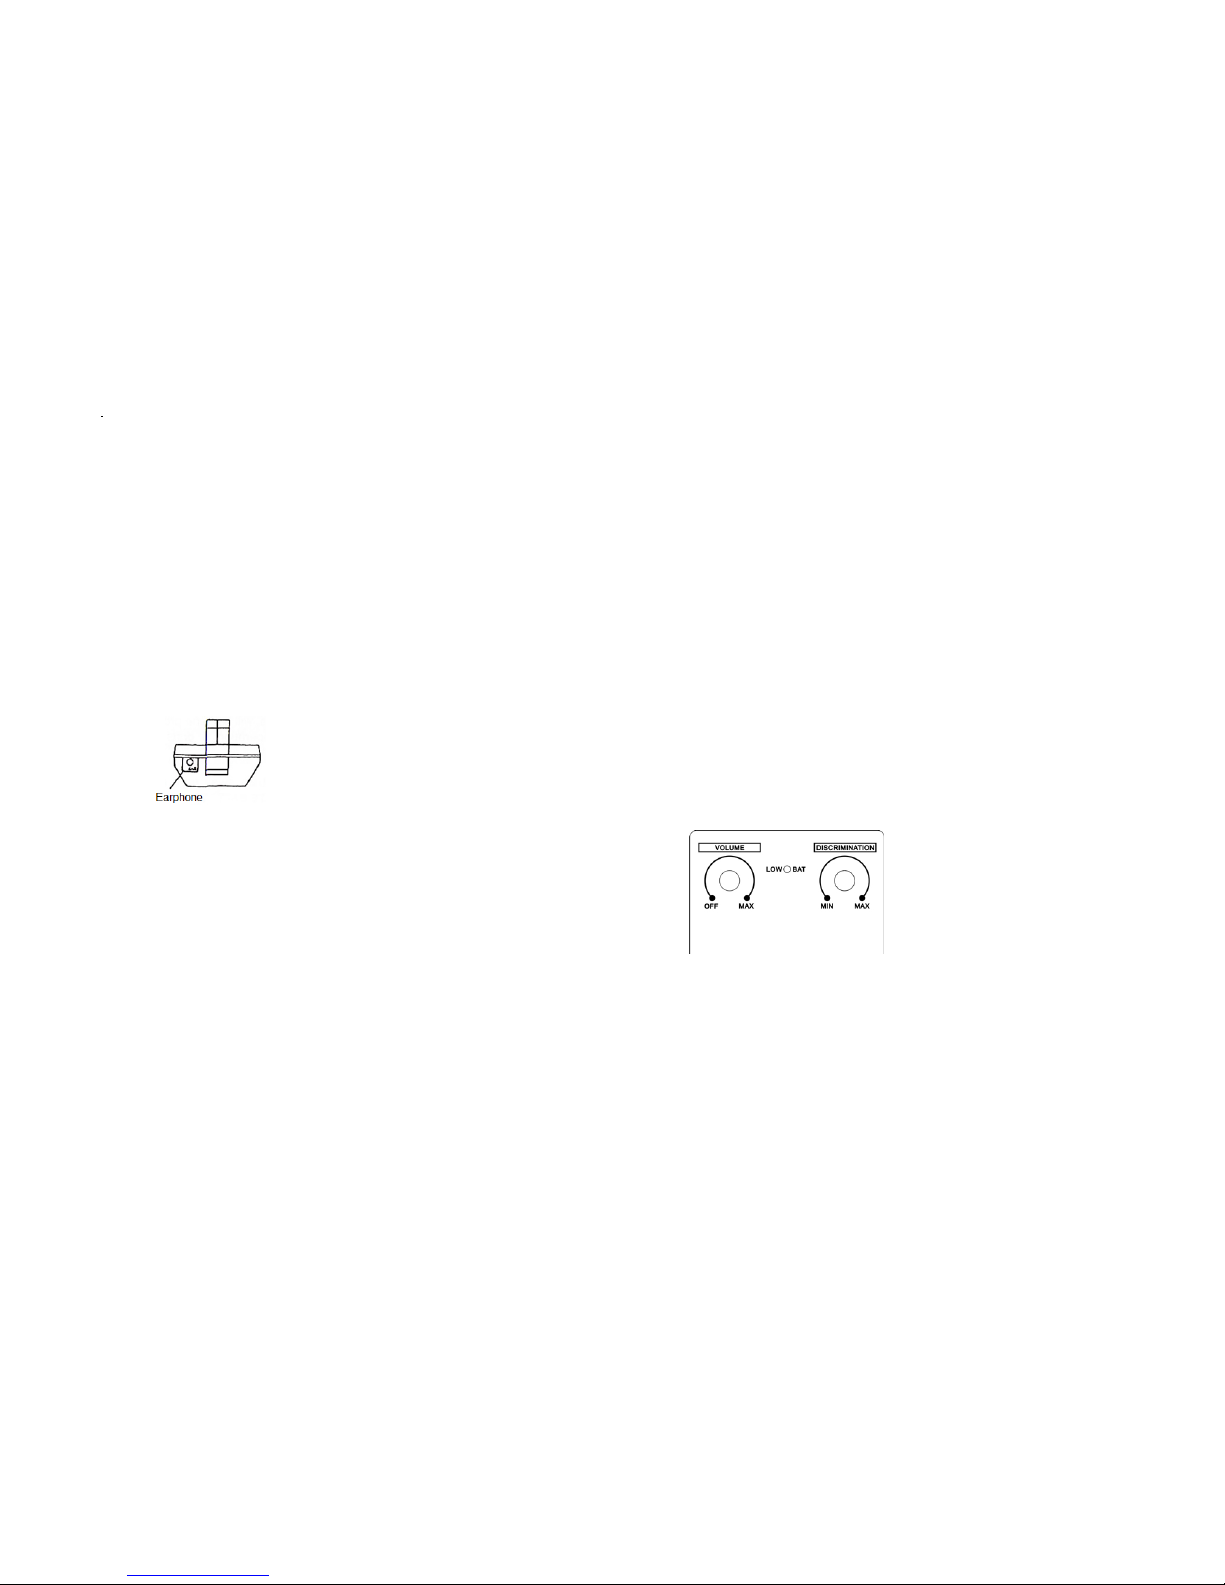
Notes:
Each time you use the detector in a
different area, you must adjust
DISCRIMINATION. Each search
location presents new challenges.
Each time after you adjust
DISCRIMINATION, you have to press
the RED button on the handle to return
the meter pointer to 0 position..
FALSE SIGNALS
Because your detector is extremely sensitive,
trash-induced signals and other sources of
interference might cause signals that seem
confusing. The key to handling these types of
signals is to dig for only those targets that
generate a strong, repeatable signal. As you
sweep the search coil back and forth over the
ground, learn to recognize the difference
between signals that occur at random and
signals that are stable and repeatable.
To reduce false signals when searching very
trashy ground, scan only a small area at a
time using slow, short overlapping sweeps.
9
10

cC
TROUBLESHOOTING
If your detector is not working as it should, follow the suggestions below to see if you can
Problem
Suggestions
The detector displays false
signals.
You might be sweeping the detector’s search coil too fast or at
the wrong angle. Sweep the search coil more slowly and hold
the detector correctly. See “Testing and Using the Detector”
and “Pinpointing a Target” .
The detector might show a false signal if it detects heavily
oxidized metals. Try pinpointing the target from several
different angles (See “pinpointing a Target” ). If the detector
does not display the same signal each time, the target is
probably heavily oxidized metal.
The display does not show the
correct metal type when the
detector finds a target.
There might be more than one target in the area you are
searching.
The target might be a type of metal that the detector does not
recognize.
If the target is heavily oxidized, the detector might not display
the correct metal type. This is not a malfunction.
The detector makes a constant
tone, then goes silent when it
finds metal
This is a normal function of the detector.
11
12
Table of contents
Other Gold Digger Metal Detector manuals