2. Pinch both sides of the attachment buckle and slide it onto the
helmet mount.
3. Insert the helmet strap through the slots on the side of the helmet
mount and attach it to the mount with hook and loop tape, through
the holes on the helmet.
3.5 Suction Cup Mount
1. Align the bolt on the attachment buckle to the Waterproof Action
Camera’s mounting point and turn. When the desired position is
reached, use the wheel on the bottom end of the bolt to tighten.
2. Apply the suction cup mount onto a smooth, clean surface and lower
the locking lip. To remove the suction cup mount, lift up the locking
lever and gently pull the tab to release the pressure.
4. Functionality
4.1 Micro SD Card Installation
The Action Camera has no internal memory, so it will require
a micro SD card (not included) to take pictures and record videos.
The Action Camera can support micro SD cards up to
32 GB. 8 GB Class 10 is a minimum requirement.
To install the micro SD card into the Action Camera:
1. Shut down the Action Camera.
2. Insert the micro SD card into the micro SD card slot with the metal
strip facing the front of the Action Camera.
3. To remove the micro SD card, gently push it into the micro
SD card slot.
NOTE: MAKE SURE THAT THE MICRO SD CARD IS
CORRECTLY INSERTED TO PREVENT IT FROM BEING
ACCIDENTALLY RELEASED DURING USE.
WARNING: DO NOT INSERT OR REMOVE THE MICRO
SD CARD WHILST THE ACTION CAMERA
IS TURNED ON, AS THIS COULD CAUSE DAMAGE THE
MICRO SD CARD AND THE FILES STORED ON IT.
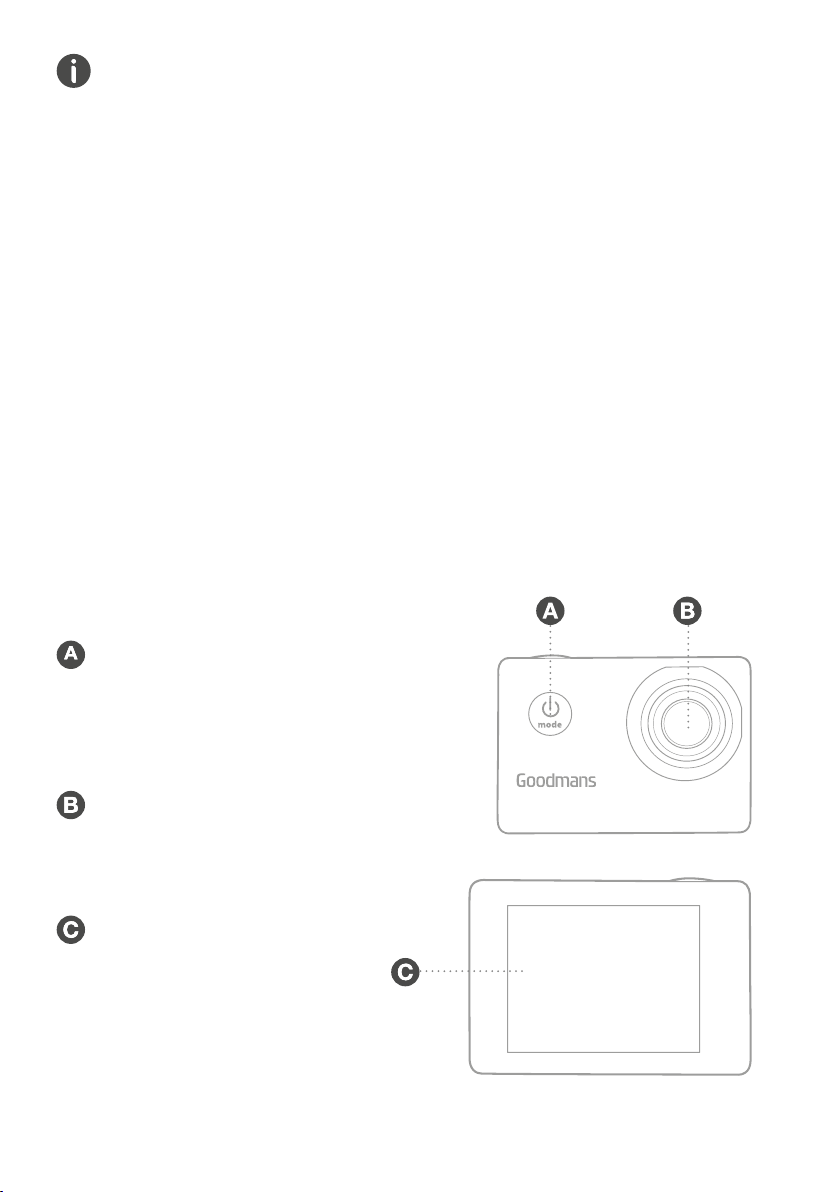
4.2 Using the Action Camera
1. Press and hold the Power/Mode button to turn the Waterproof
Action Camera on.
2. Press the Power/Mode button to select camera, video or
playback mode.
3. Capture a photo by pressing the Shutter/Select button.
4. Turn off the Action Camera by pressing and
holding the Power/Mode button.
FULL HD ACTION CAMERA