manuals.online logo
Brands
  1. Home
  2. •
  3. Brands
  4. •
  5. Gourmia
  6. •
  7. Oven
  8. •
  9. Gourmia GAF688 User manual

Gourmia GAF688 User manual

AIR FRYER
OVEN
Model# GAF688
USER MANUAL
2
Read this manual thoroughly
before using and save it for
future reference
FOR CUSTOMER SERVICE
QUESTIONS OR COMMENTS
VISIT US @ GOURMIA.COM
[email protected]OM
OR CALL 888.552.0033
Model: GAF688
© 2019Gourmia
www.gourmia.com
The Steelstone Group
Brooklyn, NY
All rights reserved. No portion of this manual may be reproduced by any means
whatsoever without written permission from The Steelstone Group, except for the
inclusion of quotations in a media review.
Although every precaution has been taken in the preparation of this manual, The
Steelstone Group assumes no responsibility for errors or omissions. Nor is any
liability assumed for damages resulting from the use of the information contained
herein. Although every eort has been made to ensure that the information
contained in this manual is complete and accurate, The Steelstone Group is not
engaged in rendering professional advice or services to the individual consumer;
further, The Steelstone Group shall not be held responsible for any loss or damage
allegedly arising from any information or suggestion in this manual.
Welcome to the Exciting World of
Air Frying from Gourmia
Congratulations on your purchase of the All-in-One Air Fryer Oven from
Gourmia, exclusively designed for healthier cooking!
If you enjoy the great crisp of fried food, but shy away from those unhealthy
indulgences - you’ve made the right choice.
With your new Gourmia All-in-One Air Fryer Oven, preparing fresh and healthy
air fried foods is only moments away. We’re confident that you’ll find your new
Gourmia All-in-One Air Fryer Oven easy and fun to use, with the end results
being tasty, healthy treats.
The following pages of this manual offer comprehensive instructions for all the
functions and features of your Air Fryer Oven along with instructions for
assembling, operating, cleaning, and maintening your appliance.
Please carefully read all safety instructions and directions for safe usage at all
times.
Thank you for your purchase. We sincerely hope you will enjoy this as well as all
the many innovative products brought to you by Gourmia.
3
THROUGHOUT AIR FRYER OVEN
1. This appliance is not intended for use by
persons (including children younger than 8)
with reduced physical, sensory or mental
capabilities, or lack of experience and
knowledge, unless they have supervision.
2. Check if the voltage indicated on the appliance
corresponds to the local main voltage before
you connect the appliance.
3. Do not use the appliance if the plug, the main
cord, or the appliance itself is damaged. Always
make sure that the plug is inserted properly
into a wall outlet.
4. Do not operate any appliance with a damaged
cord or plug, after the appliance malfunctions,
or has been damaged in any manner. Return
appliance to the nearest authorized service
facility for examination, repair, or adjustment.
5. Close supervision is necessary when any
appliance is used by or near children. Children
should be supervised to ensure that they do not
play with the appliance. Cleaning and user
maintenance shall not be done by children
unless they are older than 8 and supervised.
6. Do not let the cord hang over the edge of table
or counter or touch hot surfaces.
7. To protect against electric shock, do not
immerse cord, plugs, or appliance in water or
other liquid. Do not plug in the appliance or op-
erate the control panel with wet hands.
8. Never connect this appliance to an external
timer switch or separate remote-control system
into order to avoid a hazardous situation.
Always attach plug to appliance first, then plug
cord in the wall outlet. To disconnect, turn off
the appliance, then remove plug from the wall
outlet. SAVE THESE INSTRUCTIONS
IMPORTANT SAFEGUARDS
4FOR CUSTOMER SERVICE VISIT US @ GOURMIA.COM OR CALL 888.552.0033
IMPORTANT SAFEGUARDS
Before using the appliance, the following basic precautions should always be followed:
9. Do not place the appliance on or near
ammable materials such as a tablecloth or
curtain. The accessible surfaces may become
hot during use. Do not place on or near a hot
gas or electric burner, or in a heated oven.
10. Do not place the appliance against a wall or
against other appliances. Leave at least 4 inches
of free space on the back and sides and 4 inches
of free space above the appliance. Do not place
anything on top of the appliance.
11. Do not use the appliance for any other purpose
than described in this manual. The use of
accessory attachments not recommended
by the appliance manufacturer may cause
injuries.
12. Do not let the appliance operate unattended.
Extreme caution must be used when moving
an appliance containing hot oil or other hot
liquids.
13. Do not use outdoors.
14. Do not touch the hot surfaces; use handle.
During hot air frying, hot steam is released
through the air outlet openings. Keep your
hands and face at a safe distance from the
steam and from the air outlet openings. Also
be careful of hot steam and air when you
remove the pan from the appliance.
15. After using the appliance, the metal cover
inside is very hot, avoid contact with the hot
metal inside after cooking. Unplug from outlet
when not in use and before cleaning. Allow to
cool before putting on or taking o parts, and
before cleaning the appliance.
16. Immediately unplug the appliance if you see
dark smoke coming out of the appliance.
Wait for the smoke emission to stop before
you remove the pan from the appliance.
17. FOR HOUSEHOLD USE ONLY.
TABLE OF CONTENTS
Know Your Air Fryer Oven ...............6
Using Your Air Fryer Oven ...............8
Using Rotisserie Accessories..........11
Troubleshooting...........................13
Settings Chart..............................14
Frying Tips...................................16
Cleaning & Maintenance...............17
TABLE OF CONTENTS
5
FOR CUSTOMER SERVICE VISIT US @ GOURMIA.COM OR CALL 888.552.0033
Kabob Wheels (2)
Skewers (8)
Rotisserie/Kabob Rod (1)
Rottiserrie Holder – used to grab hot rotiserrie accessories from oven
6
KNOW YOUR AIR FRYER OVEN
FOR CUSTOMER SERVICE VISIT US @ GOURMIA.COM OR CALL 888.552.0033
Food
Preset
Icons
Detachable
Handle
Handle
Latch
Basket
Light Icon
On/O
Icon
Reheat
Icon
Display
Screen
Timer
Controls
Temperature
Controls
Rotate
Icon
FRENCH FRIES
BREAD
FISH
STEAK
CAKE
DEHYDRATOR
POULTRY
ICON LEGEND
PIZZA
USING YOUR AIR FRYER
7
KNOW YOUR AIR FRYER OVEN
FOR CUSTOMER SERVICE VISIT US @ GOURMIA.COM OR CALL 888.552.0033
On/O
Icon
Rotisserie Stand
for holding hot
rotisserie accessories
Frying Tumbler
for French Fries, trail mix or roasted nuts
Drip Tray
catches all crumbs and grease for
easy clean up
Crisper Trays (3)
for dehydration
and multi-tiered cooking
Kebab Set-for vegetables,
meat, poultry and fish kebabs
Skewers
(8)
Kebob
Wheels (2)
Rotisserie/Kebob
Rod
Rotisserie/Kebob
Rod
Rotisserie Holder
used to remove hot rotisserie
accessories from oven
Rotisserie Set-used
for poultry or roasts
Rotisserie/ Kebab Rod (1)
use with the kebab set and the
rotisserie set
Rotisserie Forks (2)
8
8
USING YOUR AIR FRYER OVEN
1. Place the appliance on a stable,
horizontal, heat-resistant,
and leveled surface.
2. Place the drip tray on the bottom of
the Air Fryer Oven. Then place the
ingredients inside using the
accessory of your choice. Close the
door.
3. Plug the Air Fryer Oven into an
outlet.
Using Your Air Fryer Oven
This is an Air Fryer Oven that works using hot air.
•Do not fill the basket with oil, frying fat, or any other liquid.
•Do not put anything on-top of the appliance.
Note: Do not place the appliance against a wall or other appliances.
It is important to leave at least 4 inches of space around the top, back, and
sides of the appliance to allow for proper ventilation.
Before Using The Air Fryer Oven
For The First Time
1. Remove all packaging material.
Remove any stickers or labels from the appliance.
2. Thoroughly clean all parts with hot water, some dishwashing
liquid and a non-abrasive sponge.
3. Wipe the inside and outside of the appliance with a moist cloth.
Note: During the first few uses of your Air Fryer Oven,there may
be a “hot plastic”smell. This is perfectly normal, as the material is
being heated for first time. It will go away after the first few uses.
FOR CUSTOMER SERVICE VISIT US @ GOURMIA.COM OR CALL 888.552.0033
9
9
USING YOUR AIR FRYER OVEN
FOR CUSTOMER SERVICE VISIT US @ GOURMIA.COM OR CALL 888.552.0033
6. Use the arrows to adjust your
desired time and temperature.
4. Tap the on/off icon to turn on.
Add 3 minutes to the preparation time to preheat the Air Fryer. When cooking multiple batches only preheat before first batch.
5. Tap your desired food icon.
The display will show the preset
time and temperature.
7. Tap the on/off button again to
begin the cooking cycle.
10
8
10
USING YOUR AIR FRYER OVEN
FOR CUSTOMER SERVICE VISIT US @ GOURMIA.COM OR CALL 888.552.0033
WARNING
During the cooking process, the basket and other accessories will become very
hot - avoid touching. Use oven mitts and appropriate handle/holder to remove
ingredients.Always place them on a heat resistant surface or on the rotisserie
stand, and never directly on the counter-top or table.
8. Some recipes or ingredients call for shaking the ingredients halfway
through the preparation time (see ‘Settings Chart’on page 14).
9. When your selected cooking time has elapsed the timer bell will ring.
Remove cooked food and place on a heat-resistant surface.
10. If your food needs a little more cooking time, set the timer for a few
extra minutes.
11. To reheat food, tap the Reheat icon. It will set the Air Fryer Oven to 6 minutes
at 280°F.
12. To turn off the Air Fryer Oven, hold down the on/off button for 3 seconds.
To attach the handle to the basket:
Open the latch and squeeze the sides of
the handle. Slide the handle forks into
the groove of the basket and release.
Close the latch to secure.
To detach the handle from the basket:
Open the latch, squeeze the handle and
pull upward.
11
AIR FRYING TIPS
9
11
USING ROTISSERIE ACCESSORIES
FOR CUSTOMER SERVICE VISIT US @ GOURMIA.COM OR CALL 888.552.0033
ROTISSERIE SET
Insert the Rotisserie/Kebab Rod
lengthwise through the center of
the poultry/roast.
Slide the Rotisserie Forks through each
side of the Rotisserie/Kebab Rod, so that they
puncture the poultry/roast in between.
Use the screws to secure the Rotisserie
Forks in place.
Ensure that the size of the poultry/roast
leaves enough space in the Air Fryer Oven
so that it can rotate.
KEBAB SET
Slide the Kebab Wheels onto each side
of the Rotisserie/Kebab Rod, tightening the
screws until secure.
After loading the Skewers with
ingredients, thread the pointed end of
into a round hole on the wheel.
Turn and “lock” the rounded top of the
Skewer into place in the other wheel.
Repeat with remaining Skewers.
FRYING TUMBLER
Fill the Frying Tumbler with ingredients.
Cover with lid and twist to lock into
place.
ROTISSERIE STAND
Insert the squared end of desired
accessory into the Rotisserie Stand.
Tighten the screw to secure in place.
SETTINGS CHART
12
SETTING’S CHART
10
8
12 FOR CUSTOMER SERVICE VISIT US @ GOURMIA.COM OR CALL 888.552.0033
12
USING THE ROTISSERIE ACCESSORIES
1. Slide the Rod into the Air Fryer Oven,
ensuring the right side of the Rod is
inserted into the groove on the right
wall. Press the red lock/unlock button
while sliding the left side
of the Rod into the black round
slot on the left wall of the Air Fryer Oven.
2. Close the door.
3. Tap the Rotatebutton.
4. Tap the On/Off icon to begin the cooking
cycle.
5. After cooking time has elapsed, open the
door and press the red lock/unlock button.
Follow the directions below to remove
accessories.
USING ROTISSERIE ACCESSORIES
REMOVING THE ROTISSERIE ACCESSORIES
Wearing oven mitts, open the door. Hook
the Rotisserie Holder under the right and
left sides of the rotisserie accessory.
Carefully pull the rotisserie accessory out
from the Air Fryer Oven and place on the
Rotisserie Stand.
13
11
AIR FRYING TIPS
9
13
Put the main plug into a grounded wall socket.
Tap the timer controls to set the required
preparation time to turn on the appliance.
Place the accessory into the appliance properly.
Put smaller batches of ingredients in the basket.
Smaller batches are fried more evenly.
Tap the temperature controls to set the
required temperature setting (see
‘Settings Chart’ on page 14).
Tap the timer controls to set the required
preparation time (see ‘Settings Chart’ on page
14).
Ingredients that lie on top of or across each other
(e.g.fries) need to be shaken halfway throug the
preparation time (see ‘Settings Chart’ on page 14).
Use oven snacks or lightly brush some oil onto the
snacks for a crispier result.
When you fry greasy ingredients in the air fryer, a
large amount of oil will leak into the oven. The oil
produces white smoke and the oven may heat up
more than usual. This does not aect the appliance
or the end result.
White smoke is caused by grease heating up in the
oven. Make sure you clean the oven properly after
each use.
Use fresh potatoes and make sure they stay rm
during frying.
Rinse the potato sticks properly to remove starch
from the outside of the sticks.
Make sure you dry the potato sticks properly
before you add the oil. Cut the potato sticks smaller
for a crispier result. Add slightly more oil for a
crispier result.
The air fryer oven does not
work.
The ingredients fried in
the air fryer oven are not done.
The ingredients are fried
unevenly in the air fryer oven.
Fried snacks are not crispy
when they come out of the air
fryer oven.
White smoke comes out
of the appliance.
Fresh fries are fried unevenly
in the air fryer.
Fresh fries are not crispy when
they come out of the air fryer.
The appliance is not plugged in.
You have not set the timer.
The accessory is not put into the
appliance properly.
The amount of ingredients in the
basket is too much.
The set temperature is too low.
The preparation time is too short.
Certain types of ingredients need
to be shaken halfway through the
preparation time.
You used a type of snack meant to be
prepared in a traditional deep fryer.
You are preparing greasy ingredients.
The oven still contains grease residues
from previous use.
Quality potatoes will give an even
cook.
Potatoes are too starchy.
The crispiness of the fries depends on
the amount of oil and water in the
fries.
PROBLEM POSSIBLE CAUSE SOLUTION
TROUBLESHOOTING
13
TROUBLESHOOTING
CLEANING AND MAINTENANCE
14
CLEANING & MAINTENANCE
SETTINGS CHART
12
SETTING’S CHART
10
8
14
SETTINGS CHART
_________________________________________________________________
_________________________________________________________________
_________________________________________________________________
_________________________________________________________________
_________________________________________________________________
_________________________________________________________________
_________________________________________________________________
_________________________________________________________________
_________________________________________________________________
_________________________________________________________________
_________________________________________________________________
_________________________________________________________________
_________________________________________________________________
_________________________________________________________________
_________________________________________________________________
_________________________________________________________________
_________________________________________________________________
_________________________________________________________________
_________________________________________________________________
_________________________________________________________________
_________________________________________________________________
_________________________________________________________________
_________________________________________________________________
Portion Time Temperature Shake/Flip* Extra information
(min.)
POTATOES & VEGETABLES
Thin frozen fries 8 oz. 8-12 400 shake every 5 min.
Thick frozen fries 8 oz. 10-15 400 shake every 5 min.
Frozen onion rings 8 oz. 8-10 400 ip halfway
Roasted zucchini 1 medium sliced 8-10 400 ip halfway spray with oil
Roasted broccoli 8 oz. 10-15 400 shake halfway spray with oil
Fresh thin fries 8 oz. 12-15 400 shake every 5 min. spray with oil
Fresh thick fries 8 oz. 15-20 400 shake every 5 min. spray with oil
Fresh hash browns 4 pieces 10-12 375 ip halfway
MEAT & FISH
Frozen chicken ngers 8 oz. 10-20 400 ip halfway
Frozen shsticks 8 oz. 10-20 400 ip halfway
Fresh sh llet 2-4 llets 10-12 400 ip halfway
Steak (medium) 8 oz. 10-15 400 ip halfway
Chicken breast 2-4 Breast 20-25 375 ip halfway
Chicken wings 6-8Wings 10-15 400 ip halfway
Chicken legs 4-6 Legs 20-25 375 ip halfway
Chicken thighs 4-6Thighs 20-25 375 ip halfway
Hamburgers 4 oz. Patties 8-10 400 ip halfway
BAKING
Cake 8 inch round 25-30 325
Cupcakes 6 cupcakes 15-20 325 pour batter into paper mun cups
SETTINGS CHART
Air fryers perform similar to ovens. If your dish is not on the list,
please refer to oven instructions on item packaging or recipe.
*Shaking is not required while using rotisserie accessories.
The settings below are only suggestions. As ingredients dier in origin, size, shape as well as brand, we cannot guarantee
the best setting for your ingredients.
FOR CUSTOMER SERVICEVISIT US @ GOURMIA.COM OR CALL 888.552.0033
The settings below are only indications-as ingredients dier in origin, size, shape as well as brand, we cannot guarantee
the best setting for your ingredients.
FOR CUSTOMER SERVICE VISIT US @ GOURMIA.COM OR CALL 888.552.0033
14
12
10
8
16
FOR CUSTOMER SERVICE VISIT US @ GOURMIA.COM OR CALL 888.552.0033
AIR FRYING TIPS
AIR FRYING TIPS
•Smaller ingredients usually require a slightly shorter preparation time than
larger ingredients.
•Shaking smaller ingredients halfway through the preparation time
optimizes the end result and can help prevent unevenly fried ingredients.
•Add 1 Tablespoon of oil to fresh potatoes for a crispy result. Fry your
ingredients in the air fryer within a few minutes after you add the oil.
•Do not prepare extremely greasy ingredients, such as sausages, in the
air fryer.
•Snacks that can be prepared in an oven can also be prepared in the air fryer.
•Use pre-made dough to prepare filled snacks quickly and easily. Pre-made
dough also requires a shorter preparation time than homemade dough.
•Place a baking tin or oven dish on a crisper tray if you want to bake a cake or
quiche, or if you want to fry fragile or filled ingredients.
•For even browning: Rotate top and bottom trays halfway through cooking
when using two or more trays.
•For easy clean up: Spray trays and tumbler with nonstick cooking spray.
Baking Tips:
•Bake items on the middle and bottom trays to prevent tops from burning.
•Rotate items halfway through to ensure an even bake.
•Smaller items, like cupcakes, perform better than items requiring a longer
cook time, like cakes. Larger items will require additional cook time. Larger
items with longer cook times run the risk of over-browning.
Note: Because the rapid hot air technology instantly reheats the air
inside the appliance, pulling the ingredients out of the appliance
during use for a short amount of time will not affect the process.
Tip: If you set the timer to half the preparation time, your timer will ring
when you have to shake the ingredients. However, this means that you
have to set the timer again to the remaining preparation time after shaking.
(See ‘Settings Chart’ on page 14.)
Tip: If you set the timer to full preparation time, there is no timer bell during
cooking. Before finishing, you can pull out the ingredients at any time to
check the cooking progress.
CLEANING AND MAINTENANCE
1.Unplug and let the appliance cool
down.
Note: Remove the accessories from
the Air Fryer Oven to let it cool down
quicker.
2. Wipe the outside of the appliance
with a moist cloth.
3. Clean the accessories with hot water,
some dishwashing soap and a non-
abrasive sponge.
Tip: If dirt is stuck to the bottom of the
basket, fill the basket with hot water
and some dishwashing soap and let
the basket soak for approximately 10
minutes.
4. Clean the inside of the Air Fryer Oven
with a damp cloth to remove any
food residues.
• Clean the appliance after every use.
• Make sure the appliance is completely cooled o before cleaning.
• Do not use metal kitchen utensils or abrasive cleaning material to
clean the accessories.
FOR CUSTOMER SERVICE VISIT US @ GOURMIA.COM OR CALL 888.552.0033 17
CLEANING & MAINTENANCE
DO NOT IMMERSE THE AIR FRYER IN WATER
FOR CUSTOMER SERVICE VISIT US @ GOURMIA.COM OR CALL 888.552.0033
14
12
10
8
18
Environment
Do not throw away the appliance with the normal household waste
at the end of its life, but hand it in at an ocial collection point for
recycling. By doing this, you help to preserve the environment.
Guarantee and service
If you need service or information or if you have a problem, please visit
our website or contact your distributor.
STORAGE
•Unplug the appliance and let it cool down.
•Make sure all parts are clean and dry.
•Put the Air Fryer Oven in a clean and dry
place.
FOR CUSTOMER SERVICE VISIT US @ GOURMIA.COM OR CALL 888.552.0033
WARRANTY & SERVICE
This Limited Warranty is for one full year from the date
of purchase and only valid when purchased from an
authorized seller or retail location. It is only applicable
to the original purchaser and is not transferable to
a third party user. Repair or replacement of defective
parts is solely at the seller’s discretion. In the event
that repair isn’t possible, the seller will replace the
product/part. If product repair replacement won’t
suce, the seller has the option of refunding the cash
value of the product or component returned.
Product defects not covered under the Warranty
provisions include normal wear and damage incurred
from use or accidental negligence, misuse of instruction
specications, or repair by unauthorized parties.
The manufacturing company is not liable for any
incidental or consequential damages incurred by
such circumstances.
FOR CUSTOMER SERVICE
QUESTIONS OR COMMENTS
VISIT US @ GOURMIA.COM
[email protected]
OR CALL 888.552.0033

Other manuals for GAF688

1

Other Gourmia Oven manuals

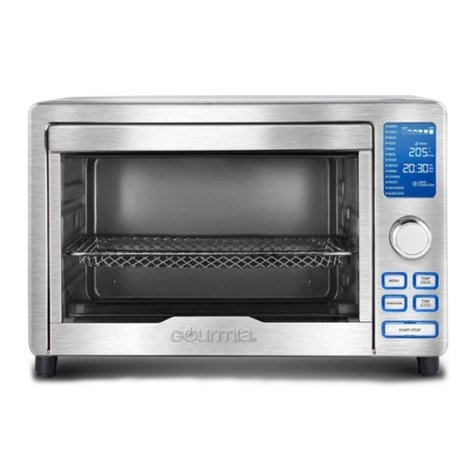
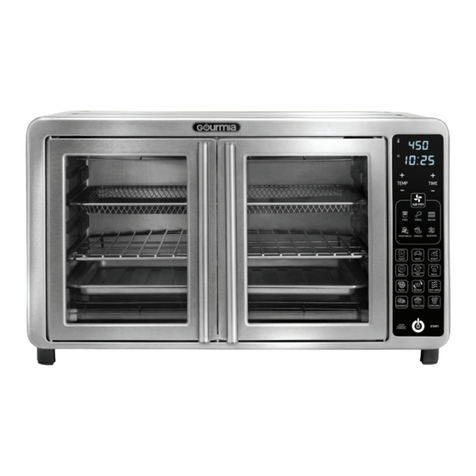
Gourmia GTF7600 User manual

Gourmia

Gourmia GTF7600 User manual

Gourmia GTF7655 User manual

Gourmia

Gourmia GTF7655 User manual

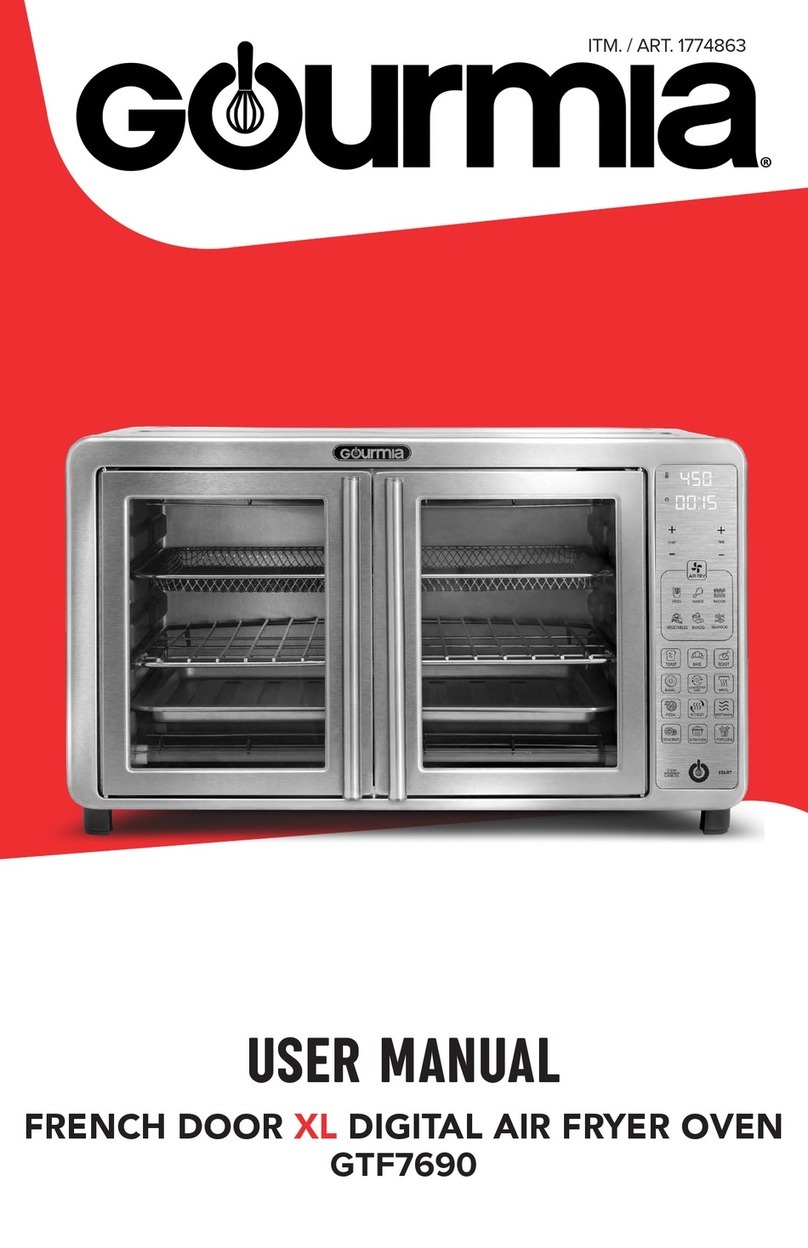
Gourmia GTF7690 User manual

Gourmia

Gourmia GTF7690 User manual

Gourmia GTF7900 User manual

Gourmia

Gourmia GTF7900 User manual

Gourmia GTF7460 User manual

Gourmia

Gourmia GTF7460 User manual

Gourmia GTF7660 User manual

Gourmia

Gourmia GTF7660 User manual

Gourmia GTF7355 User manual

Gourmia

Gourmia GTF7355 User manual

Gourmia GTF7350 User manual

Gourmia

Gourmia GTF7350 User manual

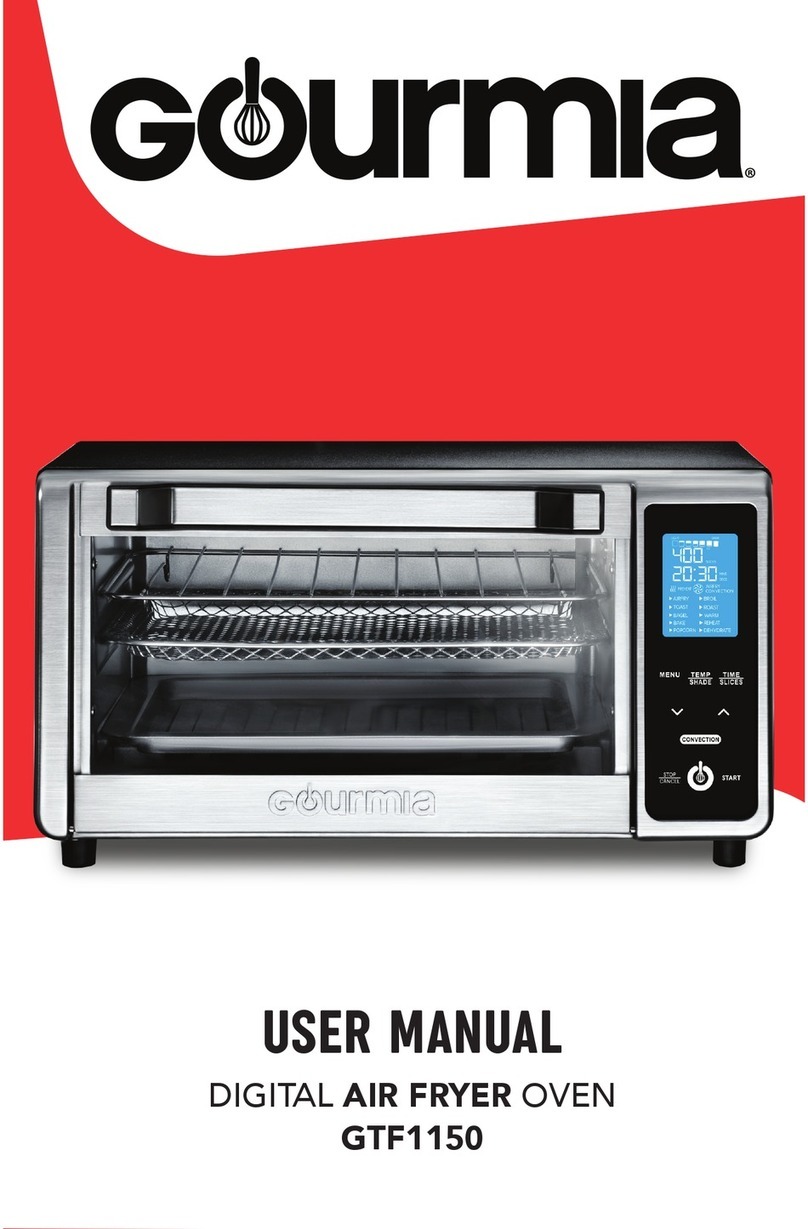
Gourmia GTF1150 User manual

Gourmia

Gourmia GTF1150 User manual

Gourmia GTF7355 User manual

Gourmia

Gourmia GTF7355 User manual

Gourmia GSV 550 User manual

Gourmia

Gourmia GSV 550 User manual

Gourmia GSV 900 User manual

Gourmia

Gourmia GSV 900 User manual

Gourmia GTF7520 User manual

Gourmia

Gourmia GTF7520 User manual

Gourmia GSV 550 User manual

Gourmia

Gourmia GSV 550 User manual

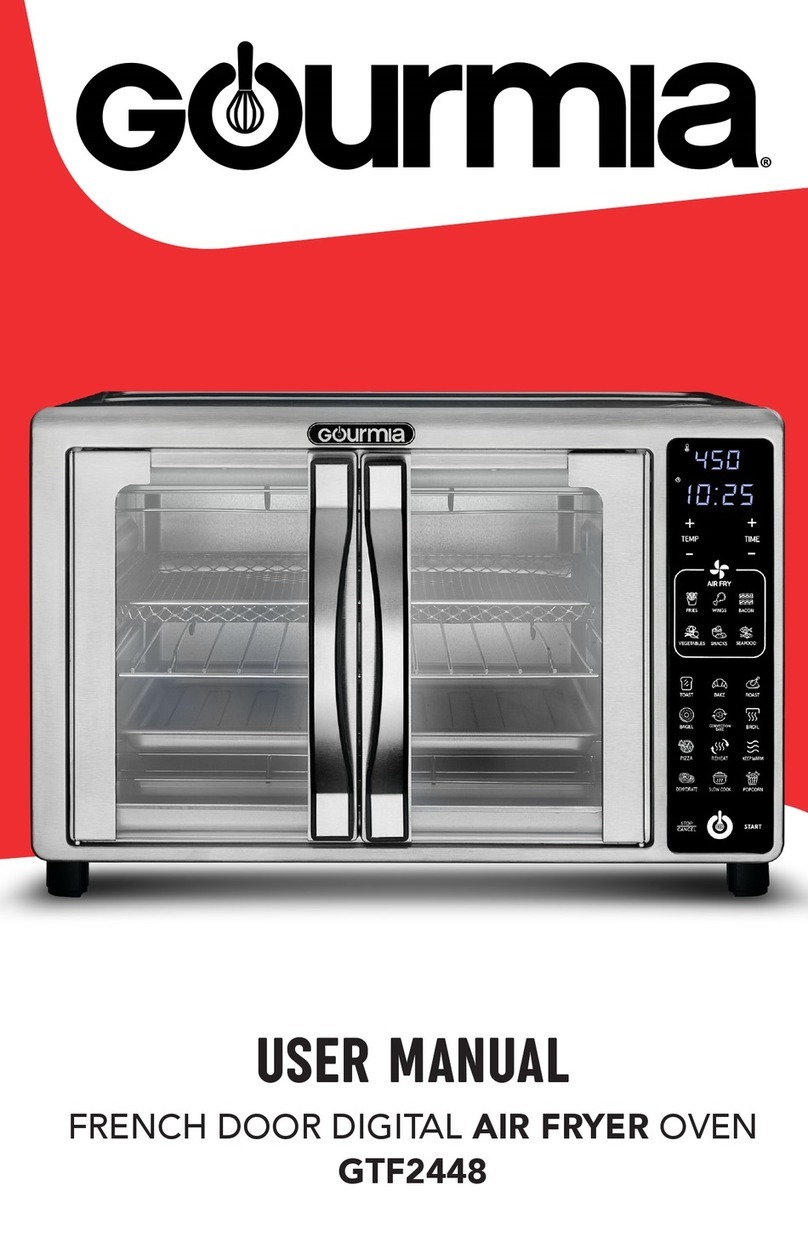
Gourmia GTF2448 User manual

Gourmia

Gourmia GTF2448 User manual

Gourmia GEO3000 User manual

Gourmia

Gourmia GEO3000 User manual

Gourmia GTF7360 User manual

Gourmia

Gourmia GTF7360 User manual

Gourmia GTF7465 User manual

Gourmia

Gourmia GTF7465 User manual

Gourmia GTF2440 User manual

Gourmia

Gourmia GTF2440 User manual

Gourmia GSV 900 User manual

Gourmia

Gourmia GSV 900 User manual

Popular Oven manuals by other brands

Electrolux COMPETENCE 3210 BU Operating and installation instructions

Electrolux

Electrolux COMPETENCE 3210 BU Operating and installation instructions

GE CT9070 owner's manual

GE

GE CT9070 owner's manual

Smeg FV38X operating guide

Smeg

Smeg FV38X operating guide

Electrolux EOC5440 user manual

Electrolux

Electrolux EOC5440 user manual

Küppersbusch EDG 6600.0 Instructions for use and installation instructions

Küppersbusch

Küppersbusch EDG 6600.0 Instructions for use and installation instructions

Electrolux NEXT GEN Service manual

Electrolux

Electrolux NEXT GEN Service manual

Bosch HB013FBS0M instruction manual

Bosch

Bosch HB013FBS0M instruction manual

Zanussi ZBS 701 OPERATING AND INSTALLATION Manual

Zanussi

Zanussi ZBS 701 OPERATING AND INSTALLATION Manual

GE JT3800SH7SS owner's manual

GE

GE JT3800SH7SS owner's manual

KYOWA KW-3210 instruction manual

KYOWA

KYOWA KW-3210 instruction manual

Zanussi ZOB 181 User information

Zanussi

Zanussi ZOB 181 User information

AEG PRO COMBI BS7304021M user manual

AEG

AEG PRO COMBI BS7304021M user manual

Siemens HS858GX 6 Series User manual and installation instructions

Siemens

Siemens HS858GX 6 Series User manual and installation instructions

Bosch HBG56B5 0J Series instruction manual

Bosch

Bosch HBG56B5 0J Series instruction manual

Siemens HB 58 C 6B Series User manual and installation instructions

Siemens

Siemens HB 58 C 6B Series User manual and installation instructions

Hotpoint Ariston FH 51 /HA S operating instructions

Hotpoint Ariston

Hotpoint Ariston FH 51 /HA S operating instructions

Zanussi ZMB 32 CT instruction manual

Zanussi

Zanussi ZMB 32 CT instruction manual

Franke FSL 86 H user manual

Franke

Franke FSL 86 H user manual

manuals.online logo
manuals.online logoBrands
  • About & Mission
  • Contact us
  • Privacy Policy
  • Terms and Conditions

Copyright 2025 Manuals.Online. All Rights Reserved.