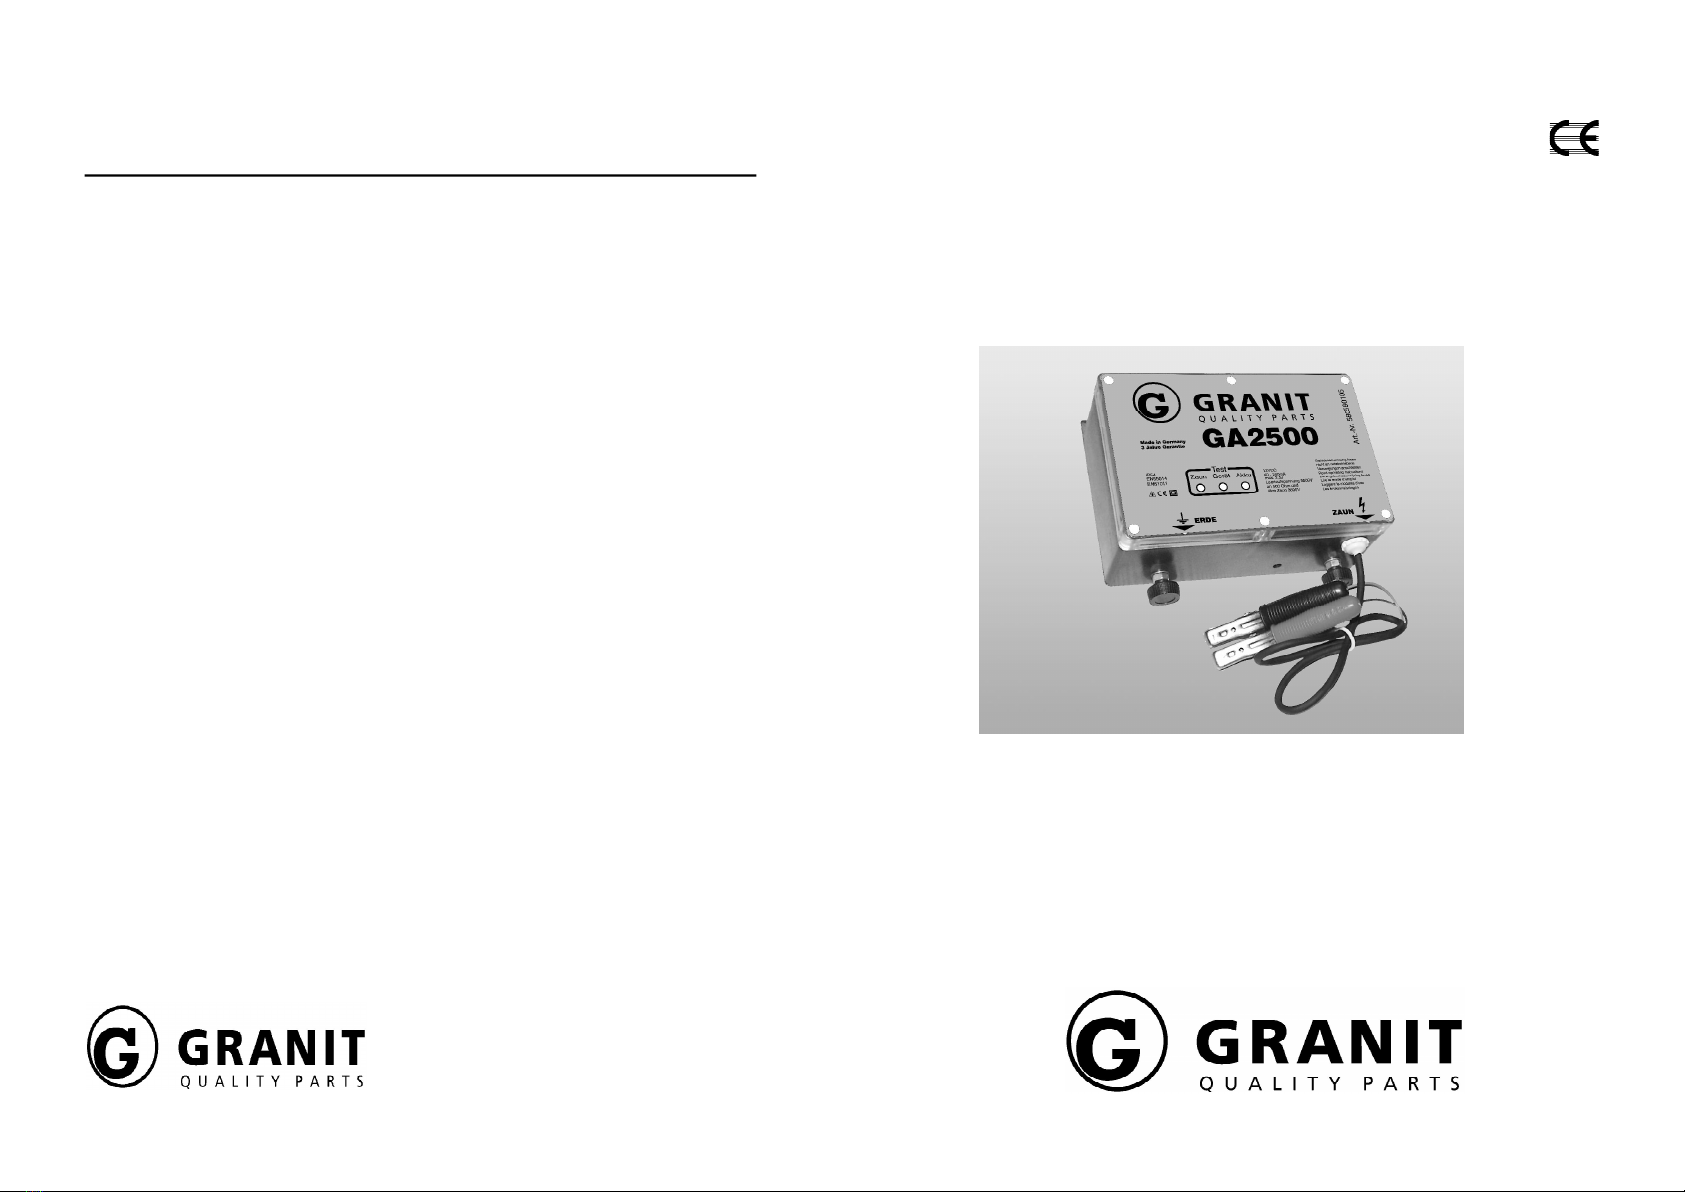
Mounting
Mount the energizer Granit GA2500 upright at a wooden rod, at a wall or in an
appropriate housing or case. Protect the energizer from water.
Hit two grounding rods deeply into the ground at a humid place directly nearby your
fence, having a distance of 3 feet to each other. Connect the two grounding rods with
an appropriate earthing cable and connect them also to the ground connector of the
energizer. For connections always use corrosion-resistant grounding cable.
Connect your fence and the fence connector of your energizer using the red fencing
cable. Connect the energizer to the 12V battery in the right connection order of the
battery clamps (red clamp +, black clamp -). Now the green battery control LED in the
energizer should light constantly.
Using the battery, deep-discharging protection
The energizer GA2500 protects the battery with an in-built deep-discharging protection.
If the battery voltage sinks below 10,8V the deep-discharging protection turns off the
energizer and the green battery control LED blinks. Please note:
❍12V lead-acid-batteries must be charged approx. every 6 months, even when
they are not in use.
❍If the green battery control LED does not light constantly after connecting the
energizer to the battery probably the battery is not charged well or the battery is
not suitable for the energizer.
❍When the green battery control LED starts flashing during normal operation of the
energizer the battery has to be charged.
❍Keep the battery terminals clean and grease them lightly with battery grease.
❍The most performance and output power of your energizer is achieved by proper
grounding conditions.
Fence control and energizer control
The energizer GA2500 has both an integrated fence control and an energizer control.
❍The red energizer control LED flashes shortly with each energy impulse and
shows correct working of the energizer and good fence isolation. If the energy
driven into the fence is being transferred into ground (e. g. by animal touching or
by plants touching the fence or by fouling) the red energizer control LED is lit for
a longer period while flashing.
❍The yellow fence control LED also flashes with each energy impulse and indicates
that the fence voltage is above 2000 Volts and animals can be herded.
Safety informations
Not following the safety instructions and an incorrect energizer setup could
lead to hazard and may cause technical malfunction of the energizer. Please
observe strictly following items:
❍Connect your energizer GA2500 only to a 12V battery
❍Always use proper fencing material when using flexible fencing wire.
Wire of low quality is not recommended.
❍Your energizer GA2500 cannot be used for herding sensitive animals.
❍Build up your fence solidly. Avoid your animals from getting tangled in
your electric fence.
❍Check the condition of your fence and your energizer daily.
❍Full performance of your energizer GA2500 is achieved by using good
isolated fences without fouling.
❍Take care of a very good grounding condition!
❍Check the condition of your 12V battery daily and charge it if required.
Avoid deep-discharging! Consider that a 12V lead-acid battery discharges
slowly by itself even if it is not used.
Power-saving
The energizer GA2500 is also fitted with an in-built power-saving circuitry:
connected to a good fence (without faults and without arc-overs) and to a good
grounding the power consumption is being reduced to a minimum. The more
impulse energy is transferred into ground by bad fence isolation, animals touching
or fouling, more power is taken out of the battery by the energizer. Below is
shown how long a battery could operate the energizer depending on the fence
conditions.
capacity min. operating time max. operating time
36Ah 6 days 24 days
44Ah 8 days 32 days
88Ah 18 days 70 days