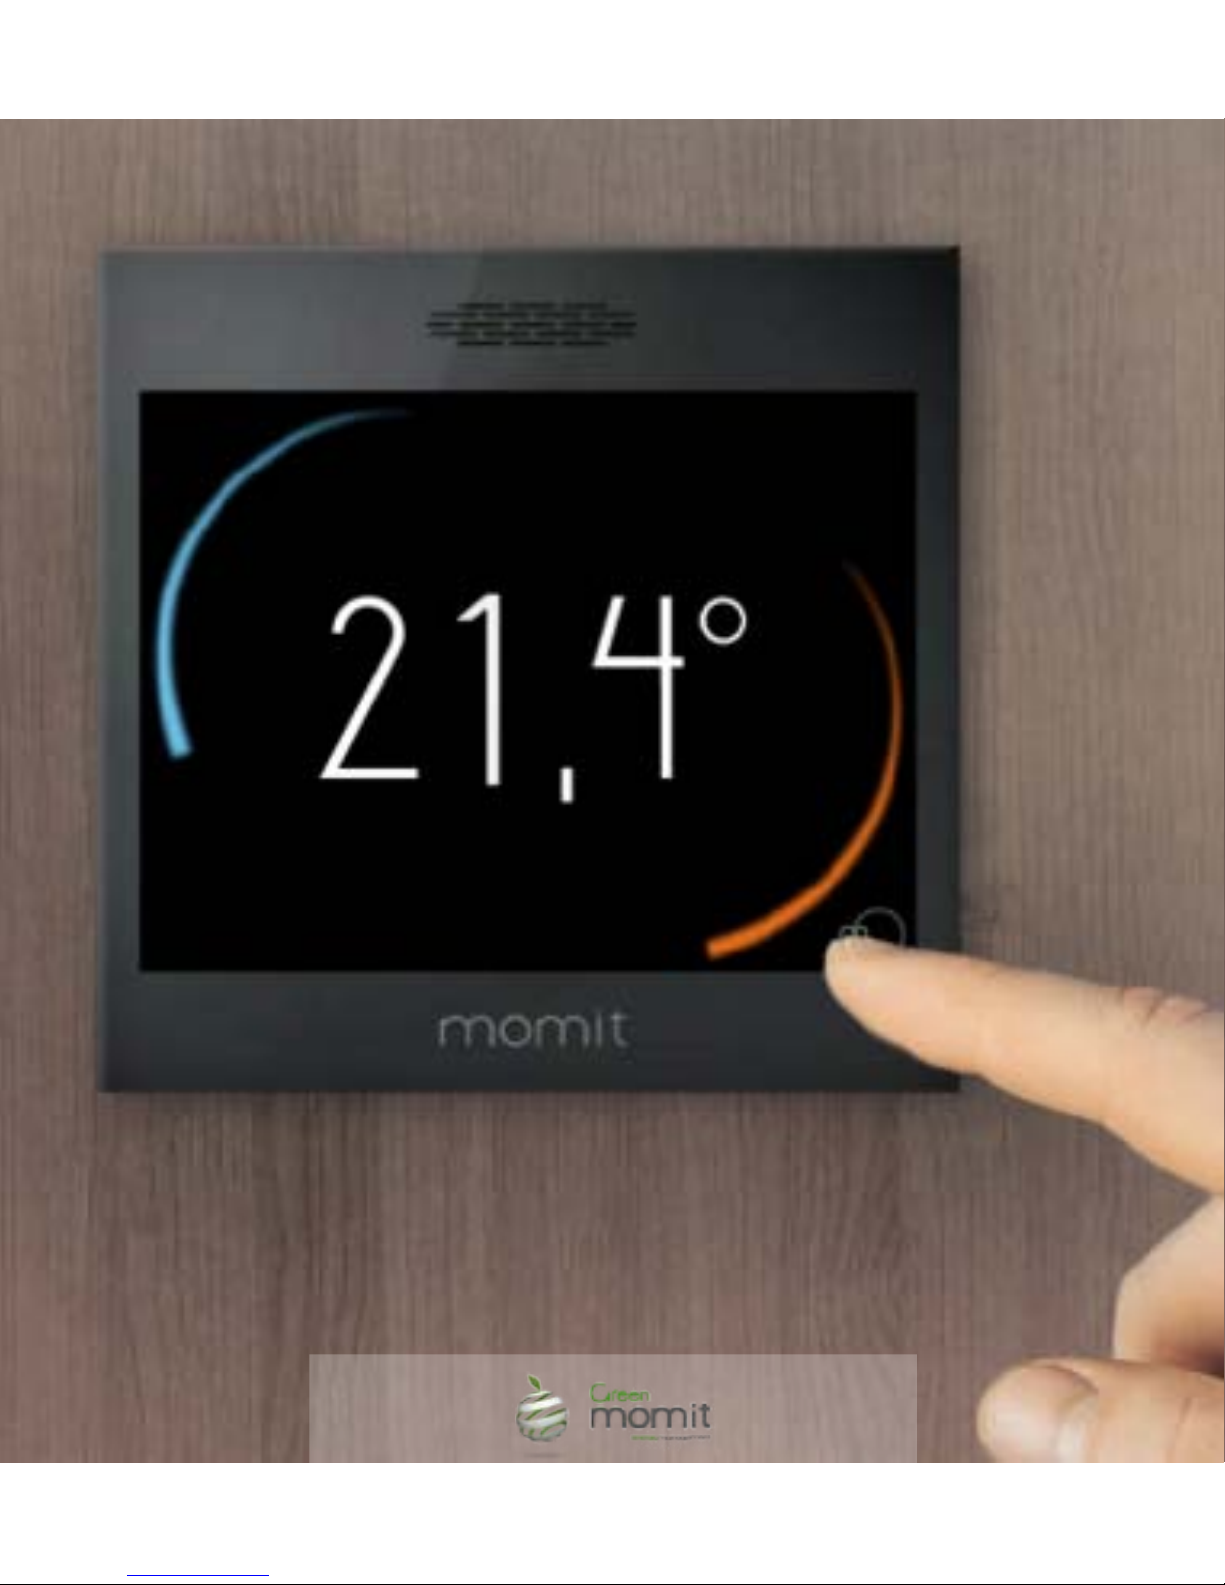
If you have already created an account, se-
lect the corresponding eld. If, on the other
hand, you have not done so, click on 'create
account' and follow the steps that appear on
the screen.
8
momit Smart Thermostat User Guide
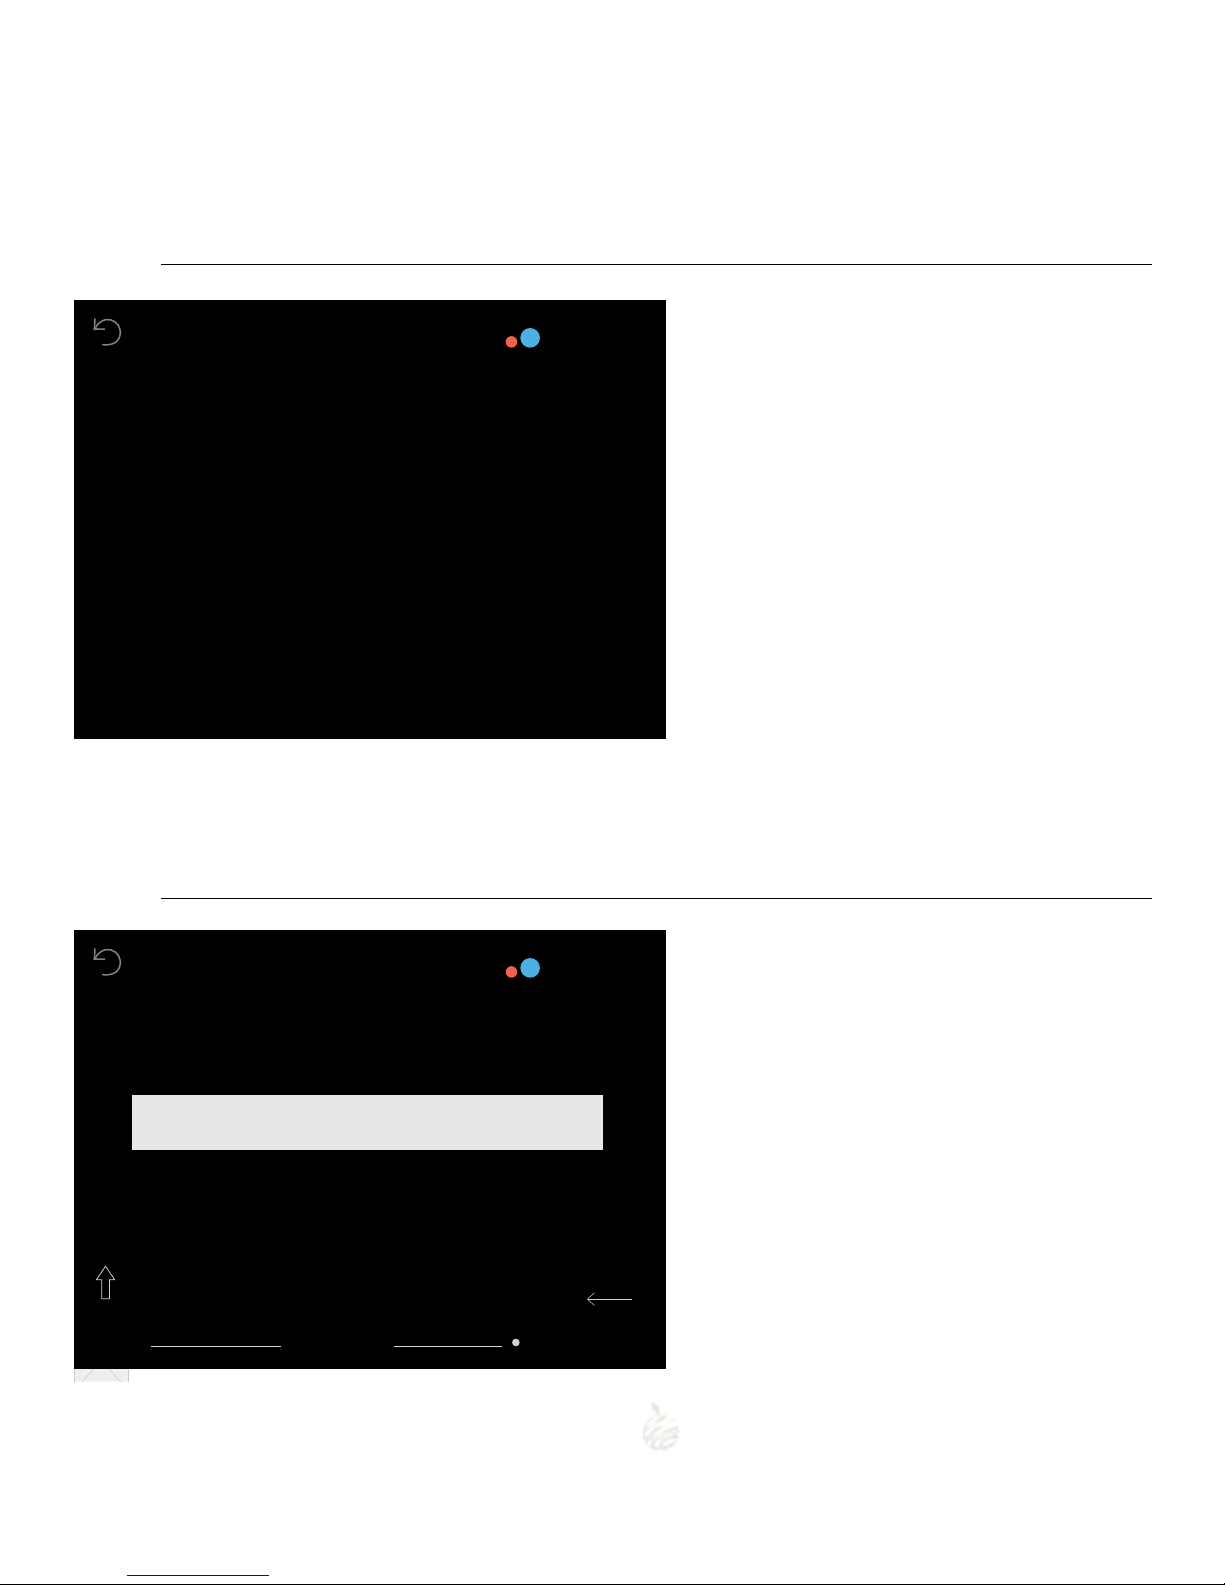
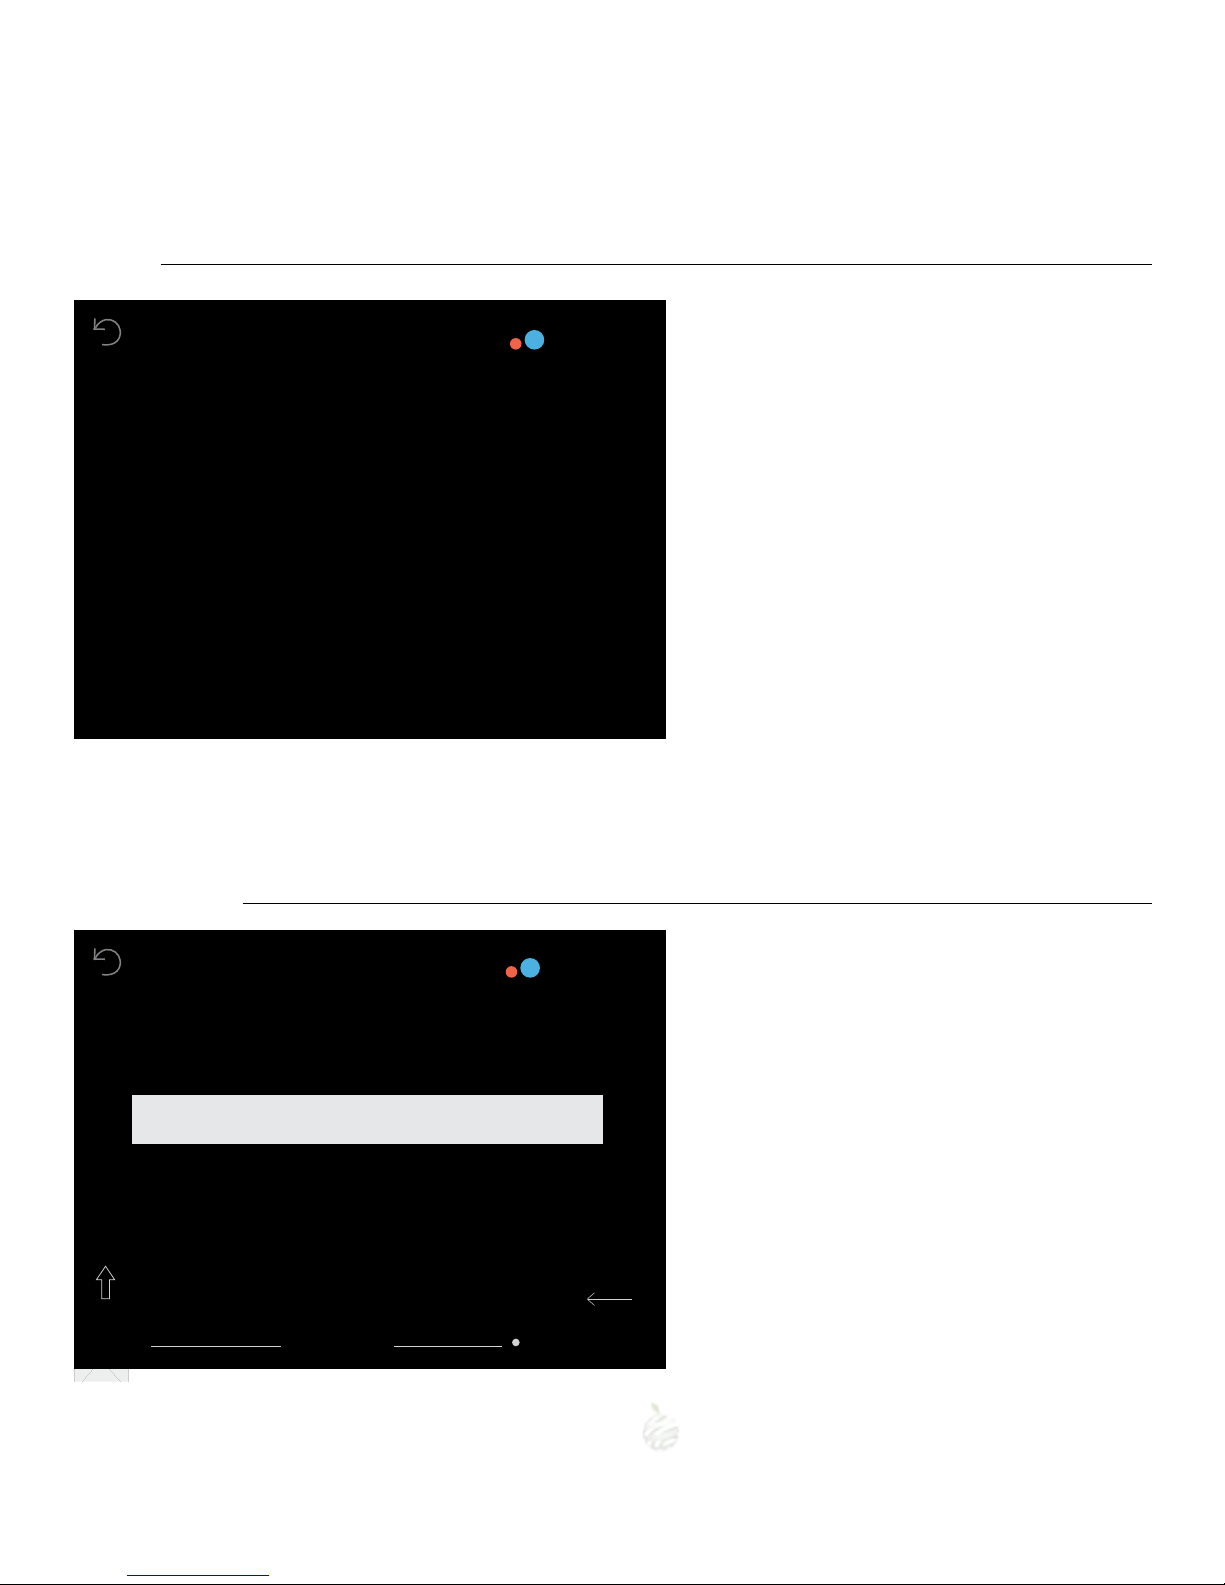
Enter the email address you want to use to ac-
cess your momit Smart Thermostat.
1
SET-UP
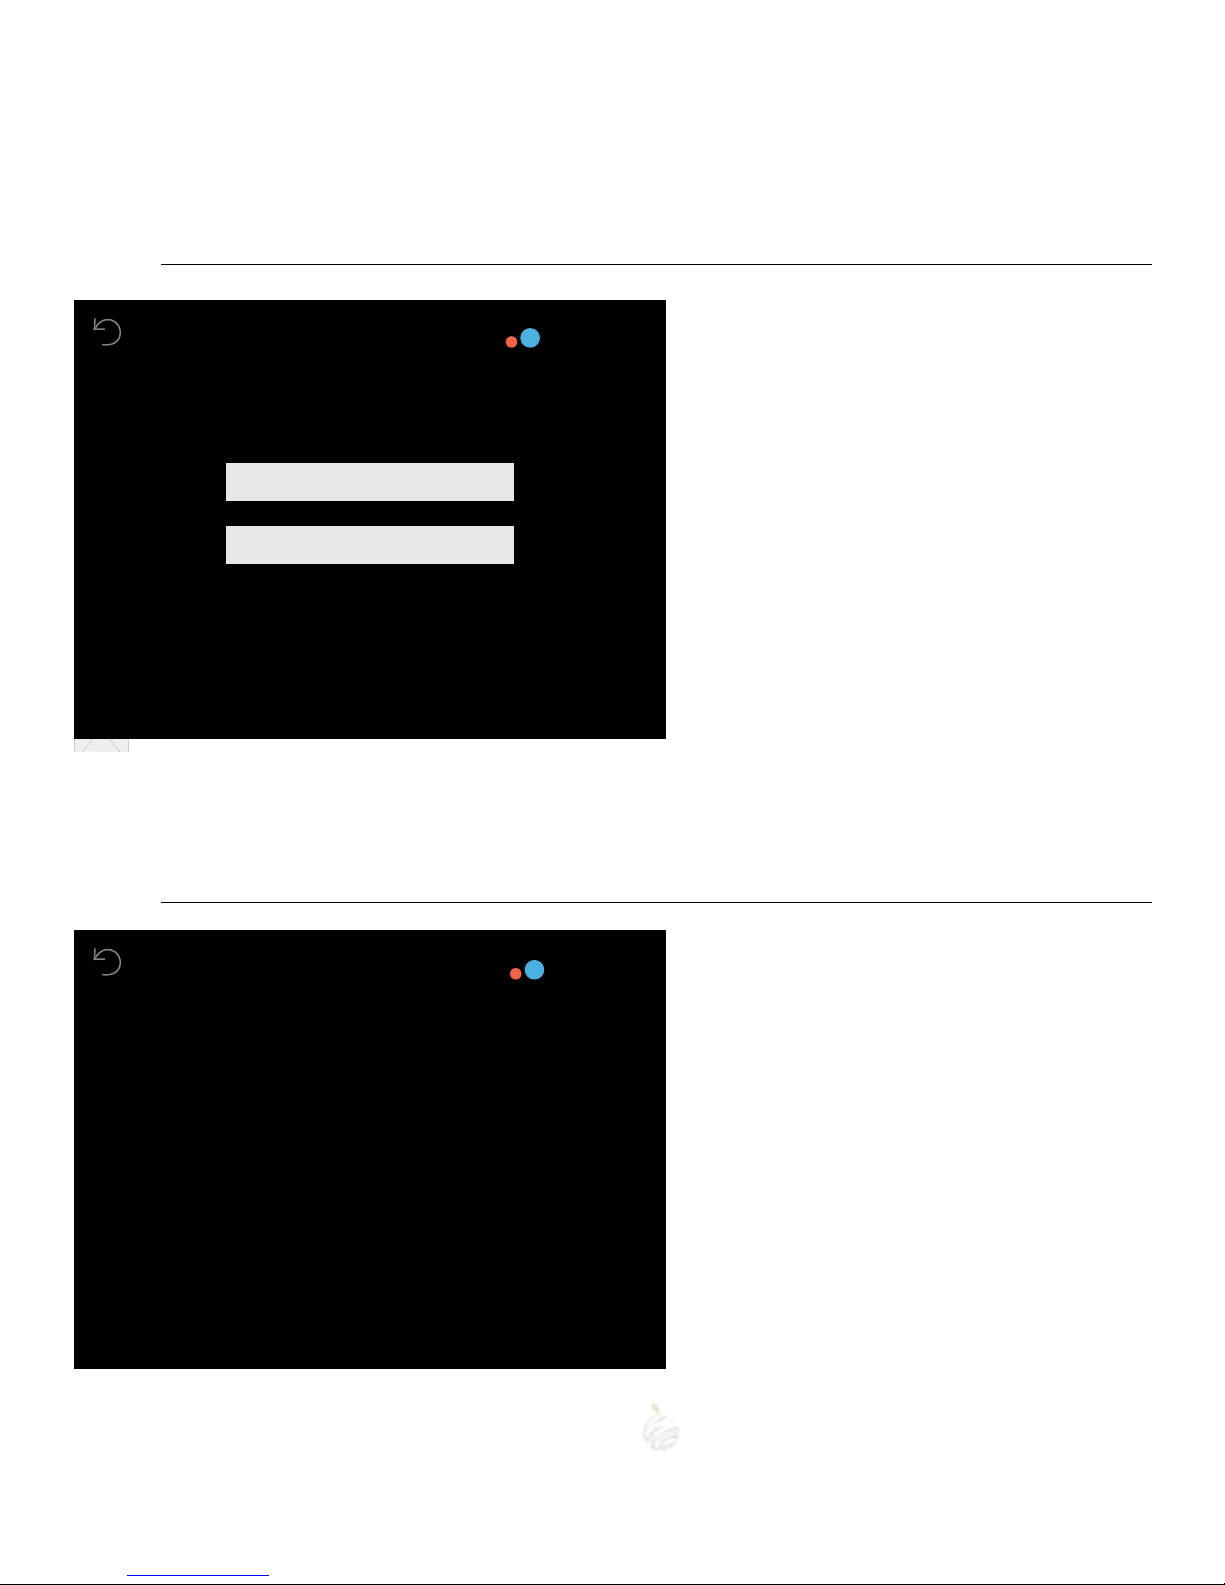
User Account
Create user account
delete accept
I already have an account
1
SET-UP
E-mail
q w e r t y u i o p
a s d f g h j k l ñ
z x c v b n m
?123 space DONE