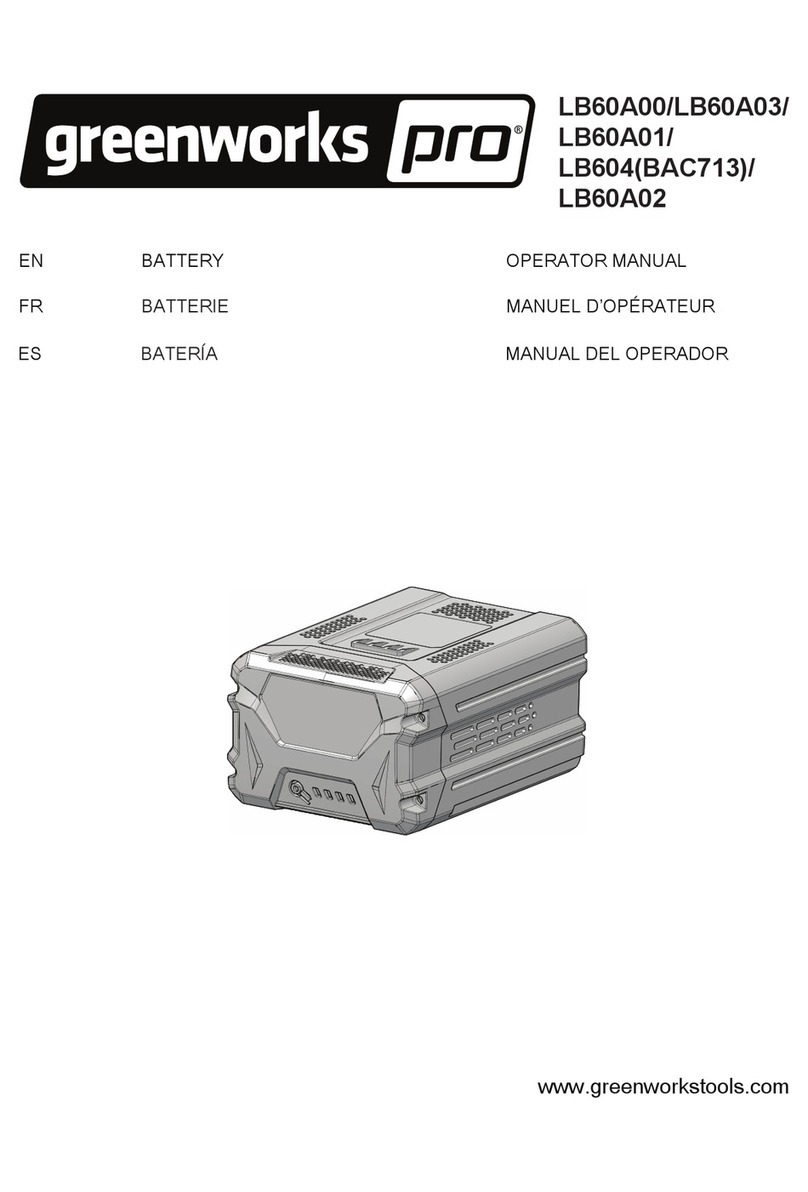
GreenWorks Pro 2938607AU User manual

INCS04
2938607AU
EN OPERATOR MANUALBATTERY
www.greenworksaustralia.com
Greenworks Australia
A Division Jak Max P/L
380 Foley’s Road Derrimut
Victoria, Australia 3026

1 Important Safety Instructions..........2
2 Special rules for charger...................2
3 Power source requirement................2
4 Connection to load.............................2
5 Operation Environment....................3
6 Symbols on the machine................... 3
7 Protective features.............................3
8 Working principle............................. 3
9 The output waveform........................4
10 Recycle................................................4
11 Operation........................................... 4
11.1 Install the battery pack.......................................4
11.2 Remove the battery pack................................... 4
11.3 Operate the machine.......................................... 4
12 Maintenance.......................................5
12.1 Clean the machine............................................. 5
12.2 Stow the machine...............................................5
13 Troubleshooting................................. 5
14 Technical data....................................5
15 Warranty............................................ 5
1
English EN

1 IMPORTANT SAFETY
INSTRUCTIONS
This manual contains important information regarding safety,
operation, maintenance and storage of this product. before
use, read and understand all cautions, warnings, instructions
and product labels, plus your Greenworks’s battery
manufacturer guidelines. Failure to do so could result in
injury and/or property damage.
To ensure reliable service, your machine must be installed
and used properly. Please read the installation and operating
instructions thoroughly prior to installation and use. Pay
attention to the WARNING and CAUTION statements in
this manual. The CAUTION statements advise against
certain conditions and practices that may result in damage to
your machine. The WARNING statements identify
conditions or practices that may result in personal injury.
Read all instructions before using this machine!
TO REDUCE THE RISK OF FIRE, ELECTRIC
SHOCK, EXPLOSION OR INJURY:
• Do not connect to AC distribution wiring.
• Remove appliance plug from outlet strip or turn off
inverter before working on the appliance. Multiple outlet
power strips with switches and circuit breakers only
interrupt power to the “hot” receptacle terminals. The
“neutral” terminals remain powered with respect to the
“ground” terminals.
• Do not make any electrical connections or disconnections
in areas designated as IGNITION PROTECTED.
• This is not a toy - keep away from children.
• DO NOT install object into air vents.
• Reverse polarity connection will cause the unit to
malfunction and may permanently damage the machine.
• Grounding the neutral will damage the machine. Do not
operate this machine if it is wet. Do not install in engine
compartment – please install in a well-ventilated area.
• This machine is not tested for use with medical devices.
WARNING
To avoid risk of fire, electrical shock, or electrocution:
• Do not use a damp cloth or detergent on the battery or
battery charger.
• Always remove the battery pack before cleaning,
inspecting, or performing any maintenance on the tool.
2 SPECIAL RULES FOR
CHARGER
This device complies with Part 15 of the FCC Rules.
Operation is subject to the following two conditions:
• Appliance shall not emit harmful radiation or present a
toxic or similiar hazard due to their operation in normal
use.
• This device must accept any interference received,
including interference that may cause undesired
operation.
CAUTION
Changes or modifications not expressly approved by the
party responsible for compliance could void the user's
authority to operate the equipment.
NOTE
This equipment has been tested and found to comply with
the limits for a Class B digital device, pursuant to Part 15 of
the FCC Rules.
These limits are designed to provide reasonable protection
against harmful interference in a residential installation.
This equipment generates, uses and can radiate radio
frequency energy, and if not installed and used in
accordance with the instructions, may cause harmful
interference to radio or television reception. The reception
can be determined by turning the equipment off and on. The
user is encouraged to try to correct the interference by one
or more of the following measures:
• Reorient or relocate the receiving antenna.
• Increase the separation between the equipment and the
receiver.
• Connect the equipment into an outlet on a circuit
different from that to which the receiver is connected.
• Consult the dealer or an experienced radio/TV
technician for help.
3 POWER SOURCE
REQUIREMENT
The power source must be able to supply the necessary
current to operate the load. The Greenworks 60V battery is
the only DC power source to be used with this product.
4 CONNECTION TO LOAD
The inverter is equipped with an AC power receptacle. Plug
the cord from the equipment you wish to operate into an AC
receptacle. The green LED indicator lights to indicate that the
inverter is functioning. Make sure the combined load
requirement of your equipment does not exceed inverter’s
output rating.
The inverter is engineered to be connected directly to
standard electrical and electronic equipment in the manner
described above.
WARNING
• Do not connect the machine to household or RV AC
distribution wiring.
• Do not connect the machine to any AC load circuit in
which the neutral conductor is connected to ground
(earth) or to the negative of the DC (battery) source.
2
English
EN

5 OPERATION ENVIRONMENT
For best operating results, the machine should be placed on
flat surface, such as the ground, car floor, or other solid
surface. The machine should only be used in locations that
meet the following criteria:
•DRY- Do not allow water and/or other liquids to come
into contact with the machine.
•COOL- Do not place the inverter on or near a heating
vent or any piece of equipment which is generating heat
above room temperature. Keep the inverter away from
direct sunlight, if possible.
•SAFE- Do not use the inverter near flammable materials
or in any locations that may accumulate flammable fumes
of gases.
6 SYMBOLS ON THE MACHINE
You may find the below symbols on the machine. Please
study them and learn their definitions. Correct interpretation
of these symbols allow you to operate the tool safely.
Symbol Explanation
Class II
For indoor use only
Before charging, read the instructions
Fuse
7 PROTECTIVE FEATURES
Your machine monitors the following potentially hazardous
conditions:
OVER TEMPERATURE PROTECTION – If the
temperature inside the inverter is too high, the unit will
automatically shut down. Allow the unit to cool for at least 15
minutes before restarting after a heat related shutdown.
Unplug unit while cooling.
LOW BATTERY VOLTAGE PROTECTION – This
condition is not harmful to the inverter but could damage the
power source. The inverter automatically shuts down when
input voltage drops to 56 volts. When the condition is
corrected, the unit may be restarted.
OVER VOLTAGE PROTECTION – The inverter will
automatically shut down when the input voltage exceeds 85
volts DC.
OVERLOAD PROTECTION – The inverter will
automatically shut down when the continuous draw exceeds
rated watts.
SHORT CIRCUIT PROTECTION – The inverter will shut
down. Remove the short circuit and restart the inverter after 5
minutes.
The LED lights indicate the working condition of the power
inverter as follows:
Work condi-
tion Green Red
Normal
High-voltage
protection
Inverter auto-
matically
shuts off
when the
voltage is too
high.
Battery error
Low battery
voltage
Short-circuit
protection Red light
flashes in in-
tervals of 4.
Overload
protection
Low-voltage
protection
Red light
flashes in in-
tervals of 5.
Over temper-
ature protec-
tion
Red light
flashes in in-
tervals of 6.
NOTE
ON
OFF
BLINKING
8 WORKING PRINCIPLE
The inverter converts low voltage DC (Direct Current) from a
Greenworks 60V lithium battery to standard 230-volt AC
(Alternating Current) household power.
3
English EN

9 THE OUTPUT WAVEFORM
The AC output waveform of the 82PI1 inverter is known as
“modified sine wave”. It is a waveform that has
characteristics similar to the sine wave shape of utility power.
This type of waveform is suitable for most AC loads,
including linear and switching power supplies used in
electronic equipment, transformers, and motors.
The modified sine wave produced by the 82PI1 inverter has
an RMS (root mean square) voltage of 230 volts, which is the
same as standard household power. Most AC voltmeters (both
digital and analog) are sensitive to the average value of the
waveform rather than the RMS value. They are calibrated for
RMS voltage under the assumption that the waveform
measured will be a pure sine wave. These meters will not read
the RMS voltage of a modified sine wave correctly. They will
read about 20 to 30 volts low when measuring the output of
the inverter. For accurate measurement of the output voltage
of this unit, use a true RMS reading voltmeter.
10 RECYCLE
Separate collection. You must not discard
with usual household waste. If it is necessa-
ry to replace the machine, or if it is no more
use to you, do not discard it with household
waste.
Separate collection of used machine and
packaging let you recycle materials and use
them again. Use of the recycled materials
helps prevent environmental pollution and
decreases the requirements for raw materi-
als.
At the end of their useful life, discard batter-
ies with a precaution for our environment.
The battery contains material that is danger-
ous to you and the environment. You must
remove and discard these materials separate-
ly at a location that accepts lithium-ion bat-
teries.
11 OPERATION
11.1 INSTALL THE BATTERY PACK
B
A
E
NOTE
Shut off the power source or disconnect the battery when
the power inverter is not in use.
1. Align the battery (A) with the cavity in the power
inverter.
2. Hold the power inverter (A) firmly.
3. Insert the battery in the opening until the battery release
button (E) locks into place. You should hear a “click”
once it is installed.
11.2 REMOVE THE BATTERY PACK
1. Press the battery release button (E). This will cause the
battery to raise out of the tool.
2. Hold the power inverter firmly. Pull the battery pack out
of the power inverter.
11.3 OPERATE THE MACHINE
USB-A USB-C
CD
4
English
EN
F

1. Insert the battery pack (A) into the power inverter.
2. Connect the plug (F) or USB (C) or USB (D) to the
receptacle.
3. Press the power switch (B) to start the power inverter.
12 MAINTENANCE
12.1 CLEAN THE MACHINE
NOTE
Keep the air vent free of blockage, saw dust, and wood dust.
Do not spray, wash, or submerge in water.
• Clear the unwanted material out of the air vent with a
vacuum.
• Clean housing and the plastic components with a soft, dry
cloth.
IMPORTANT
Do not use strong solvents or detergents on the plastic
housing or components.
12.2 STOW THE MACHINE
• Remove the battery pack before you store the power
inverter or disconnect the power inverter.
13 TROUBLESHOOTING
PROB-
LEM
POSSIBLE
CAUSE
SOLUTION
Some
AC ap-
pliances
won’t
start.
The power needed
to start some AC
appliances may be
as much as 2 to 8
times its continu-
ous wattage re-
quirements.
Read the information panel
on each AC appliance care-
fully to accurately determine
the tool’s input wattage.
“BUZZ-
ING”
sound in
audio
systems.
The power supply
in the electronic
device does not
adequately filter
the modified sine
wave produced by
the inverter.
Use a higher quality sound
system that incorporates a
higher quality power ampli-
fied supply.
PROB-
LEM
POSSIBLE
CAUSE
SOLUTION
Televi-
sion in-
terfer-
ence.
The inverter is
shielded to mini-
mize interference
with TV signals.
The problem may
not be with the in-
verter. However,
in some instances,
some interference
may still be visi-
ble, particularly
with weak TV sig-
nals.
Position the inverter as far as
possible from the television,
the antenna and the antenna
cables. Use an extension ca-
ble, if necessary.
Adjust the orientation of the
inverter, the antenna cables
and the TV power cord to
minimize interference.
Make sure that the antenna
feeding the television pro-
vides an adequate (“snow
free”) signal and that high
quality, shielded antenna ca-
ble is used.
Do not operate high-power
appliances or tools when you
are watching TV.
14 TECHNICAL DATA
Input Voltage
Range
60 volt DC
Rated Input Cur-
rent
8 A
USB-A Output 5V/3.4A, 9V/2A, 12V/1.5A
USB-C Output 5V/3A, 9V/3A, 12V/3A, 15V/3A,
20V/3A
USB-A Output
+USB-C Output
5V/2.4A*2
AC Output 230V AC RMS 50Hz, 1.5A
Weight (Without
battery pack)
1.59 lbs
Operation Temper-
ature
14°F-104°F (-10°C to 40°C)at 100%
loading
Storage Tempera-
ture
-4°F-140°F (-20°C-60°C)
Output Waveform Modified Sine Wave (filtered)
15 WARRANTY
(The full warranty terms and conditions can be found on
Greenworks website www.greenworksaustralia.com)
The Greenworks warranty is 4 years on the product, and 2
years on batteries and chargers (consumer/private usage) from
the date of purchase. This warranty covers manufacturing
faults. A faulty product under warranty might be either
repaired or replaced. A unit that has been misused or used in
other ways then described in the owner’s manual might be
rejected for warranty. Normal wear, and wear parts are not
5
English EN

considered as warranty. The original manufacturer warranty is
not affected by any additional warranty offered by a dealer or
retailer.
A faulty product must be returned to the point of purchase in
order to claim for warranty, together with the proof of
purchase (receipt).
Our goods come with guarantees that cannot be excluded
under the Australian Consumer Law. You are entitled to a
replacement or refund for a major failure and compensation
for any other resonably foreseeable loss or damage. You are
also entitled to have the goods repaired or replaced if the
goods fail to be of acceptable quality and the failure does not
amount to a major failure.
6
English
EN
Table of contents
Other GreenWorks Pro Camera Accessories manuals
Popular Camera Accessories manuals by other brands

Tesla
Tesla Powerwall 2 installation manual

Nauticam
Nauticam Extension Ring 70 with Focus Knob instruction manual

Bioenno Power
Bioenno Power BLP-07180MB user manual

American Dynamics
American Dynamics AD1301 Specifications

PortKeys
PortKeys OEYE-RED user manual

Olympus
Olympus E-P1 - Digital Camera - Prosumer Brochure & specs