LOCATION OF YOUR BBQ
IMPORTANT - BBQS MUST BE INSTALLED IN ACCORDANCE WITH
THE MANUFACTURER’S INSTALLATION INSTRUCTIONS, LOCAL
GAS FITTING REGULATIONS AND MUNICIPAL BUILDING CODES.
Think carefully when deciding on a location where you are to use your
bbq. The bbq must not be installed under or on any combustible
material and must be a level surface.
Minimum clearance from any combustible materials on ALL sides is
430mm (18”). Minimum clearance from any combustible material from
the TOP of the bbq is 1000mm (39”). (Fig. 1)
- Not to be used in garages, porches, breezeways, sheds, or other
enclosed areas
- Not to be used on recreational vehicles
- Do not obstruct flow of combustion and vetilation air around the bbq
430mm
Minimum
430mm
Minimum
430mm
Minimum
430mm
Minimum
1000mm Minimum
CONNECTING THE GAS CYLINDER
There are two different types of gas that can be used on your gas bbq
depending on where you live, that being either butane or propane gas.
Both are supplied in gas cylinders. The connection between the gas
cylinder and the bbq is made with a regulator. (Fig. 2)
It is important that you use the correct regulator for the particular type
of gas you purchase. See your local gas dealer for information on
purchasing the correct regulator. Never operate this bbq without a gas
regulator.
THE HOSE AND REGULATOR ASSEMBLY
- Must be suitable for liquefied petroleum gas (LPG)
- Must withstand the above pressures
- Must not exceed 1000mm (39”) in length
- The bbq is supplied with a 1/4” BSP LHT adaptor and screw on hose
that is suitable for direct connection of a suitable regulator
- Before connecting inspect the hose, its fittings and rubber seals. If
there is any sign of cracking, splitting or wear, have the hose
replaced
- While in use, keep the hose unobstructed and free of kinks and
twisting
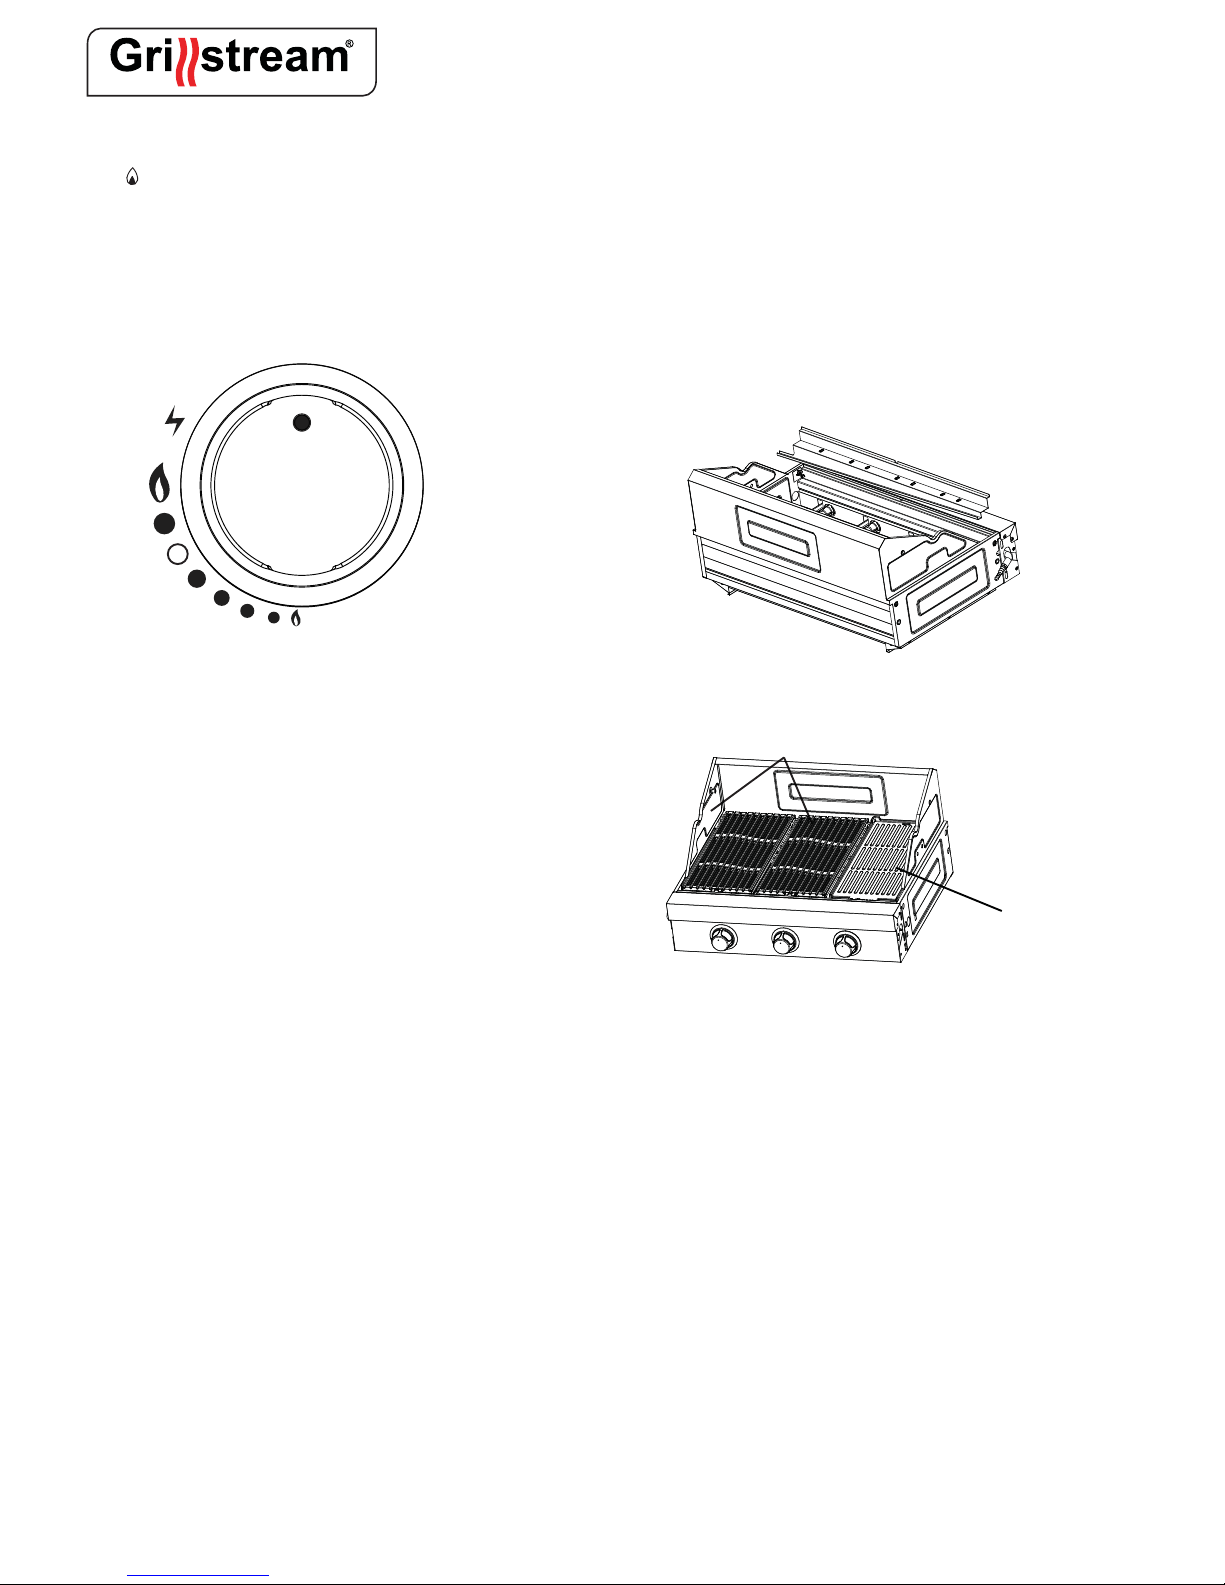
(Fig. 1)
(Fig. 2)
The following gas supply pressures are a guide only:
For DK FI NO NL SE HR SI IS
Butane - 30 millibars
Propane - 30 millibars
For GB IE BE FR GR IT ES LU PT CH CZ
Butane - 28 millibars
Propane - 37 millibars
For DE AT
Butane - 50 millibars
Propane - 50 millibars
FOR AUSTRALIA
Propane - 2.75 kPa
Universal LPG - 2.75 kPa
1 3 B/P (30)
1 3 + (28 - 30/37)
1 3 B/P (50)
EE LV
Page 3
GSIL45SS
WARNING INFORMATION
- Read this Operating Manual before use
- Ensure there is adequate clearance away from flammable materials
- This bbq is only to be used outdoors
- Do not allow children to operate the bbq
- Accessible parts may be very hot, keep children away
- Any modification of this bbq may be dangerous
- Do not move this bbq during use
- When you have finished cooking, turn off the gas cylinder before you
turn off the BBQ controls to ensure any gas in the pipeline is used up.
- Parts sealed by the manufacturer or their agent must not be
manipulated by the user
- BBQ specifications can be found on the data label attached on the
side panel of the bbq frame
- Do not store or use petrol or other flammable vapours and liquids
near the bbq
- Do not store empty or full spare gas cylinders under or near the bbq
- Keep the gas hose and any electrical cord away from hot surfaces
- Avoid unnecessary twisting of the gas hose
- Visually inspect hose prior to each use for cuts, cracks, excessive
wear or other damage
- The hose must be replaced if damaged and when National Conditions
require it
- Never light the bbq with the hood or lid closed
- Never lean over the cooking surface whilst lighting the bbq
- Use bbq tools with heat proof handles or good quality insulated oven
mitts when operating bbq
- Never alter or modify the regulator or gas supply assembly
NINGBO AGSUN PRODUCTS,INC.
Product name Outdoor gas Grill
Model Number K104BZEC4
Product Identification Number 0359CP1429
Gas Category I3+(28-30/37) I3B/P(30) I3B/P(37) I3B/P(50)
Gas and Supply Pressure
Butane(G30) Propane(G31) Butane Butane Butane
28-30 mbar 37 mbar 29 mbar 37 mbar 50 mbar
Country of Destination
I3+(28-30/37): BE,CH,CY,CZ,ES,FR,GB,GR,IE,IT,LT,LU,LV,PT,SK,SI.
I3B/P(30): BE,CY,CZ,DK,EE,FI,FR,HU,IT,LT,NL,NO,SE,SI,SK,RO,HR,TR,BG,IS,LU,MT.
I3B/P(50): AT,CH,CZ.,DE,SK
I3B/P(37):PL
Main Burner Injector Size Ø 0.9 mm Ø 0.9 mm Ø 0.86 mm Ø 0.81 mm
Side Burner Injector Size Ø 0.88 mm Ø 0.88 mm Ø 0.79 mm Ø 0.75 mm
Total Nominal Heat Inputs (Hs) Main burner:14kW(1020g/h ) ;
Side Burner Heat Inputs (Hs) Side burner:3kW(218 g/h) ;
electric energy(V/DC)4X1.5V-LED lamp;
Serial Number
Use Outdoors Only .
Read the instructions before using the appliance.
Warning : Accessible parts may be very hot. Keep young children away.
Made in China
0359-16