To Defrost Your Refrigerator
FREEZER
5
The freezer compartment should
be defrosted when ice build up
exceeds 6mm thickness.
Before defrosting the freezer
compartment, transfer any
remaining frozen food to another
freezer or wrap it in several layers
of newspaper and place it in a cold
refrigerator. Remember that any
rise in the temperature will shorten
the life of the frozen food.
Wash with a warm water solution
containing either a mild detergent
or baking soda solution (2 table
spoons/30g baking soda to 1 litre
warm water).
Unplug refrigerator from electricity
power supply.
Remove all food and ice blocks
from the freezer compartment. It is
not necessary to remove the food
from the fridge section.
Place pan of hot water inside
freezer compartment to speed
defrosting, and leave freezer door
open.
1.
2.
3.
4.
Dry the freezer with a soft sponge
and a piece of cloth.
Your refrigerator defrosts the ice
in the lower part automatically.
The water accumulates in the drain
hole (2) and is sent to the collecting
tray at the rear of the refrigerator
where it is evaporated. Clean the
drain hole (2) and the pipe hose by
pouring a small glass of luke-warm
water inside it.
Check the drain hole (2) at regular
intervals to see if it is clogged, and
if necessary, clean it. Do not fill
your refrigerator and cover up the
drain channel (1).
REFRIGERATOR
6.
7.
Turn temperature control knob to
"O" position.
CAUTION
5.
NEVER USE SHARP OR METAL
OBJECTS TO REMOVE ICE. USE
THE PLASTIC ICE SCRAPPER
PROVIDED.
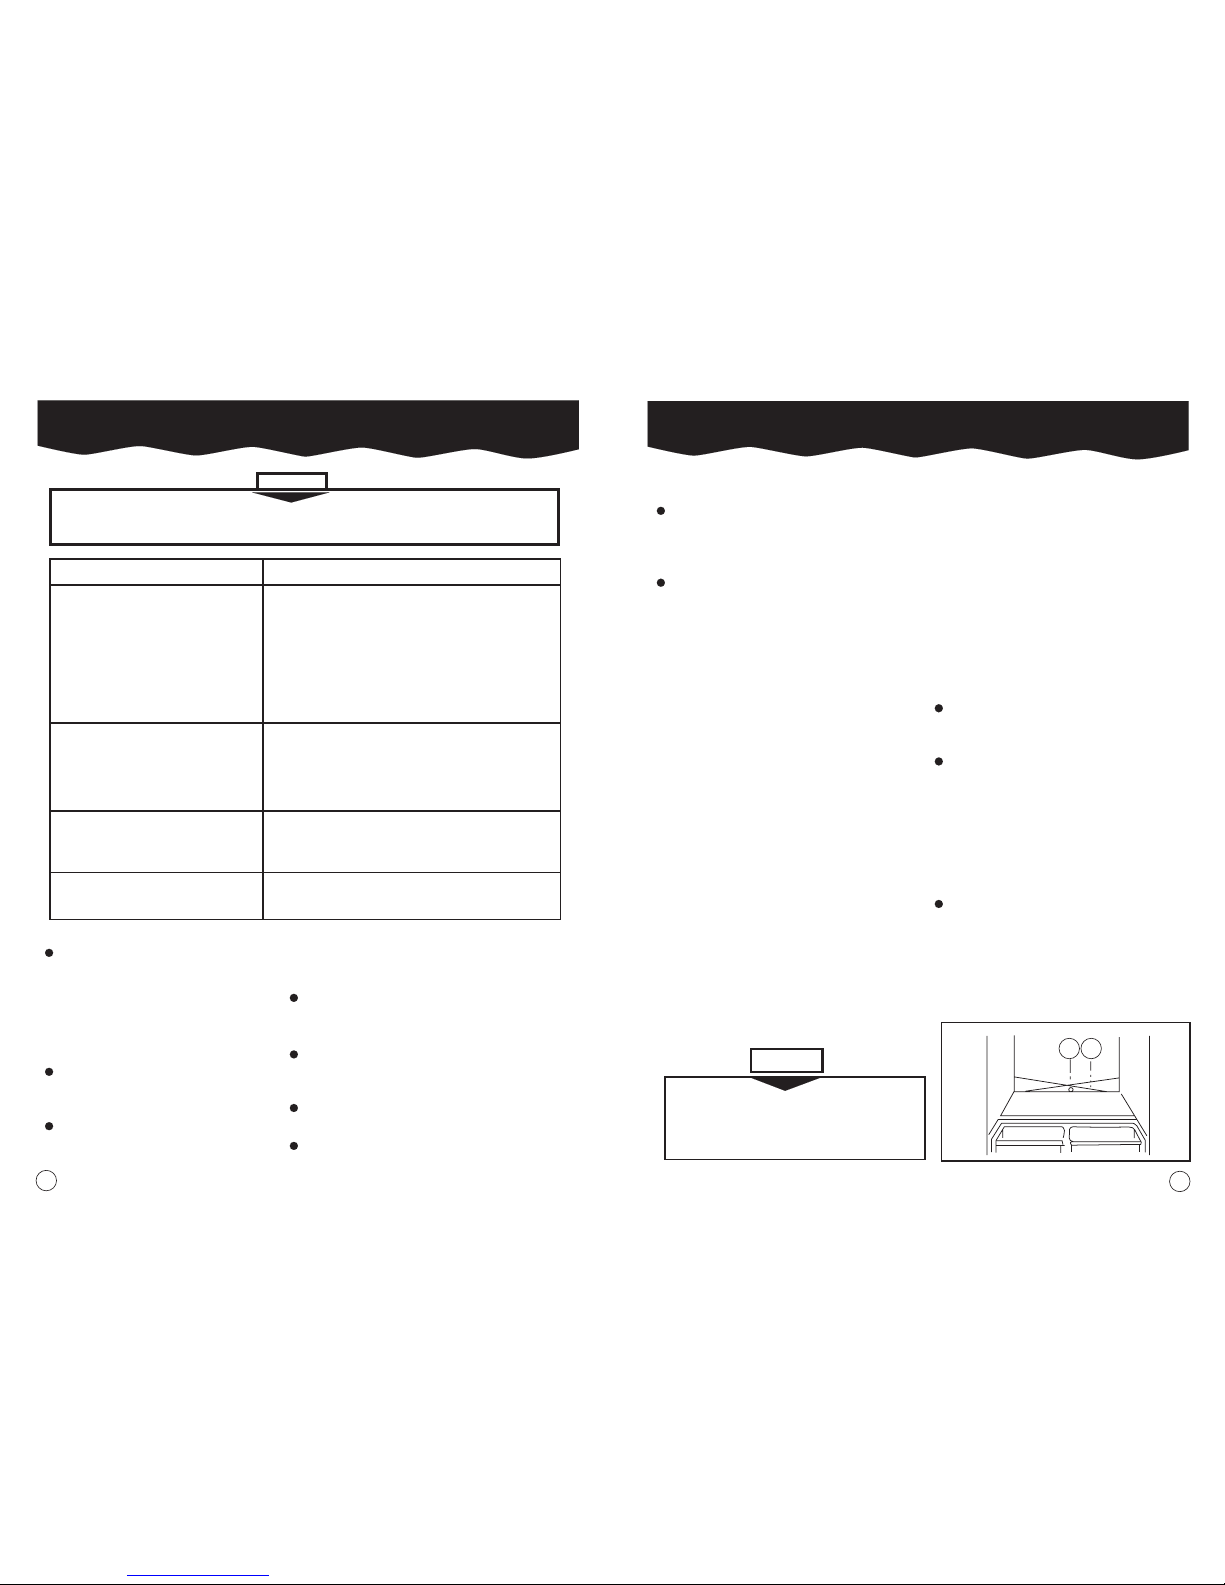
2 1
Cleaning Your Refrigerator
8
IMPORTANT
BEFORE CLEANING, ALWAYS SWITCH REFRIGERATOR OFF AND REMOVE
PLUG FROM THE POWER SUPPLY.
PART
OUTSIDE
HOW TO CLEAN
* Wash using warm water and a mild detergent.
* Wipe clean and dry
*DONOT USE ABRASIVES OR HARSH CLEANERS
*Waxing is recommended if humidity is high, to prolong
* the life of your refrigerator. Use a good auality car
wax or appliance wax.
DO NOT USE WAX ON PLASTIC PARTS. DO NOT
USE BLEACH OR PETROL BASED PRODUCTS TO
CLEAN YOUR REFRIGERATOR
FREEZER COMPARTMENT *Wash with a warm wate solution containing either a
mild detergent or baking soda solution (2 table
spoons/30g baking soda to 1 litre warm water).
* Wipe clean and dry.
FRIDGE COMPARTMENT/DOOR
LINER GASKET/VEGETABLE
BIN/SHELVES
CONDENSER COIL
*Wash using only warm water, a mild detergent and
soft cloth.
* Rinse and dry.
* Use vacuum cleaner or soft brush to clean dust and
lint from condenser coil every 2-3 months.
USEFUL HINTS:
If your refrigerator is to be out of
service for any length of time,
ensure that the interior is carefully
cleaned and dried. Leave the door
open to prevent odour and mould
growth, and disconnect the plug
from the power supply.
Hot food MUST be allowed to cool
before being placed in the fridge
or freezer compartments.
Carry out regular cleaning of the
exterior according to above
instructions. This is most important
if the refrigerator is subjected to high humidity
and heavy condensation.
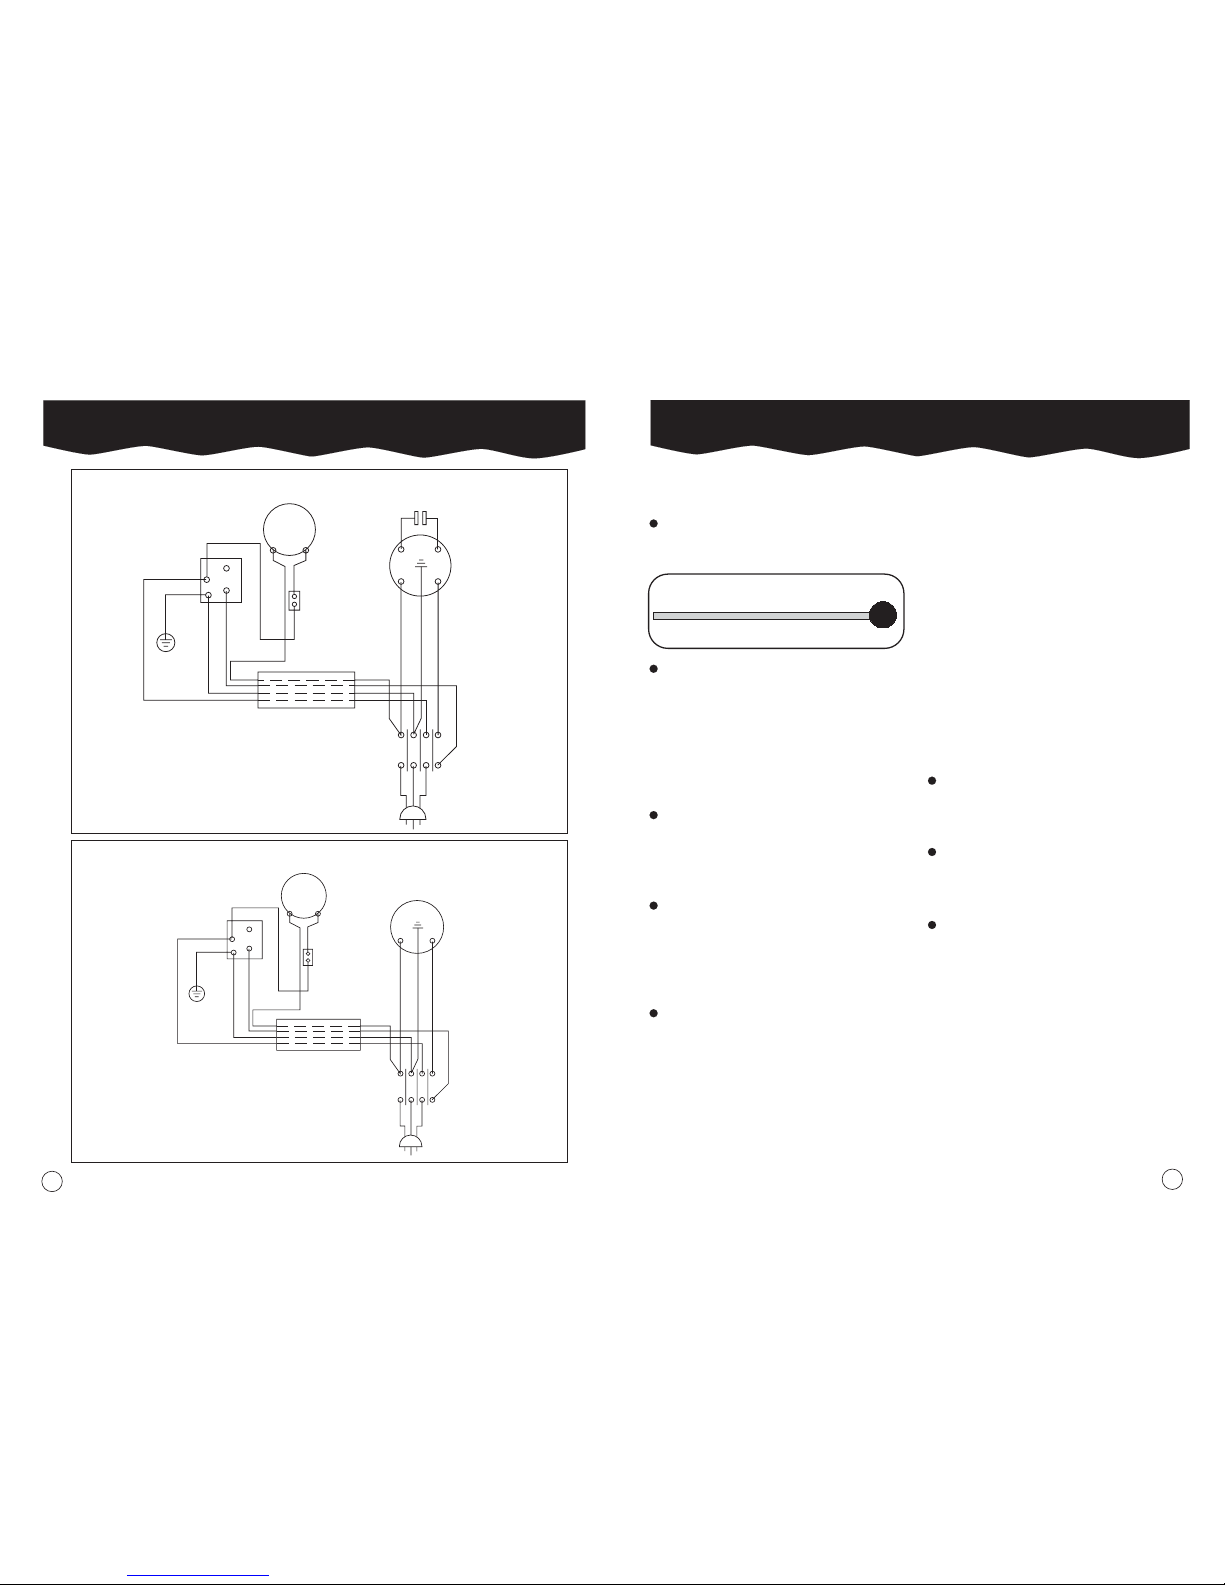
BULB REPLACEMENT:
Always turn off the power supply and
remove plug before removing light cover.
SAFETY NOTE:
When disposing of an old refrigerator.
ALWAYS remove door as a safeguard
against anything being trapped inside.
DO NOT store flammable or explosive
substances in the refrigerator cabinet.
DO NOT place fizzy drinks in the freezer
compartment as the containers may burst.