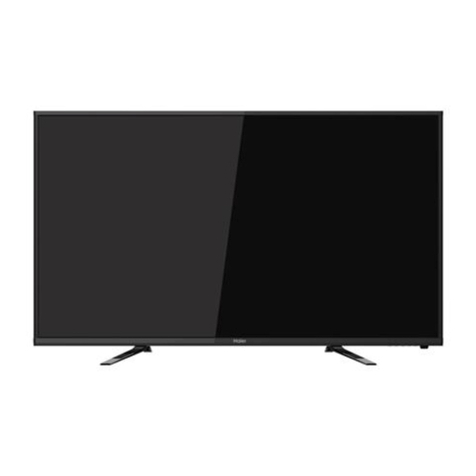
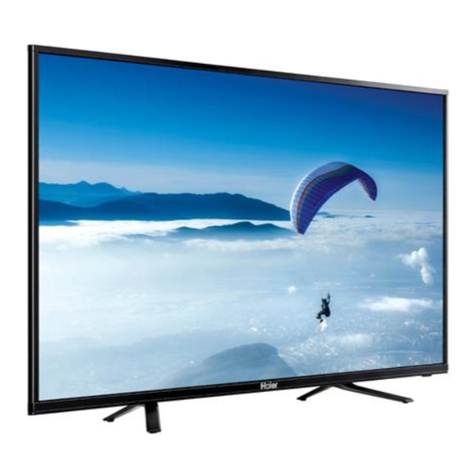
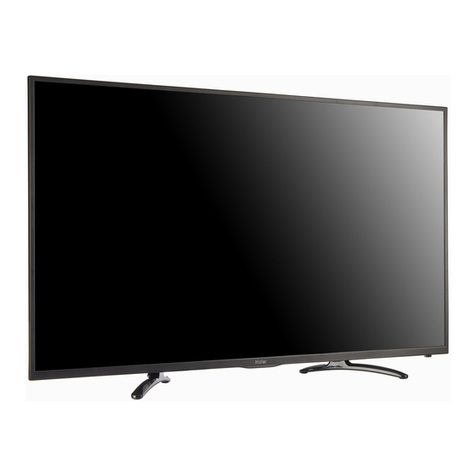
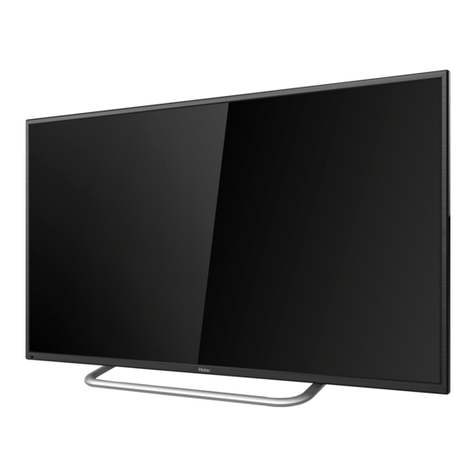
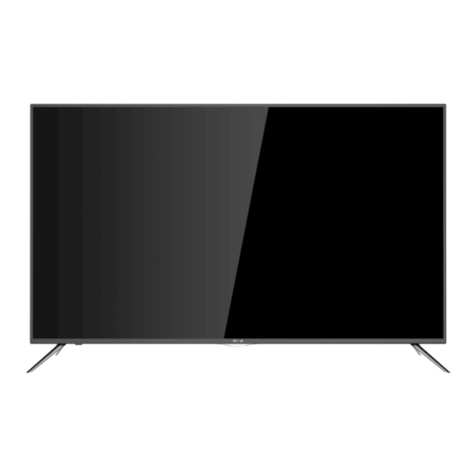
Haier LE50S8HQGA User manual

LE50S8HQGA
LE55S8HQGA
LE65S8HQGA

1.
2.
3.
4.
5.
6.
7.
8.
9.
TV OPEARTION
19

*Actualproduct may vary in appearance from
above image*

If you are going to clean the product,Unplug the TV,use
soft fabric,no water,never chemicals.

PREPARATION
IMPORTANT: Do not apply pressure to the screen display
area which may compromise the integrity of the display.
The manufacturer’s warranty does not cover user abuse
or improper installations.
ATTACHING THE STAND
IMPORTANT: The stand of the TV must be assembled
prior to usage.
1.
(blanket, foam, cloth, etc.) to prevent any damage to
the TV.
PREPARING YOUR LED TV FOR WALL MOUNTING
We suggest that you keep your TV at least 2.36 inches
(60 mm) from the wall to prevent cable interference.
Before mounting your TV on the wall, you need to
remove the stand.
For your safety, please use only with a UL listed wall
mount bracket with minimum weight of the TV without
stand.
To attach a wall mount bracket to your TV:
1. Remove the screws holding your TV to the stand.
2. Remove the stand from your TV.
3. Secure the wall mount bracket to the back of your TV
using four screws. Follow the instructions of the user
manual that came with the wall mount bracket to
install.
TURNING ON THE TV
1. Install the stand and place the TV on a solid surface.
Ensure that the TV is placed in a position to allow free
back cover.
To prevent any unsafe situations, no naked sources,
such as lighted candles, should be placed on or in the
vicinity.
Avoid heat, direct sunlight and exposure to rain or water.
The equipment shall not be exposed to dripping or
splashing.
2. Connect the antenna cable or cable TV cable to the
ANT IN aerial socket on the back of the TV set.
4. Power:
Plug the cord into a working power outlet.
5. Turn the TV on:
Press on the remote control or POWER button on
the side control panel of the TV.
NOTE
The wall mount bracket are not included.
NOTE
The appearance of the product shall be in kind.
Mi n
1 m
NOTE
2.
Fix the stand to the bottom of the TV with the six
screws.AOd 6pcs screws to stand.
3
3. Remote control:
Remove the cover of the battery compartment.
Insert 2 batteries (Type AAA 1.5V).
OPTICAL
EARPHONE TFMINI YPbPr
COMMON INTERFACE CI
ANT IN
(ANTENNA/CABLE)
LNB IN
(SATELLITE)
HDMI1 HDMI2 HDMI3
HDMI4 (ARC)

1. RF: Antennal/close circuit TV
1WAN 234
CVBS DVD Player or other
machine with YPbPr YCbCr
MAKING CONNECTIONS
5
OPTICAL
EARPHONE TFMINI YPbPr
COMMON INTERFACE CI
ANT IN
(ANTENNA/CABLE)
LNB IN
(SATELLITE)
5. HDMI: Connect to High-definition multimedia signal resource.
4. USB: Connect USB device.
2. YPbPr: Component input terminal.
6. AV INPUT: Video input/Audio input.
3. HEADPHONE: Headphone output.
Note:Video And YPbPr share one audio channel.
HDMI1 HDMI2 HDMI3
HDMI4 (ARC)

OPERATING INSTRUCTIONS
6
2
6
5
9
21
25
29
28
23
13
17
19
12
11
1
4
3
7
20
24
27
26
22
10
14
15
8
16
18

OPERATING INSTRUCTIONS
INITIAL SETUP
will guide
Please according to the Text Tip to First Time Setup.
This function is used for the remote control pair code.
After the code is successful, you can use the
Bluetooth remote control to operate the TV.
Agree to Google to get the location information of
your device to get more features, choose “YES” to
accept.
By agreeing to automatically send diagnostic
information to Google to improve discriminative
power, choose “YES” to accept.
Press to select the country of your device and
press OK
Used to set your device's password to ensure security
and privacy.
1.Your device is powered by Android TV and press
the button to select the browsing feature.
2.You can get more apps from Google Play and press
the button to go to the next screen.
3.Transfer photos and other content to the TV via the
built-in chromecast, press OK to complete the browsing.
Press to select the system language and press
OK
Connect your Android phone to your TV, select
“Continue ” to continue the connection, and choose
“Skip” to skip this step.
OK and
successful.
By accepting the Google Terms of Service to improve
the product experience, select “Accept” to accept this
condition.
you through setting up basic settings.
India
7

OPERATING INSTRUCTIONS
Press OK to pop up the soft keyboard, and use the
remote control to enter the 4-digit password auto-
matically jump to the next interface.
Use the remote control to enter the password and
complete the password
Press to select whether to search, select “Scan”
to search, select “Skip scan” to skip the search.
Press OK to complete the setup.
For selecting the mode, press key to select Home
mode and press OK
to the previous step.
To select the Tuner mode for searching, press
to select and press OK
8
Open the google assistant or start a voice search.
Among the applications installed on the TV, the
icons for the favourite applications are shown inside
here. (Favourite applications can be added / deleted /
changed its order by users.)
Apps: Click to jump to Apps screen where all the
installed applications are listed.
Inputs: Icon to select an input source.
Network&Interent:
Settings:
For details on the settings, see the next explanation.
HOME SCREEN
The IOT system is working support towards a more connected
IOT based home appliances ,The simplicity of voice control will
allow the smart television to act as the central access point of the
modern smart home under the standard language & words.
After completing the wizard Settings, you can watch TV
and go to the home screen.
NOTE
Press
features of Chromecast.
Press to select whether to search for
satellite channel.

OPERATING INSTRUCTIONS
Channel
Parental controls
Open Source Licenses
2.28.5build 18321512
Version

OPERATING INSTRUCTIONS
Channels –
Display the scan sub-menu based on
Antenna –
Cable –
Parental controls –
option then press OK button to enter the sub-menu.
– Press button to select the
Audio Channel
option then press OK button to enter the sub-menu.
Open source licenses – Press button to select the
Press button to select the
Set the signal type to antenna. When set to
Antenna,the TV can receive analog and digital (DVBT/T2)
broadcasting signals.
Set the signal type to cable. When set to Cable,
Satellite – Set the signal type to Satellite. When set to
Satellite, the TV can receive Satellite broadcasting signals.
option then press OK button to enter the sub-menu.
the TV can receive analog and QAM broadcasting signals.
Channel installation mode – Select on-screen display
channel sources. You can select the signal type.
Antenna
1.Menu->Settings->Channel->Channel Installation Mode
enter, choose Antenna.
2. Enter Menu->Settings->Channel->Channels.
3.Channel Scan directly enters the ATV+DTV
automatic search platform interface of Antenna.
Update Scan: Re-automatically search for frequency
points outside the station.
Analog Manual Scan: Manual ATV search station.
After input the frequency point, you can select up
or down search station.
Single RF Scan: DTV manual search, left and right
after selecting RF Channel, directly OK search.
Cable
1.Menu->Settings->Channel->Channel Installation
Mode, select Cable.
2. Enter Menu->Settings->Channel->Channels.
10
Auto Channel Update – Press OK button to choose ON/OFF.
When selecting ON, the system will automatically scan and
update channels after 5 minutes of standby.

OPERATING INSTRUCTIONS
3. Enter Channel Scan, where Akado,DivanTV,Online and
Rostelecom(SPB) the local operator,and the default Scan
Mode is Advance; Others have Advance,Quick and Full
Scan modes.
Satellite Re-scan:Satellite automatically searches for
relevant Settings.
1. Press OK to select 'Next' to enter the default satellite
channel search.
2.Select different types of satellite stars and satellite
types.
:
Satellite Manual Tuning:Manually search for a
certain TP, which can be added by Satellite Re-scan
if needed.

OPERATING INSTRUCTIONS
OK
OK
DEVICE PREFERENCES
.
OK

OK
OK
OK
OK
OK
OK
OK
OK
OK
OK
OK
OK
OK

OPERATING INSTRUCTIONS
SOUND
Speakers – Press /button to select the option
then press OK button to enter the sub-menu.
(Optional:TV Speaker,External Audio System).
Digital Output – Press /button to select the
option then press OK button to enter the sub-menu.
(Optional:Auto,Bypass,PCM ,Dolby Digital Plus,Dolby
Digital).
SPDIF Delay – Press /button to select the
option. Press to decrease the parameter.
Press to increase the parameter.
)
Balance/ Bass/ Treble – Press /button to select
the option. Press to decrease the parameter.
Press to increase the parameter.
Sound Surround – Press /button to select the
option then press OK button to choose ON/OFF.
Equalizer Detail – Press /button to select the
option then press OK button to enter the sub-menu.
Sound style – Press /button to select the
option then press OK button to enter the sub-menu.
(Optional: user,Standard,Vivid,Sports,M ovie,M usic,
News .
Auto Volume Control – Press /button to select
the option then press OK button to choose ON/OFF.
Downmix M ode– Press /button to select the
option then press OK button to enter the sub-menu.
(Optional:Stereo,Surround).
Reset to Default – Reset all settingsto the factory
default
s.
STORAGE
Removable Storage –Press / button to
select the option then press OK button to enter
the sub-menu.( Note:Show external devices if
available)
select the option then press OK button to enter the
sub-menu.
– Press button to
Internal shared storage
HOME SCREEN
3. After nishing your adjustment, Press BACK
button return to the previous menu.
In this menu, you can set channels, apps, open
source licenses.
1. Press /button to select what you want set.
2. Press OK button to adjust.
Retail messaging –Press /button to select
the option then press OK button to enter the
sub-menu.( Note:Demo video,e-POP left,e-POP
bottom)
PQ Demo – option
then press OK button to enter the sub-menu.
( Note:OFF,LEFT,RIGHT)
RETAIL MODE
option then press OK button to choose ON/OFF.
– Press button to select the
Press button to select the
Retail mode
14

OPERATING INSTRUCTIONS
Audio Description–Press /button to select
the option then press O
K button to choose ON/OFF.
Visually Impaired – Press /
button to select the
option then press OK button to
enter the sub-menu .
(Need:Audio Description O )N
Hearing Impaired – Press / button to select the
option then press OK button to choose ON/OFF.
Captions – Press / button to select the option then
press OK button to e ehtretn. sub -menu
High contrast text – Press / button to select the
option then press OKbutton to choose ON/OFF.
Text to speech – Press ▲/
▲
button to select the option
then press OK button to enter the sub-menu.

OPERATING INSTRUCTIONS
RED BLUE
OK
RED
BLUE
B
ACK
REMOTE&ACCESSORIES
ADD AND USE OF MULTI MEDIA PLAYER
NOTE
Accessibility shortcut – Press /button to
select the option then press OK button to enter
the sub-menu.

The copy and paste operations are not supported.
TV OPEARTION
Read Before Using Apps:
Apps store have certain limitation, it consist many inbuilt apps for various needs of user but user
doesn’t have facility to add other apps from any other media.
Depending on the types of video/audio codecs supported, it might not be possible to play certain
video and audio files while playing content.
The web browsing speed will differs with the network environment.
The response to remote commands and the resulting on-screen display may be delayed while
a webpage is loading.
Depending on the third party service provider’s policies, certain applications may not support
multitasking.
An application’s functionally may change in future version of the application.
Specific services may differ with the version of the application installed on the TV.
Application content is subject to change by the services provider without prior notice.
Applications services and updates may become unavailable.
Manufacture takes no legal responsibility whatsoever for any interruption of App services caused
by the service provider for any reason.
Due to the product characteristics featured on the Apps store, as well as limitations in available
content, certain featured applications, and services may not be available on all devices or in all
territories. Some Apps featured may also require additional peripheral device or membership fees.
Services and content availability are subject to change without prior notice.
(*Terms & Conditions apply)
An unstable Internet connection may cause delays or interruptions. In addition, applications may
terminate automatically depending on the network environment.

This manual suits for next models
2
Table of contents
Other Haier LED TV manuals

Haier
Haier 32D2000 User manual

Haier
Haier LT19Z6 User manual

Haier
Haier LE24M600M80 User manual

Haier
Haier LE24M600M80 User manual

Haier
Haier LE43K6000SF User manual

Haier
Haier 32D3005 User manual

Haier
Haier LE39B7000C User manual

Haier
Haier LE32B7600 User manual

Haier
Haier H55S6UG PRO User manual

Haier
Haier LE49B7000 User manual

Haier
Haier 55E3500F User manual

Haier
Haier HLC24XLP User manual

Haier
Haier 40D2500 User manual

Haier
Haier LE42B1380 User manual

Haier
Haier LE32D2000 User manual

Haier
Haier 65UF2505 User manual

Haier
Haier LE39B9000 User manual

Haier
Haier LE24B8 User manual

Haier
Haier LE55K5000TFNa User manual

Haier
Haier LT19Z6 User manual