VHFL VHFH UHF
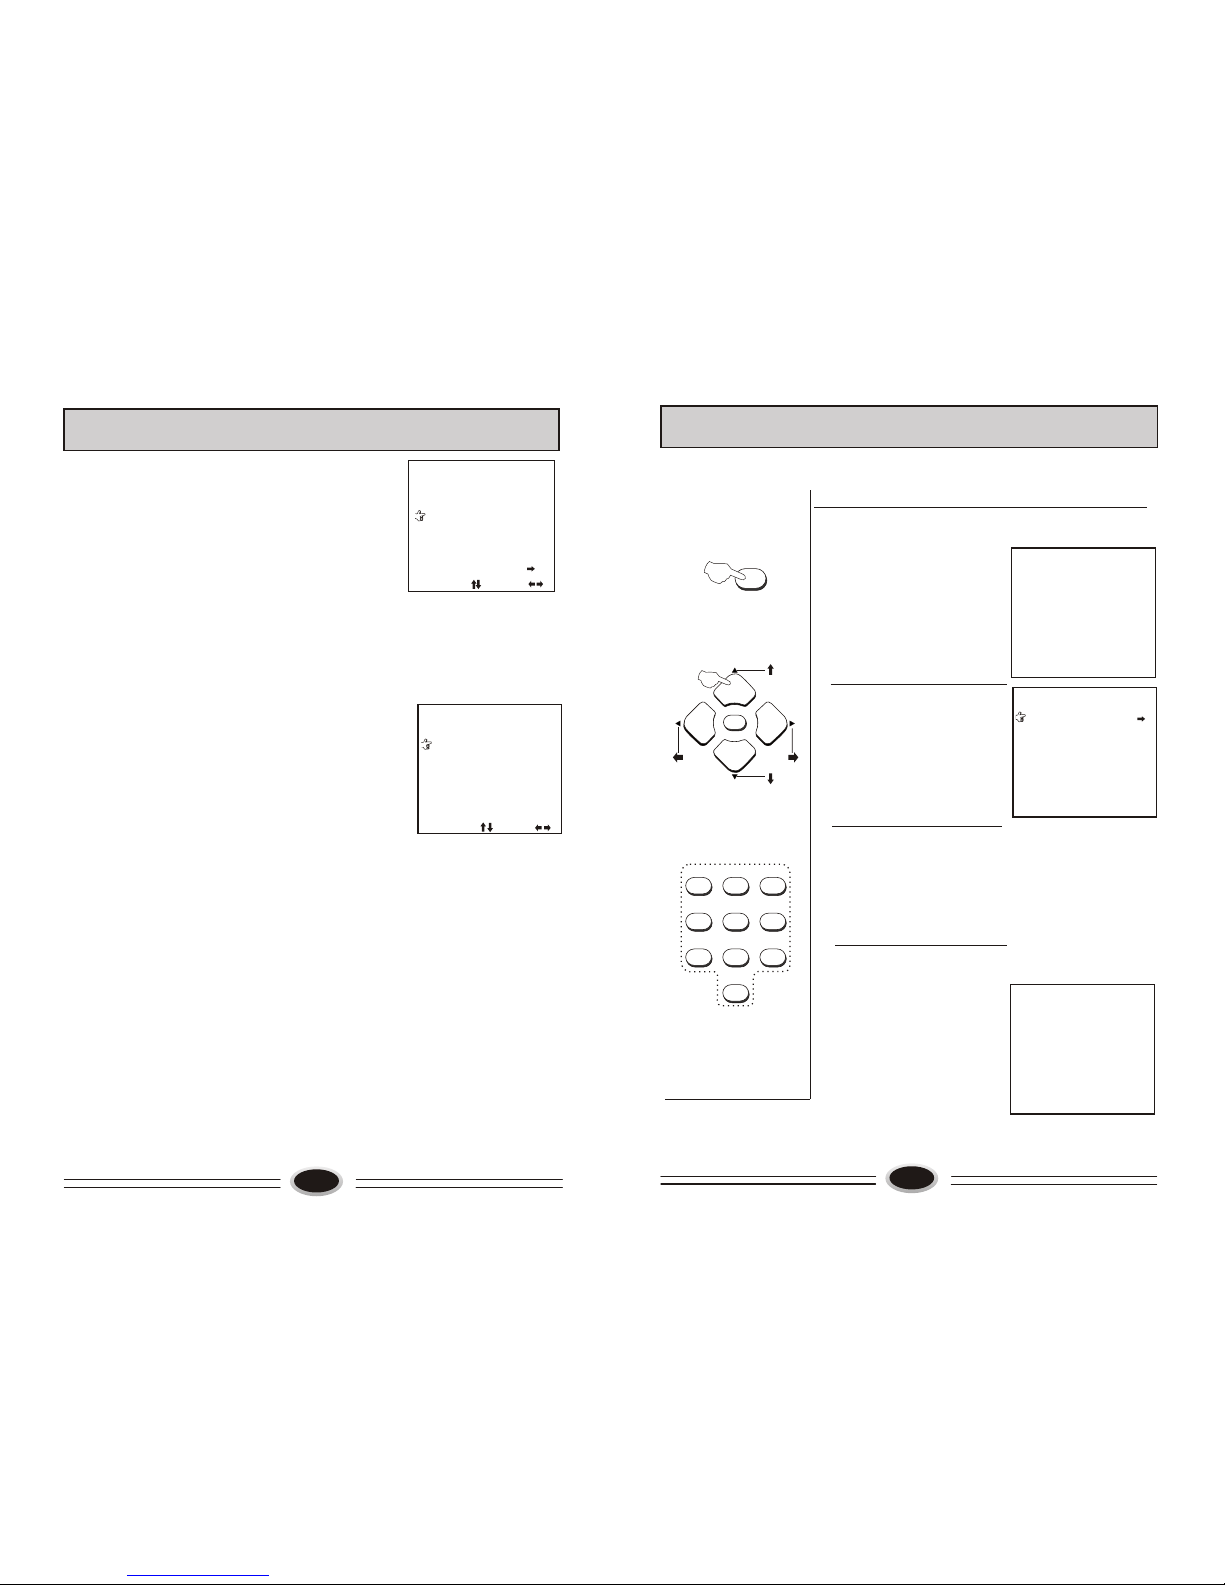
TUNING PROCEDURE
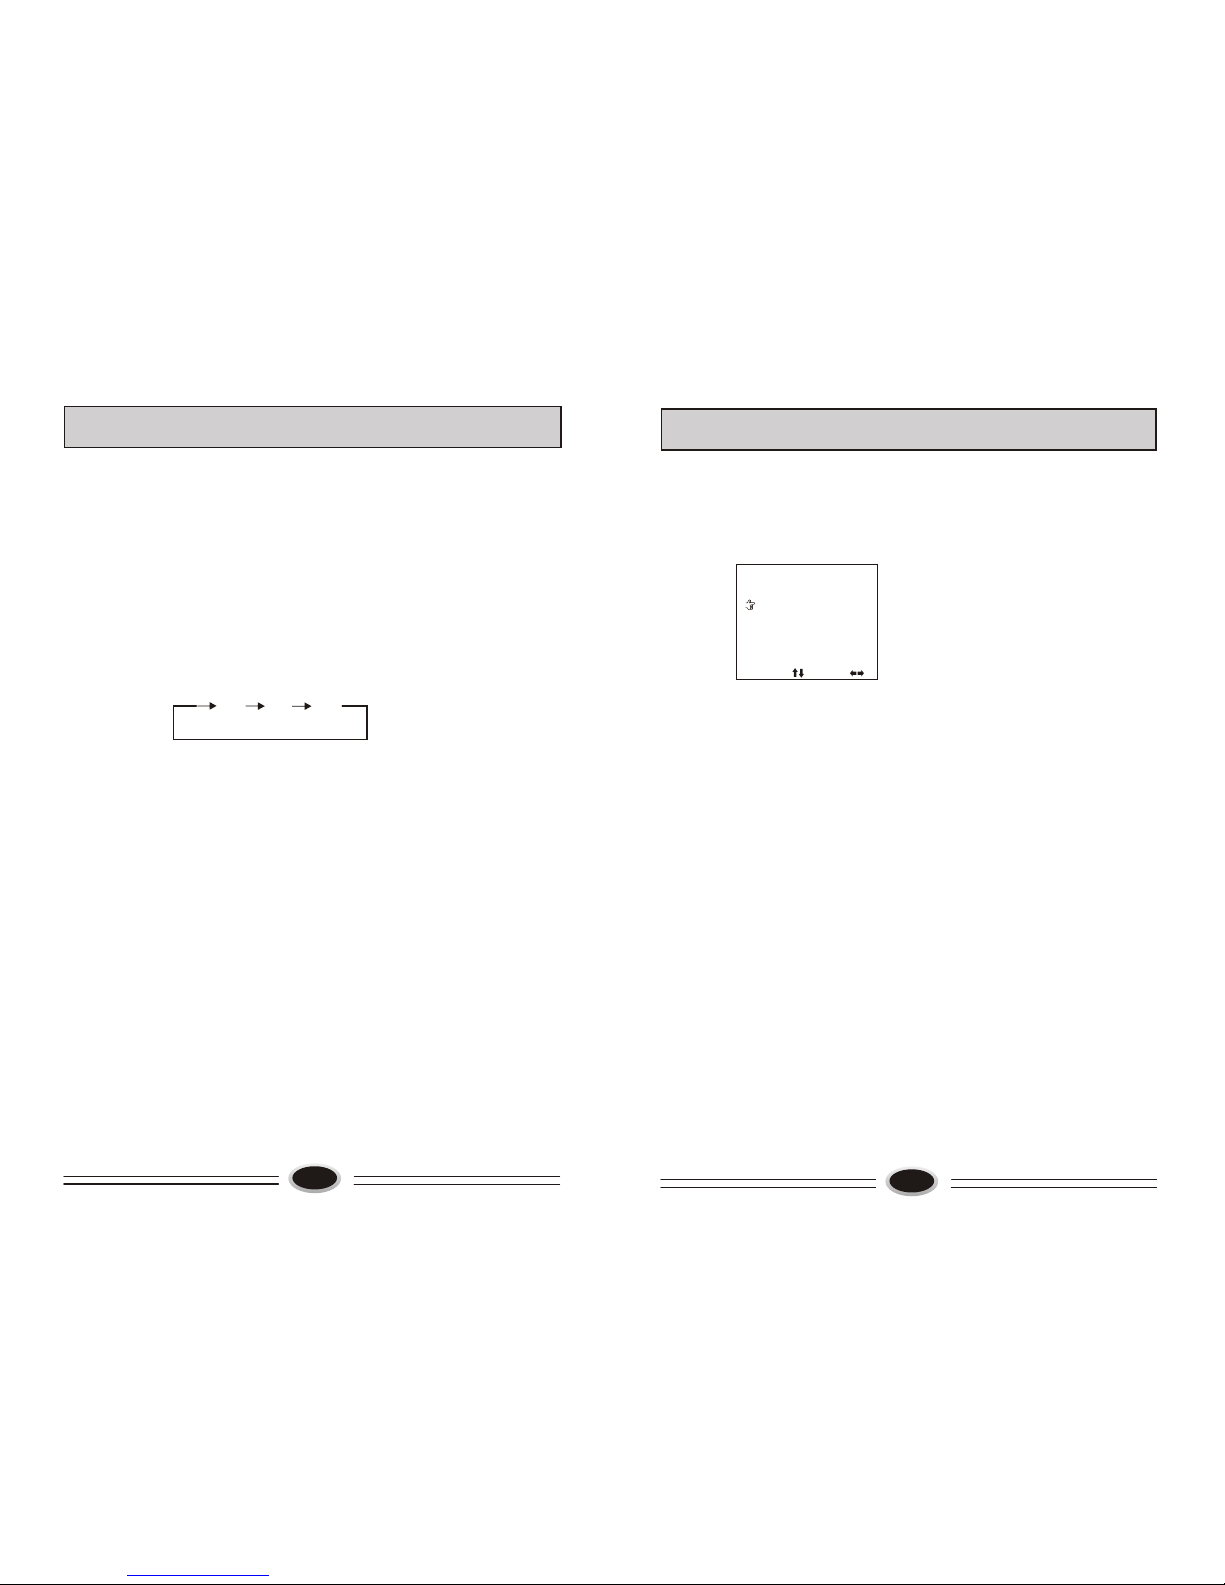
(1)Press [MENU] button to let TUNING menu display on the screen.
(2)Press [-CH+] buttons to select SEARCH item.
(3)Press [-VOL+] buttons to change channel number into pointed channel
number.
(4)Press [-VOL+] buttons, when the TV set has searched a program, stop
searching, if the program isn't the one you need, press[-VOL +] buttons
again, the set will search continually until it has searched the program you
need. And pointed program is stored in pointed channel.
4.Selecting band
In the semi-auto search mode, if the signal you want to search isn't on
the present band, you can change the band to improve searching speed.
(1)Press [MENU] button to let TUNING menu display on the screen.
(2)Press [-CH+] buttons to select BAND item.
(3)Press [-VOL+] buttons to select the band you need.
5.Fine tuning
Because of some reasons, if auto searching effect of program
isn't good, please fine tune your TV set.
(1)Press [-CH+] buttons, and select MFT item.
(2)Press and hold [-VOL +] buttons until the effects of the picture
and audio are good.
6.Skip
The function can skip the TV program which you don't need.
(1)Press [-CH+] buttons or numeric button, select the program
number which you want to skip. (for example: channel 002)
(2)Press [MENU] button to select TUNING menu.
(3)Press [-CH+] buttons to select SKIP item.
(4)Press [-VOL+] buttons to preset SKIP ON mode.
Note: When a certain program number is in SKIP ON mode, the
program number will not appear when you select program
with the [-CH+] buttons, but program number will appear
with numeric button. When a certain program number is in
the SKIP OFF mode, the program number will appear when
you select program with [-CH+] buttons.
8
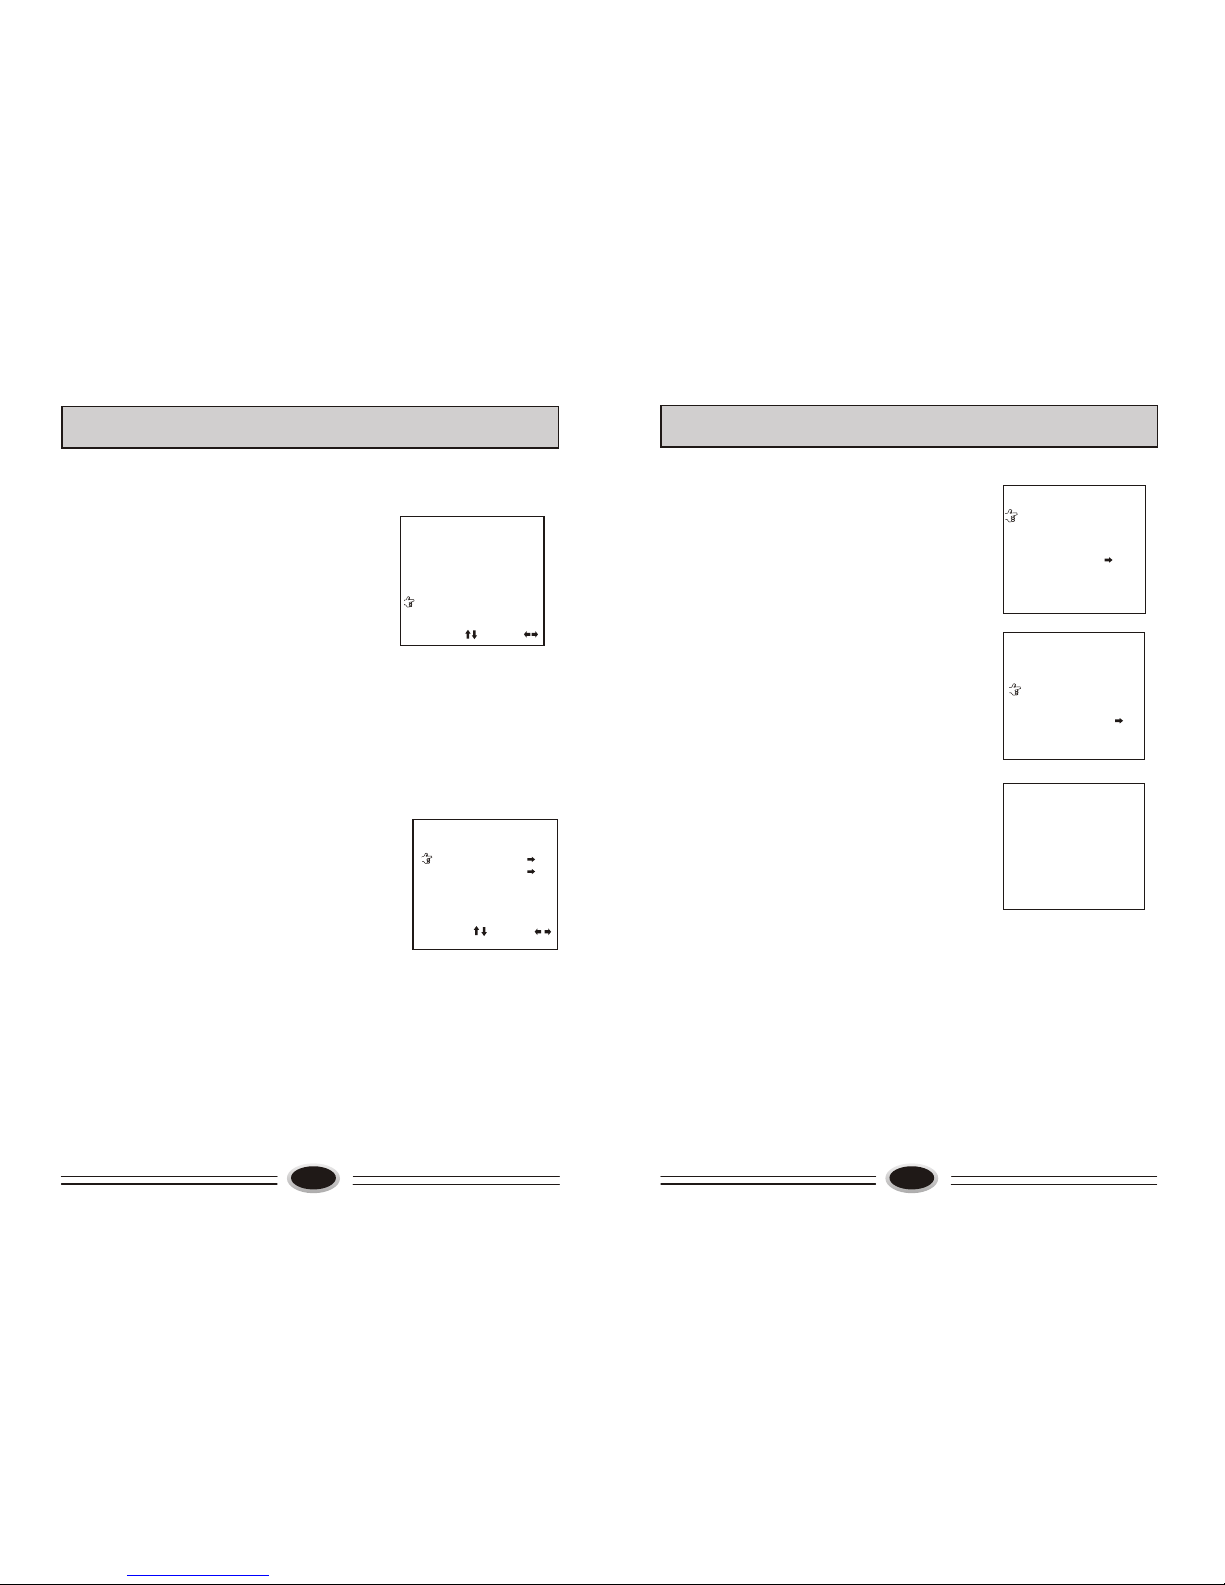
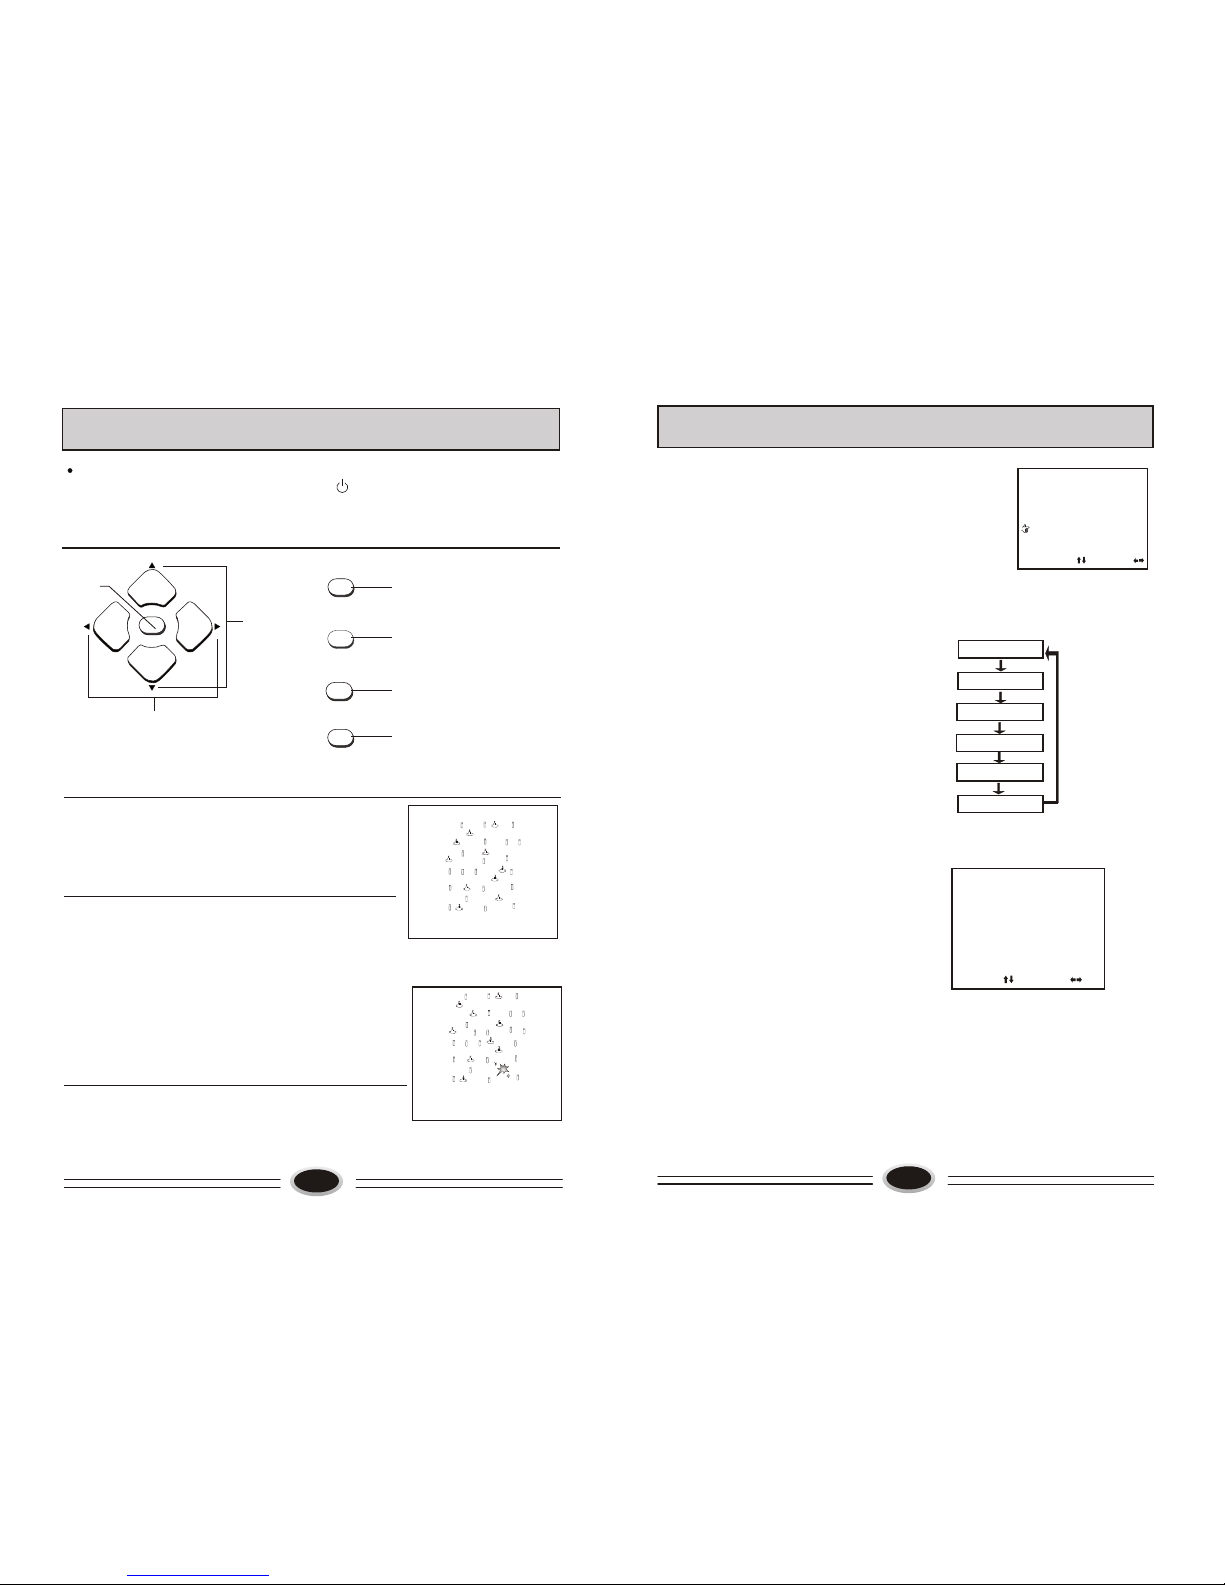
Press [MENU] button to select PICTURE menu.
Press [-CH+] buttons, and select an item.
Press [-VOL+] buttons to adjust the value of the item function.
Brightness adjustment:
Press [-CH+] buttons to select BRIGHT item.
Press [-VOL+] buttons to adjust brightness.
Contrast adjustment:
Press [-CH+] buttons to select CONTRAST item.
Press [-VOL+] buttons to adjust contrast.
Color adjustment:
Press [-CH+] buttons to select COLOR item.
Press [-VOL+] buttons to adjust color.
Sharpness adjustment:
Press [-CH+] buttons to select SHARP item.
Press [-VOL+] buttons to adjust sharpness.
Background selection:
Press [-VOL+] buttons to select a background on or off.
PICTURE ADJUSTMENT
CONTRAST 100
BRIGHT 50
COLOR 50
SHARP 50
B.B OFF
SELECT ADJUST
PICTURE
9