Contents
EN-1 Digital LCD Television Instruction Manual
Contents
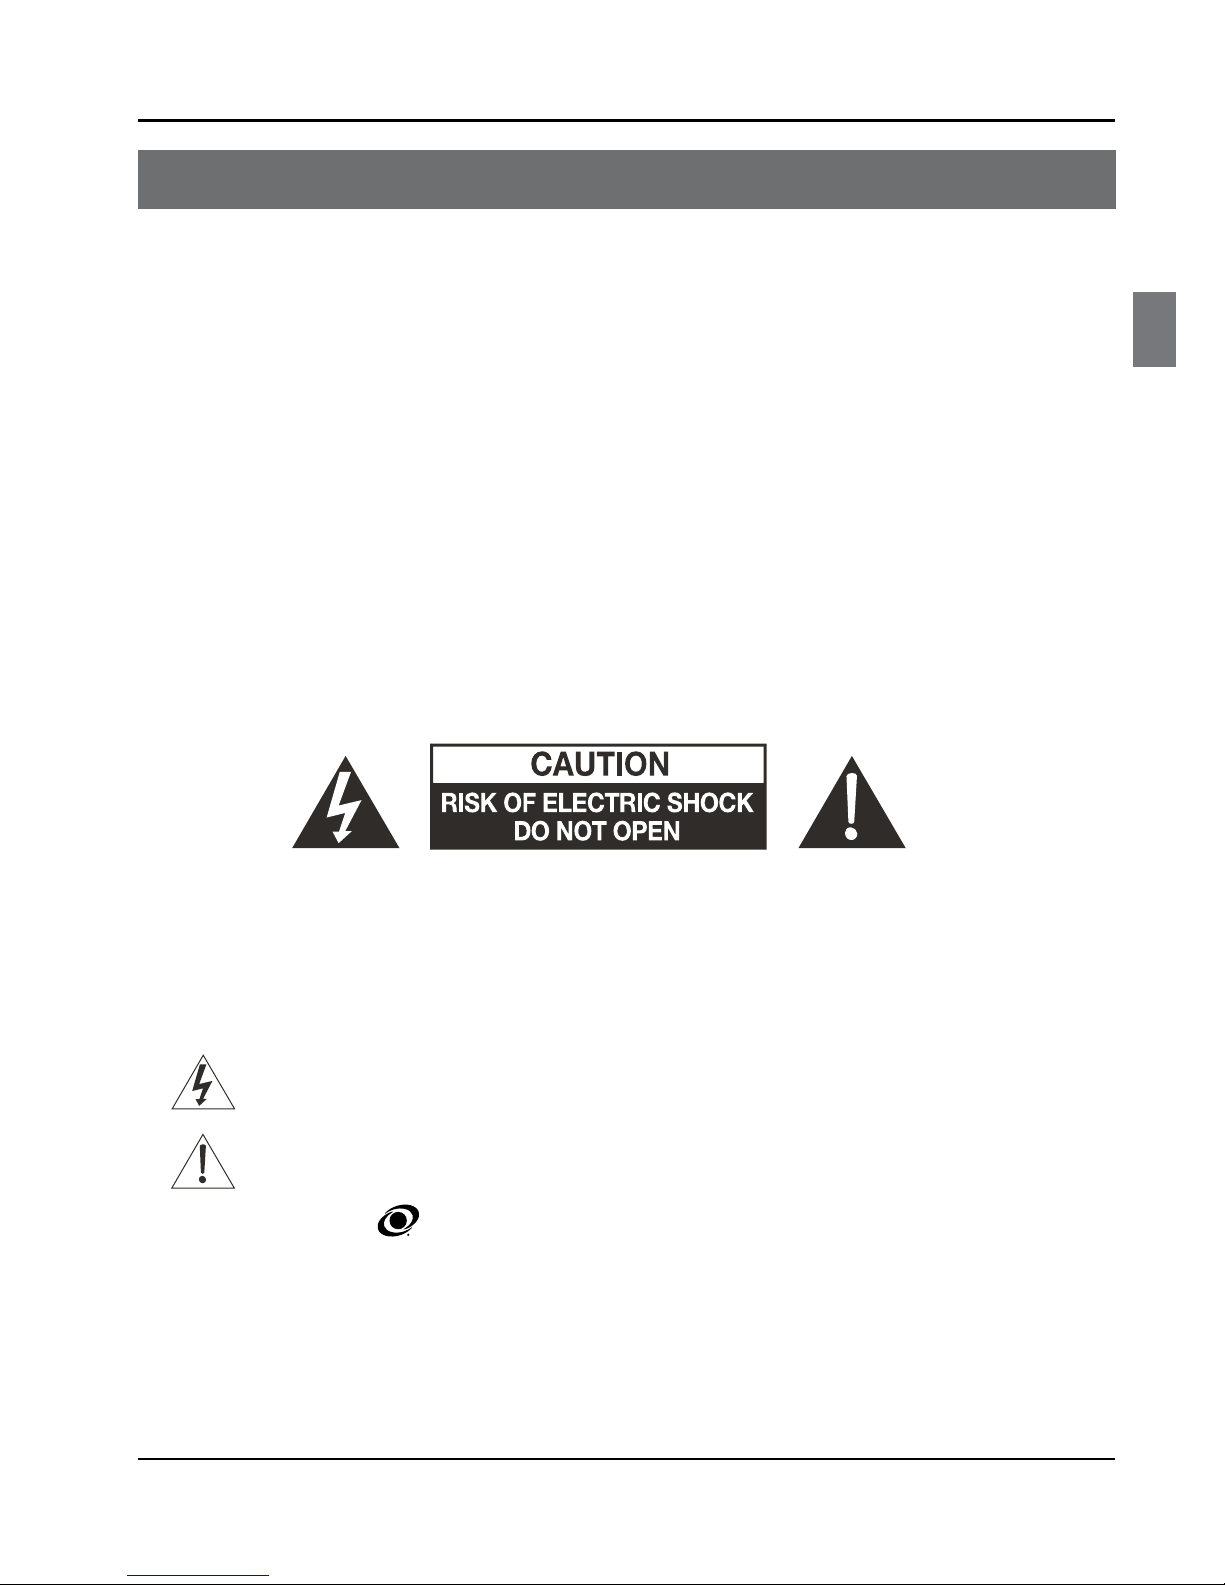
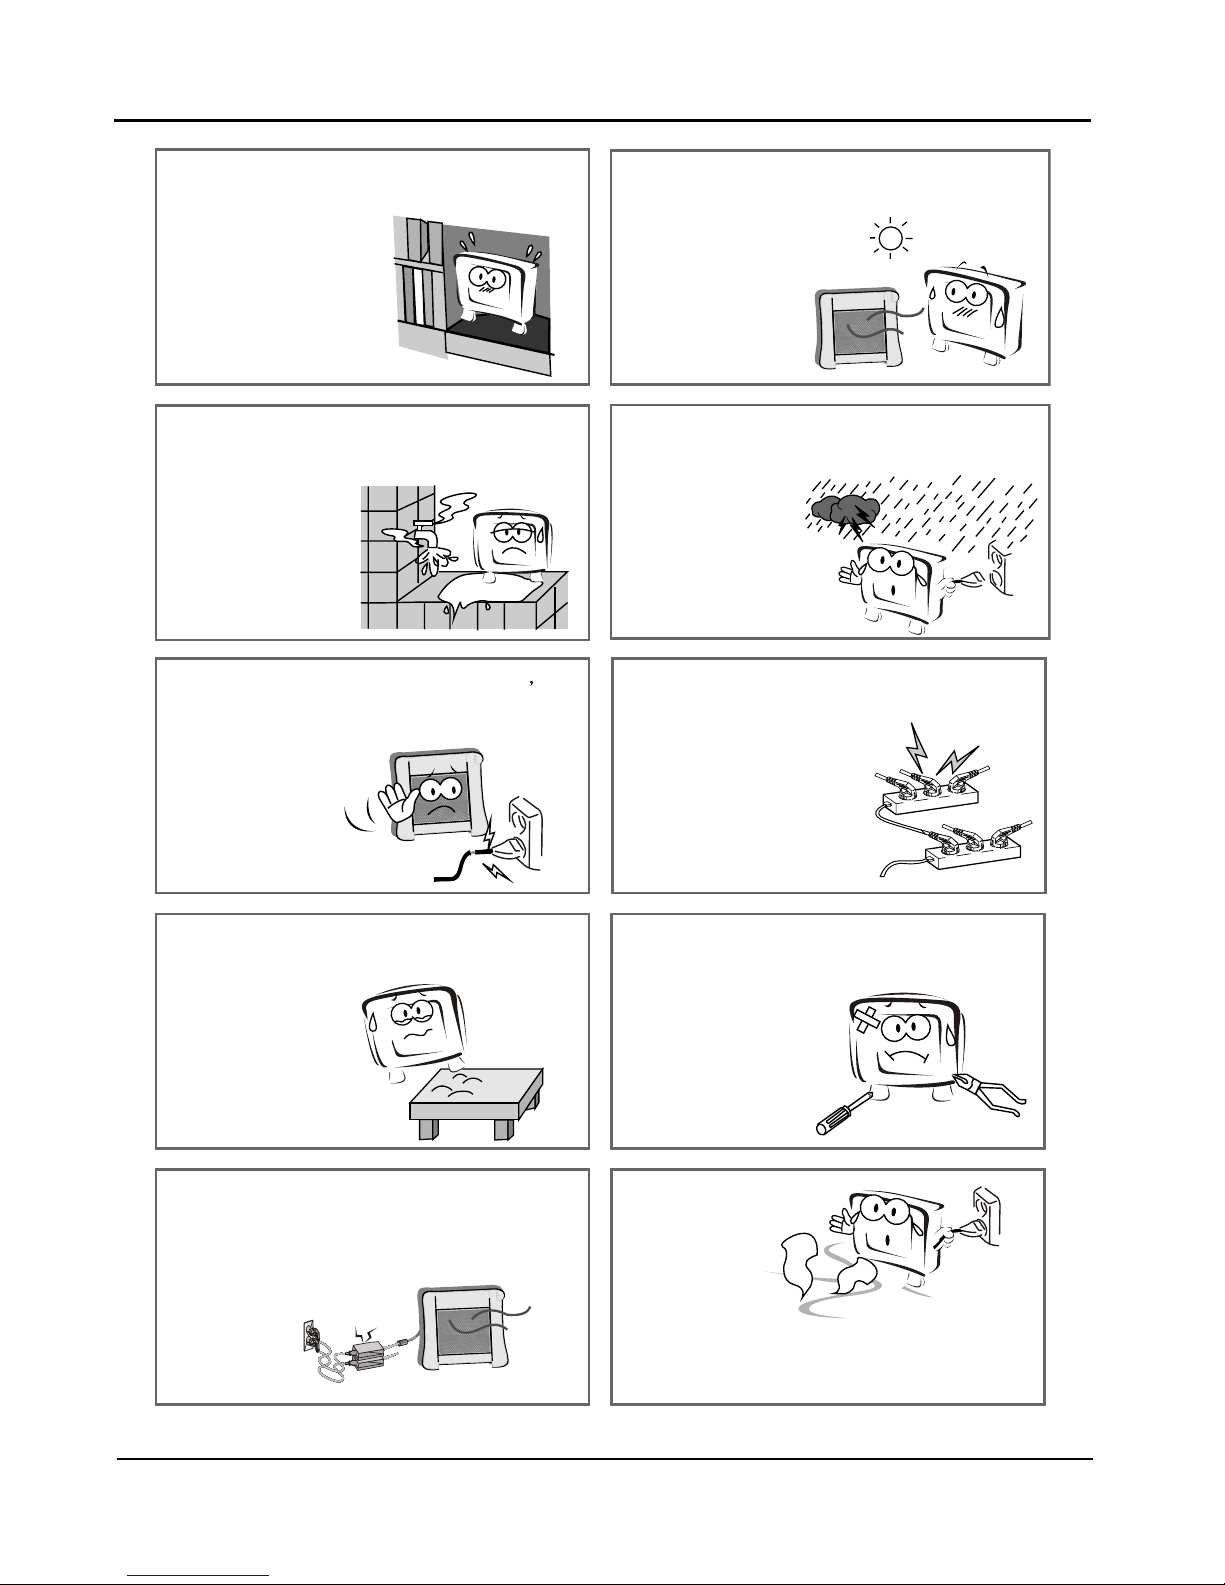
Safety Warnings 2
WELCOME ............................................................. 2
IMPORTANT INFORMATION ................................ 2
About your LCD TV 5
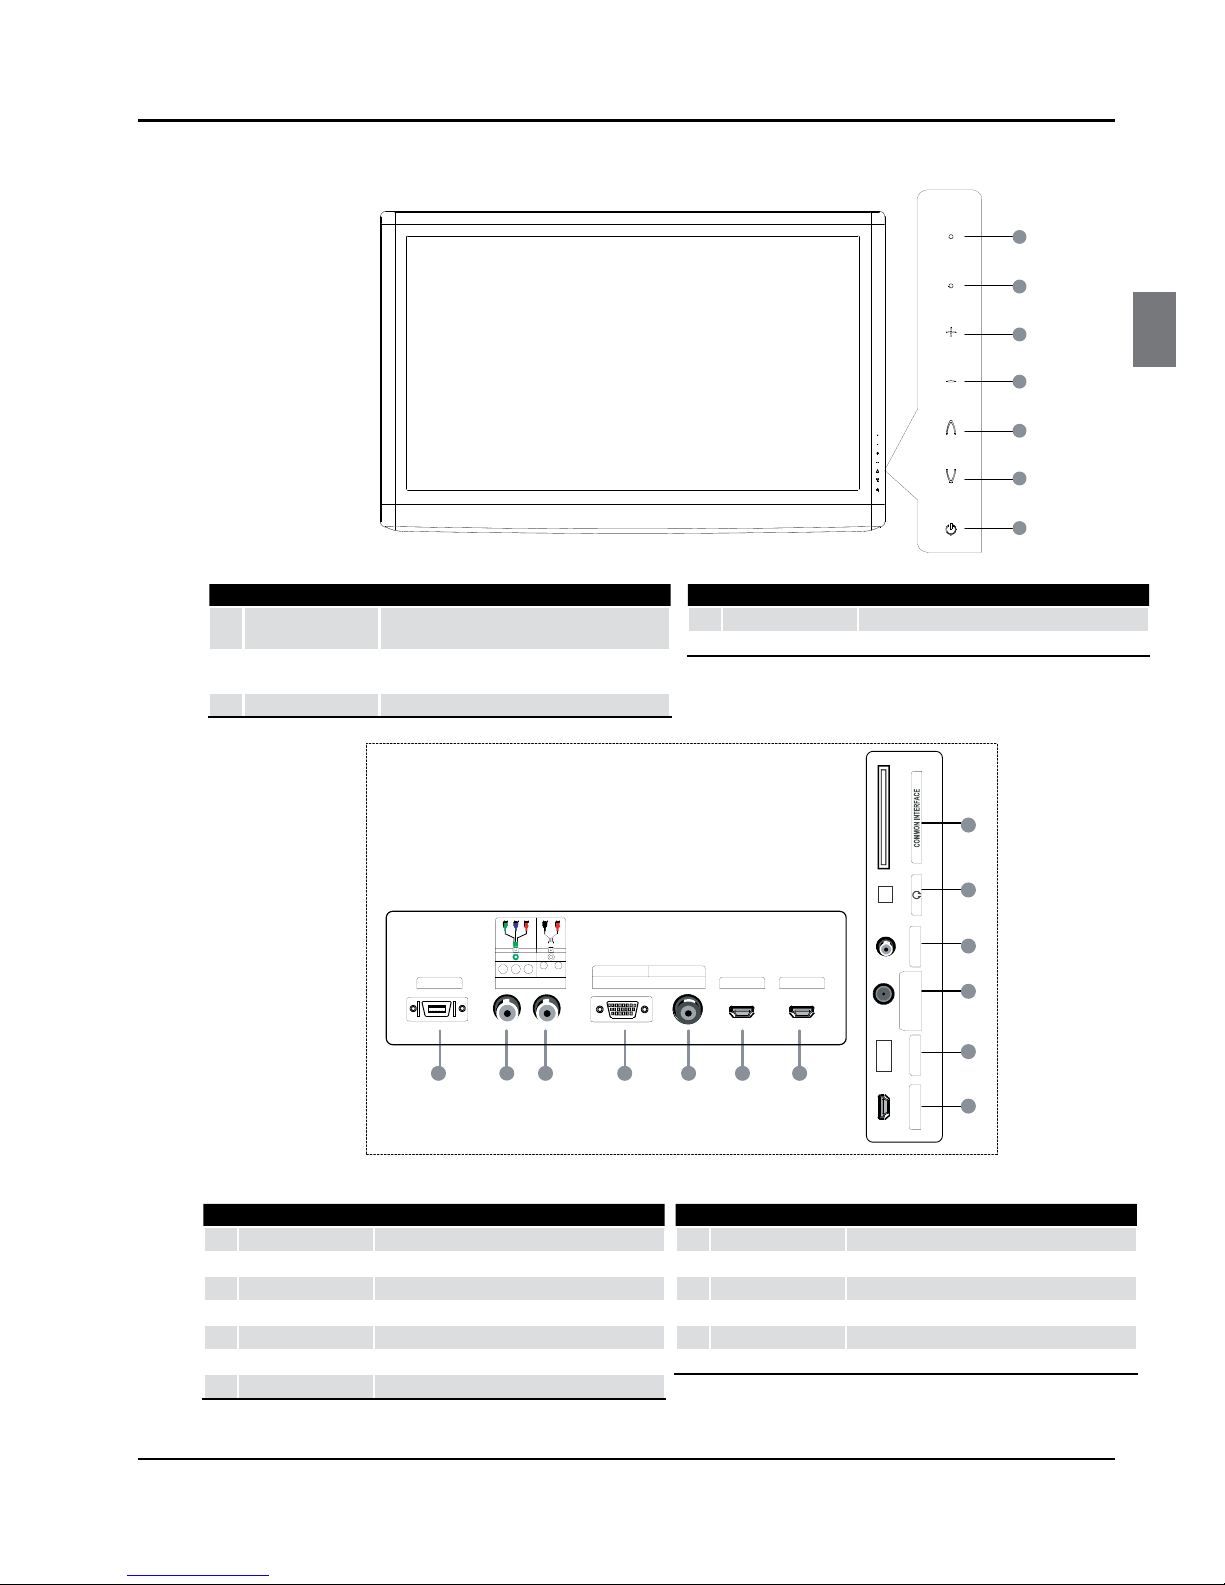
GET TO KNOW YOUR TV....................................... 5
Front control panel............................................................... 5
Rear Terminals Control ........................................................ 5
GET TO KNOW YOUR TV WITH DVD .................... 6
Front control panel............................................................... 6
Rear Terminals Control ........................................................ 6
GET TO KNOW YOUR REMOTE CONTROL ........... 7
CONNECTING YOUR TV........................................ 8
ANTENNA CONNECTION .................................................... 8
IMPROVE YOUR SIGNAL ...................................................... 8
CONNECT YOUR PC TO THE TV ......................................... 8
CONNECT A DVD PLAYER TO YOUR TV .......................... 8
CONNECT A DVD PLAYER OR VCR TO YOUR TV .......... 8
Connection Option 1 ........................................................... 8
Connection Option 2 ........................................................... 8
SCART INPUT........................................................................... 8
HDMI INPUT............................................................................. 9
MOUNT YOUR TV ONTO THE WALL ................................. 9
PREPARATION OF YOUR REMOTE CONTROL...... 9
BATTERY INSTALLATION...................................................... 9
BATTERY CAUTION................................................................ 9
Getting Started 9
Setting up............................................................. 9
LOCATION................................................................................. 9
CONNECTION.......................................................................... 9
SWITCHING YOUR TV ON ..................................................10
TUNING YOUR TV ............................................... 10
SWITCHING TO AN EXTERNAL SOURCE OTHER
THAT TV...................................................................................10
AUTO SEARCH.......................................................................10
DIGITAL MANUAL SEARCH...............................................10
Analog Manual Search ......................................................11
Channel Edit..........................................................................11
RENAME..................................................................................12
MOVE .......................................................................................12
Setting favourite channel.................................................12
SKIP...........................................................................................12
GUIDE (Electronic Program Guide) ...............................12
COMMON INTERFACE ........................................ 13
Software Update function ...............................................13
Operation...............................................................................14
USING YOUR TV.................................................. 14
How to select the TV program........................................14
HOW to adjust volume......................................................14
CH.LIST function ..................................................................15
ADJUSTING PICTURE SETTINGS ....................... 15
Changing the Picture Setting .........................................15
ADJUSTING SOUND SETTINGS ......................... 15
Changing the Sound Setting ..........................................15
FUNCTION SETTINGS......................................... 16
TIME SETTINGS .................................................. 17
LOCK MENU SETTING ........................................ 19
SHORTCUT MENU DISPLAY ............................... 20
Using the features 22
Teletext functions.............................................. 22
Teletext....................................................................................22
USB MODE .......................................................... 23
TO USE THE USB DEVICE ...................................................23
When connecting/removing the USB device ...........23
Operating the USB device................................................24
Playing a Picture ..................................................................24
Playing Music........................................................................24
Playing a Movie....................................................................25
Text ...........................................................................................25
Using External USB Disk For Recording........... 25
TIME SHIFT .............................................................................26
RECORDING ...........................................................................26
USING YOUR DVD PLAYER
(certain models only) ........................................ 27
ADDITIONAL DVD FUNCTIONS......................... 28
Reference Sections 29
TROUBLESHOOTING.......................................... 29
Specification ...................................................... 29