Hampoo GIA10-00 User manual

1
User Manual
ᏺḐᓣⱘেջ
㉇
ᏺḐᓣⱘᄫԧ咬䅸
7LPHV1HZ5RPDQЁ᭛
ᖂ䕃䲙咥
Tablet PC
Hampoo
GIA10-00
Shenzhen Hampoo Science & Technology Co.,Ltd.

2
Table of Contents
Precautions....................................................................................................................................3
Basic Functions.............................................................................................................................4
Hardware configuration..............................................................................................................4
G10 Overview...........................................................................................................................4
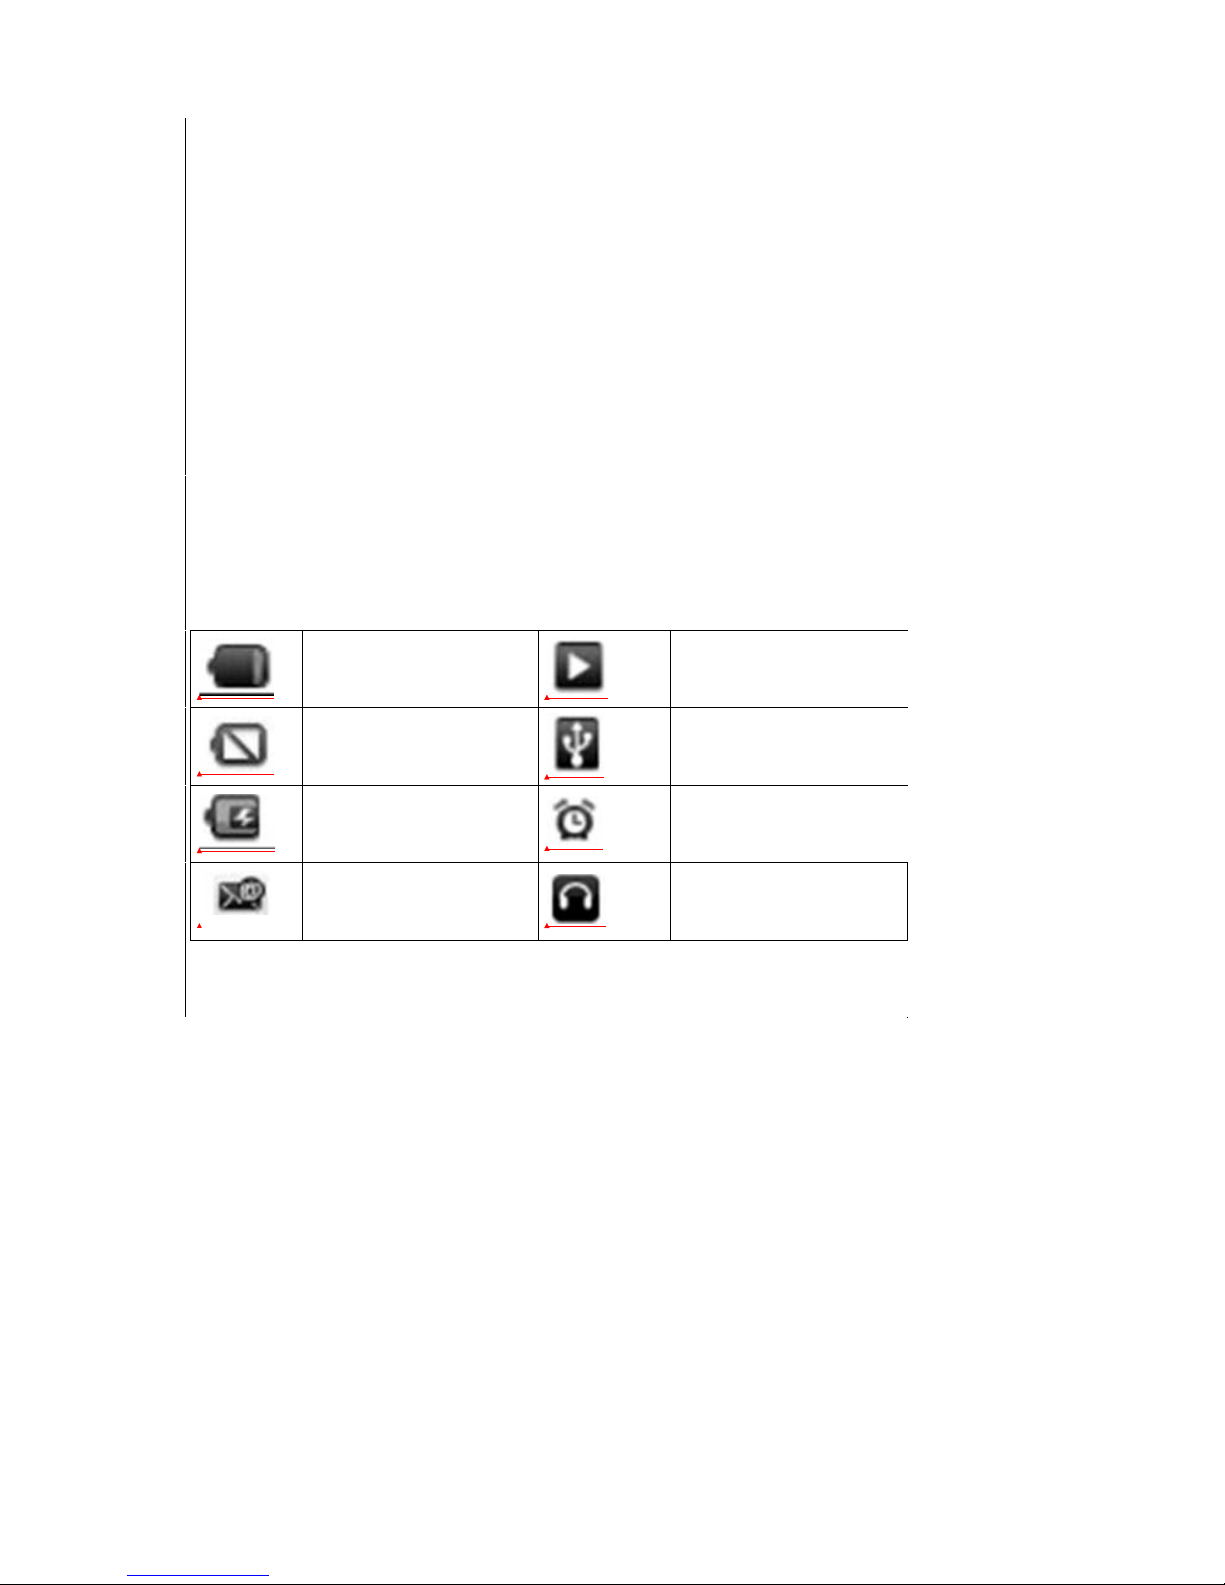
Status Icons...................................................................................................................................5
First Use.........................................................................................................................................6
Battery management and charging.............................................................................................6
Connecting with PC....................................................................................................................6
Setting operation interfaces.........................................................................................................7
Basic operations..........................................................................................................................7
Main interface.............................................................................................................................8
Application interface ..................................................................................................................9
Displaying notification bar.......................................................................................................10
Deleting desktop icons .............................................................................................................11
Moving desktop icons...............................................................................................................12
Video playing ...........................................................................................................................12
Music playing...........................................................................................................................13
Camera......................................................................................................................................14
Settings.....................................................................................................................................15
Software installation and management.....................................................................................19
Uninstalling APK application...................................................................................................20
HDMI output............................................................................................................................21
Connecting with PC..................................................................................................................21
Factory reset .............................................................................................................................21
Android FAQ............................................................................................................................22
FAQ..........................................................................................................................................24

3
Precautions
This Manual includes important safetyprecautions and the instructions to various functions of the
product. To avoid any accident, please read this product manual carefully before use.
1. This product refers to high-precision electronic product. Do not disassemble it personally.
2. Do not hit or drop this product heavily, otherwise, damage or abnormal display may occur.
3. Do not leave this product in the hot, wet and dusty environments, or expose this product under
strong magnetic field or sunlight for a long time.
4. Please select a suitable volume to avoid hearing loss.
5. Use wrung wet cotton cloth to scrub this product softly. Do not use other chemical solutions to
scrub this product.
6. Do not disconnect this product while uploading and downloading, or it may cause program
errors.
7. Please use the batteries, chargers and accessories allowed by the manufacturer, or dangers may
occur and the warranty regulations will not take effect.
8. Please treat the discarded products and accessories in accordance with the relevant local
environmental protection regulations.
9. Do not use this product in environments where electronic equipment is prohibited to use, such as
on the airplane.
10. Do not use this product while driving or walking on the street to avoid any accident.
11. In case of any problem during the use of this product, please contact the CustomerServiceCenter
of our Company directly.
12. Please backup important data of this product regularly.
13. All data may be erased out from the product during repairing, and be restored to the default
factory setting.
14. Our Company will not undertake any responsibility for the data loss due to product damage,
repair or other reasons. Please operate this product in accordance with this Manual.
ᲚOur Company reserves the right to improve this product. Specification and design of the product
are subject to the change without prior notice. Sorry for the inconvenience.
This equipment has been tested and found to comply with the limits for a Class B digital deviceˈ
pursuant to part 15 of the FCC Rules.
If not used in accordance with the instructions, may cause harmful interference.
This equipment complies with FCC radiation exposure limits set forth for an uncontrolled
environment.

4
Changes or modifications not expressly approved by the party responsible for compliance could void
the user’s authority to operate the equipment.
This device complies with part 15 of the FCC Rules. Operation is subject to the following two
conditions:
(1) This device may not cause harmful interference, and
(2) This device must accept any interference received, including interference that may
Cause undesired operation.
FCC RF warning statement: the device has been evaluated to meet general RF exposure
requirement , The device can be used in portable exposure condition without restriction.

MicroSD card slot, Micro USB port,
5
I.Basic Functions
1. Hardware configuration
Processor Intel clover trail+ Z2580 2.0GHz
Operating system Android 4.2.2
Memory LPDDR2 1GB/2GB (depending on detailed types)
Equipment
memory 8GB/16GB (depending on detailed types), supporting extended
functions
Screen type 10.1 inch multi-touch IPS display
Resolution 1,920×1,200
Camera Front: 200W, Rear: 500W
GPS Supporting
Multi-media Supporting 1,080P video playing
Audio format Supporting MP3, WMA, WAV, AAC, APE, FLAC, AMR, M4A and
WV formats
Video format Supporting RM/RMVB, AVI, WMV, MKV, DAT, 3GP, TS and MP4
formats
Port 3.5mm audio interface, Micro HDMI
Battery capacity 7,300mAh, theoretic standby time: 300 hours
Dimension/weight 216.5X170X9.2mm, 590g
Bluetooth BT3.0
Power supply 5V/2A
ᏺḐᓣⱘᄫԧ⺙
ࡴ㉫ᄫԧ买㡆㑶㡆
ᏺḐᓣⱘᄫԧ买㡆㑶㡆
ᏺḐᓣⱘᄫԧ买㡆㑶㡆
ᏺḐᓣⱘᄫԧ买㡆㑶㡆
ᏺḐᓣⱘᄫԧ买㡆㑶㡆
ᏺḐᓣⱘᄫԧ买㡆㑶㡆

Micro SD card slot (some models)
6
II.G 10 Overview
01Front camera
02Light/distance sensor (some models)
03Power key
04Volume keys +/-
05Earphone interface
06MIC
07HDMI interface
08USB interface (data transmission and charging)
09Rear camera
10
11Speaker port
12DOCK_PIN (some models)
III. Status Icons
The status bar displays the time, battery status, signal intensity and notification icon.
0102
0304
05
06
07
08
09
10
11
12
ᏺḐᓣⱘᄫԧ7LPHV
1HZ5RPDQϡẔᶹᣐݭ䇁
⊩

7
Battery low Music playing
Battery critical low USB connected
Charging Alarm clock On
Earphone inserted
New Email
IV. First Use
Battery management and charging
Please charge the battery fully when using the equipment for the first time:
Insert the charger/adapter into the charging interface (USB interface) to access the charging

8
status;
Charging the equipment for about 10 hoursat the first and the second time, and about 5 hours
later.
[Note]: This tablet adopts a built-in polymer battery. So a special charger is required for charging this
tablet.
During charging, the battery icon on the screen will roll;
After charging completed, the battery icon on the screen will become green and stop rolling;
To extend the service life, it is suggested to chargethe tabletonly after running out of power at
the first and the second use.
[Note]:
1. If you keep the tablet idle for a long time, please ensure tofully charge it once every 3 months
before storing it.
2. When the tablet is on the battery critical low state, you won’t see the charging status before it is
charged for over 20 minutes;
3. The built-in polymer battery must be charged regularly, or it may be damaged due to
over-consumption, whichwill be excludedfrom the quality warranty scope.
Connecting with PC
Use the accompanied USB wire to connect the PC and this tablet, and install corresponding drivers,
and then conduct USB data transmission or charging.
• In the U-disk mode, you can copy and delete documents on the PC.
[Note]: The system will shut down automatically when the battery power is low.
V. Setting Operation Interfaces
1. Basic operations
Startup
Press and hold the “Power key” for 3 seconds.
Shutdown
Press and hold the “Power key” till the dialog box pops up, and then select the “Shutdown”.
In the sleeping mode, first wake the tablet and then press and hold the “Power key” to shut down.
Power supply reset

9
In case of no response during using, press and hold the power key for 10 seconds to conduct
compulsory shutdown.
Screen protection
Access the “Set” – “Display” – “Sleep” to set the screen standby time. When the screen is standby,
wake the screen by pressing the power key, and then slide the unlock icon to recover the previous
display status.
Returning status
In any interface, click the key at the bottom of the screen to return to the desktop.
Returning to the last interface
In any interface, click the icon at the bottom left corner to return to the last interface.
2. Main interface
Description
Access the main interface after startup, and then slide to unlock the screen,which is locked by
default.
Switching the desktop display
In the main interface, slide the touch screen towards left/right to switch the desktop display.
ᏺḐᓣⱘᄫԧ7LPHV
1HZ5RPDQϡẔᶹᣐݭ䇁
⊩
ᏺḐᓣⱘᄫԧ7LPHV
1HZ5RPDQϡẔᶹᣐݭ䇁
⊩
ᏺḐᓣⱘᄫԧ7LPHV
1HZ5RPDQϡẔᶹᣐݭ䇁
⊩

10
Changing the desktop wallpaper
Press and hold the blank space in the main interface to pop up the setting menu of desktop wallpaper..
3. Application interface
Displaying all applications
In the main interface, click the icon in the middle of the bottom of the screen to display all
installed applications. Press and hold anapplication icon to add its shortcut to the desktop.
ᏺḐᓣⱘᄫԧ7LPHV
1HZ5RPDQϡẔᶹᣐݭ䇁
⊩
ᏺḐᓣⱘᄫԧ7LPHV
1HZ5RPDQϡẔᶹᣐݭ䇁
⊩
ᏺḐᓣⱘᄫԧ7LPHV
1HZ5RPDQϡẔᶹᣐݭ䇁
⊩

11
Adding widgets
In the main interface, click the icon in the middle of the bottom of the screen, and then click
the “Widgets” at the top of the screen, press and hold all selected widgets to add them to the
desktop.
Displaying the applications running in background
Click the icon in the bottom right corner of the screen to pop up a list of applications running
ᏺḐᓣⱘᄫԧ7LPHV
1HZ5RPDQϡẔᶹᣐݭ䇁
⊩
ᏺḐᓣⱘᄫԧ7LPHV
1HZ5RPDQϡẔᶹᣐݭ䇁
⊩
ᏺḐᓣⱘᄫԧ7LPHV
1HZ5RPDQϡẔᶹᣐݭ䇁
⊩
ᏺḐᓣⱘᄫԧ7LPHV
1HZ5RPDQϡẔᶹᣐݭ䇁
⊩

12
in the backgroud; click anapplication icon to switch to the interface of the application opened in
background. Slide the application icon upwards/downwards to close the application running in the
background.
4. Displaying notification bar
In the main interface, pull down the display region in the top right corner of the screen to open the
notification panel, on which the current networking status, battery power, Bluetooth and other
information will be shown.
ᏺḐᓣⱘᄫԧ7LPHV
1HZ5RPDQϡẔᶹᣐݭ䇁
⊩

13
5. Deleting
desktop icons
In the main interface, press and hold the application icons to be deleted; after the icons are scaled up,
move the selected icons to the X Remove region of the screen, and then loose to delete the application
icons.
6. Moving
desktop icons
Press and hold the application icons in the main interface; after the icons are scaled up, move the selected
ᏺḐᓣⱘᄫԧ7LPHV
1HZ5RPDQϡẔᶹᣐݭ䇁
⊩
ᏺḐᓣⱘᄫԧ7LPHV
1HZ5RPDQϡẔᶹᣐݭ䇁
⊩

14
icons.
7. Video playing
Open the video player in the list of applications and enter the interface of the file list, click any file to
play.
8. Music playing
Click “Music” in the list of applications to access the music player, and then click any song to play.
ᏺḐᓣⱘᄫԧ7LPHV
1HZ5RPDQϡẔᶹᣐݭ䇁
⊩
ᏺḐᓣⱘᄫԧ7LPHV
1HZ5RPDQϡẔᶹᣐݭ䇁
⊩

15
Click this icon to display music files which are classified according to singers.
Click this icon to display music files which are classified according to album names.
Click this icon to display all music files.
Click this icon to display music files in the playlist.
Click this icon to display the music playing interface.
Music playing interface
ᏺḐᓣⱘᄫԧ7LPHV
1HZ5RPDQϡẔᶹᣐݭ䇁
⊩
ᏺḐᓣⱘᄫԧ7LPHV
1HZ5RPDQϡẔᶹᣐݭ䇁
⊩
ᏺḐᓣⱘᄫԧ7LPHV
1HZ5RPDQϡẔᶹᣐݭ䇁
⊩
ᏺḐᓣⱘᄫԧ7LPHV
1HZ5RPDQϡẔᶹᣐݭ䇁
⊩
ᏺḐᓣⱘᄫԧ7LPHV
1HZ5RPDQϡẔᶹᣐݭ䇁
⊩
ᏺḐᓣⱘᄫԧ7LPHV
1HZ5RPDQϡẔᶹᣐݭ䇁
⊩

16
Click this button to switch to the last song.
Click this button to switch to the next song.
Click this button to play the song.
Click this button to suspend the song.
Click this button to access the playlist page.
Click this button to switch the random playing mode.
Click this button to switch the cyclic playing mode.
9. Camera
Click the camera button in the list of applications to take pictures.
ᏺḐᓣⱘᄫԧ7LPHV
1HZ5RPDQϡẔᶹᣐݭ䇁
⊩
ᏺḐᓣⱘᄫԧ7LPHV
1HZ5RPDQϡẔᶹᣐݭ䇁
⊩
ᏺḐᓣⱘᄫԧ7LPHV
1HZ5RPDQϡẔᶹᣐݭ䇁
⊩
ᏺḐᓣⱘᄫԧ7LPHV
1HZ5RPDQϡẔᶹᣐݭ䇁
⊩
ᏺḐᓣⱘᄫԧ7LPHV
1HZ5RPDQϡẔᶹᣐݭ䇁
⊩
ᏺḐᓣⱘᄫԧ7LPHV
1HZ5RPDQ
ᏺḐᓣⱘᄫԧ7LPHV
1HZ5RPDQϡẔᶹᣐݭ䇁
⊩
ᏺḐᓣⱘᄫԧ7LPHV
1HZ5RPDQϡẔᶹᣐݭ䇁
⊩

17
Click this button to take pictures.
Click this button to switch to the photo mode.
Click this button to switch to the video mode.
Click this button to adjust the framing mode.
Click this button to adjust the brightness, white balance, focal length and make switch
between the front camera and the rear camera.
10. Settings
Click the setting icon “ ” in the menu to access the interface of settings.
ᏺḐᓣⱘᄫԧ7LPHV
1HZ5RPDQϡẔᶹᣐݭ䇁
⊩
ᏺḐᓣⱘᄫԧ7LPHV
1HZ5RPDQϡẔᶹᣐݭ䇁
⊩
ᏺḐᓣⱘᄫԧ7LPHV
1HZ5RPDQϡẔᶹᣐݭ䇁
⊩
ᏺḐᓣⱘᄫԧ7LPHV
1HZ5RPDQϡẔᶹᣐݭ䇁
⊩
ᏺḐᓣⱘᄫԧ7LPHV
1HZ5RPDQϡẔᶹᣐݭ䇁
⊩
ᏺḐᓣⱘᄫԧ7LPHV
1HZ5RPDQϡẔᶹᣐݭ䇁
⊩
ᏺḐᓣⱘᄫԧ7LPHV
1HZ5RPDQϡẔᶹᣐݭ䇁
⊩

18
Network setting
Conduct the Wi-Fi settings to manage the wireless network connection.
Wi-Fi: on/off
When the prompt of “Start Wi-Fi” appears, the right icon displays as “ ”, which means that
the Wi-Fi is on.
Click the button to the left, then the right icon displays as “ ”, which means that the Wi-Fi is
ᏺḐᓣⱘᄫԧ7LPHV
1HZ5RPDQϡẔᶹᣐݭ䇁
⊩
ᏺḐᓣⱘᄫԧ7LPHV
1HZ5RPDQϡẔᶹᣐݭ䇁
⊩
ᏺḐᓣⱘᄫԧ7LPHV
1HZ5RPDQϡẔᶹᣐݭ䇁
⊩
ᏺḐᓣⱘᄫԧ7LPHV
1HZ5RPDQϡẔᶹᣐݭ䇁
⊩

19
off.
[Note]: In the settings of this tablet, when the right icon displays as “ ”, the option is on the
“off” status, unless otherwise specified. When the right icon displays as “ ”, the option is on
the “on” status. When Wi-Fi is on, the system will automatically search and add the nearby available
Wi-Fi networks; click the AP in the Wi-Fi list and enter the password to connect the network. If the
connection succeeds, the Wi-Fi setting icon displays as “Connected”.
For Wi-Fi routers with connected history, this tablet will record them automatically. Justset the
“Wi-Fi settings” to “Wi-Fi On” in case of reconnecting, or click this Wi-Fi router directly for
connection. In addition, when the Wi-Fi status in the Wi-Fi settings is on, the tablet will
automatically search Wi-Fi routers with connected history for connection under the wake-up status.
Sound
Volume: Set the volume of notification, media and alarm clock
Bell and notification: Set the default bell of notification
Touch prompt sound: Check it to make a prompt sound when touching the screen.
Unlocking prompt sound: Check it to make a prompt sound when locking the screen.
Display
ᏺḐᓣⱘᄫԧ7LPHV
1HZ5RPDQϡẔᶹᣐݭ䇁
⊩
ᏺḐᓣⱘᄫԧ7LPHV
1HZ5RPDQϡẔᶹᣐݭ䇁
⊩
ᏺḐᓣⱘᄫԧ7LPHV
1HZ5RPDQϡẔᶹᣐݭ䇁
⊩

20
Brightness:Adjusting the screen display brightness
Wallpaper: Setting the desktop wallpaper
Auto-rotate screen: Checking this to open or close the screen gravity sensing function.
Sleep: After setting the sleep time, the tablet will protect the screen automatically under the standby
mode when the time arrives.
Font size: Setting the font size of the system display
Application
Display and manage all installed applications.
ᏺḐᓣⱘᄫԧ7LPHV
1HZ5RPDQϡẔᶹᣐݭ䇁
⊩
Table of contents