hatch WePlaySmart User manual

HatchEarlyLearning.com | 800.624.7968
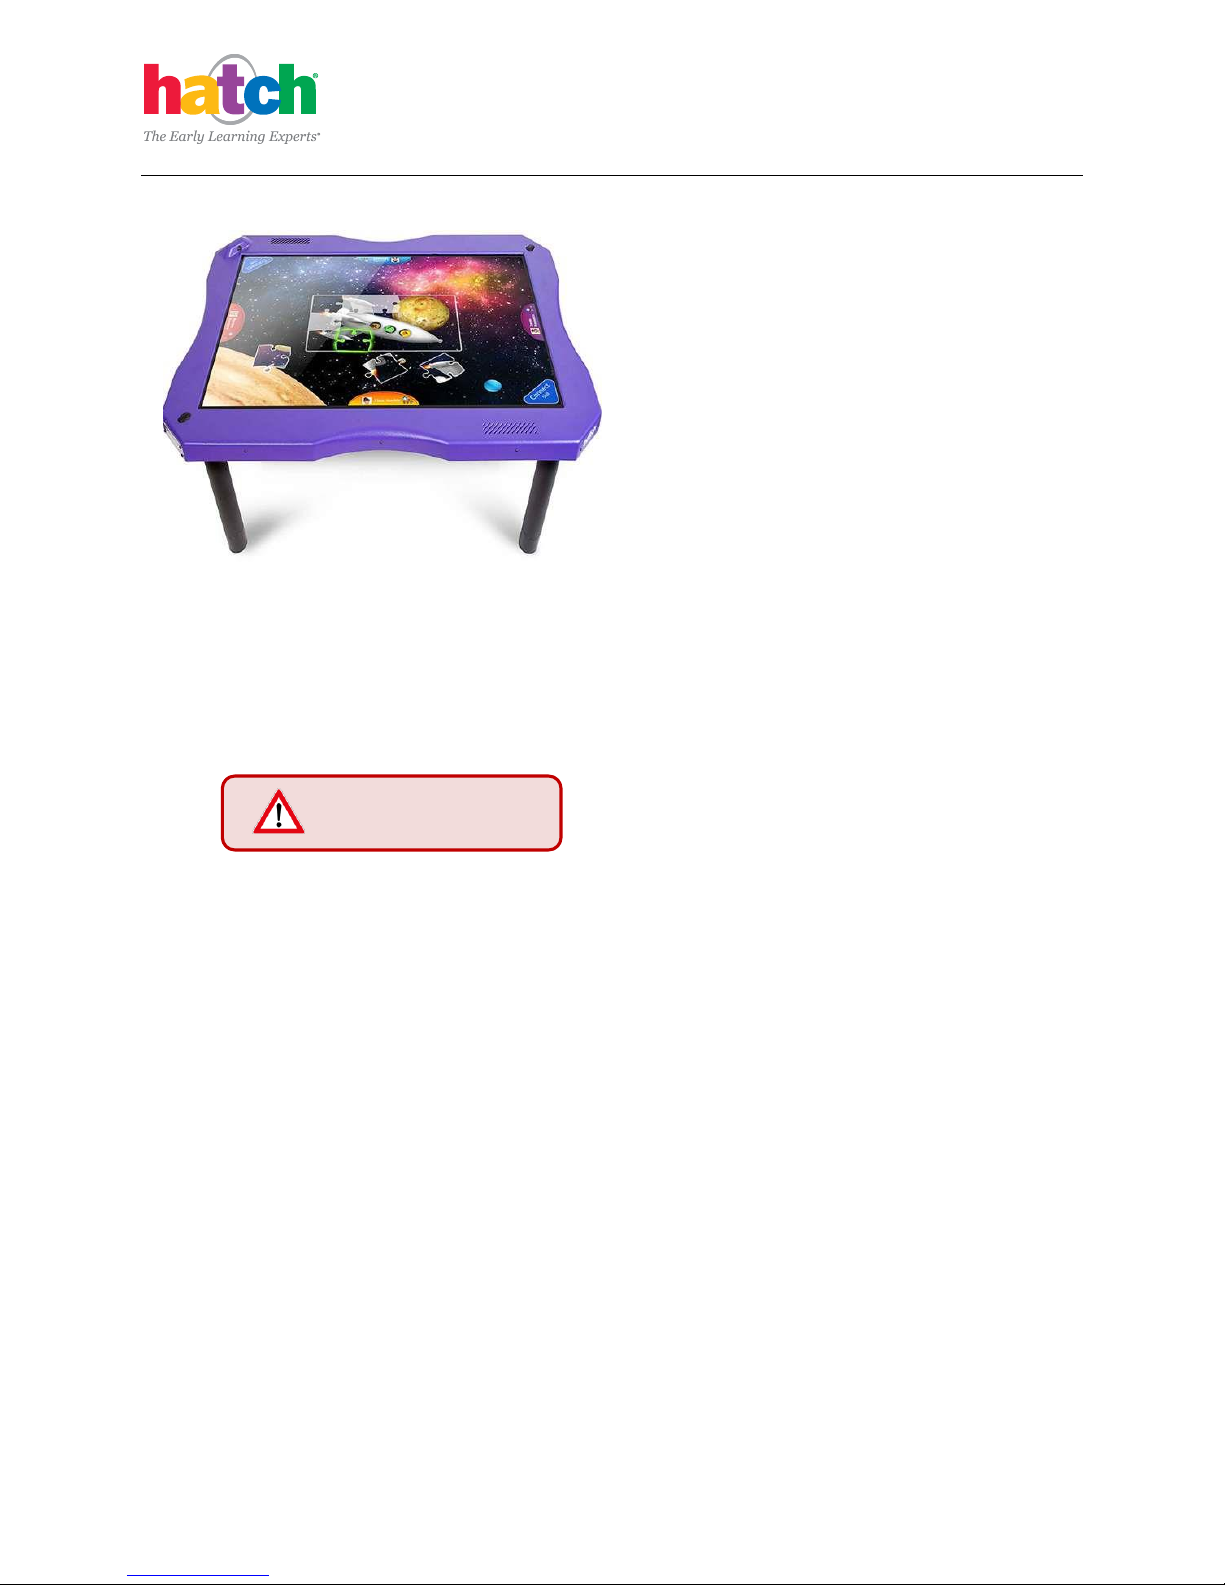
WePlaySmart® Multi-Touch Table
Installation Instructions
Version 1.0

WePlaySmart Table Installation Manual
2
Table of Contents
1. Overview...........................................................................................................3
1.1. Overview of This Manual ..............................................................................................................3
1.1.1. How to Use the Manual ........................................................................................................ 3
1.1.2. Special Notices ...................................................................................................................... 4
1.2. System Overview........................................................................................................................... 5
1.2.1. Included Hardware and Software .........................................................................................5
1.3. Overview of the Assembly ............................................................................................................6
1.3.1. Room Requirements ............................................................................................................. 6
1.4. Safety ............................................................................................................................................ 6
1.5. Preparing and Tools to Perform the Installation ..........................................................................6
2. Unpacking .........................................................................................................7
2.1. Cautions ........................................................................................................................................ 7
2.2. Unpack Box and Inventory Contents ............................................................................................ 7
2.3. Remove Remaining Packing Materials.......................................................................................... 8
3. Attaching Legs Instructions ..............................................................................9
3.1. Screw Legs onto Table ..................................................................................................................9
3.2. Install Mobility Castors (If Purchased - Optional Configuration) ................................................ 10
4. Complete the Installation................................................................................10
4.1. Position the Table Upright ..........................................................................................................10
4.2. Perform Screen Alignment Check ...............................................................................................11
4.3. Complete the Checklist ...............................................................................................................13

WePlaySmart Table Installation Manual
3
1. OVERVIEW
1.1. Overview of This Manual
This installation manual is a step-by-step instruction for the installation and setup of the Hatch
WePlaySmart multi-touch table. There is also one checklist to follow at the end.
1.1.1. How to Use the Manual
Print the WePlaySmart Functional checklist. Follow this manual in sequence. When the
installation is complete, complete the checklist.
The Functional Checklist will be used after the build is complete, to signify your Hatch system is
ready to use!

WePlaySmart Table Installation Manual
4
1.1.2. Special Notices
Pay close attention to these colored box notices.
Tip: helpful technique for installation or use
Warning: warns of risk of injury to installer or
damage to equipment
TIP
This is a tip.
This is a warning.

WePlaySmart Table Installation Manual
5
1.2. System Overview
WePlaySmart by Hatch is an interactive computer table with 80 touchpoints, allowing 4 children to play
simultaneously. It has an integrated recording and image capture system. WePlaySmart games are
visible from all positions around the table.
1.2.1. Included Hardware and Software
WePlaySmart Table
The system includes a complete system, containing:
A 42" screen with 80 touchpoints, mounted in a table
Wireless keyboard with trackpad
USB Headphones/Microphone
4 legs, 1 configured for the power cord
Castors (optional)
Surge protector and power cord
Cord floor cover
Cleaning kit
Quick Reference Guide
Warranty Card
WePlaySmart Table Installation Manual
6
1.3. Overview of the Assembly
The assembly involves unpacking the table and
hardware, and then installing the table legs.
Connecting the power and a functional check
complete the assembly
The procedure takes about 1 hour
1.3.1. Room Requirements
The table may be placed anywhere you desire, as long as there is a power outlet within 9 feet.
Ensure there is room for students to work at all sides of the table. Room temperatures and
humidity that are suitable for a classroom are sufficient for the location.
1.4. Safety
Be sure to read this manual prior to installation to
ensure that all safety instructions are observed. These
items must be complied with to prevent injury or
damage to the equipment. Care is required when planning and installing this system.
Warning:
Use a hand cart (if available) to transport the table location to be installed.
Ensure you do not obscure or block any safety devices, such as fire alarms.
Small parts could be swallowed by children and should be kept out of their reach. Keep
your work area segregated from the usual room occupants.
Perform all installation work correctly according to this manual.
Never attempt to modify the unit.
1.5. Preparing and Tools to Perform the Installation
To complete the installation, you do not need tools other than a number 2 cross tip (Phillips)
screwdriver. Two people are recommended to unpack the equipment.
Please read these
Warnings first.

WePlaySmart Table Installation Manual
7
2. UNPACKING
2.1. Cautions
Use caution when cutting packing tape. Be careful not to pierce
deep enough to slash or cut the equipment. Plastic packing strips
are tough; use a flush cut pliers or robust scissors. To protect
hardware, do not walk on or put heavy items on the boxes.
2.2. Unpack Box and Inventory Contents
1. Lay the box flat and open one end. Slide the contents out of the box. The box contains:
Hatch We Play Smart Table
3 standard WPS legs, 1 dedicated power leg
4 Castors (optional)
1 Surge Protector
TIP
Cut packing strips with
flush cut pliers

WePlaySmart Table Installation Manual
8
1 Quick Reference Guide
1 10 Ft. power cord
1 Cord Floor Cover
1 Screen Cleaning Kit
1 USB Headphone/Microphone headset
Wireless Keyboard (comes pre-installed in dedicated keyboard shelf on bottom of table)
1 Warranty Card
2.3. Remove Remaining Packing Materials
2. While the product is on a flat surface or the
floor, slide the contents out of the box.
3. Remove the 3 Styrofoam pieces from the sides
of the table that hold legs.
4. Remove the 2 large Styrofoam pieces that are
attached to both sides of the table. Place the
legs and packing material to the side.
5. Tilt the table against a wall or sturdy surface.
Remove the protective covering.
TIP
Retain the packing
materials in the box, if
you wish, for future
storage or shipping.

WePlaySmart Table Installation Manual
9
3. ATTACHING LEGS INSTRUCTIONS
3.1. Screw Legs onto Table
1. With the table securely propped against a
sturdy surface or wall, screw in the power
leg into the position nearest the power
button.
2. Attach each of the remaining legs to the
underside of the table by screwing them in
one at a time.
3. Once the legs have been secured, rotate
them an additional turn to confirm they are
fully seated on the mounting plate.
4. If not already done, connect the power cord
to the top outlet on the table’s power leg.
Use care to not cross
thread the threaded
legs.
TIP
If you are adding wheel
casters, you may install
them before you attach
the legs.
Rotate legs an additional
turn to fully seat them.

WePlaySmart Table Installation Manual
10
3.2. Install Mobility Castors (If Purchased - Optional Configuration)
1. With the table still propped on its side,
screw the castors into the legs.
2. Remove the four black floor leveler pieces
from the four legs. Make sure to remove the
entire black piece from the legs.
3. Press the locking mechanism down on the
casters to ensure the table is securely
positioned.
4. COMPLETE THE INSTALLATION
4.1. Position the Table Upright
1. Turn the table upright. Firmly grip the table’s
edges and pull the table away from the floor
to an upright position. It is important you
have a secure grasp on the edges of the
table or request assistance. Position the
table steadily onto the floor and move into
place.
2. Plug in the power cord and cover with
included cord floor cover and prepare to
power on.
TIP
If you are retrofitting
casters, it is best to lay
or tilt the table on its
side against a wall.
TIP
Keep the keyboard in the
designated keyboard shelf
on the bottom of the table
when not in use.
WePlaySmart Table Installation Manual
11
4.2. Perform Screen Alignment Check
The Table with WePlaySmart by Hatch is calibrated before shipment. The unit’s multi-touch interface
may require calibration over time. Further functional tests are in the Functional Checklist 2.
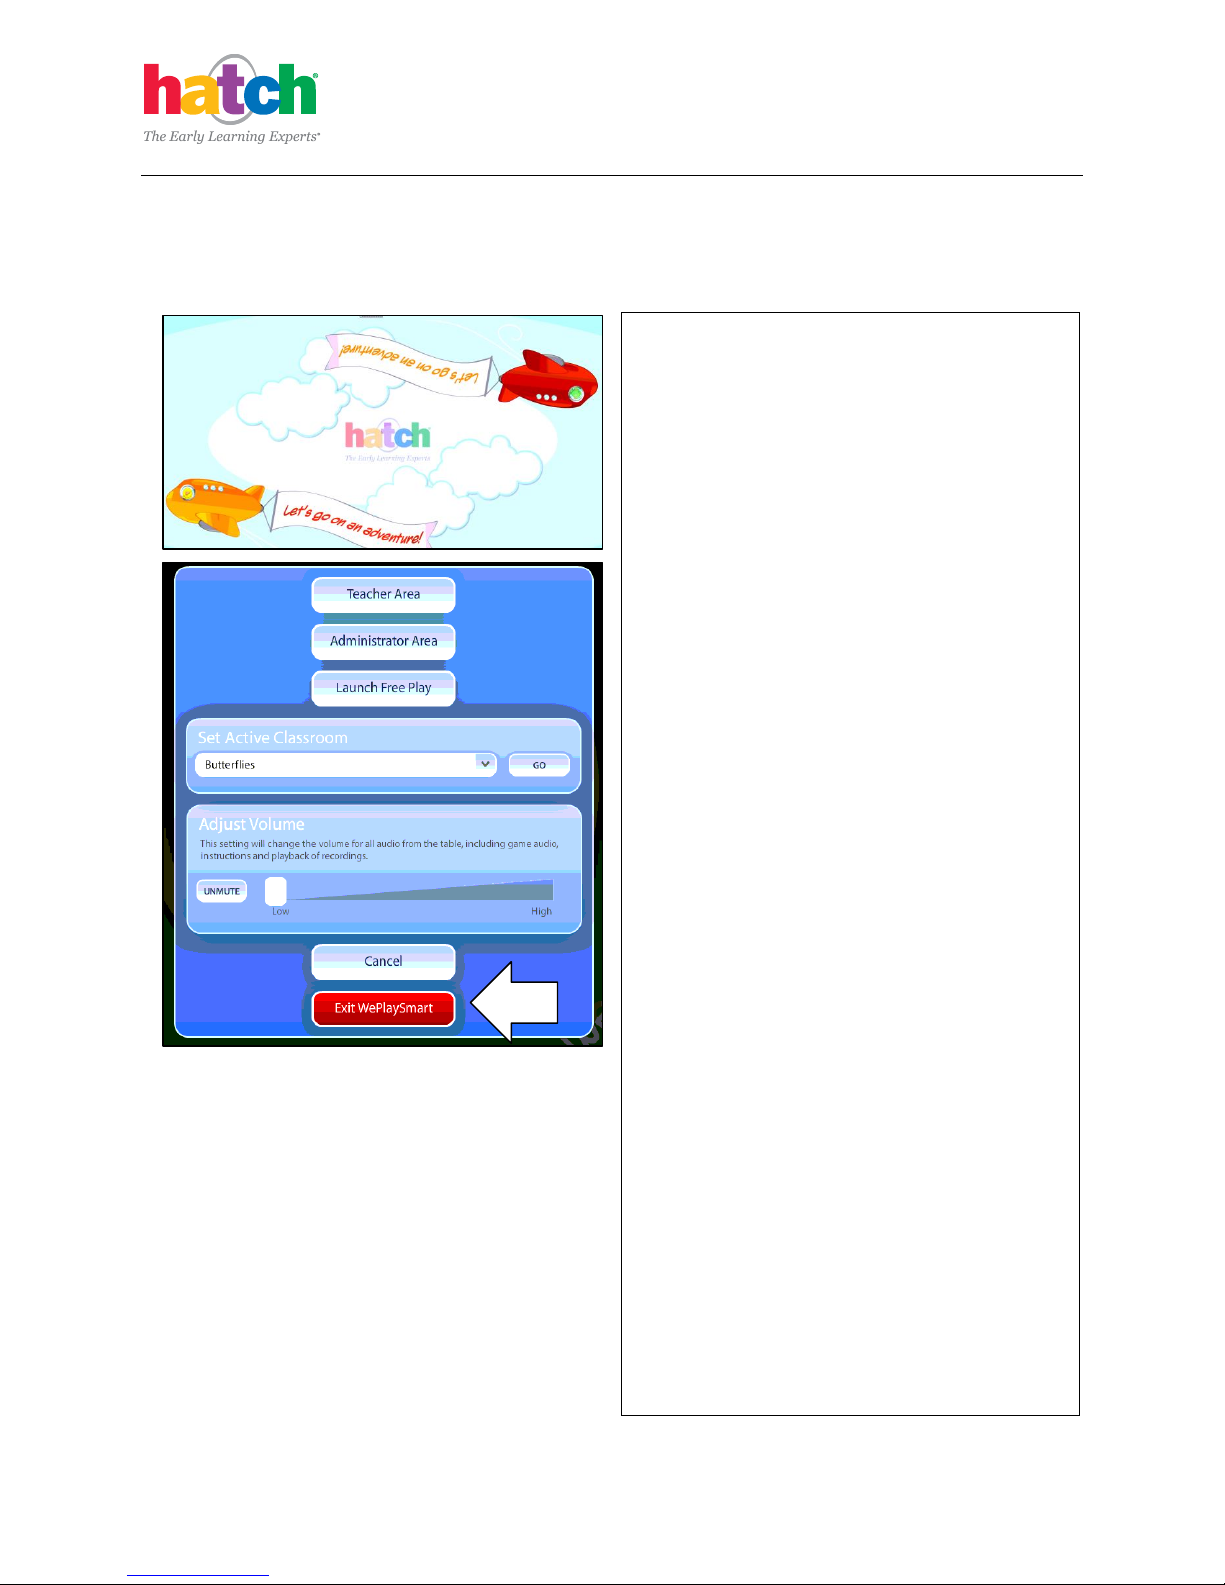
1. Turn on the power button. WePlaySmart by
Hatch will automatically launch.
2. Using the keyboard, press CTRL+ SHIFT + T
(Which changes the interface to the Teacher
mode) to open the Main Menu.
3. Select Exit WePlaySmart then select OK.
NOTE: Test touch input for correct calibration.
If the touch is not accurate, perform Steps 4
thru 9 below.
3
WePlaySmart Table Installation Manual
12
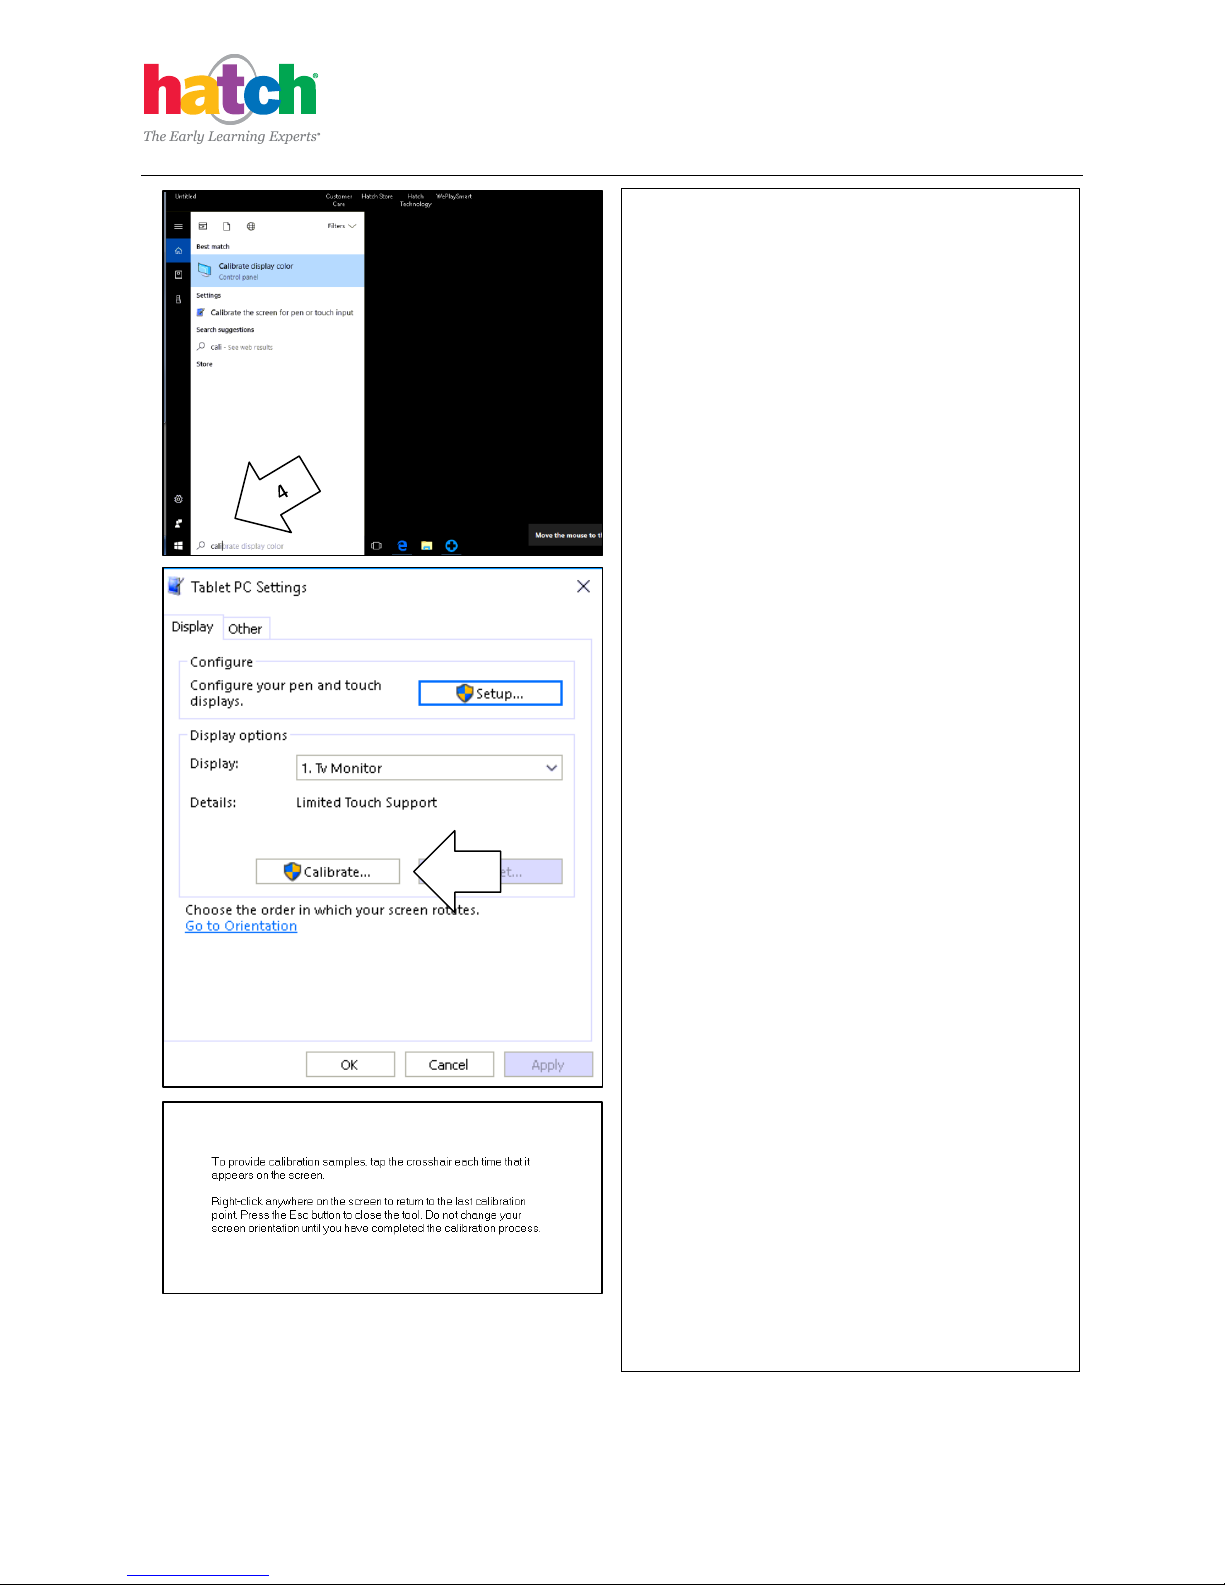
4. Select the Windows icon in the lower left of
the screen. Enter “calibrate” in the Search
box. Select Calibrate the screen for pen or
touch input, from the results.
5. Tablet and PC Settings will now open.
6. Select Calibrate under Display Options.
7. The screen calibration will appear. Begin by
tapping on the crosshair in the top left
corner and proceed from LEFT to RIGHT
and TOP to Bottom until you have touched
all 16 touch points.
8. Once you have selected all points a
confirmation screen will appear indicating
the calibration has been completed.
9. Verify touch is responding correctly, if not
you choose Reset from the Tablet and PC
Settings to begin the process over again.
6

WePlaySmart Table Installation Manual
13
4.3. Complete the Checklist
1. Perform the Functional Checklist.
Other manuals for WePlaySmart
1
Table of contents
Other hatch Toy manuals

Popular Toy manuals by other brands

LEGO
LEGO MARVEL SUPER HEROES X-MEN 76022 manual

Seagull Models
Seagull Models A6M Zero Fighter 67 Assembly manual

PARKZONE
PARKZONE Vapor BNF instruction manual

Accucraft trains
Accucraft trains Ruby 0-4-0T Kit Assembly instructions

Lionel
Lionel Bay WindowCrew Talk Caboose owner's manual

Fisher-Price
Fisher-Price imaginext BFR73 manual


