HD DCCT0405 User manual

Pre-Lit Cotton Candy Flocked Fir Christmas Tree - 4'
Item # DCCT0405 and DCCT0406
IMPORTANT, RETAIN FOR FUTURE REFERENCE: READ CAREFULLY.
PARTS LIST
1 EA. TREE STAND (with 3 eye bolts)
1 EA. TREE BOTTOM SECTION “A”
1 EA. TREE TOP SECTION “B”
1 EA. SPARE BULB/FUSE PACK

2 of 4
ASSEMBLY
Carefully remove the contents from the carton and keep the carton for future storage. Be sure to untangle any wires
that may be tangled with other items. (Please DO NOT forcibly remove any contents.)
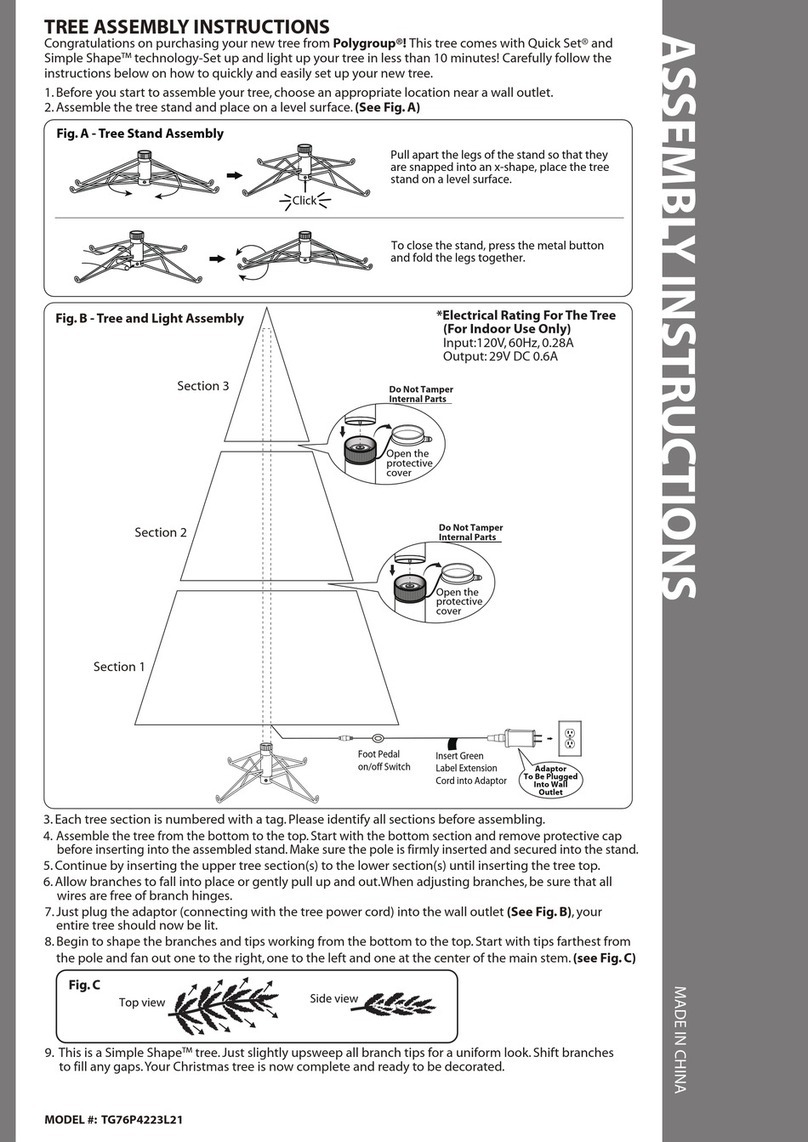
Step 1: Locate the Tree Stand. Assemble it by separating the legs of the stand to form an
“X” shape (see Fig. A). Once you have the holes lined up, insert each of the eye bolts into
the holes on the stand’s middle section, being sure that the eye bolts do not extend so far
as to interfere with the installation of the tree pole. Place the stand or pot where you are
going to set up the tree – ensure that it is on a level surface and near a dedicated power
source. THIS PRODUCT IS SUITABLE FOR INDOOR USE ONLY.
Step 2: Locate the Tree Bottom Section “A” which is tagged with the letter “A”. Remove
any plastic protective pole caps that are on the bottom of the pole (they can be saved and
reused for storage if desired). Insert Tree Section “A” into the Tree Stand. Do not force the
pole into the Tree Stand. It will slide down to its correct position. Make sure the pole is firmly seated and standing
straight in the Tree Stand. Turn all the eye bolts until contact is made with the pole. If Tree Section “A” is not sitting
straight, then simply loosen the eye bolts, adjust the tree pole, and retighten the eye bolts.
Step 3: Locate Tree Top Section “B” which is tagged with the letter “B”. Insert it into the top of Tree Section “A”.
Step 4: Connect the light set plug from each tree section into the section below securely. The light sets each have a
plug with a male and/or female end with “Please plug in here” tags, so that you can find the corresponding connection
easier. Once all the light sets are connected in the tree, locate the male power plug and insert it into a 120-volt power
outlet in your home or into a UL approved extension cord or power strip (not included). The tree should now be lit. If
some bulbs do not light, please go to the TROUBLESHOOTING GUIDE FOR LIGHT SETS for steps.
SHAPING
1. Plug in the lights as you are shaping the tree. It is easier to see how the tree looks.
2. Remove any packing strap or other packing material that is around the tree section(s) and allow the branches to fall
into place.
3. Shape by section and layer, starting at the bottom of the tree and working your way up to ensure all branches are
shaped.
4. Slowly pull down each branch to an approximate 90° angle to the floor on the lower sections and about a 45° angle
on the upper sections. While doing so, shape the tips on each individual branch by fanning out the tips to fill any
spaces. Offset the branches from one another to hide the tree’s pole and fill spaces. Continue spreading the tips
until they resemble that of a real tree.
5. After shaping the whole tree, step back and take an overall look. Shift branches to fill any gaps. Your tree is now
ready to decorate and enjoy!
CLEANING & CARE
As you will be using the artificial Christmas tree every year, it is essential to keep it in good condition and clean.
Dust gently using a soft cloth or fabric duster.
Do NOT use any chemicals or solvents to clean.
Handle the light sets gently. Do NOT pull or tug light sets as this may inadvertently loosen the bulb.
Follow all Storage and Safety Instructions.
STORAGE
1. Unplug the tree from the power source.
2. Remove any ornaments and decorations that were added by you and did not come with the tree.
Fig. A

3 of 4
3. Starting with the top, separate each tree section and stand gently, being sure not to roughly handle as it could
cause damage to the parts. TIP: If there is difficulty separating the tree sections, apply a small amount of
lubricant where the poles join.
4. Compress each tree section by turning it upside down and squeezing the branches together so that it will fit
more easily into the storage box or container. You can also tie a ribbon or cord around the sections to secure
the branches closer together for storage.
5. Place all the parts gently back into the storage box. The box will help prevent the tree from being damaged
should it get bumped in your garage, basement, or other storage location. Tape the box shut to keep out any
dust or insects. When packing up the tree, please ensure that there is no undue strain or stress on the light sets
to ensure they do not get cut, frayed, or damaged.
6. Be sure to store the tree in a cool, dry area free of water and moisture to prevent mold and mildew from
accumulating and a musty odor developing. Exposing your tree to excessive heat or humidity may damage your
tree. DO NOT STORE TREE IN A DAMP AREA OR IN AN AREA WHERE THE TEMPERATURE EXCEEDS 100ºF. STORE
THE CARTON FLAT AND NOT UPRIGHT ON ITS SHORT END.
TROUBLESHOOTING GUIDE FOR LIGHT SETS
If your lights are not working, following are some troubleshooting steps to try:
1. Check that the light set plugs are properly connected to your home wall outlet or other power source.
2. Check that there is power to the wall outlet or power source.
3. Check that all the plugs within the tree are securely connected and positioned correctly.
4. Check for loose bulbs or poor contacts in bulb sockets. Follow along the non-working light set and ensure each
bulb is seated firmly inside each socket with its tab securely “locked”. DO NOT TWIST BULBS.
5. Look for any broken, burned out, or missing bulbs and replace as needed.
6. Replace non-working, missing, or broken bulbs as soon as discovered to avoid reducing the longevity of the light
set. Not replacing bulbs promptly will cause too much voltage to go to the remaining lit bulbs.
7. Replace only with bulbs that came with the product or recommended by the manufacturer. Spare bulbs were
included with your purchase.
To Remove a Bulb: Undo bulb locking tab located on one side of the socket (See Fig. 1). Gently grasp the plastic
base of the bulb. Do not pull on the glass bulb section. Pull up and out from socket. NOTE: Some lights may not
have a locking tab.
To Replace a Bulb: Align base of bulb and locking tab to socket. Push in until firmly seated. Lock tab securely.
DO NOT TWIST BULB.
8. If none of the lights are working, check the fuses in the light set plug. If the fuse(s) are blown (usually has
darkened glass), replace the blown fuse(s) by following the steps in the following diagram. There are spare fuses
included for easy replacement.
To Remove a Fuse: Gently slide the plug cover open. Lift blown fuse out of the socket.
To Replace a Fuse: Place the new fuse into empty socket. Gently close cover.
Fig. 1
Locking Tab

4 of 4
IMPORTANT SAFETY
PLEASE READ AND FOLLOW ALL SAFETY INSTRUCTIONS AND WARNING TAGS INCLUDED WITH THIS TREE.
SAVE FOR FUTURE USE.
THIS TREE IS SAFE FOR INDOOR USE ONLY.
• Do not operate this product if the power cord or plug is damaged. Always inspect light sets and electrical cords for
signs of damage or wear. If there are any observable defects, immediately dispose of them and replace it with one
that is in working order.
• Do not immerse the tree or any of its components in water or other liquids.
• Be careful not to overload electrical circuits and do not string more than the manufactured recommended number
of light set cords together.
• This seasonal use product is not intended for permanent installation or use.
• This product is not intended for commercial purposes.
• Do not secure the wiring of this product with staples or nails or place on sharp hooks or nails.
• Do not alter the construction of the wiring in anyway.
• Do not let lamps rest on the supply cord or on any wire.
• Unplug the product when leaving the house, retiring for the night or if left unattended.
• This is an electrical product - not a toy! To avoid risk of fire, burns, personal injury and electric shock, it should not
be played with or placed where small children can reach it.
• Do not use this product for anything other than its intended use.
• Do not hang ornaments or other objects from the cord, wire, or light string.
• Do not close doors or windows on the product or extension cords as this may damage the wire insulation.
• Do not cover the product with cloth, paper, or any material not part of the product when in use.
• Do not mount or support strings in a manner that can cut or damage the wire insulation.
• Do not mount or place near gas or electric heaters, fireplaces, candles, or other similar sources of heat.
• Do not place your tree where it is likely to wobble due to uneven floors or thick carpeting. Place tree on a level,
hard, flat surface.
• This product should not be used with a voltage converter.
• Use only manufacturer specified replacement bulbs.
Made in China
THANK YOU FOR YOUR PURCHASE
Comments or questions?
Call us at 1-877-359-0115 or
Contact us at [email protected]om
Haute Decor
PO Box 1594
Allen, TX 75013
This manual suits for next models
1
Table of contents
Other HD Artificial Pine Tree manuals
Popular Artificial Pine Tree manuals by other brands

Home Accents Holiday
Home Accents Holiday TY500-1514 Use and care guide

Celebrations Home
Celebrations Home 9043893 quick start guide
GE
GE 82009LO Assembly manual
Polygroup
Polygroup TG60M3O59C00 Assembly instructions
Honeywell
Honeywell HW-T12311 user manual

Polygroup
Polygroup Home Heritage TG7000GHDL01 Assembly instructions

North Light
North Light WX-C-LED44-30WW-1 quick start guide
Home Accents Holiday
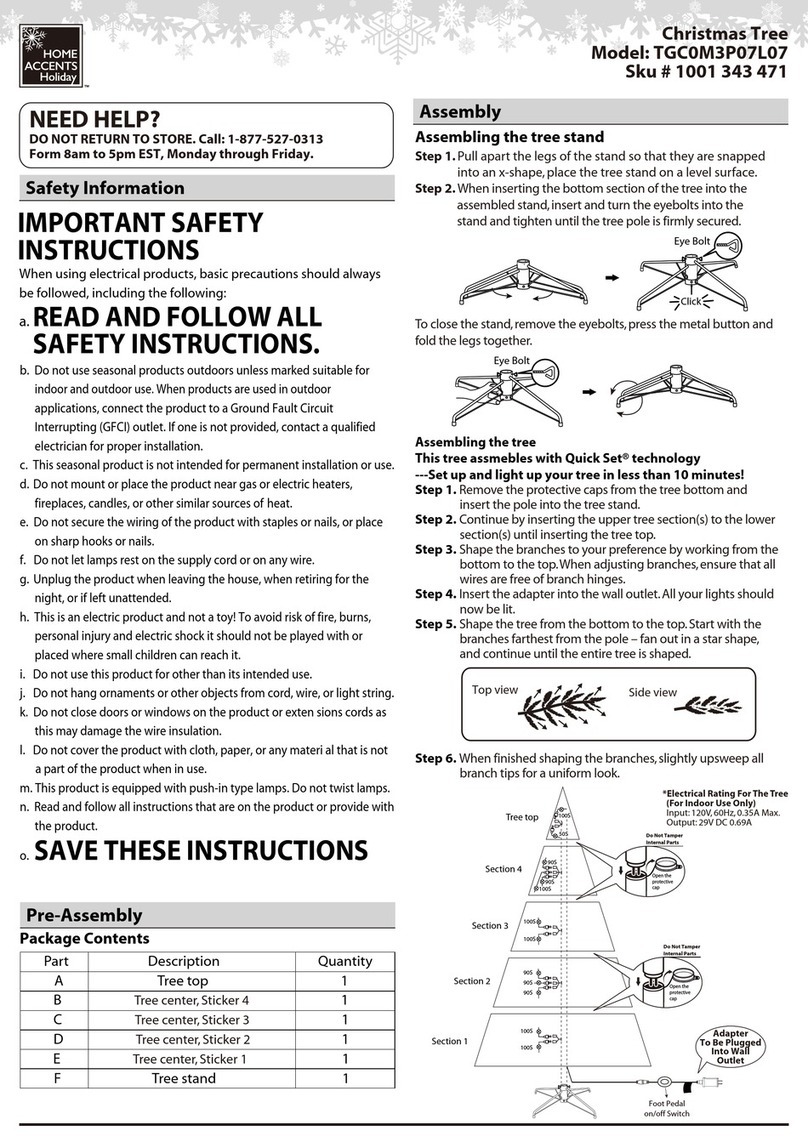
Home Accents Holiday TGC0M3P07L07 manual
Polytree
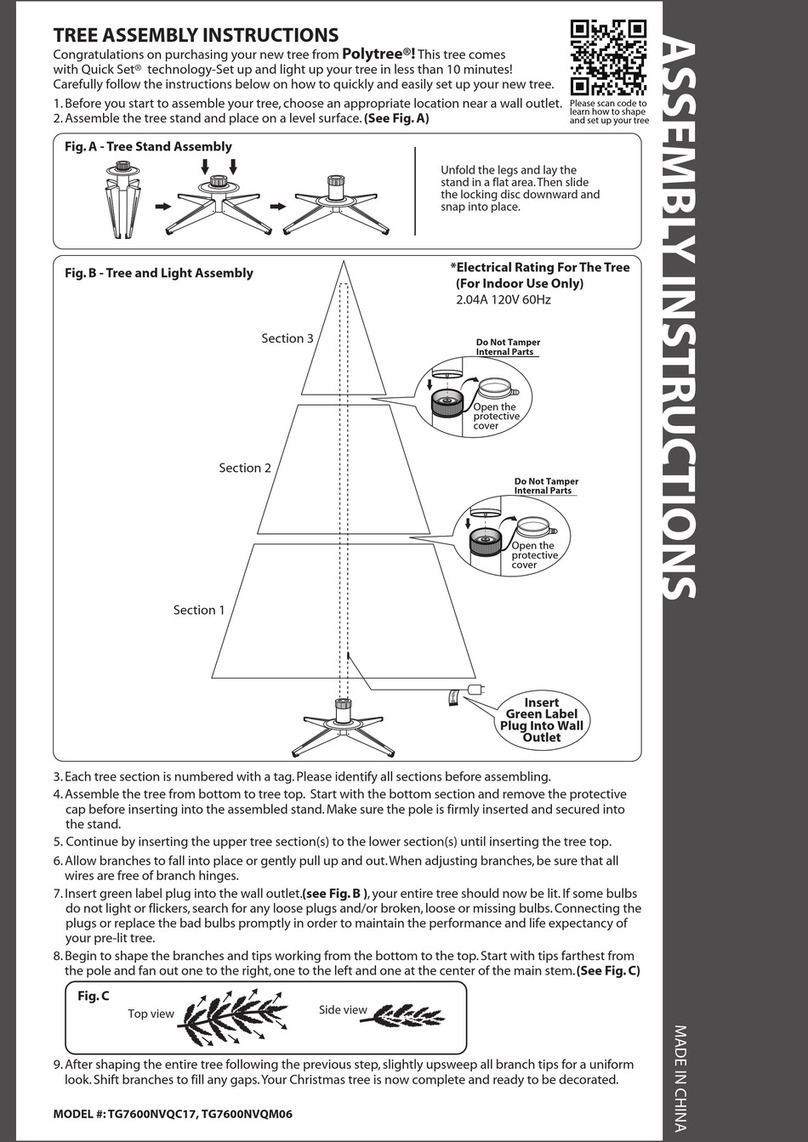
Polytree TG7600NVQC17 Assembly instructions
Polygroup
Polygroup TG76M6010X00 Assembly instructions

Evergreen
Evergreen Classics TG70P3D88L04 Assembly instructions
GE
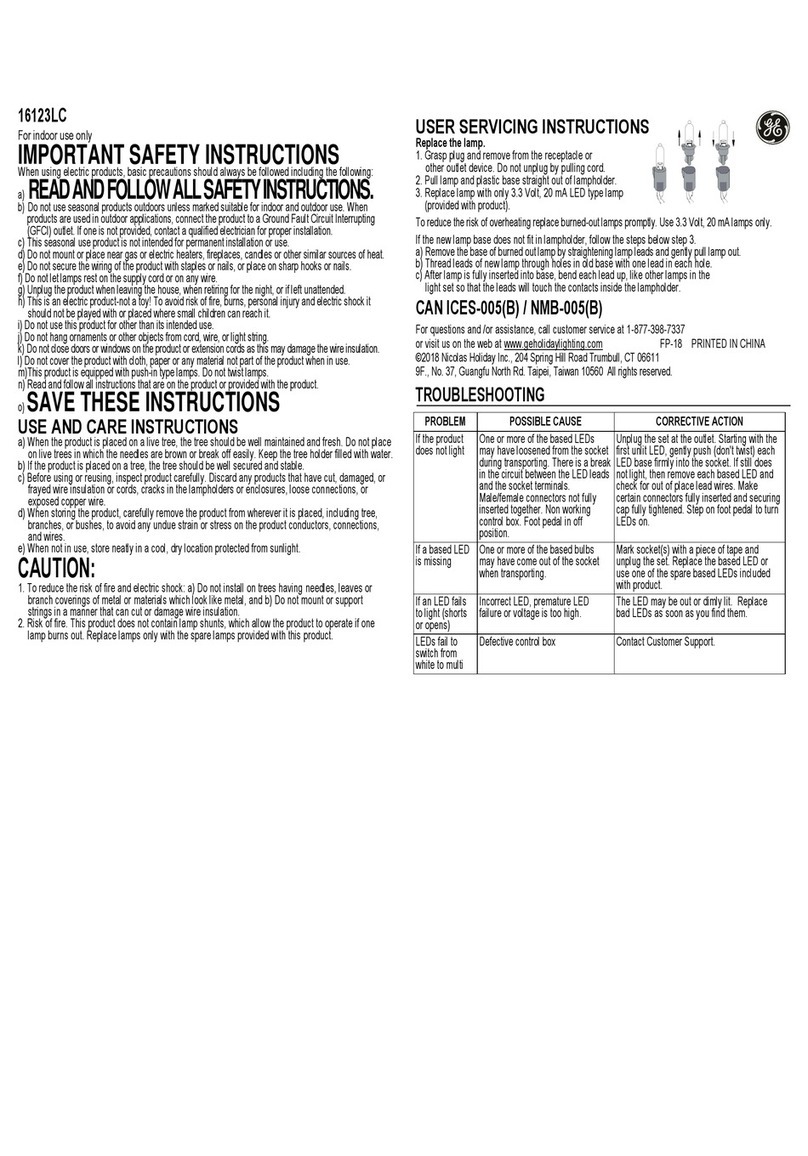
GE StayBright 16123 quick start guide

