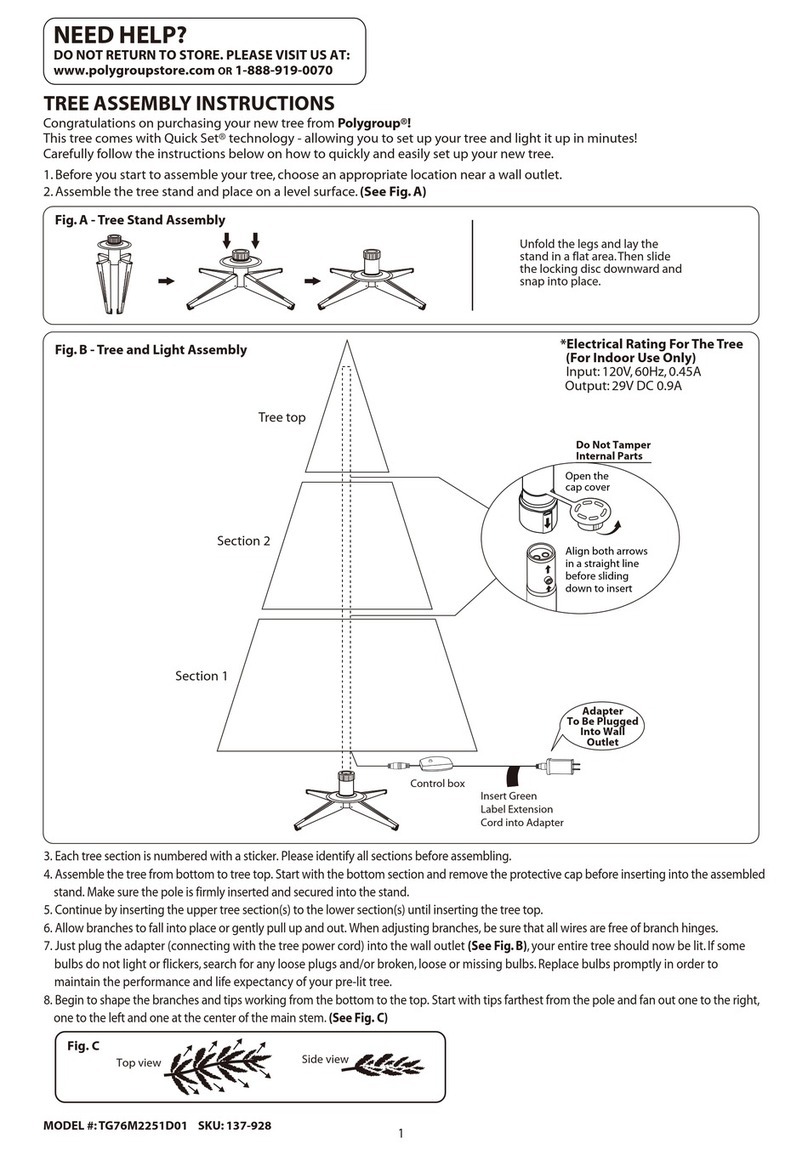
HD DCCT7504 User manual

7.5’ Champagne Gold Tinsel Tree
Pre-Lit w/ 600 ct. Warm White LED Lights
Item # DCCT7504
IMPORTANT, RETAIN FOR FUTURE REFERENCE: READ CAREFULLY.
PARTS
LIST
•1 EA. TREE STAND (with 3 eye bolts)
•1 EA. TREE BOTTOM SECTION “A”
•1 EA. TREE MIDDLE SECTION “B”
•1 EA. TREE TOP SECTION “C”

2 of 4
ASSEMBLY
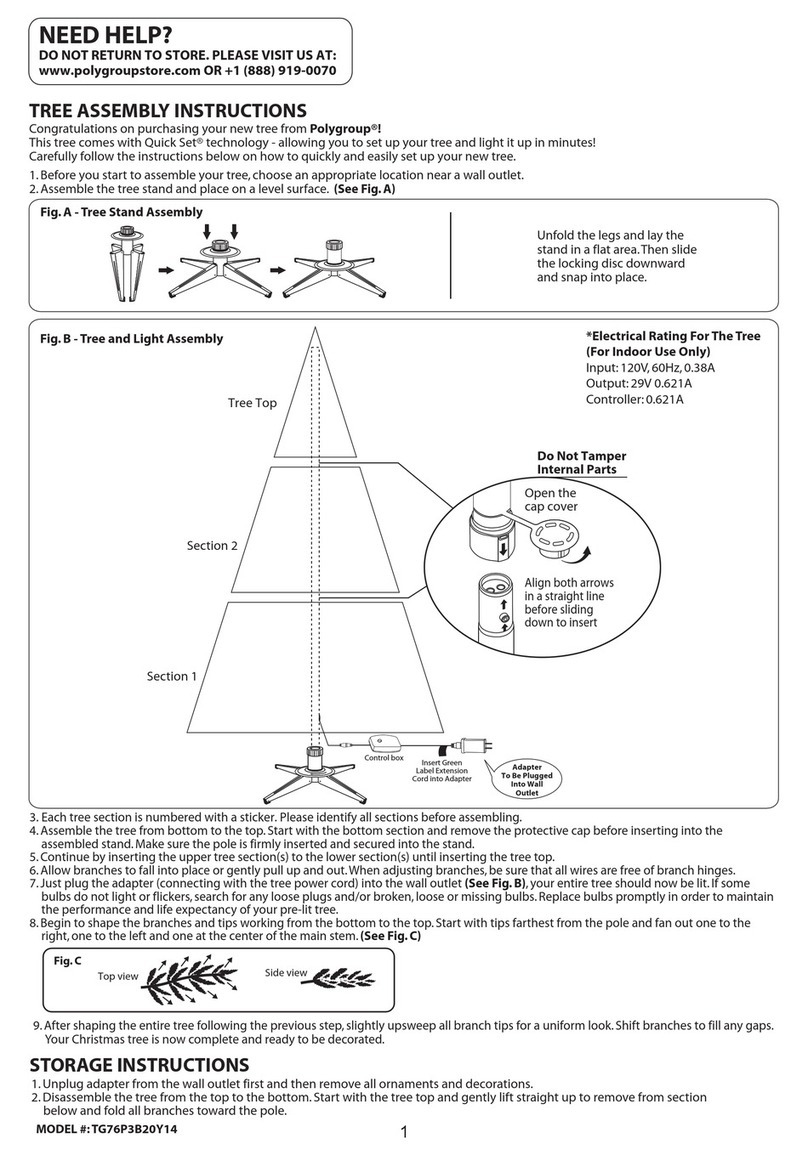
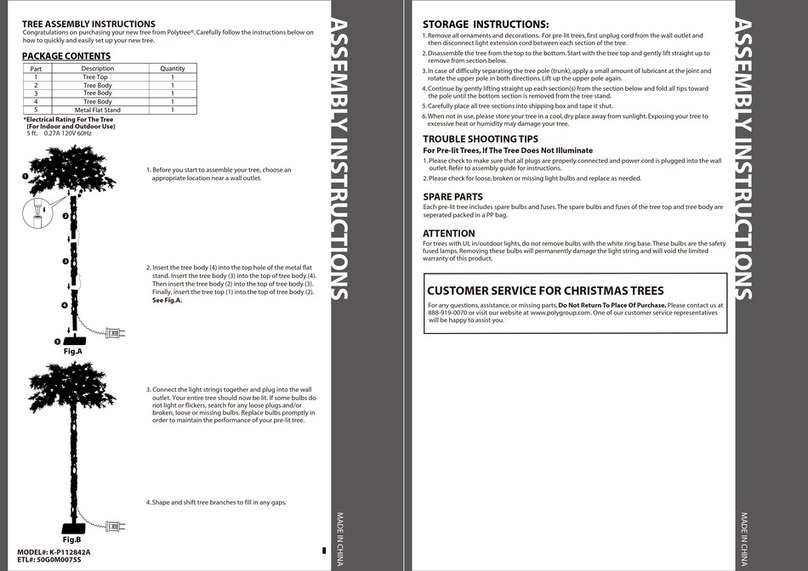
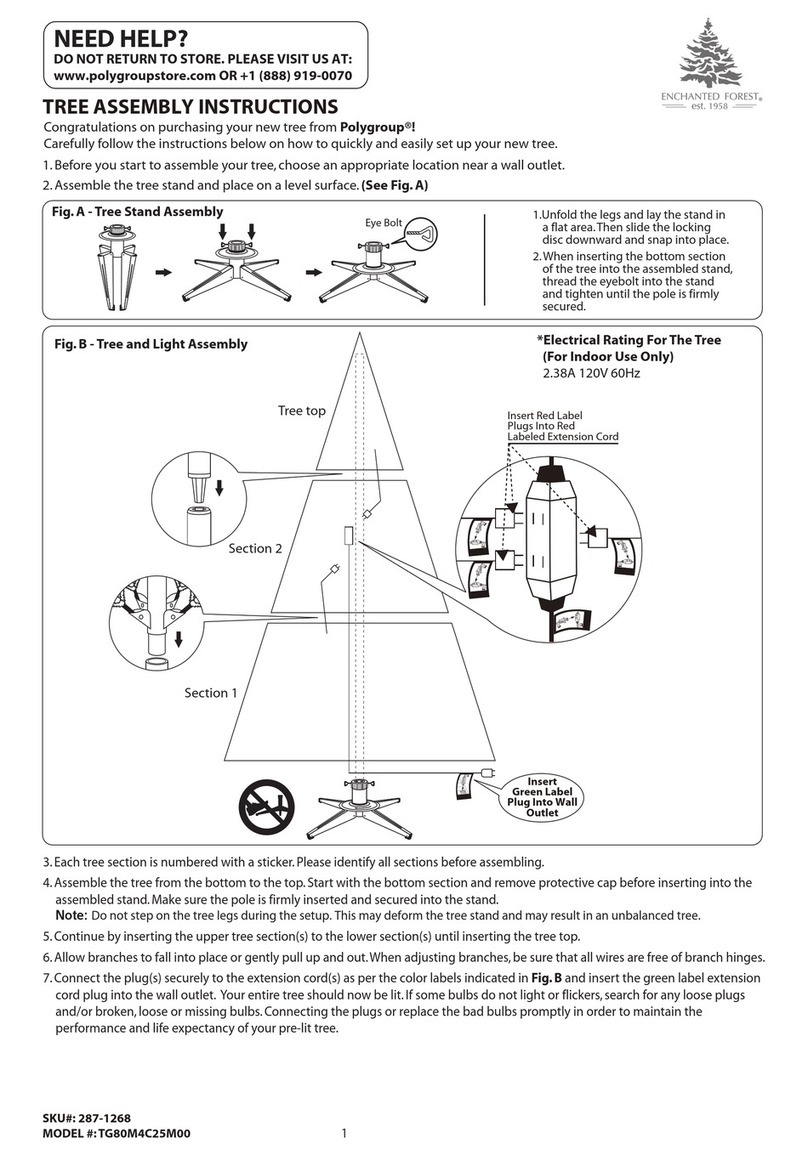
Carefully remove the contents from the carton and keep the carton for future storage. Be sure to untangle any wires
that may be tangled with other items. (Please DO NOT forcibly remove any contents.)
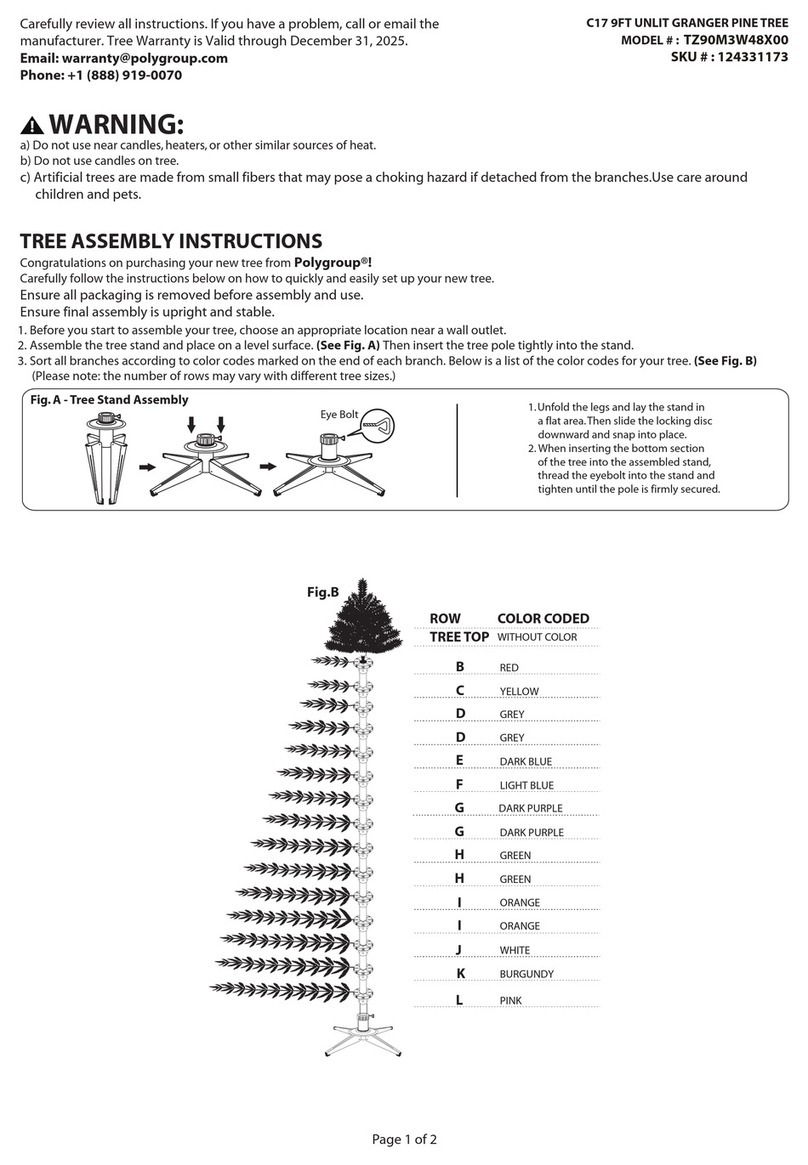
Step 1: Locate the Tree Stand and rotate the legs until the holes on the inner and outer
hub of the stand are aligned, and the stand forms an “X” shape (see Fig. A). Once you have
the holes lined up, insert each of the eye bolts (3 total) into the holes on the stand’s
middle section, being sure that the eye bolts do not extend so far as to interfere with the
installation of the tree pole. Place the stand where you are going to set up the tree –
ensure that it is on a level surface and near a dedicated power source. THIS PRODUCT IS
SUITABLE FOR INDOOR USE ONLY.
Step 2: Locate the Tree Bottom Section “A” which is tagged with the letter “A”. Remove any plastic protective pole
caps that are on the bottom of the pole (they can be saved and reused for storage if desired). Insert Tree Section “A”
into the Tree Stand. Do not force the pole into the Tree Stand. It will slide down to its correct position. Make sure the
pole is firmly seated and standing straight in the Tree Stand. Turn all the eye bolts until contact is made with the pole. If
Tree Section “A” is not sitting straight, then simply loosen the eye bolts, adjust the tree pole, and retighten the eye
bolts. Remove any packing strap that is wrapped around this tree section. Allow the branches and leaves to fall into
place
Step 3: Locate Tree Middle Section “B” which is tagged with the letter “B”. Insert it into the top of Tree Section “A”.
Make sure section “B” is seated securely into the top of section “A”. Remove any packing strap that is wrapped around
this tree section, same as you did for section “A”. Allow the branches and leaves to fall into place
Step 4: Locate Tree Top Section “C” which is tagged with the letter “C”. Insert Tree Section “C” into the top of Tree
Section “B”. Make sure section “C” is seated securely into the top of section “B”. Remove any packing strap that is
wrapped around this tree section. It is recommended to shape the Top Section “C” before placing it on the tree.
For further information, see section on SHAPING.
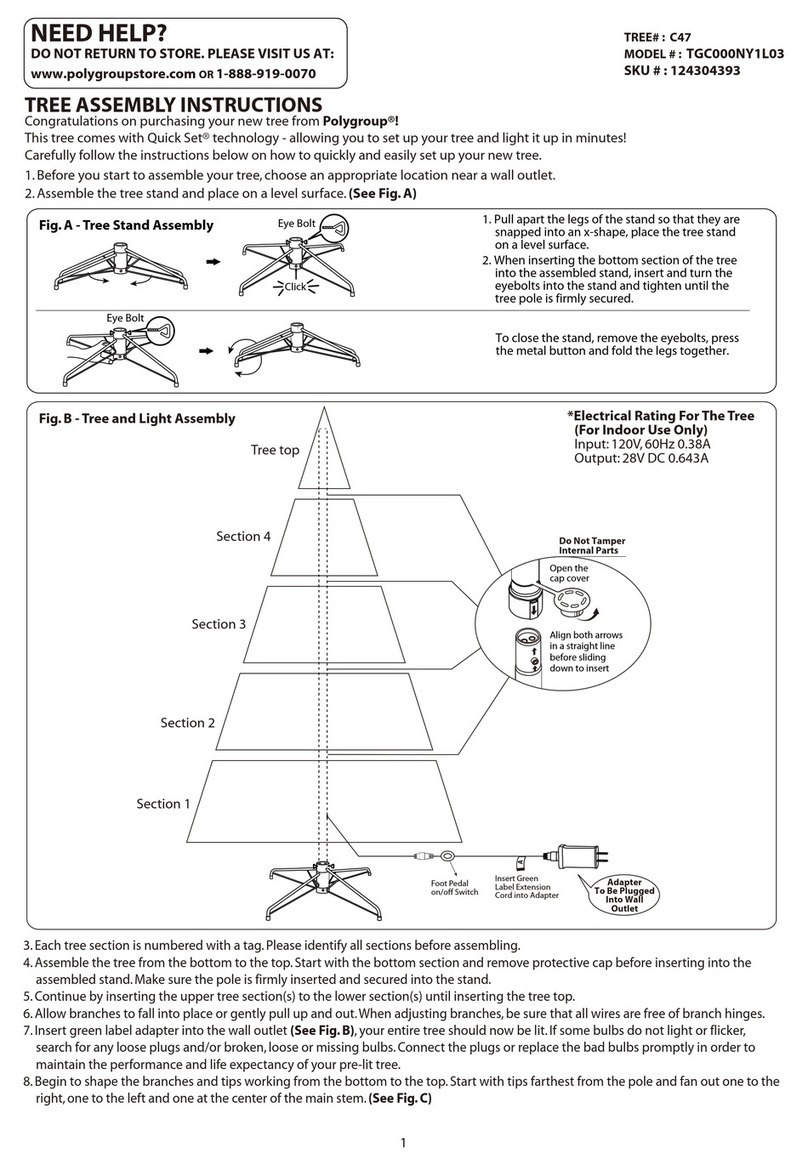
Step 5: Connect the plug from each tree section into the section below securely. The light sets have colored tags
which state “Please plug in here”, so that you can find the corresponding connections easier. Further secure the
plug connection by screwing the outer cover into place.
Step 6: Insert the power adapter into a power outlet in your home or into a U.L. approved
extension cord or power strip (not included). Tap the foot pedal (see Fig. B) to turn the lights on.
Your tree should now be lit. If some bulbs do not light, please go to the section on
TROUBLESHOOTING FOR LIGHTS. Press the foot pedal again to turn the tree off.
SHAPING
1. Plug in the lights as you are shaping the tree.
2. Remove any packing strap or other packing material that is around the tree section(s) and allow the branches to fall
into place. Some of the branches may catch on one another. If that occurs, slowly press down on each branch until
it falls into its place or gently pull up and out. Important: If the branches are connected to the tree’s pole by metal
brackets (hinges), be sure that all wires are free when adjusting the branches.
3. Shape by section and layer, starting at the bottom of the tree and working your way up to ensure all branches are
shaped.
4. Due to the height of the tree, it is recommended to shape the top section before placing it on the tree to avoid
shaping from a chair or ladder.
5. Consult the product photo of the tree during shaping. On each branch, begin with the tips closest to the pole and
work your way to the end of the branch by fanning out the left and right tips from the center tips to resemble a
peacock’s fanned tail. Offset the tip from the tip before to hide the tree’s pole and fill spaces. Continue spreading
the tips until they resemble that of a real tree.
6. After shaping the whole tree, step back and take an overall look. Shift branches to fill any gaps. Your tree is now
ready to decorate and enjoy!
CLEANING &CARE
As you will be using the artificial Christmas tree every year, it is essential to keep it in good condition and clean.
Fig. B
Fig. A

3 of 4
•Dust gently using a soft cloth or fabric duster.
•Do NOT use any chemicals or solvents to clean.
•Handle the light sets gently. Do NOT pull or tug light sets as this may inadvertently loosen the bulb.
•Follow all Storage and Safety Instructions.
STORAGE
1. Remove any ornaments and decorations that were added by you and did not come with the tree.
2. Unplug the tree from the power source in your home and disconnect the plug connection between each tree
section.
3. Starting with the top, separate each tree section and stand gently, being sure not to roughly handle as it could
cause damage to the parts. TIP: If there is difficulty separating the tree sections, apply a small amount of
lubricant where the poles join.
4. Compress each tree section by turning it upside down and squeezing the branches together so that it will fit
more easily into the storage box or container. You can also tie a ribbon or cord around the sections to secure
the branches closer together for storage.
5. Place all the parts gently back into the storage box. The box will help prevent the tree from being damaged
should it get bumped in your garage, basement, or other storage location. Tape the box shut to keep out any
dust or insects. When packing up the tree, please ensure that there is no undue strain or stress on the light sets
to ensure they do not get cut, frayed, or damaged.
6. Be sure to store the tree in a cool, dry area free of water and moisture to prevent mold and mildew from
accumulating and a musty odor developing. Exposing your tree to excessive heat or humidity may damage your
tree. DO NOT STORE TREE IN A DAMP AREA OR IN AN AREA WHERE THE TEMPERATURE EXCEEDS 100ºF. STORE
THE CARTON FLAT AND NOT UPRIGHT ON ITS SHORT END.
TROUBLESHOOTING GUIDE FORLIGHTS
If your lights are not working, following are some troubleshooting steps to try:
1. Check that the power plug is properly connected to your wall outlet or other power source and tap the foot pedal.
2. Check that there is power to the wall outlet or power source.
3. Check that all the plugs within the tree are securely connected and positioned correctly. Plugs are keyed to fit one
direction only with the flat section of the female plug matching up to the flat section of the male plug.
NOTE: LED bulbs are permanent and cannot be removed from the light sets.
IMPORTANT SAFETY
PLEASE READ AND FOLLOW ALL SAFETY INSTRUCTIONS AND WARNING TAGS INCLUDED WITH THIS TREE.
SAVE FOR FUTURE USE. THIS TREE IS SAFE FOR INDOOR USE ONLY.
• Do not operate this product if the power cord or plug is damaged. Always inspect light sets and electrical cords for
signs of damage or wear. If there are any observable defects, immediately dispose of them and replace it with one
that is in working order.
• Do not immerse the tree or any of its components in water or other liquids.
• Be careful not to overload electrical circuits and do not string more than the manufactured recommended number
of light set cords together.
• This seasonal use product is not intended for permanent installation or use.
• This product is not intended for commercial purposes.
• Do not secure the wiring of this product with staples or nails or place on sharp hooks or nails.
Female Plug Flat Section
Male Plug Flat Section

4 of 4
• Do not alter the construction of the wiring in anyway.
• Do not let lamps rest on the supply cord or on any wire.
• Unplug the product when leaving the house, retiring for the night or if left unattended.
• This is an electrical product - not a toy! To avoid risk of fire, burns, personal injury and electric shock, it should not
be played with or placed where small children can reach it.
• Do not use this product for anything other than its intended use.
• Do not hang ornaments or other objects from the cord, wire, or light string.
• Do not close doors or windows on the product or extension cords as this may damage the wire insulation.
• Do not cover the product with cloth, paper, or any material not part of the product when in use.
• Do not mount or support strings in a manner that can cut or damage the wire insulation.
• Do not mount or place near gas or electric heaters, fireplaces, candles, or other similar sources of heat.
• Do not place your tree where it is likely to wobble due to uneven floors or thick carpeting. Place tree on a level,
hard, flat surface.
• This product should not be used with a voltage converter.
FCC
STATEMENT
This device complies with Part 15 of the FCC rules. Operation is subject to the following two conditions:
(1) This device may not cause harmful interference, and
(2) This device must accept any interference received, including interference that may cause undesired operation.
NOTE: This equipment has been tested and found to comply with the limits for a Class B digital device, pursuant to Part
15 of the FCC Rules. These limits are designed to provide reasonable protection against harmful interference in a
residential installation. This equipment generates, uses, and can radiate radio frequency energy and, if not installed and
used in accordance with the instructions, may cause harmful interference to radio communications. However, there is
no guarantee that interference will not occur in a particular installation. If this equipment does cause harmful
interference to radio or television reception, which can be determined by turning the equipment off and on, the user is
encouraged to try to correct the interference by one or more of the following measures:
• Reorient or relocate the receiving antenna.
• Increase the separation between the equipment and receiver.
• Connect the equipment into an outlet on a circuit different from that to which the receiver is connected.
• Consult the dealer or an experienced radio/TV technician for help.
WARNING: Changes or modifications to this unit not expressly approved by the party responsible for compliance could
void the user’s authority to operate the equipment.
CANADA ICES-003 STATEMENT
This Class B digital apparatus complies with Industry Canada Standard ICES-003. Operation is subject to the following two
conditions:
(1) this device may not cause harmful interference, and
(2) this device must accept any interference received, including interference that may cause undesired operation.
CUSTOMER
SERVICE
THANK YOU FOR YOUR PURCHASE!
Comments or questions?
Contact us at 1-877-359-0115
customerservice@haute-decor.com
Haute Decor
PO Box 1594
©2021 Haute Decor
Made in China
Table of contents
Other HD Artificial Pine Tree manuals
Popular Artificial Pine Tree manuals by other brands
LIVARNO home
LIVARNO home 376148 2101 Installation, operating and safety information
Heitronic
Heitronic 39570 Installation and operating instructions
Home Accents Holiday
Home Accents Holiday TG76M3P08D22 manual

Polygroup
Polygroup Home Heritage TG7000GHDL01 Assembly instructions

Polygroup
Polygroup GROW & STOW Assembly and care instructions
oneConcept
oneConcept 10029261 quick guide
