HIK VISION HK-DVDRW User manual

DVR/NVR DVD-RW Drive Installation Guide 1
Hikvision USA Inc., 08 Canada Court, City of Industry, CA 1748, USA
Hikvision Canada, 4485 Dobrin, St-Laurent, Quebec, Canada, H4R 2L8
Tel: +1- 0 -8 5-0400 • Toll Free in USA: +1-866-200-66 0 • E-Mail: sales.usa@hikvision.com • www.hikvision.com
© 2016 Hikvision USA Inc. • All Rights Reserved • Specifications subject to change without notice. 021716NA
DVR/NVR DVD-RW
Installation Guide
(Model HK-DVDRW)
For the Following Hikvision NVR/DVR Models:
DS- 616NI-ST, DS- 632NI-ST, DS- 664NI-ST,
DS- 632NI-I8, DS- 664NI-I8,
DS 008HWI-ST, DS- 016HWI-ST

DVR/NVR DVD-RW Drive Installation Guide 2
Hikvision USA Inc., 08 Canada Court, City of Industry, CA 1748, USA
Hikvision Canada, 4485 Dobrin, St-Laurent, Quebec, Canada, H4R 2L8
Tel: +1- 0 -8 5-0400 • Toll Free in USA: +1-866-200-66 0 • E-Mail: sales.usa@hikvision.com • www.hikvision.com
© 2016 Hikvision USA Inc. • All Rights Reserved • Specifications subject to change without notice. 021716NA
Contents
Installing a Hikvision (HK-DVDRW) DVD-RW Drive into a DVR or NVR 3
9000/9600 Series 3
Remove DVR/NVR Top Cover 3
Remove Left Bracket 4
Unmount PCB 6
Attach the DVD-RW Drive 7
Reassemble the DVR/NVR 8
300 Series 9
Remove Enclosure 9
Attach Drive Brackets 9
Reassemble the DVR 9

021716NA
Installing a Hikvision (HK-DVDRW) DVD-RW Drive into a DVR or NVR
9000/9600 Series
The Hikvision 000 Series and 600 Series of Digital Video Recorders (DVRs) and Network Video
Recorders (NVRs) support a DVD-RW drive to read and write data. The DVD-RW drive installs in
two specific, empty hard drive bays.
Remove DVR/NVR
Top Cover
1.
Remove power from the DVR/NVR.
2. Remove and retain the two (2) screws on the back of the DVR/NVR case.
Figure 1 DVR/NVR Back Case Screws
3
.
Remove and retain the three (3) screws on
each
side of the DVR/NVR
case
.
Figure 2 DVR/NVR Right Side Case Screws
Figure 3 DVR/NVR Left Side Case Screws

DVR/NVR DVD-RW Drive Installation Guide 4
021716NA
Remove
DVR/NVR Top Cover
(continued)
4
.
Remove DVR/NVR
case
.
Figure 4 DVR/NVR with Case Removed
Remove Left Bracket
NOTE: DVD-RW drive must be mounted only in the space
created by the two left-most drive bays.
1. Flip the DVR/NVR over to reach the bottom screws.
2. Remove and retain the four (4) screws from the bottom of the DVR/NVR.
3. Remove and disregard the two (2) screws inside the DVR/NVR where the metal brackets are
located.
Figure 5 DVR/NVR Bottom Screws
4. Remove and disregard the two (2) left drive bracket screws from the inside top frame.

DVR/NVR DVD-RW Drive Installation Guide 5
021716NA
Remove Left Bracket
(continued)
Figure 6 Left Drive Bracket Screws on Inside Top Frame
Figure Left Drive Bracket
5. Remove and discard the left bracket.
Figure 8 Left Drive Bracket Removed

DVR/NVR DVD-RW Drive Installation Guide 6
021716NA
Remove Left Bracket
(continued)
Figure 9 Left Two Drive Bays with Drive Bracket Removed
Unmount
PCB
Unmount the internal printed circuit board (PCB) as follows:
1. Remove and retain the two (2) screws from the internal 8-bay PCB.
Figure 10 Removing Screws from the 8-Bay PCB
2
.
Looking at the PCB from behind the DVR/NVR remove the rightmost PCB power harness
connector and the second SATA connector from the right.
Figure 11 PCB SATA Connector and Power Harness

DVR/NVR DVD-RW Drive Installation Guide 7
021716NA
U
nmount
PCB
(continued)
3
.
Slide the PCB up and away to detach.
Figure 12 Detaching the 8-Bay PCB Aside
Attach
the
DVD-RW Drive
1
.
Pull down the front panel to allow access to the drive bays.
2. Insert and position the DVD-RW drive into the space created by removing the left drive
bracket. The DVR/NVR front panel swing-down door should allow direct access to the DVD-
RW drive extendable disk tray.
Figure 13 Attaching the DVD-RW
3
.
Use the bottom
bracket screws to fasten the DVD
-
RW drive to the bottom of the drive bay.
Figure 14 DVD-RW Drive Cables
4. Feed the PCB power harness and SATA cables under the PCB and connect them securely to
the DVD
-
RW
drive
.

DVR/NVR DVD-RW Drive Installation Guide 8
021716NA
Reassemble
the DVR/NVR
1
.
Re
-
attach the PCB to the DVR/NVR.
2. Close the front panel.
3. Re-attach the top cover to the DVR/NVR.
- Affix the three left panel screws
- Affix the three right panel screws
-
Affix the two back panel screws
Figure 15 Reassembled DVR/NVR
4. Apply power to the DVR/NVR and test the DVD-RW drive to ensure that it functions properly,
both mechanically and electronically.

DVR/NVR DVD-RW Drive Installation Guide
021716NA
300 Series
Add a DVD
-
RW drive to Hikvision’s 7300 Series of DVRs as
follows:
Remove
Enclosure
1.
Remove power from the DV
R
.
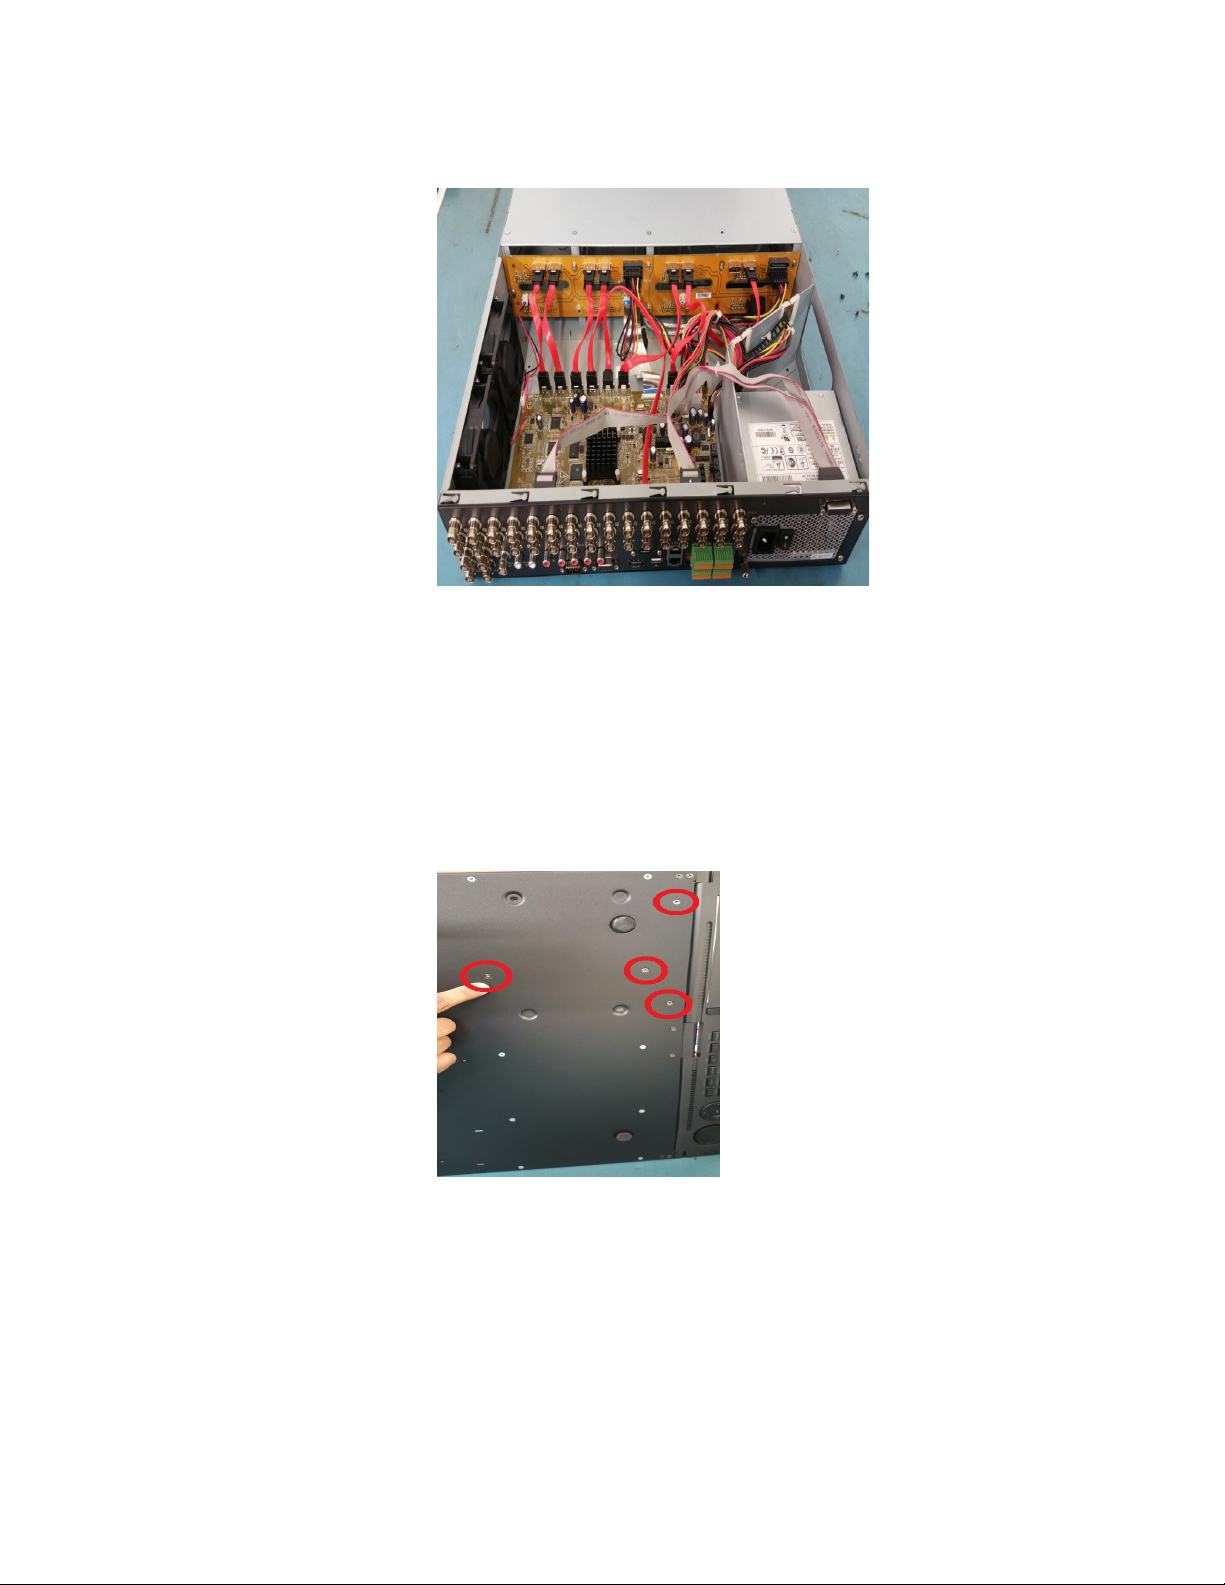
2. Remove the screws holding the DVR cover to the chassis.
3. Remove the cover from the chassis.
Attach
Drive Brackets
1.
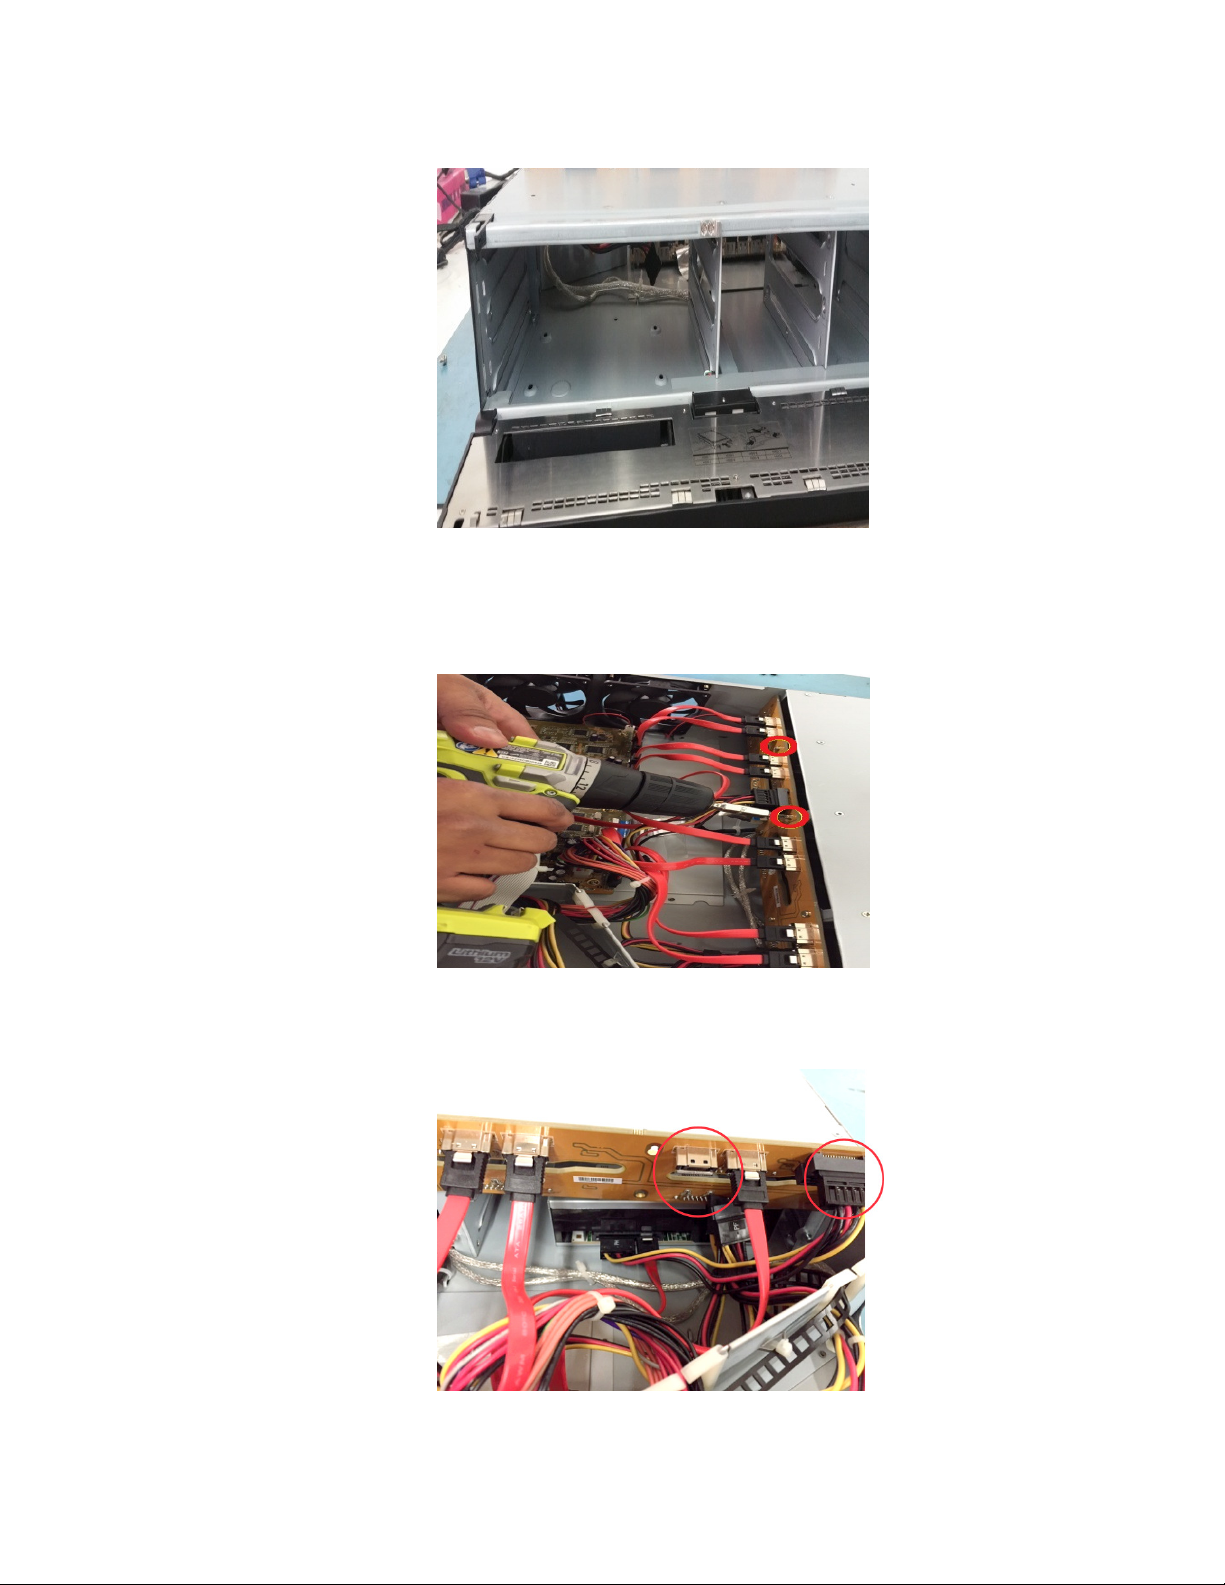
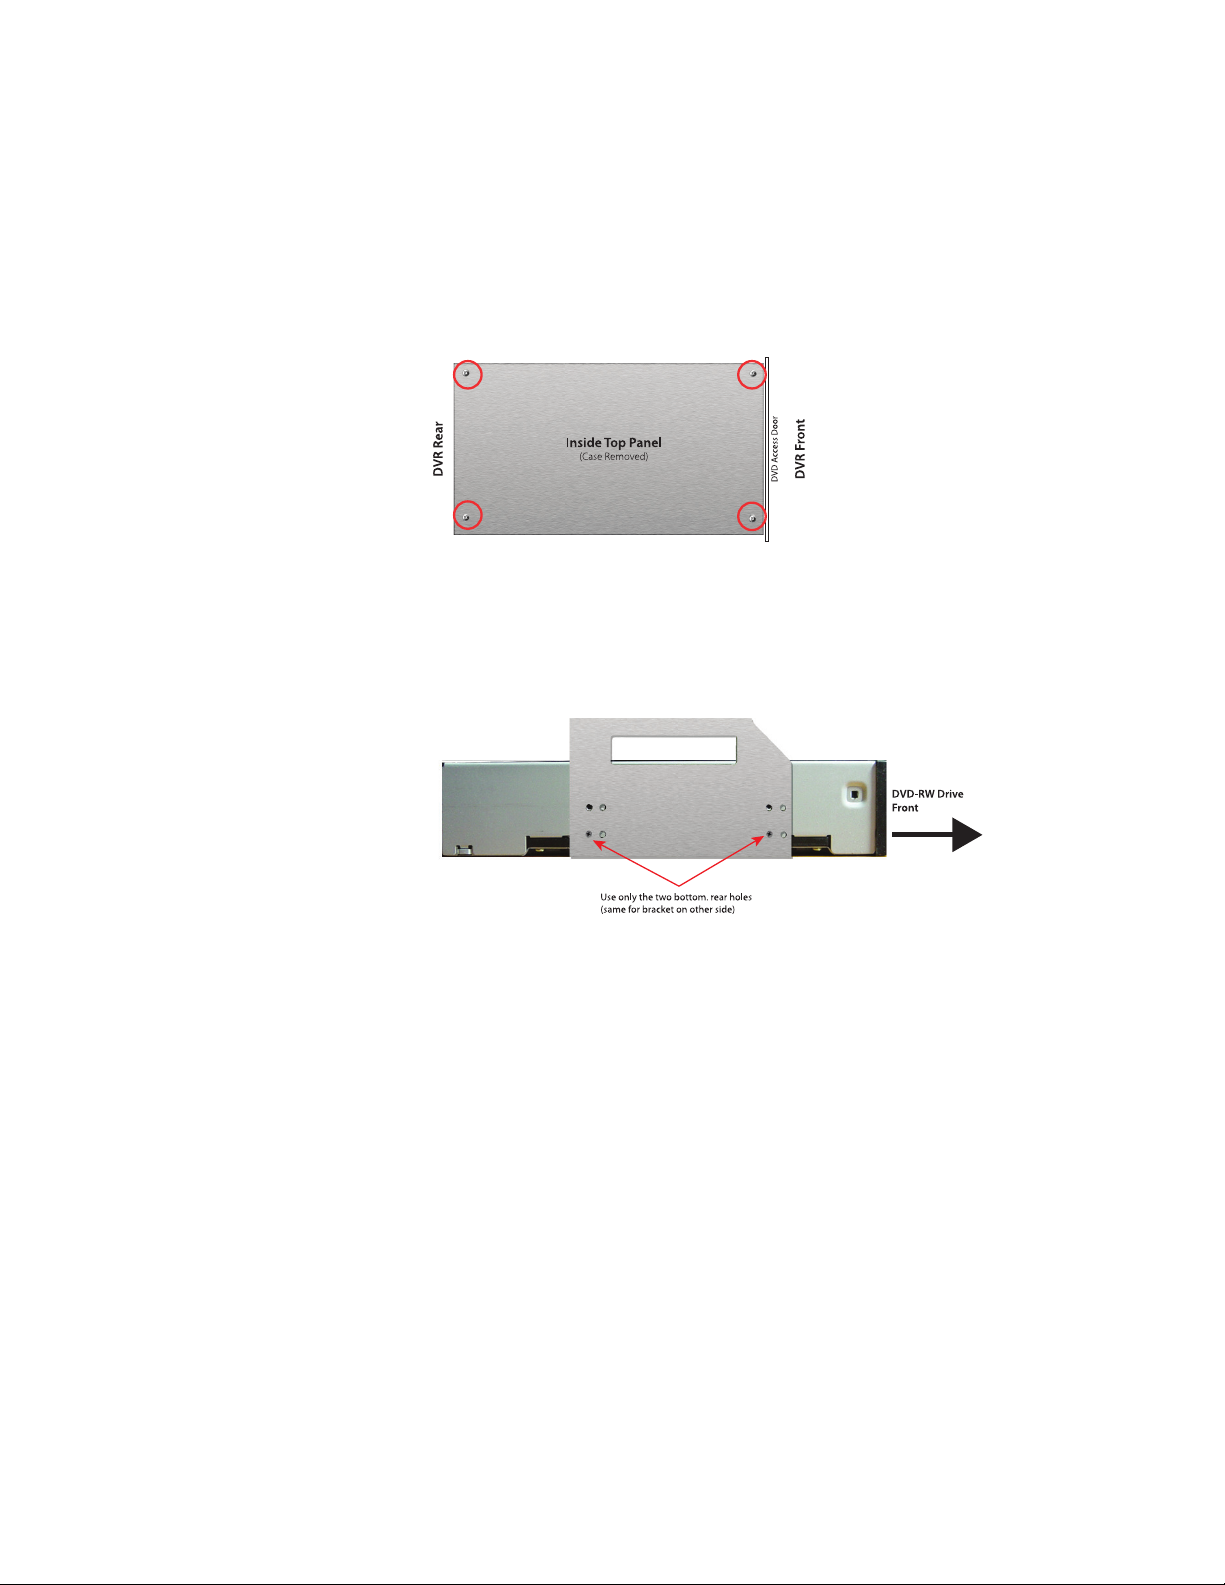
Remove the two drive brackets be
hind the DVR DVD
-
RW door
by unscrewing the four screws
holding the brackets to the top panel.
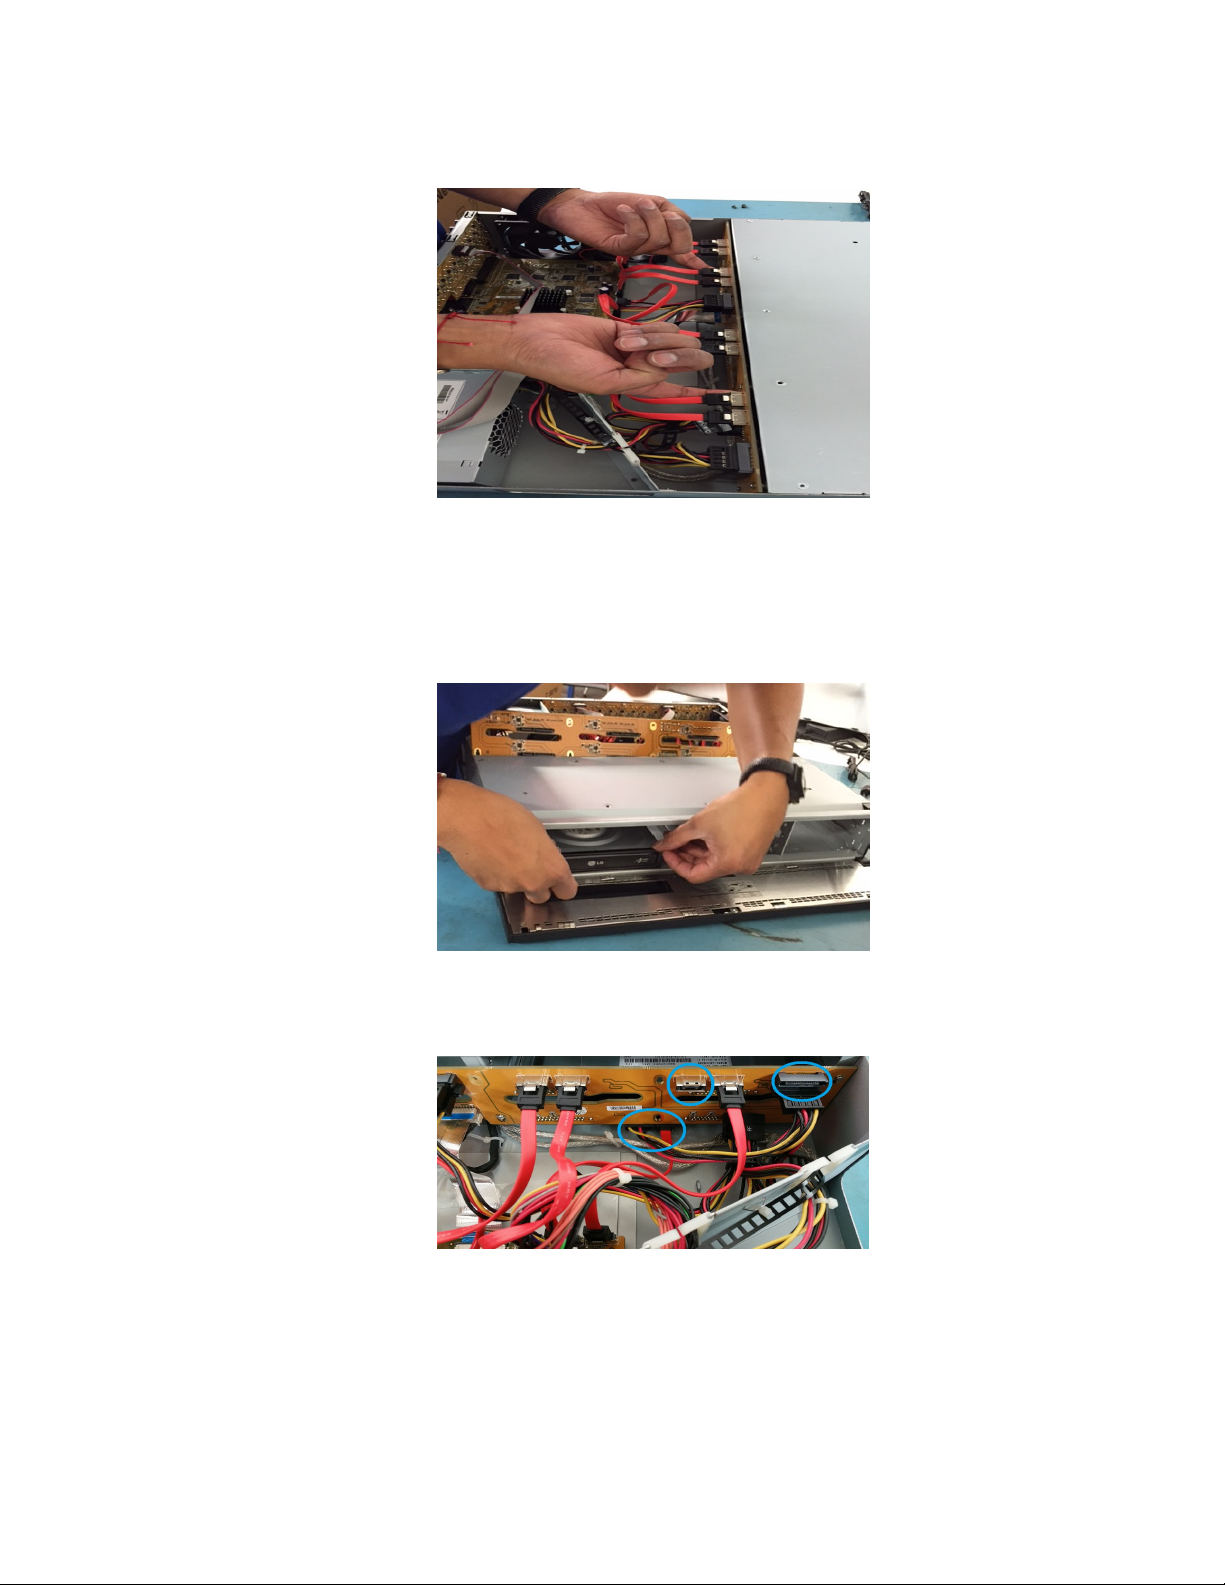
2. Screw one bracket to each side of the DVD-RW drive using two screws on each side (use only
the two bottom, rear screw holes).
3. Screw the two brackets, now holding the DVD-RW drive, back onto the top panel. Ensure the
DVD-RW drive door faces the front of the DVR.
Rea
ssemble
the DVR
1.
Connect
the
power harness and SATA cable
securely to the DVD
-
RW
drive
.
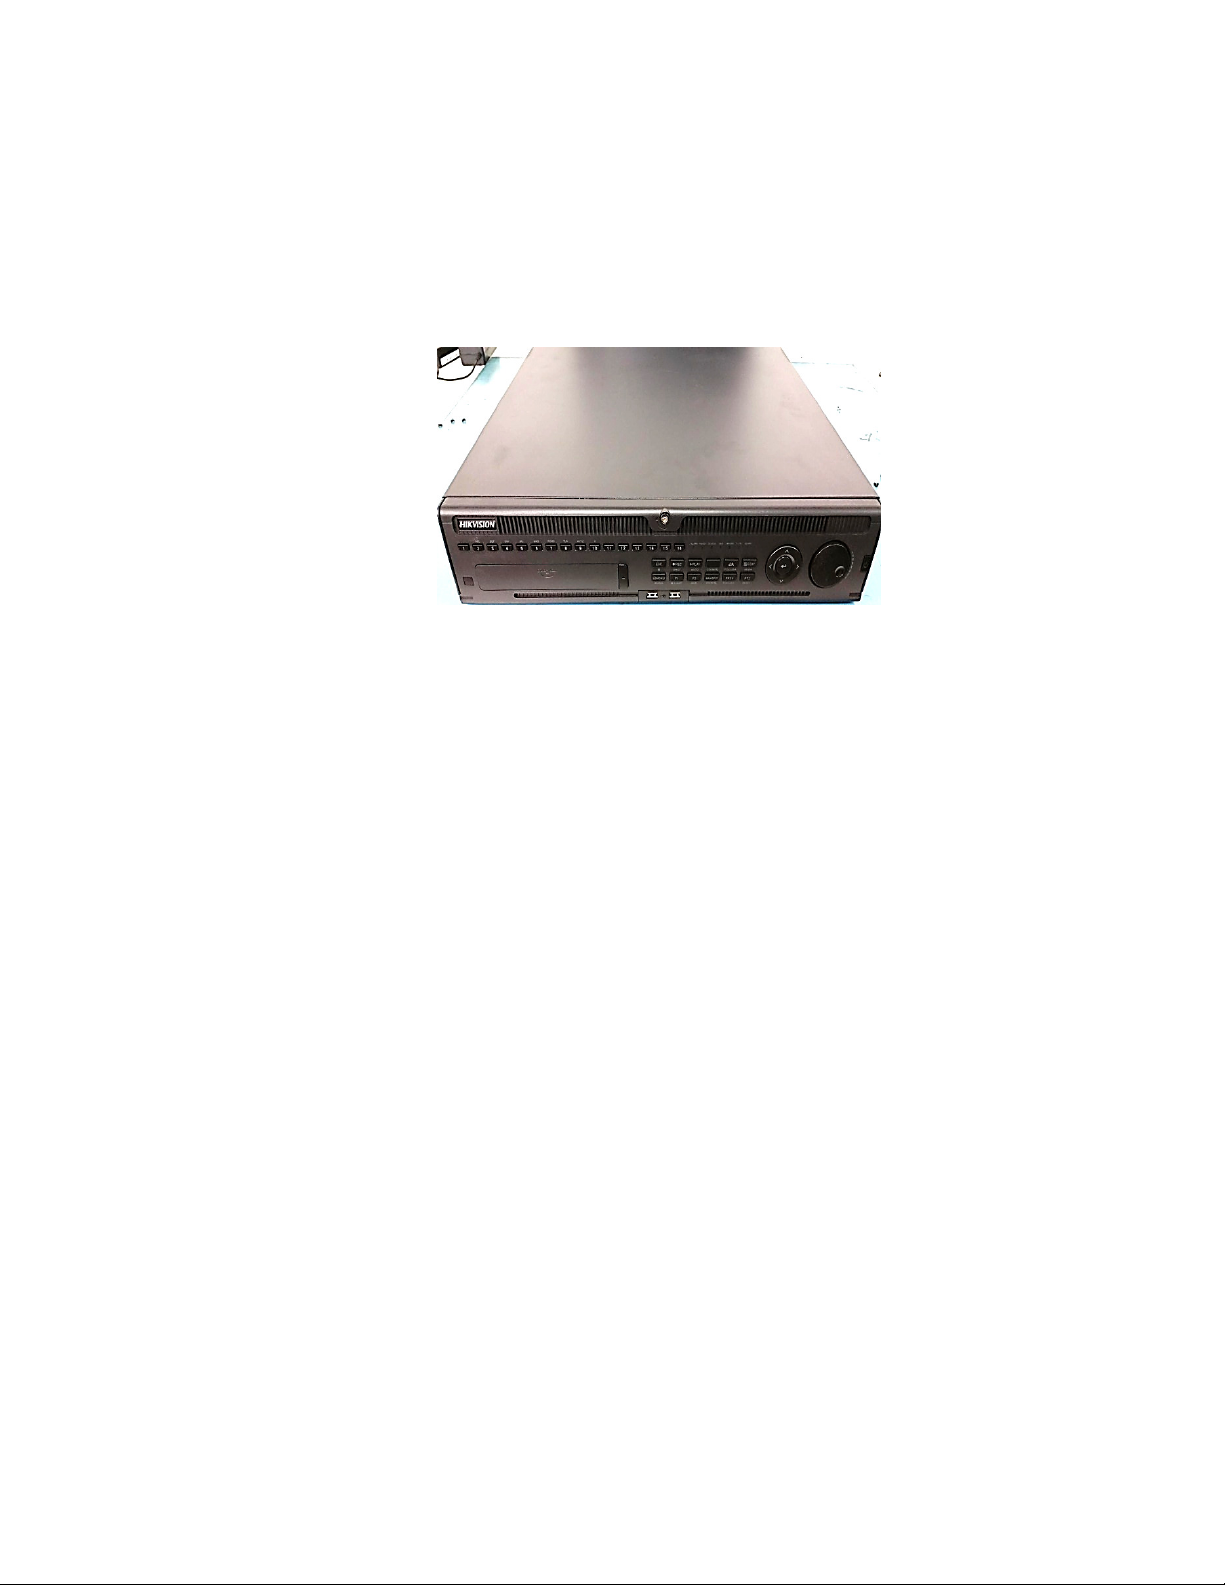
2. Reattach the cover to the chassis.
3. Apply power to the DVR and test the DVD-RW drive to ensure that it functions properly, both
mechanically and electronically.
Figure
16
(
Partial
Top View, Case Removed)
Remove Four Screws to Detach Brackets from Top Panel
Figure
1
(Side View)
Attach
Brackets to DVD
-
RW Drive
with Two Screws per Bracket
(Use Only the Two Bottom, Rear Screw Holes)