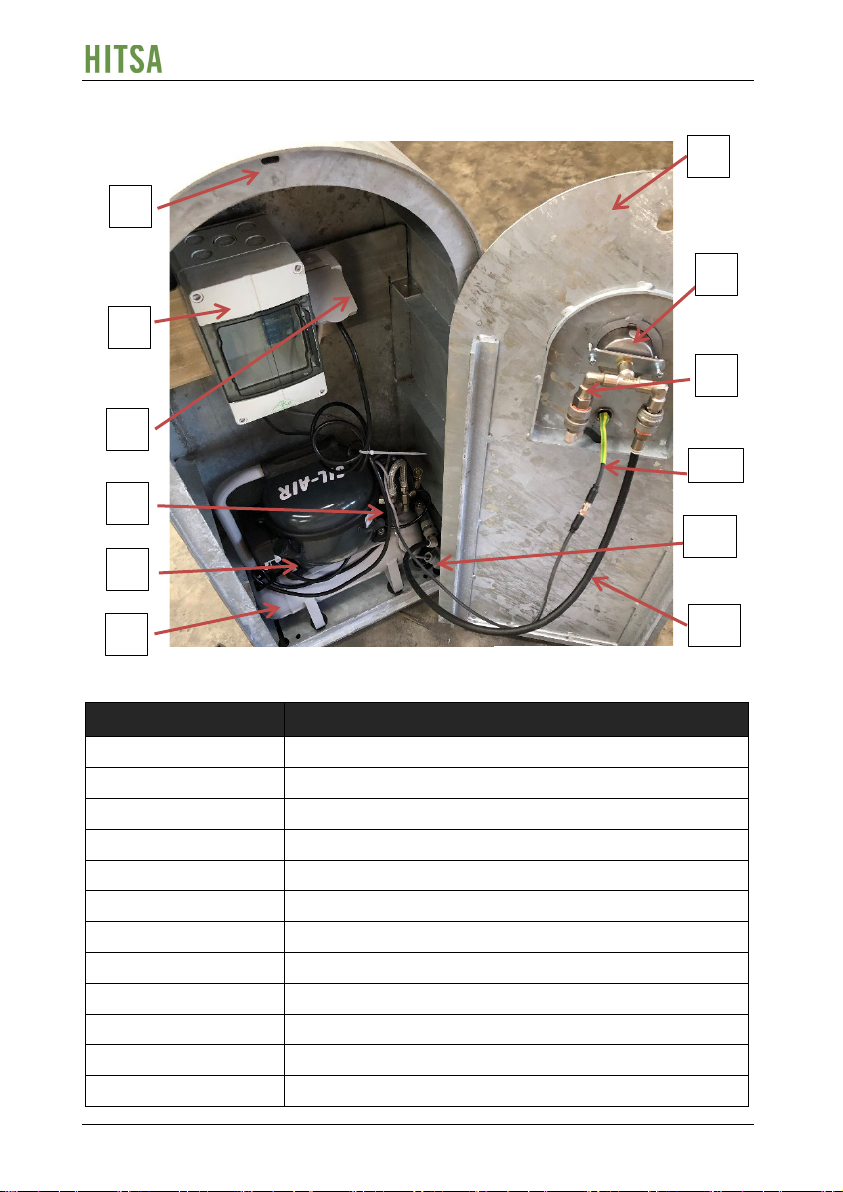
HITSA BORCH Compressor Pump
SAFETY INFORMATION
IMPORTANT: Read these instructions before product installation and operation
Before product installation and operation, please read the following safety
information and sections in this manual concerning operation and installation. In
addition to addressing safety concerns, reading this material will also help prevent
damage to the product.
Failure to install and operate this product in accordance with this information
or using unauthorized spare parts could cause damage to the product and
could result in severe bodily injury, including death in extreme cases.
GENERAL SAFETY INFORMATION
•If this product has been damaged, the power supply should be turned off
immediately by a qualified service technician or electricity provider.
•Only qualified service technicians should carry out service on this product.
•Wear safety glasses, when servicing this product.
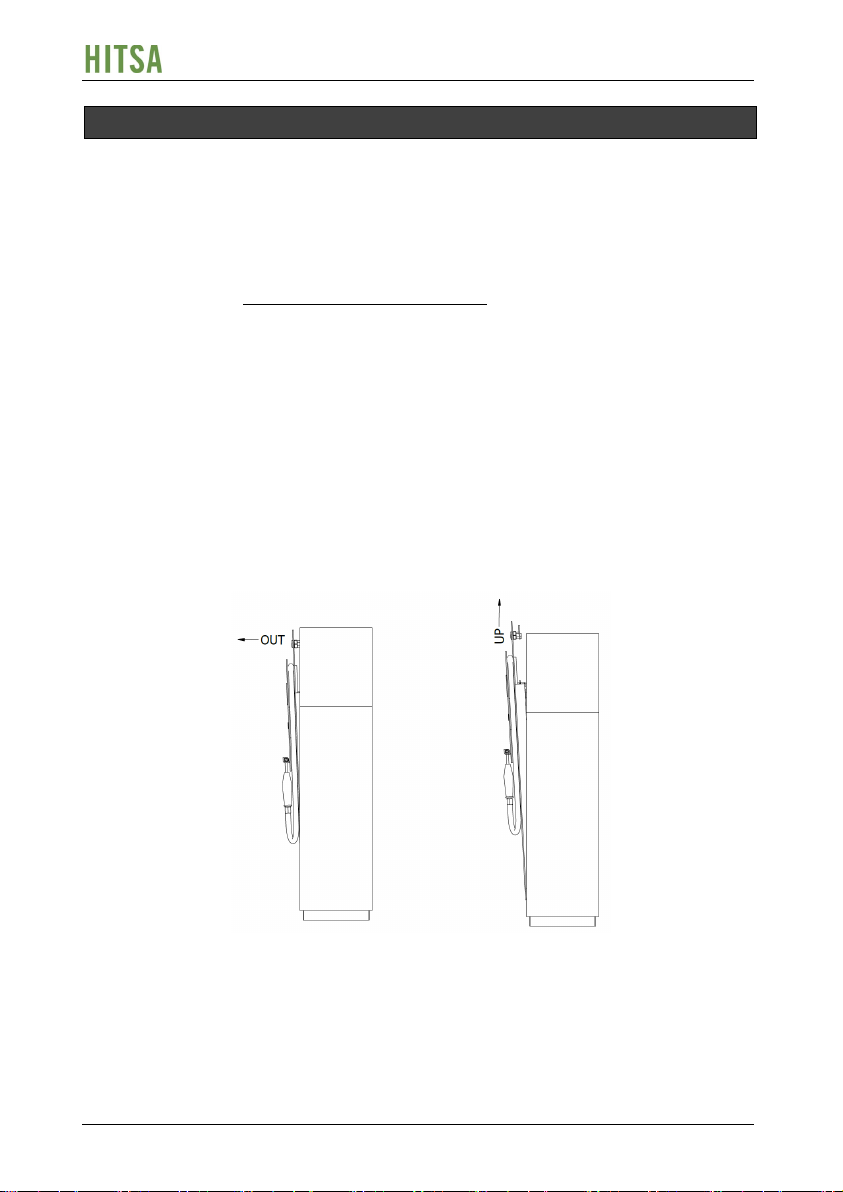
•Compressed air can be dangerous; do not direct airflow at a person's head
or body.
TO REDUCE RISK OF ELECTRIC SHOCK
•Do not use this product with electrical voltages other than those stated
under Technical Specifications.
•Do not install this product in any area where it will be subjected to above-
normal amounts of rainfall, other liquids, moisture, or areas subject to
above-normal flood risk.
•Do not attempt to service this product if it submerged in water. A qualified
service technician or electricity provider should turn off the power supply to
the product.
TO REDUCE RISK OF EXPLOSION OR FIRE
•Service and operate this product only in well ventilated areas.
•During spraying with combustible liquids risk of explosion may arise,
particularly in closed rooms.
•Do not use this product in or near explosive atmospheres or where aerosol
products are being used.
•Do not use this product in or near areas with combustible or explosive
liquids or vapors.
•Do not use this product near naked flames.
•Do not pump any other gases other than atmospheric air.
•Do not pump combustible liquids or vapors with this product.