OPERATING INSTRUCTIONS
Note: Please check battery conditions before performing a test. Low battery may cause inaccurate
results.
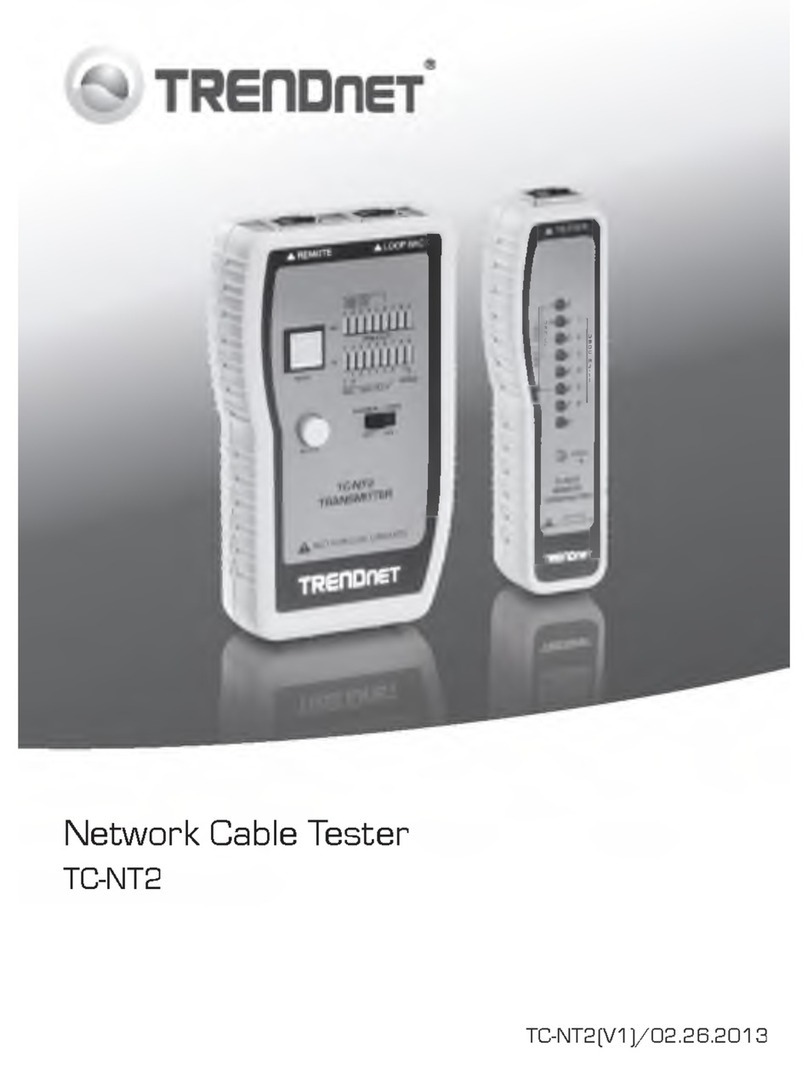
1. ON/OFF switch is located on the side.
•Every time the unit is turned on, ALL LED’s will light up for a 3 second self-test.
2. Plug one side of terminated RJ-45cable into GIGA-X RJ-45 socket at the top, regardless
of whether or not the cable is still connected to Hub/Switch/NIC.
3. Press “TEST” button once.
•“Length” and “Fault Location” LED indicators will blink sequentially to
auto-negotiate (±5 seconds) with any network devices connected to it, either
Hub/Switch or NIC.
4. The diagnostic readout immediately detects results based on testing a cable in different
scenarios:
zCable connected to active or live network device (Hub/Switch or NIC).
- Speed Status LEDs (10/100/1000 and Full/Half duplex) will light up
according to the speed of the device.
- Link Status LEDs will light up according to the pair/s connected.
(1-2 & 3-6 for 10/100 device, 1-2/3-6/4-5/7-8 for Giga device)
- If cable is shorted or open, 4-5 /7-8 LED light up on 10/100 devices
-If Crossover LED is blinking, this indicates that the device port is
auto-swappable between TR and RX
zCable is not connected to any network device / floating cable.
- Speed Status and Link Status LED’s will not show results.
- Open LEDs on pair 1-2/3-6/4-5/7-8 will light up
- If cable is shorted, Short LED will light up
- Pressing Pair Debug once will measure the length of each pair indicated by
blinking LED.
zCable connected to a network device using crossover cable.
- Crossover LED will light up solid on pair 1-2/3-6 (10/100 device), or
1-2/3-6 & 4-5/7-8 (Giga device)
- If the Alpha-Numeric LED shows “CON”, this means that the cable length
is unable to be determined or that you are connected to a network device
that runs in 10BASE-T and Half-duplex mode.
