[3]
3. ASSEMBLY OVERVIEW
Assembling the Hardrock-50 amplifier kit should be an enjoyable and rewarding experience. If at any
time you feel frustrated or are having difficulty, take a break, ask questions on the forum or email,
remember that if you are having a problem with something there’s a good chance that someone else
has had the same issue. We have a “no questions asked” replacement part policy, so if you lose a part
or need an extra length of wire of find something missing and email is all it will take to get you a
replacement.
The assembly is organized into the following subassemblies:
•Front Paned PCB
•Back Panel PCB
•Inductors and Transformers
•Amplifier PCB
•Final Assembly
•Test and Alignment
They are presented in this order as you need all of the PCBs to proceed to final assembly and you need
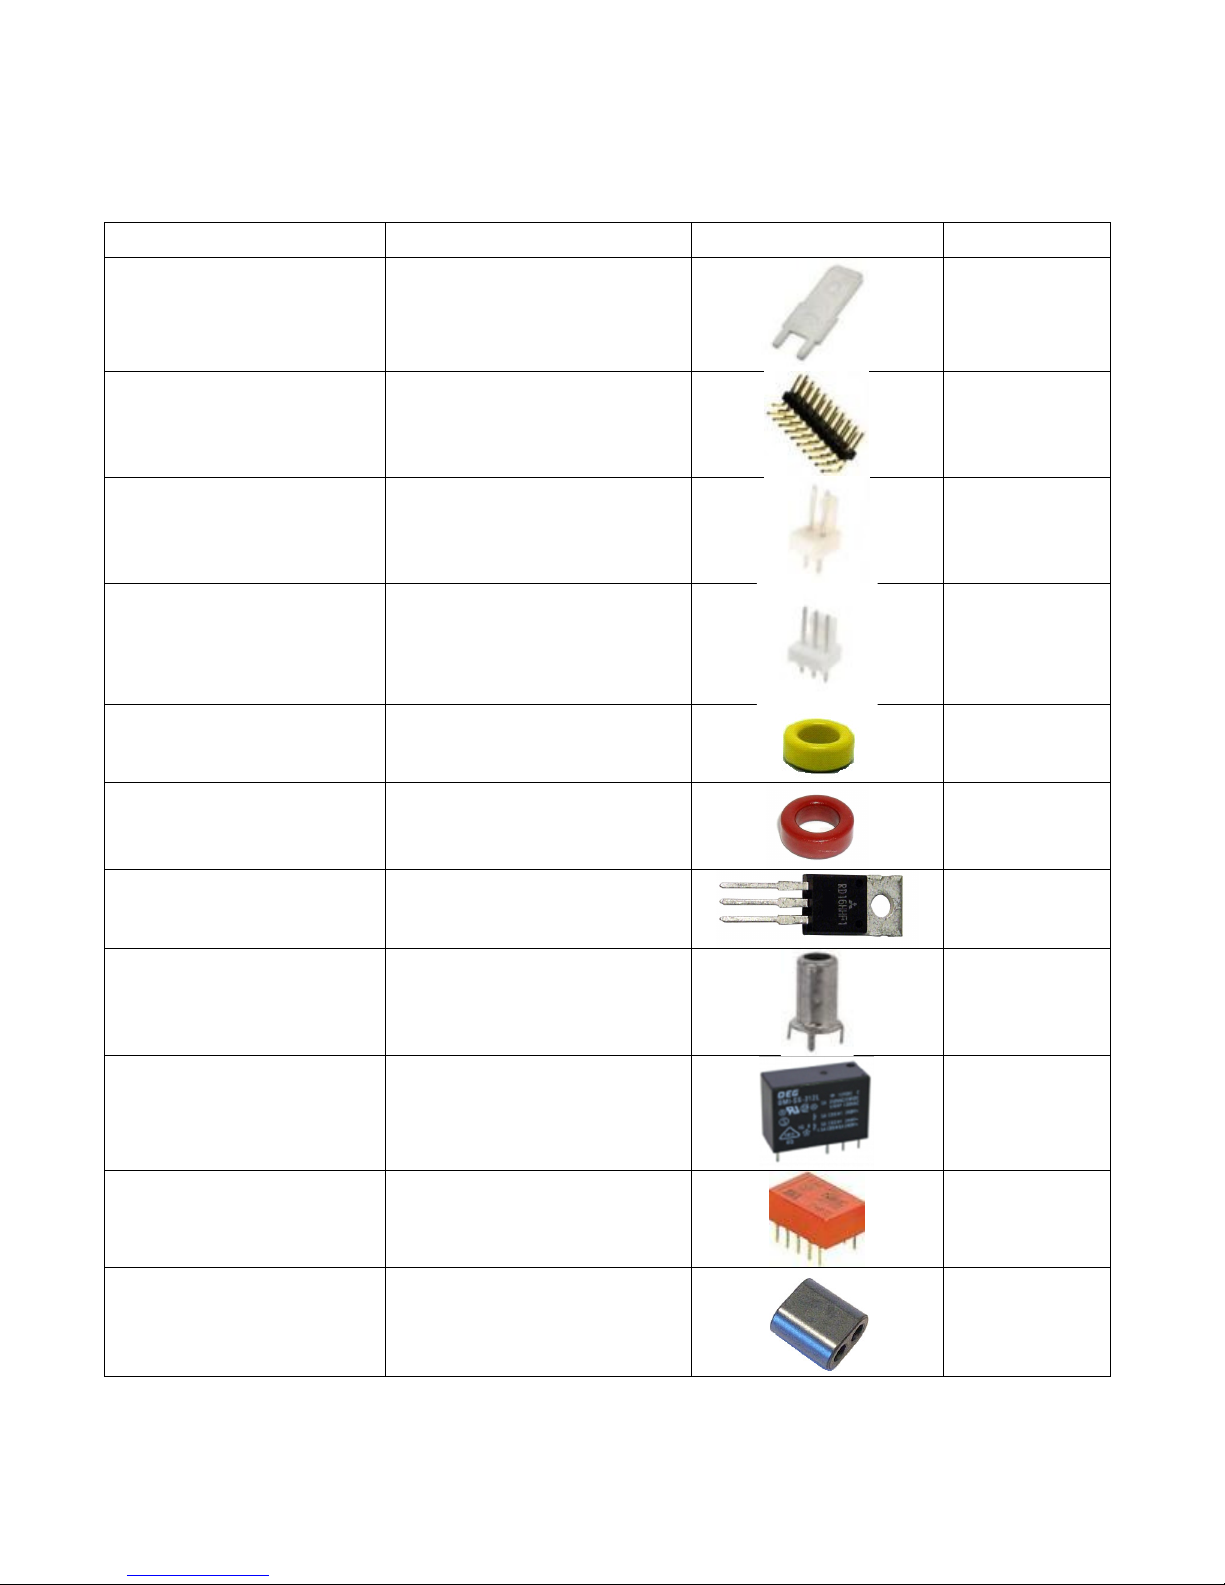
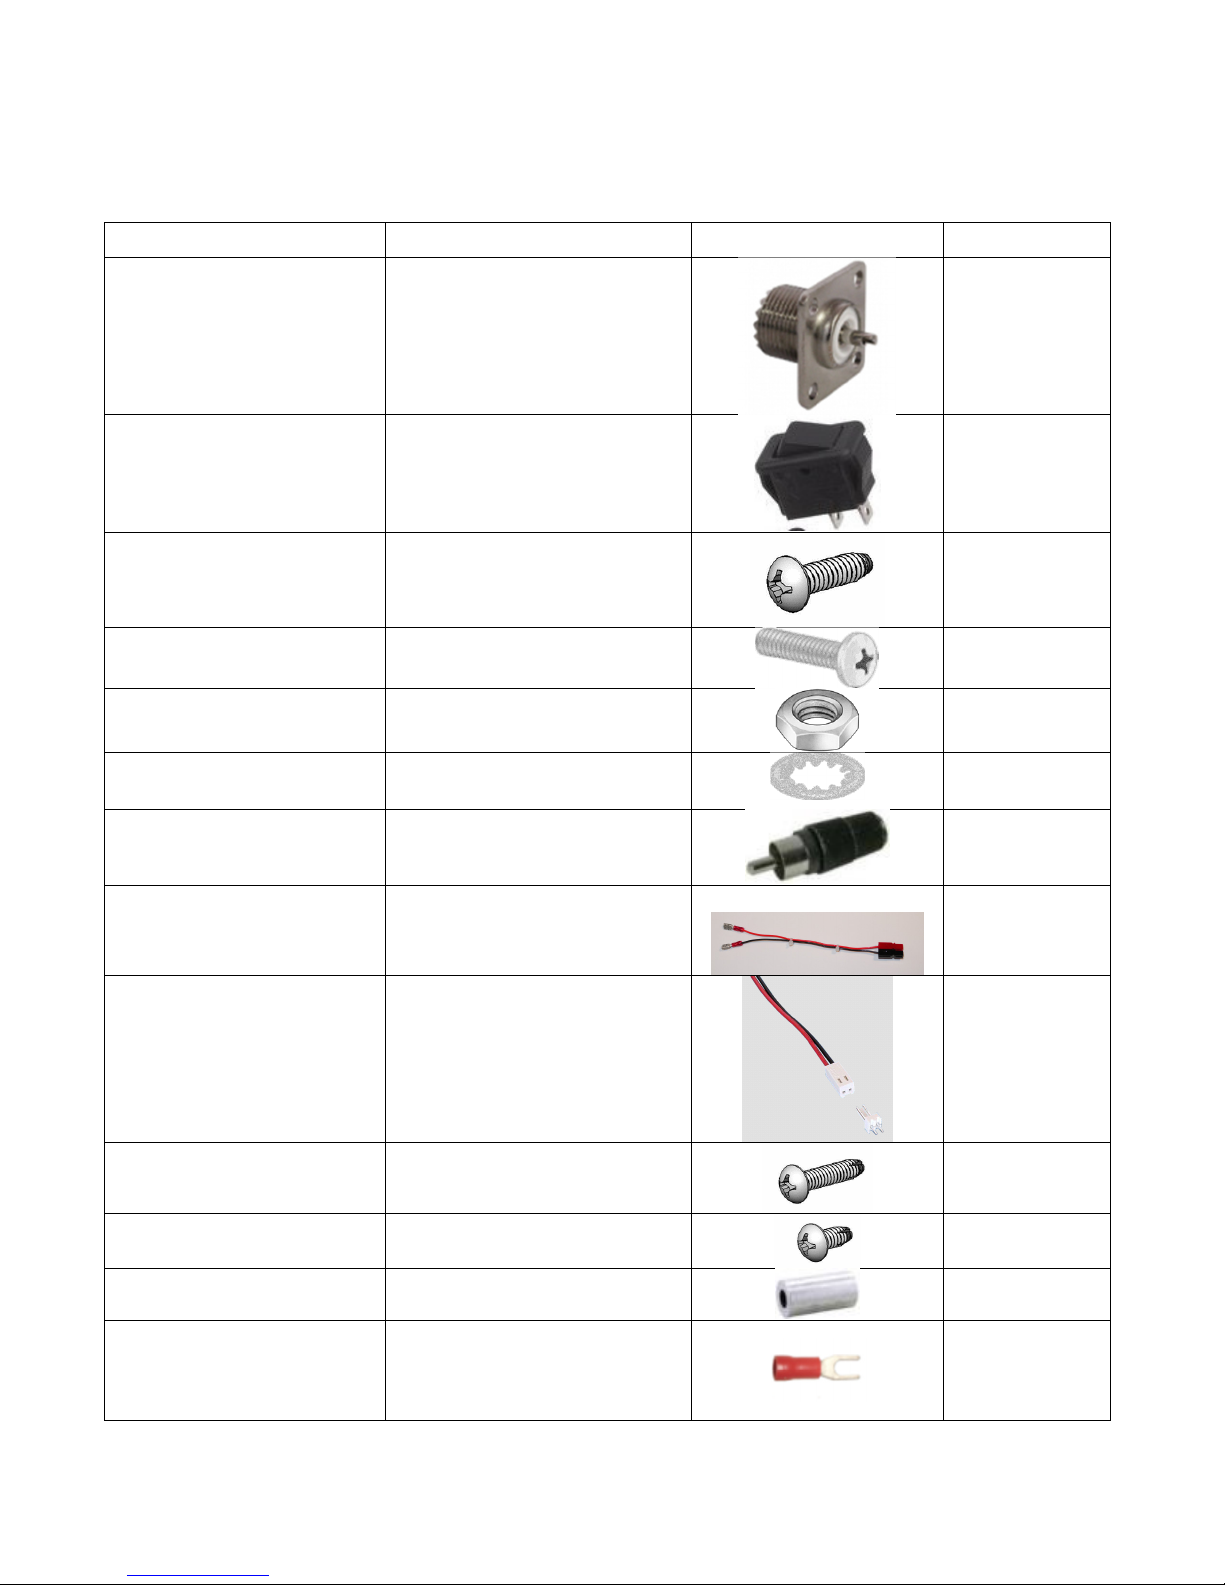
the inductors and transformers to build the amplifier PCB. The inventory information is the first thing
so you can make sure that nothing is missing. There are a few required tools:
•Soldering iron – A small temperature controlled unit is the best.
•Solder – Rosin core, fairly tin
•Screwdrivers – All of the screws in the kit a Philips
•Tweezers – For holding small parts and reaching tight areas
•Long-nose pliers – For general mechanical assembly and crimping pins
•¼” Nutdriver – Not essential but helps with panel assembly
•Center punch – For marking hole locations, you can use a nail if necessary
•Drill – A small press would be great but a hand drill will work
•Toothpick – For unbraiding coax
•Adjustment tool or small flat blade screwdriver – Turning pots
•Digital Multimeter – Doing resistance checks and setting bias current
•Power Supply – Powering the amp during testing
•QRP Transceiver – The reason you bought the amp in the first place
•Test Equipment and cables for Alignment listed in Section 9
Other things that could come in handy are #4 and #6 taps and a tap handle. I like to tap the holes in the
case with a #6 tap and use #6 screws rather than the M3’s I think that they fit better. Sometimes it
works better to use a tap on the #4 holes but the new screws do OK. A universal crimp tool is nice for
the crimp pins but there’s only 2 of them so make sure you plan on crimping other things before you
drop $30 on one. I like to use flux when I solder but then you’ll need some solvent too.