2
Przyciski :
MENU – z każdej pozycji wywołuje ekran Menu
głównego
Cofnij - powrót do poprzedniego kroku
Strzałki ^ v (góra / dół) - poruszanie się po ekranie
Plus (+) - wchodzenie do wybranych opcji i
zatwierdzenie nastaw
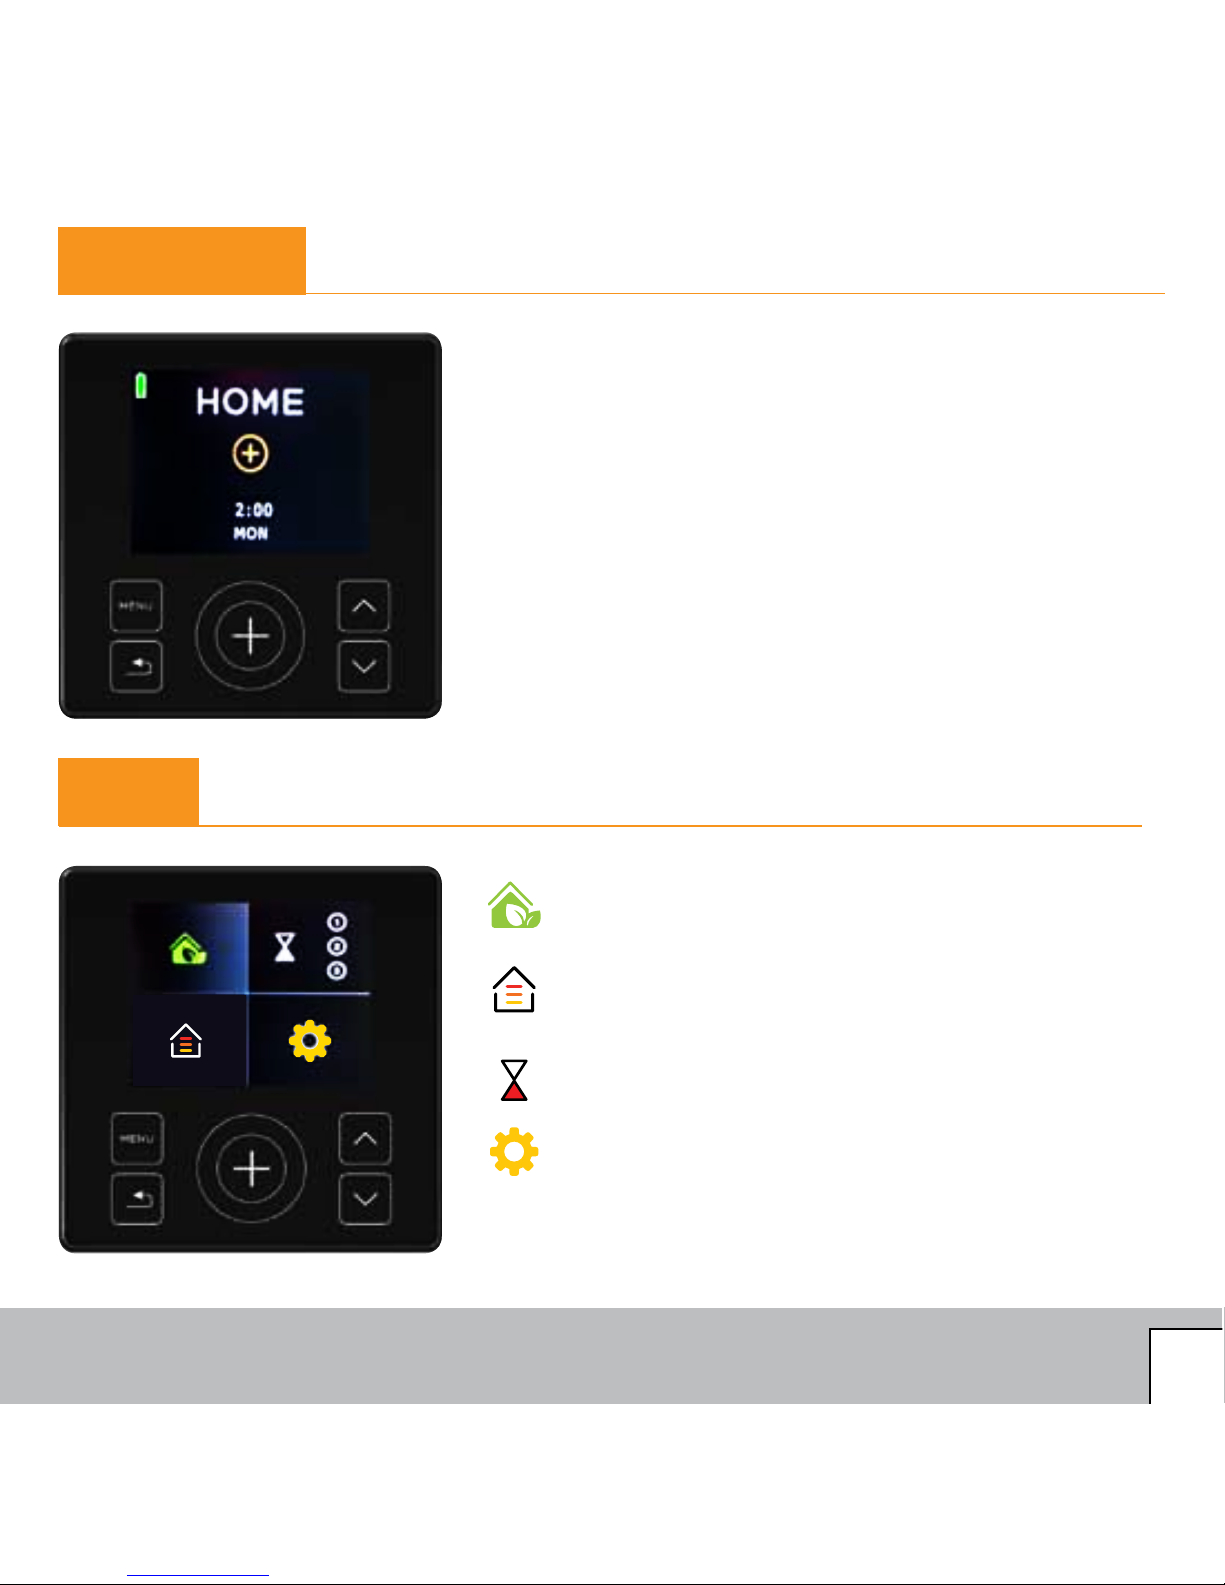
Ekran: Menu główne
Nastawa czasu :
Wchodzimy w tryb nastaw , dalej
wybieramy nastawę czasu i ustawiamy
bieżącą godzinęi dzień tygodnia,
posługując się przyciskami strzałek i plus
(+), dla zatwierdzenia i przejścia do
kolejnej pozycji nastawy.
Konfiguracja stref grzania (zony : „Z”)
Programator ma fabrycznie ustawioną „pustą” zonę 1 (Z 1) . Z ekranu Menu należy wybrać pole
Konfiguracji (trybik) ,
zatwierdzić plusem (+)
2
Przyciski :
MENU – z każdej pozycji wywołuje ekran Menu
głównego
Cofnij - powrót do poprzedniego kroku
Strzałki ^ v (góra / dół) - poruszanie się po ekranie
Plus (+) - wchodzenie do wybranych opcji i
zatwierdzenie nastaw
Ekran: Menu główne
Nastawa czasu :
Wchodzimy w tryb nastaw , dalej
wybieramy nastawę czasu i ustawiamy
bieżącą godzinęi dzień tygodnia,
posługując się przyciskami strzałek i plus
(+), dla zatwierdzenia i przejścia do
kolejnej pozycji nastawy.
Konfiguracja stref grzania (zony : „Z”)
Programator ma fabrycznie ustawioną „pustą” zonę 1 (Z 1) . Z ekranu Menu należy wybrać pole
Konfiguracji (trybik) ,
zatwierdzić plusem (+)
1
INSTRUKCJA PROGRAMATORA H+P
Dziękujemy za dokonanie zakupu naszego produktu
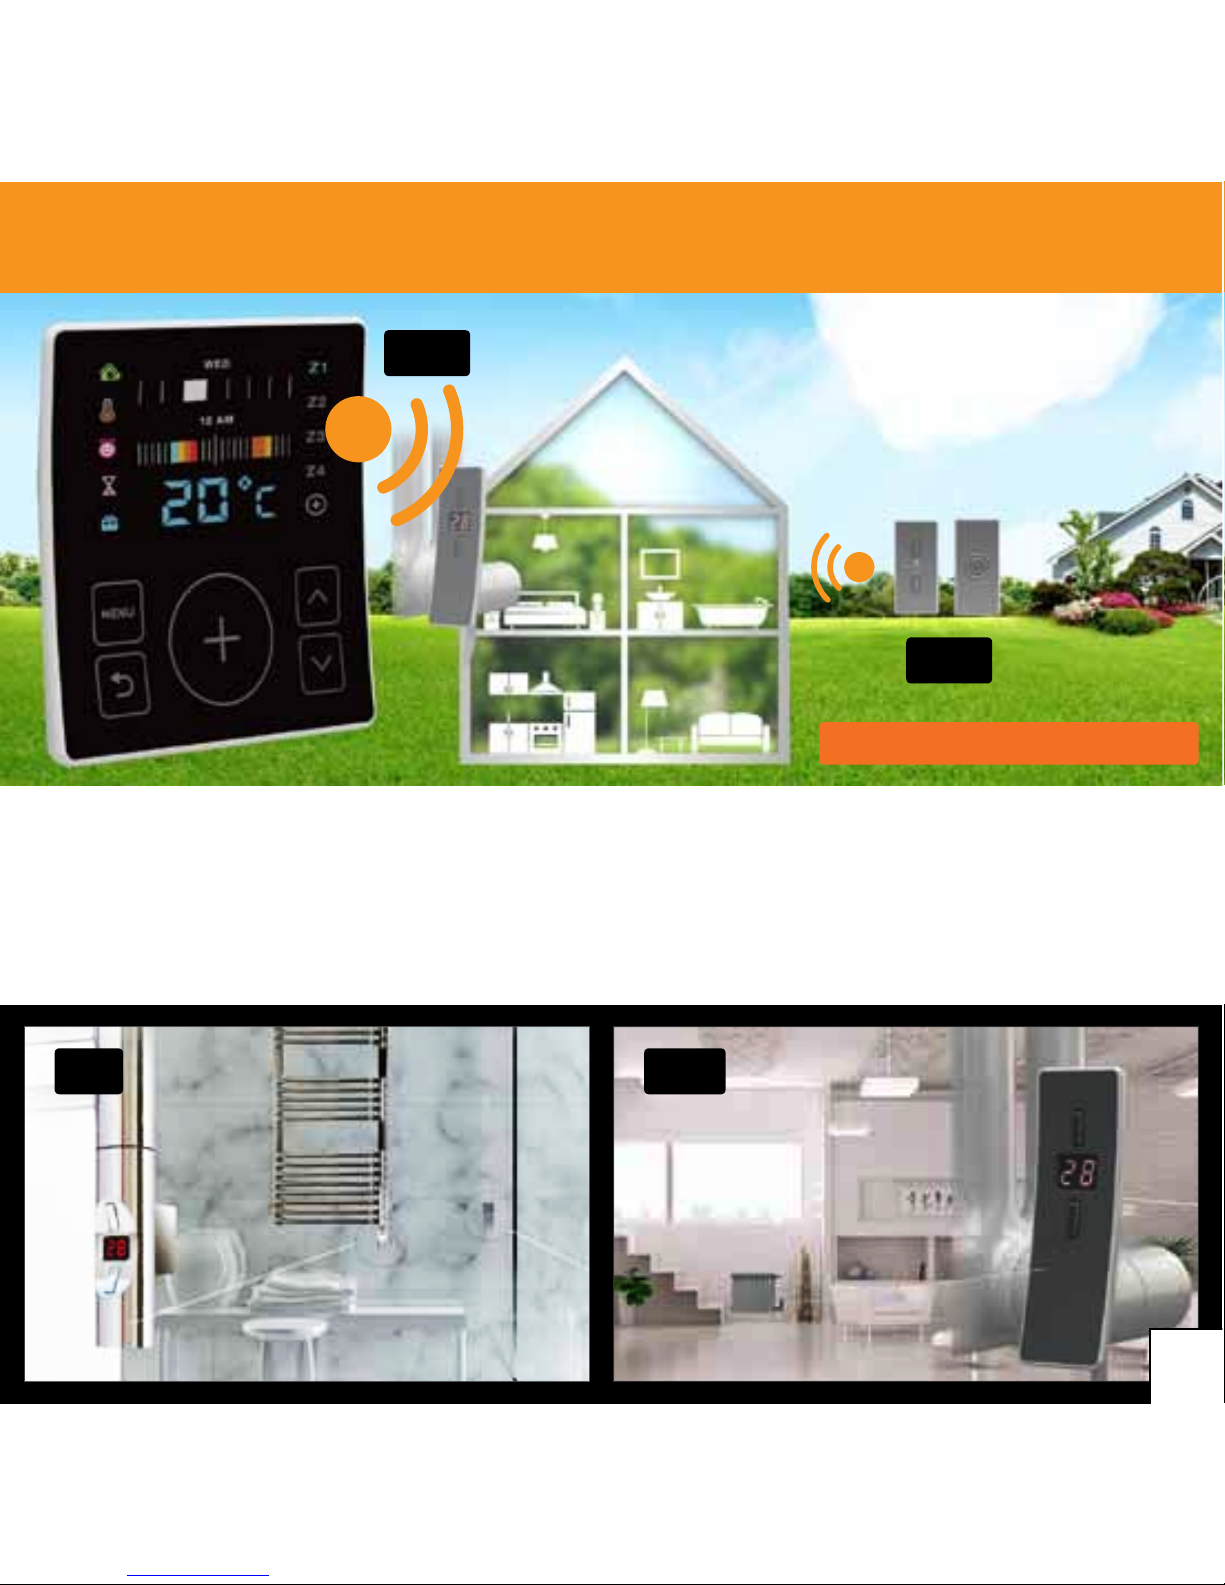
Programator H+P jest przeznaczony do zdalnego sterowania pracą sterowników
H+ i H+h , systemu HOME+.
Przed rozpoczęciem użytkowania prosimy zapoznać się z niniejszą instrukcją.
BEZPIECZEŃSTWO
Programator H+P jest zasilany z akumulatora, który jest na stałe zamontowany
w urządzeniu. Należy używać jedynie zatwierdzonego zasilacza (ładowarki),
którego typ jest podany w dalszej części Instrukcji. Użycie niezgodnej
ładowarki grozi pożarem lub eksplozją akumulatora.
Z niniejszego urządzenia mogą korzystaćdzieci powyżej 8 roku życia i osoby
o ograniczonych zdolnościach fizycznych , zmysłowych bądź umysłowych, jak
również osoby nie posiadające doświadczenia lub znajomości urządzenia ,
jeśli znajdująsię one pod nadzorem innych osób lub jeśli zostały pouczone na
temat bezpiecznego sposobu użycia urządzenia oraz zdają sobie sprawęze
związanym z nim zagrożeń.
Dzieci nie powinny bawićsię urządzeniem.
Prace związane z czyszczeniem i konserwacją nie mogą być wykonywane
przez dzieci, jeśli nie są one nadzorowane.
Urządzenie zgodne z wymogami zawartymi w Dyrektywie RED 2014/53/UE
Konserwacja:
Obudowęczyścić wilgotną szmatką , z dodatkiem delikatnych środków czyszczących.
Unikać zamoczenia obudowy.
Użytkowanie
Programator jest przewidziany do zamocowania na ścianie. Służy do tego płytka mocująca , którą
należy przymocowaćwkrętami do ściany. Płytka ma
specjalne zaczepy, na które zapina się programator.
Możliwe jest też postawienie programatora na jego
własnej podstawie. Niemniej wówczas należy
zachować ostrożność, bo upadek na podłogęmoże
skutkować uszkodzeniem wyświetlacza.
Zalecana jest lokalizacja programatora z dala od źródeł
ciepła (komin, miejsce padania promieni słonecznych) i
z dala od przeciągów (okno, drzwi)
Programator jest obsługiwany poprzez przyciski
dotykowe. Dotknięcie „+” powoduje wyjście ze stanu
uśpienia.
Na ekranie pojawi się nazwa systemu (HOME+) oraz
godzina i dzień tygodnia. W lewym górnym rogu ikona
stanu naładowania akumulatora; zielona – w pełni
naładowana
1
INSTRUKCJA PROGRAMATORA H+P
Dziękujemy za dokonanie zakupu naszego produktu
Programator H+P jest przeznaczony do zdalnego sterowania pracąsterowników
H+ i H+h , systemu HOME+.
Przed rozpoczęciem użytkowania prosimy zapoznaćsięz niniejsząinstrukcją.
BEZPIECZEŃSTWO
Programator H+P jest zasilany z akumulatora, który jest na stałe zamontowany
w urządzeniu. Należy używać jedynie zatwierdzonego zasilacza (ładowarki),
którego typ jest podany w dalszej części Instrukcji. Użycie niezgodnej
ładowarki grozi pożarem lub eksplozjąakumulatora.
Z niniejszego urządzenia mogąkorzystać dzieci powyżej 8 roku życia i osoby
o ograniczonych zdolnościach fizycznych , zmysłowych bądź umysłowych, jak
równieżosoby nie posiadające doświadczenia lub znajomości urządzenia ,
jeśli znajdująsię one pod nadzorem innych osób lub jeśli zostały pouczone na
temat bezpiecznego sposobu użycia urządzenia oraz zdają sobie sprawęze
związanym z nim zagrożeń.
Dzieci nie powinny bawićsięurządzeniem.
Prace związane z czyszczeniem i konserwacjąnie mogąbyć wykonywane
przez dzieci, jeśli nie są one nadzorowane.
Urządzenie zgodne z wymogami zawartymi w Dyrektywie RED 2014/53/UE
Konserwacja:
Obudowę czyścić wilgotnąszmatką , z dodatkiem delikatnych środków czyszczących.
Unikaćzamoczenia obudowy.
Użytkowanie
Programator jest przewidziany do zamocowania na ścianie. Służy do tego płytka mocująca , którą
należy przymocować wkrętami do ściany. Płytka ma
specjalne zaczepy, na które zapina sięprogramator.
Możliwe jest też postawienie programatora na jego
własnej podstawie. Niemniej wówczas należy
zachowaćostrożność, bo upadek na podłogęmoże
skutkować uszkodzeniem wyświetlacza.
Zalecana jest lokalizacja programatora z dala od źródeł
ciepła (komin, miejsce padania promieni słonecznych) i
z dala od przeciągów (okno, drzwi)
Programator jest obsługiwany poprzez przyciski
dotykowe. Dotknięcie „+” powoduje wyjście ze stanu
uśpienia.
Na ekranie pojawi się nazwa systemu (HOME+) oraz
godzina i dzień tygodnia. W lewym górnym rogu ikona
stanu naładowania akumulatora; zielona – w pełni
naładowana