manuals.online logo
Brands
  1. Home
  2. •
  3. Brands
  4. •
  5. Hooker ELECTRIC
  6. •
  7. Camera Accessories
  8. •
  9. Hooker ELECTRIC 1468 User manual

Hooker ELECTRIC 1468 User manual

8,500 PSI TENSILE STRENGTH THERMOPLASTIC HOUSING
Using Your Hooker
Electric Camera Housing
Read all suggestions before using the
Hooker Electric camera housing.
DEEP-DROP
1. We suggest using a wind-on leader and attaching the
camera housing to the main line. Then attach the rig to
the lens line.
2. You may attach lights on the rig with no issues.
SWORDFISH
1. Attach the camera housing to the main wind-on leader.
We suggest using 200lb or greater.
2. Attach your bait at any length from the lens; for best
results, we suggest 8 to 12 feet from the lens.
3. We suggest using additional lights between the camera
housing and the rod.
4. DO NOT use any other objects between the camera
housing and the bait. This can cause tangles on your rig.
The Camera Housing Kit
Constructed from durable Delrin®and visually
clear Plexiglas®, the Hooker Electric camera
housing includes:
•Camera housing and lens
•O-ring seal/lubricant
•3 AA batteries (for light source)
•Light bulb (Available in white, blue or red)
•Pre-rigged with 250lbs monofilament
•Pre-rigged stainless steel braided wire
•Carry bag
NOTE: The Hooker Electric Camera Housing
kit DOES NOT include a GoPro® camera.
About the Hooker
Electric Camera
Housing for the GoPro®
When you are deep-water fishing, do
you ever wonder what’s down there?
At Hooker Electric, we set out to build the ultimate deep-water
camera housing for your GoPro®. Most likely you have one
laying around, so let’s get some fish action!
Our goal was simple; we wanted to capture “the bite”. We
began by engineering a camera housing that provides its own
light source, so that it could capture video in the dark depths
of the sea and withstand the great pressures of the deep. We
specifically designed it for deep-dropping Swordfish and other
deep water species. The Hooker Electric Camera Housing
is intended for two distinct types of fishing, chicken rigs and
daytime Swordfish rigs.
Share your videos with us or tag us
on Facebook (Hooker Electric
Reels) or Instagram
(hookerelectricreels).
About the
Batteries
• Battery pack requires
standard 3 AA batteries. We
suggest Duracell®Optimum
or Energizer MAX®for the
longest life.
Testing Before
Each Use
• Make sure the threads and
o-ring on the camera housing’s
lens and body are clean and
free from ANY DEBRIS.
• Assemble the lens to
the body and submerge in
water to check for any leaks
before inserting the internal
components (ie. battery, light
source, and camera.)
Cleaning and
Maintenance
• Clean the camera housing
body and lens with gentle
soap and clean water after
each use. Dry using a
microfiber cloth.
• Vaseline lubricant provided
for the o-ring, to help the seal.
• If you scratch the lens lightly,
it is repairable. You can send
it back to Hooker Electric for
refinishing.
• If you need a new wire or
mono installed on the housing,
send it back to us and we will
be happy to change it for you.
Best GoPro®
Settings
• Resolution setting
to 1080-30.
• View angle to 127 degrees.
• Turn all L.E.D.s on the
camera off.
• Set auto power to manual.
• Fits GoPro®models 6, 7,
8, and 9. Foam inserts are
included for smaller GoPro®
models.
Product
Warranty
The Hooker Electric Camera
Housing carries a 2-Year
warranty on manufacturer’s
defect of the product but is
not responsible for any lost
camera housing, its’ contents,
or other rigs or components
attached to it.
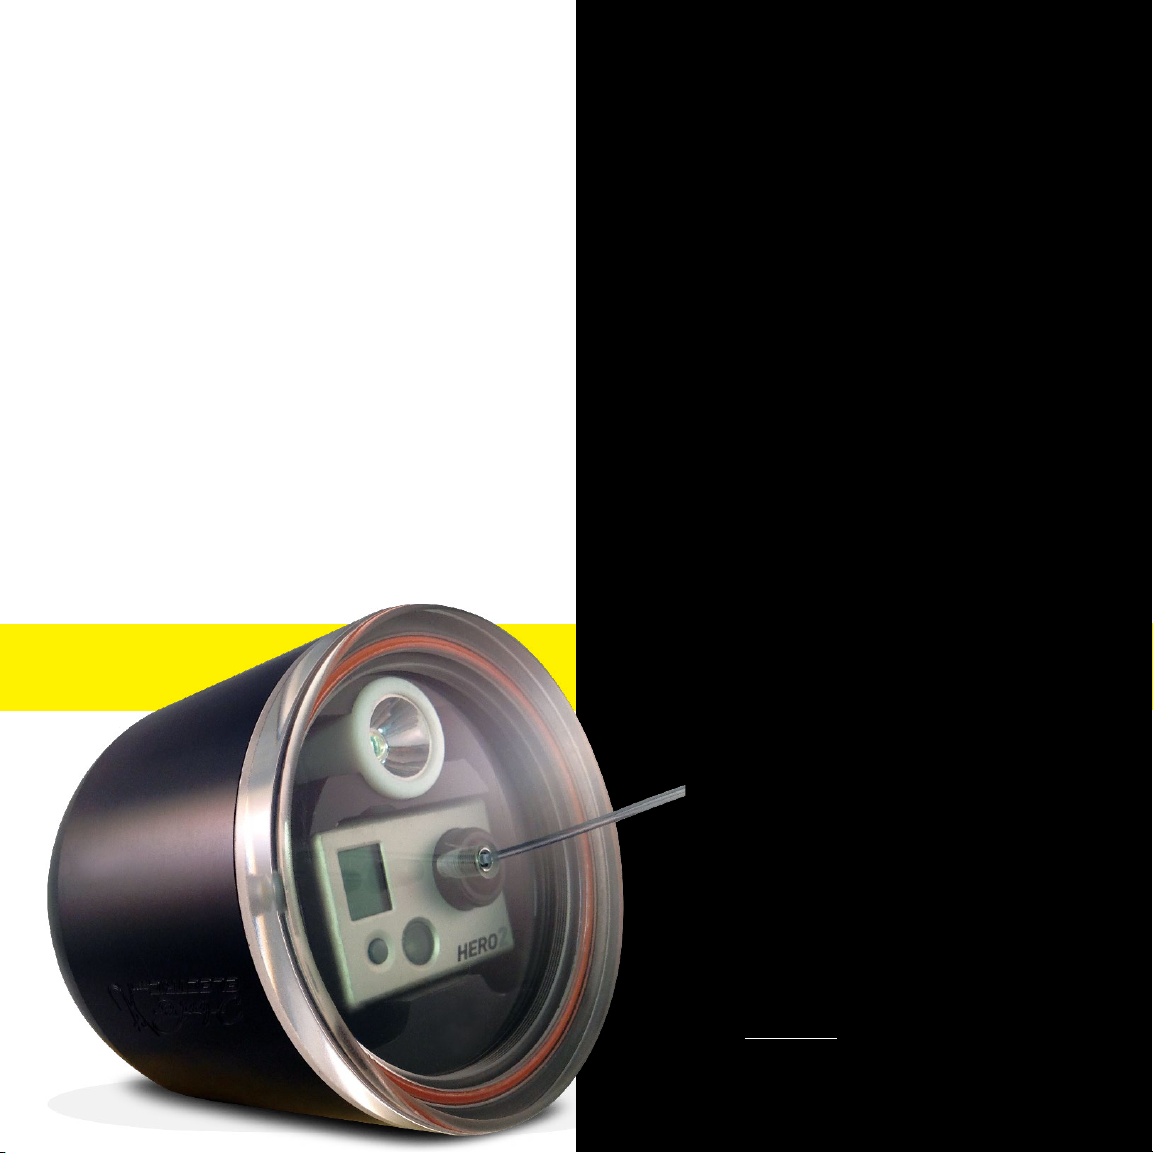
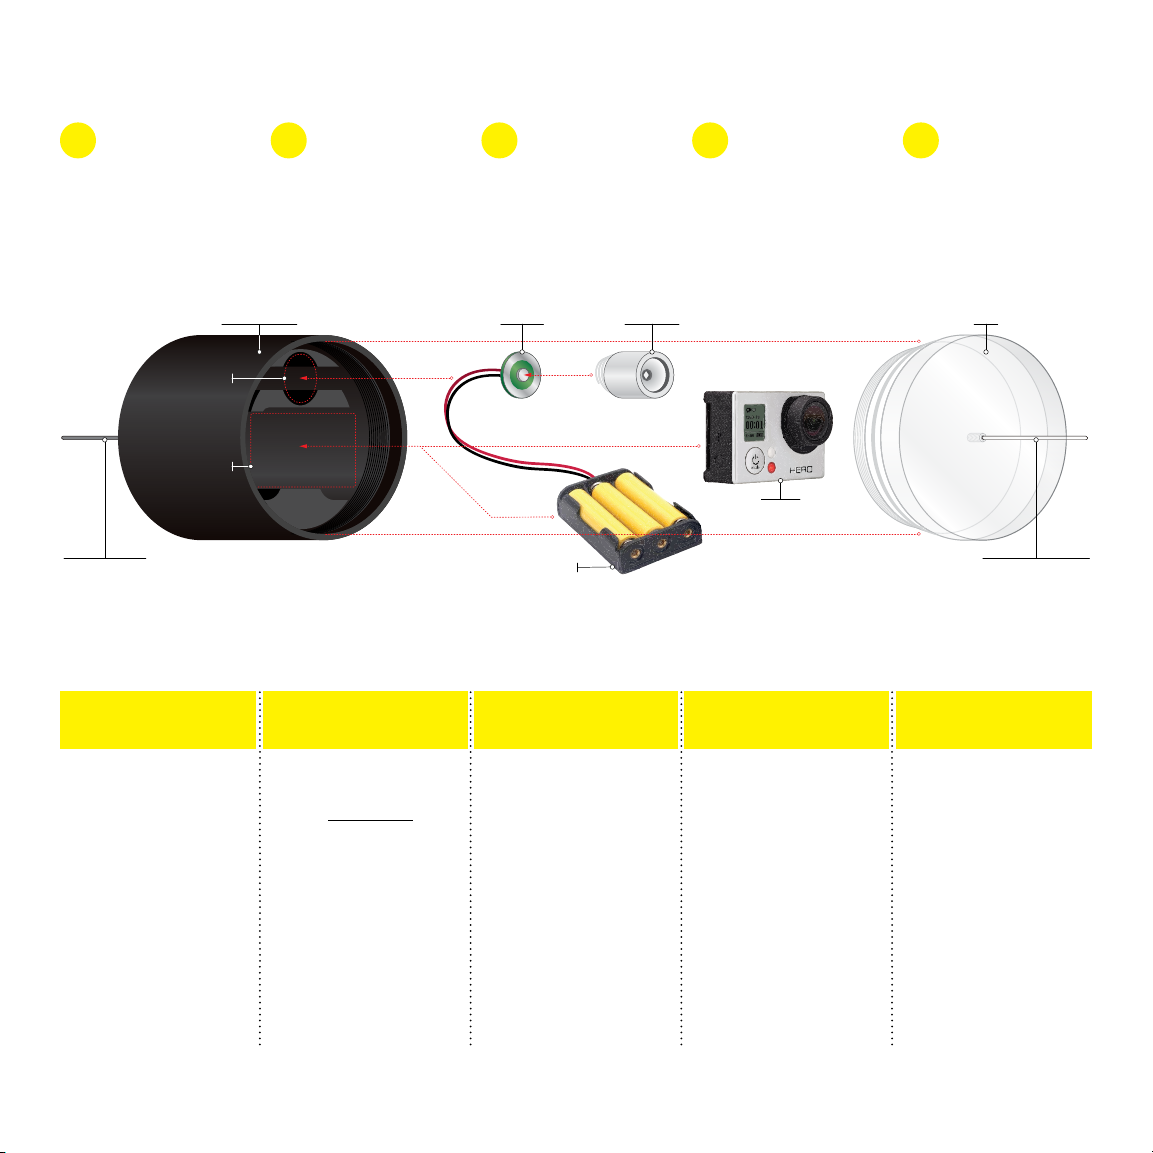
Preparing and Caring for Your Camera Housing
Camera Housing Assembly
HOUSING BODY CONTACT LIGHT BULB LENS
CAMERA
BATTERY PACK
SLOT 1
SLOT 2
250LB MONOFILAMENT
FISHING LINE
( LINE TO BAIT RIG )
STAINLESS STEEL
BRAIDED WIRE
( LINE TO REEL )
Camera Housing Assembly
For any questions or concerns, please submit your inquiry from the contact form found on hookerelectric.com. GoPro® cameras and products is property of GoPro, Inc. Other brand names, products and services may be listed on this printed
material and in these instances, each brand name, product and/or service remains property of its respective owner. Hooker Electric, Inc. is not affiliated, sponsored or endorsed by the aforementioned brands.
©2020 Hooker Electric, Inc. All rights reserved. The Hooker Electric logo, girl and hook emblem is property of Hooker Electric, Inc. Fort Lauderdale, Florida USA.
1Insert the battery pack
horizontally in (SLOT 2) and
route the cables through one
of the openings on either side.
Note: Make sure the AA
batteries are fresh to assure
dependable results.
2Insert the contact into
(SLOT 1) so that the contact
is facing forward and the
power leads to the back of the
camera housing.
3Insert your camera into
(SLOT 2) with the camera lens
facing forward. The battery
pack should fit snugly against
the back of your camera.
4Slide the light bulb
facing forward into (SLOT 1)
so that the rear of the light
sits against the contact. The
light bulb should light-up upon
contact. Note: If light bulb
does not light-up, check the
AA batteries or if the leads are
firmly soldered.
5Carefully screw the lens
to the body. While holding the
housing body, tighten the lens
to medium hand pressure. DO
NOT over tighten or use tools
to tighten the lens as this may
cause damage to the unit.
T H E U LT I M AT E F I S H I N G P R O D U C T S
HOOKER ELECTRIC, INC.
5094 NE 12TH AVE
OAKLAND PARK, FL 33334
© 2020 Hooker Electric, Inc. Oakland Park, FL. The
Hooker Electric logo, girl and hook emblem are a registered
trademark. All rights reserved. Revision 100920.
TOLL FREE 855.HOOK.ONE LOCAL 954.530.6908
VISIT OUR WEBSITE HOOKERELECTRIC.COM EMAIL US SALES@HOOKERELECTRIC.COM

This manual suits for next models

1

Popular Camera Accessories manuals by other brands

Tenergy 10003 user guide

Tenergy

Tenergy 10003 user guide

Energizer 315 Product data sheet

Energizer

Energizer 315 Product data sheet

CIS VCC-G22V31ACL Product specification & operational manual

CIS

CIS VCC-G22V31ACL Product specification & operational manual

Sanyo Cadnica N-700AACL Specifications

Sanyo

Sanyo Cadnica N-700AACL Specifications

Vello shutterboss user manual

Vello

Vello shutterboss user manual

LPR ANTIX LiPo-1S manual

LPR

LPR ANTIX LiPo-1S manual

dji OSMO user guide

dji

dji OSMO user guide

Mophie power reserve 1x user manual

Mophie

Mophie power reserve 1x user manual

ResMed Astral External Battery user guide

ResMed

ResMed Astral External Battery user guide

Panasonic LC-R063R4P datasheet

Panasonic

Panasonic LC-R063R4P datasheet

Rollei GO! DSLM manual

Rollei

Rollei GO! DSLM manual

Baintech PowerTop V3 User's operation manual

Baintech

Baintech PowerTop V3 User's operation manual

Nikon SB-N10 user manual

Nikon

Nikon SB-N10 user manual

Indiecam indieASSIST 435 user manual

Indiecam

Indiecam indieASSIST 435 user manual

Vivo STAND-TV75T/W instruction manual

Vivo

Vivo STAND-TV75T/W instruction manual

Steadicam Merlin Setup and operation manual

Steadicam

Steadicam Merlin Setup and operation manual

Duracell Alkaline-Manganese Dioxide Battery MX1500 Specification sheet

Duracell

Duracell Alkaline-Manganese Dioxide Battery MX1500 Specification sheet

Gesswein 817-0700 Instruction manual and recipe

Gesswein

Gesswein 817-0700 Instruction manual and recipe

manuals.online logo
manuals.online logoBrands
  • About & Mission
  • Contact us
  • Privacy Policy
  • Terms and Conditions

Copyright 2025 Manuals.Online. All Rights Reserved.