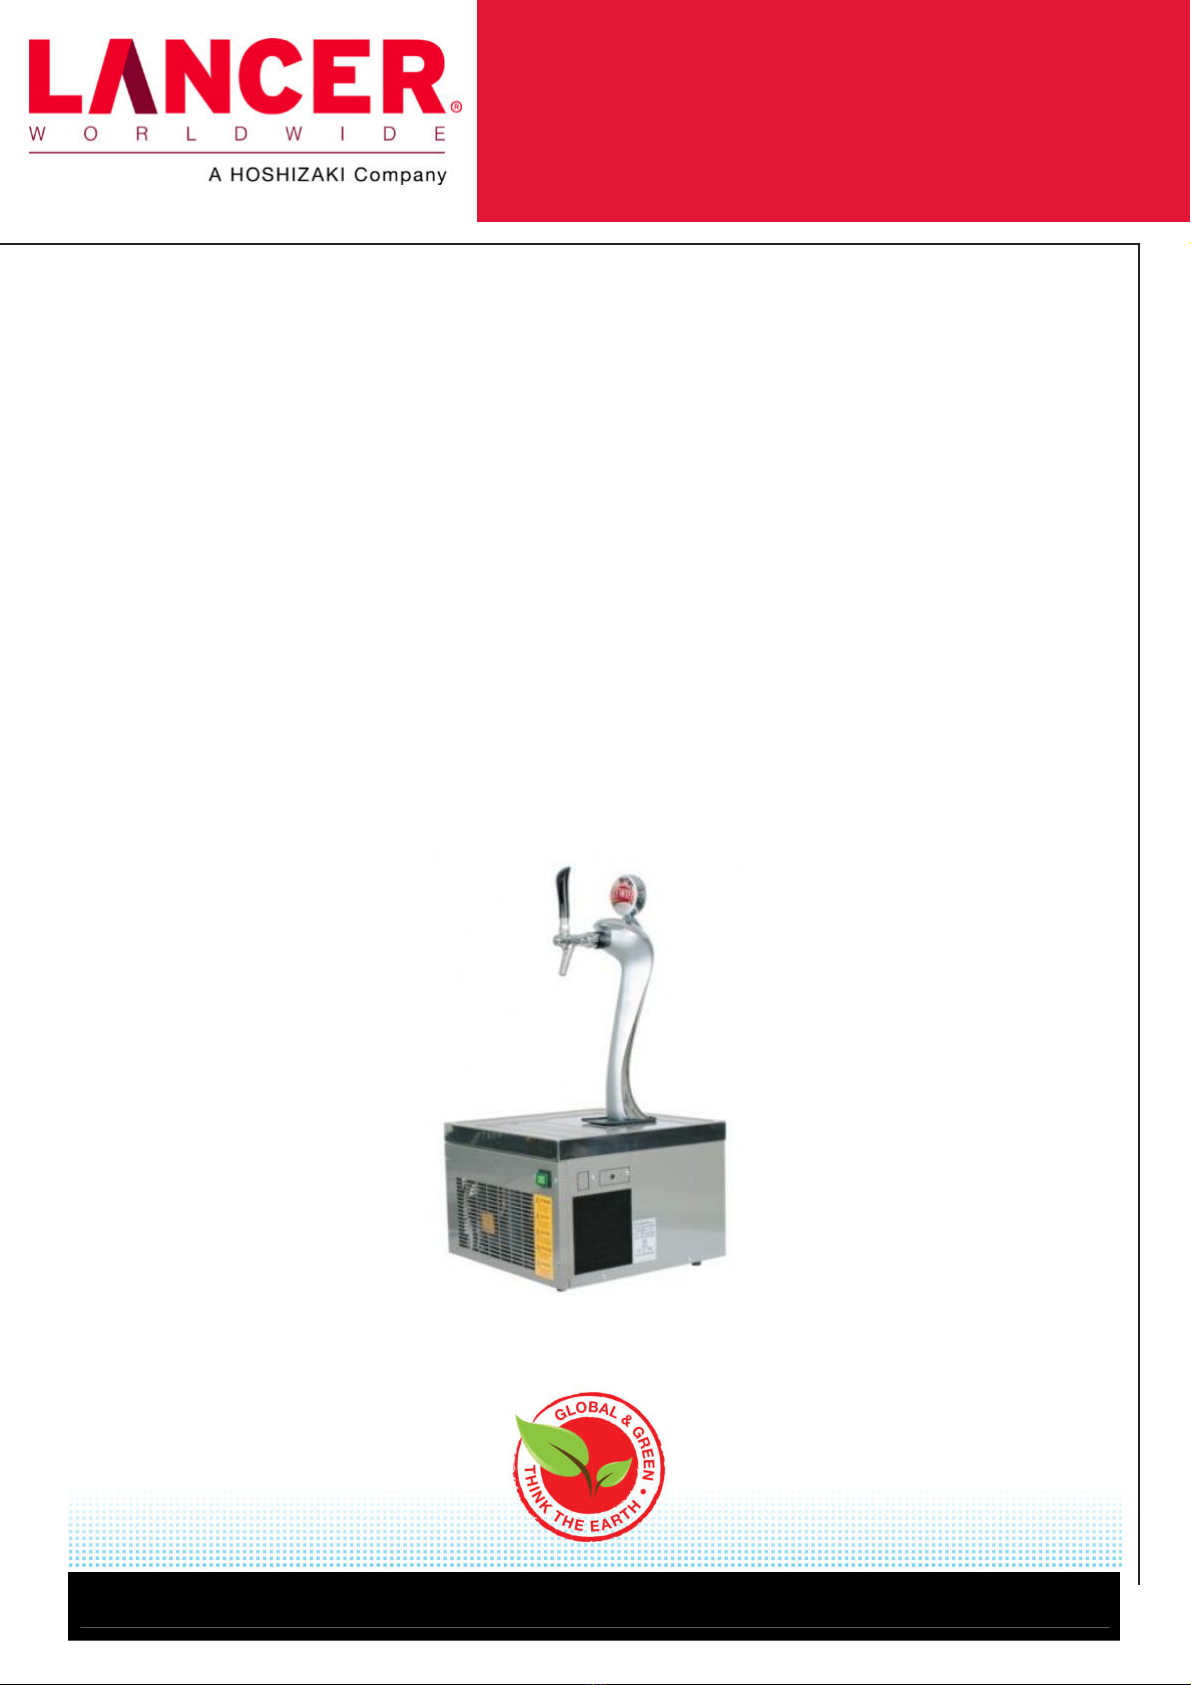
Mini Lady Hi-Carb Chiller 240V / 50Hz
lancerbeverage.com Page 2 of 11
Hoshizaki Lancer reserve the right to change specifications without notice No 005 – 26 October 2010
Table of Contents
1. Introduction........................................................................................................................... 3
2. The Company........................................................................................................................ 3
3. Our Products ........................................................................................................................ 3
4. Product Details ..................................................................................................................... 3
4.1 Product Features...........................................................................................................................3
4.2 Specifications ................................................................................................................................4
5. Safety Information................................................................................................................ 4
5.1 Safety Instructions.........................................................................................................................4
5.2 Recognise Safety Alert Symbols ..................................................................................................5
5.3 Operating.......................................................................................................................................5
5.4 Service & Maintenance.................................................................................................................5
6. Recommendations............................................................................................................... 6
6.1 Advices ..........................................................................................................................................6
7. General Information .............................................................................................................6
7.1 Description of the Machine ...........................................................................................................6
7.2 Proper uses ...................................................................................................................................6
7.3 Improper uses ...............................................................................................................................6
8. Transportation ...................................................................................................................... 7
8.1 Packaging......................................................................................................................................7
8.2 Transport and handling with packaging .......................................................................................7
8.3 Storage of the machine with packaging .......................................................................................7
8.4 Receiving.......................................................................................................................................7
8.5 Unpacking .....................................................................................................................................7
8.6 Transport and handling the machine without packaging.............................................................7
8.7 Storage of the machine without packaging..................................................................................8
9. Machine Not in Use ..............................................................................................................8
10. Installation and Adjustment................................................................................................ 8
10.1 Installation .....................................................................................................................................8
10.2 Filling the tank ...............................................................................................................................8
10.3 Regulating the Thermostat ...........................................................................................................9
10.4 Hydraulic Connection....................................................................................................................9
10.5 Electrical Connection ....................................................................................................................9
10.6 Start up ..........................................................................................................................................9
11. Routine Maintenance........................................................................................................... 9
11.1 Cleaning the condenser................................................................................................................9
11.2 Overflow ..................................................................................................................................... 10
11.3 Checking efficiency .................................................................................................................... 10
12. Maintenance........................................................................................................................ 10
12.1 Cleaning the tank ....................................................................................................................... 10
12.2 Resetting the machine ............................................................................................................... 10
13. Trouble Shooting................................................................................................................11