HOUNO Visual Cooking B User manual

B – ver. 1.5 – August 2007
1
ENG
User Manual B

B – ver. 1.5 – August 2007
2
Table of contents
Preface and warranty 3
Operation panel
4
Settings
5-6
-
Temperature 5
- Time 5
- Core temperature 5
- Programmes (new – e it – cancel) 5-6
Description of functions
7-9
- Hot air 7
- Preheating 7
- Baking brea with combi steaming 1-2-3 7
- Combi steaming 1-2 7
- Proving 7
- Setting of humi ity pulsing 7
- Manual humi ity pulsing 7-8
- Exhaust 8
- Current time an ate an setting of timer 8
- Fan spee 8
- CombiWash (fully automatic cleaning system) 8
- Semi-automatic cleaning 9
Programmes/recipes
9
ow to achieve perfect baking and roasting results 10
Baking of bread dough and frozen bread 11
User menu
12 - 13
Cleaning
14 -16
- Insi e 14
- Behin filter housing 15
- Jets 15
- Outsi e 16
- Filter un er front panel 16
www.houno.com 16
For further information on the functions and user interface of
the oven, see Service & Installation Manual.

B – ver. 1.5 – August 2007
3
Dear customer,
Congratulations on the purchase of your new HOUNÖ oven.
You are now the owner of one of the lea ing ovens on the market.
All HOUNÖ pro ucts are subjecte to intensive pro uct evelopment, which ensures that the
pro ucts always offer the latest technology an the most up-to- ate an energy-saving
metho s of preparation. Moreover, the HOUNÖ pro ucts are entirely up-to- ate with the latest
evelopments/technology in terms of
• ERGONOMICS AND SAFETY
• SIMPLE AND LOGICAL OPERATION
• ELEGANT AND FUNCTIONAL DESIGN
• RELIABILITY AND SERVICE
To ensure that our customers get an optimum an reliable pro uct, all HOUNÖ units are
passe through an extensive test programme in which all functions are subjecte to a
continuous an extreme loa .
Before you start using the oven an its many automatic functions, we recommen that you
stu y the manual thoroughly so as to ensure optimum cooking results. By going through the
manual, you will obtain a better un erstan ing of the a vance technology an feel safer while
using the oven in your aily work.
Furthermore, we call your attention to the wi e variety of optional extras:
• Han shower
• Core temperature probe
• A itional cassette rack, trolley for rack, wall bracket
• Extraction hoo an extraction hoo with con enser
• Visit www.houno.com for further information on our wi e range of
a itional equipment
Terms of warranty
The oven cabinet an the technical parts of your new HOUNÖ oven are covere by a 12-month
factory warranty. However, the heating elements are guarantee for 24 months an the
exterior oor glass for 10 years. The perio of warranty takes effect from the ate of
installation.
The warranty does not include....
We especially raw your attention to the fact that the factory warranty oes not cover glass
parts such as interior oor glass, halogen lamps an sealings. Furthermore, the factory
warranty oes not apply in the case of
1. efects that are ue to the fact that installation has not been carrie out in accor ance
with the HOUNÖ Installation & Service Manual at present in force (electricity,
water/ rain, exhaust).
2. efects an interruptions of operation that are the result of the oven not being
han le /operate as specifie in the user's manual.
If you utilise all the technological facilities of this oven, you are guarantee perfect results with
only a minimum of resources.
Enjoy your new HOUNÖ oven.
Yours sincerely,
OUNÖ A/S

B – ver. 1.5 – August 2007
4
Turn han le twice to the right to open oor.
(1) If the oven oes not incorporate CombiWash, the manually operate cleaning system can
be activate by pressing the PRG key an turning the turn switch until Cleaning appears in
the isplay.
PRG
HOT AIR 30-250°C. All mo es
an all optional extras are
escribe on following pages.
COMBI STEAMING 1-2-3
1 lamp: COMBI STEAMING 1
2 lamps: COMBI STEAMING 2
3 lamps: PROVING
PREHEATING at max.
300° for max. 15 minutes
EXHAUST is open when
control lamp is on.
Low FAN SPEED is active,
when control lamp is on.
HUMIDITY SETTING. Setting of
humidity pulsing (1-99 seconds).
Press and set number of seconds
with TURN SWIT H. Press again
to confirm.
TEMPERATURE SETTING. Press
once and set temperature with
TURN SWIT H. Press again to
confirm.
PROGRAMMES (optional extra).
Press once and select program with
TURN SWIT H. Editing and
deleting are described on follow-
ing pages (1).
ON/OFF
STEP shows current step when
PROGRAMME mode is active.
ontrol lamp next to ALARM
lights up when alarm after a step
has been selected (when PRG is
active).
Main switch
TIME SETTING. Press once and
set time with TURN SWIT H. 4
hours is maximum. Press again to
confirm.
Operation panel

B – ver. 1.5 – August 2007
5
Setting of temperature
Press TEMPERATURE key once an set temperature with turn switch.
Confirm by pressing TEMPERATURE key again.
Setting of time
Press TIME key.
Time flashes.
Choose esire time (hours an minutes) with turn switch.
If switch is turne all the way own to 0,”-:--” (continuous operation) appears in the isplay.
Max. time setting is 4 hours.
Confirm by pressing TIME key again.
Setting of core temperature (optional extra)
Press CORE TEMPERATURE key.
If the isplay is off, the core temperature appears as 75°C.
Set core temperature between 30 an 99°C with turn switch.
Core temperature is eactivate by turning switch past 30.
When core temperature is chosen, time changes to ”-:--” .
Confirm by pressing CORE TEMPERATURE key again.
The core temperature probe has several measuring points from the tip of the sensor an
upwar s.
The computer calculates an average temperature thus ensuring that the core temperature is
100% correct.
If the probe is inserte incorrectly, the a vance technology notifies you at once.
The probe is inserte vertically in the thickest part of the pro uct.
When preparing pro ucts of very ifferent sizes, you get a uniform quality by inserting the
sensor in the smallest pro uct an then moving it to a larger pro uct when the core
temperature alarm soun s.
Programmes
10 Programmes that can hol 3 process steps each. It is possible to write 10 characters an
entering alarm after steps 1 an 2.
Press PRG an turn the switch. The first five Programmes are preset at the factory (P0 – P4).
Start the program by pressing the ON/OFF key.
To leave PROGRAM, turn the switch beyon ”P O”.
To elete an entire programme, press core temperature key an alarm key simultaneously for
2 secon s.
When the keys or the turn switch is i le for 20 secon s, the oven returns to manual operation.
Entering and changing text
To enter or change text, press PRG for 3 secon s.
The first igit or the relevant letter/”_” flashes alternately. Change the flashing character with
the turn switch. You can choose between all the letters of the alphabet an the igits 0 – 9.
The space sign is next to the letter A.
Move on to the next igit by pressing PRG briefly.
Store text by pressing PRG until “SAVED” appears in the isplay.
To leave text e iting without storing, press ALARM. The original text reappears.
Settings

B – ver. 1.5 – August 2007
6
To elete the entire text, press PRG an ALARM simultaneously for 2 secon s.
When a key or the turn switch is i le for 20 secon s, the oven returns to select program.
Entering and changing data in steps
By pressing STEP when PROGRAM is active, the step isplay is turne on an shows ”1”. The
ata of the first step can now be entere .
To move on to the next step (1-3) an rea an change settings, press STEP again.
Choose an change temperature, time, core temperature, exhaust an fan as in manual
operation.
Stop between steps: To turn the alarm between steps on an off, press ALARM. If the control
lamp is on, the program en s with the current step an a beep is hear . The oven oes not
procee to the next step until the oven oor is opene an close or you press ALARM.
To store a change ma e in the step mo e, press PRG for 2 secon s.
Leave STEP by choosing another program with the turn switch.
Be careful not to use the turn switch when a value flashes. If you turn the switch while you are
working in STEPS, the computer switches to the next programme an all changes are lost.
Delete current step by pressing STEP an ALARM simultaneously for 2 secon s.
When the programme has starte , you can still change time, temperature, core temperature
an the settings of fan an exhaust. These changes will then only be active in the current run.
Note that the isplay shows the total time remaining after start an that it will show the time
remaining in the current step when you press TIME.

B – ver. 1.5 – August 2007
7
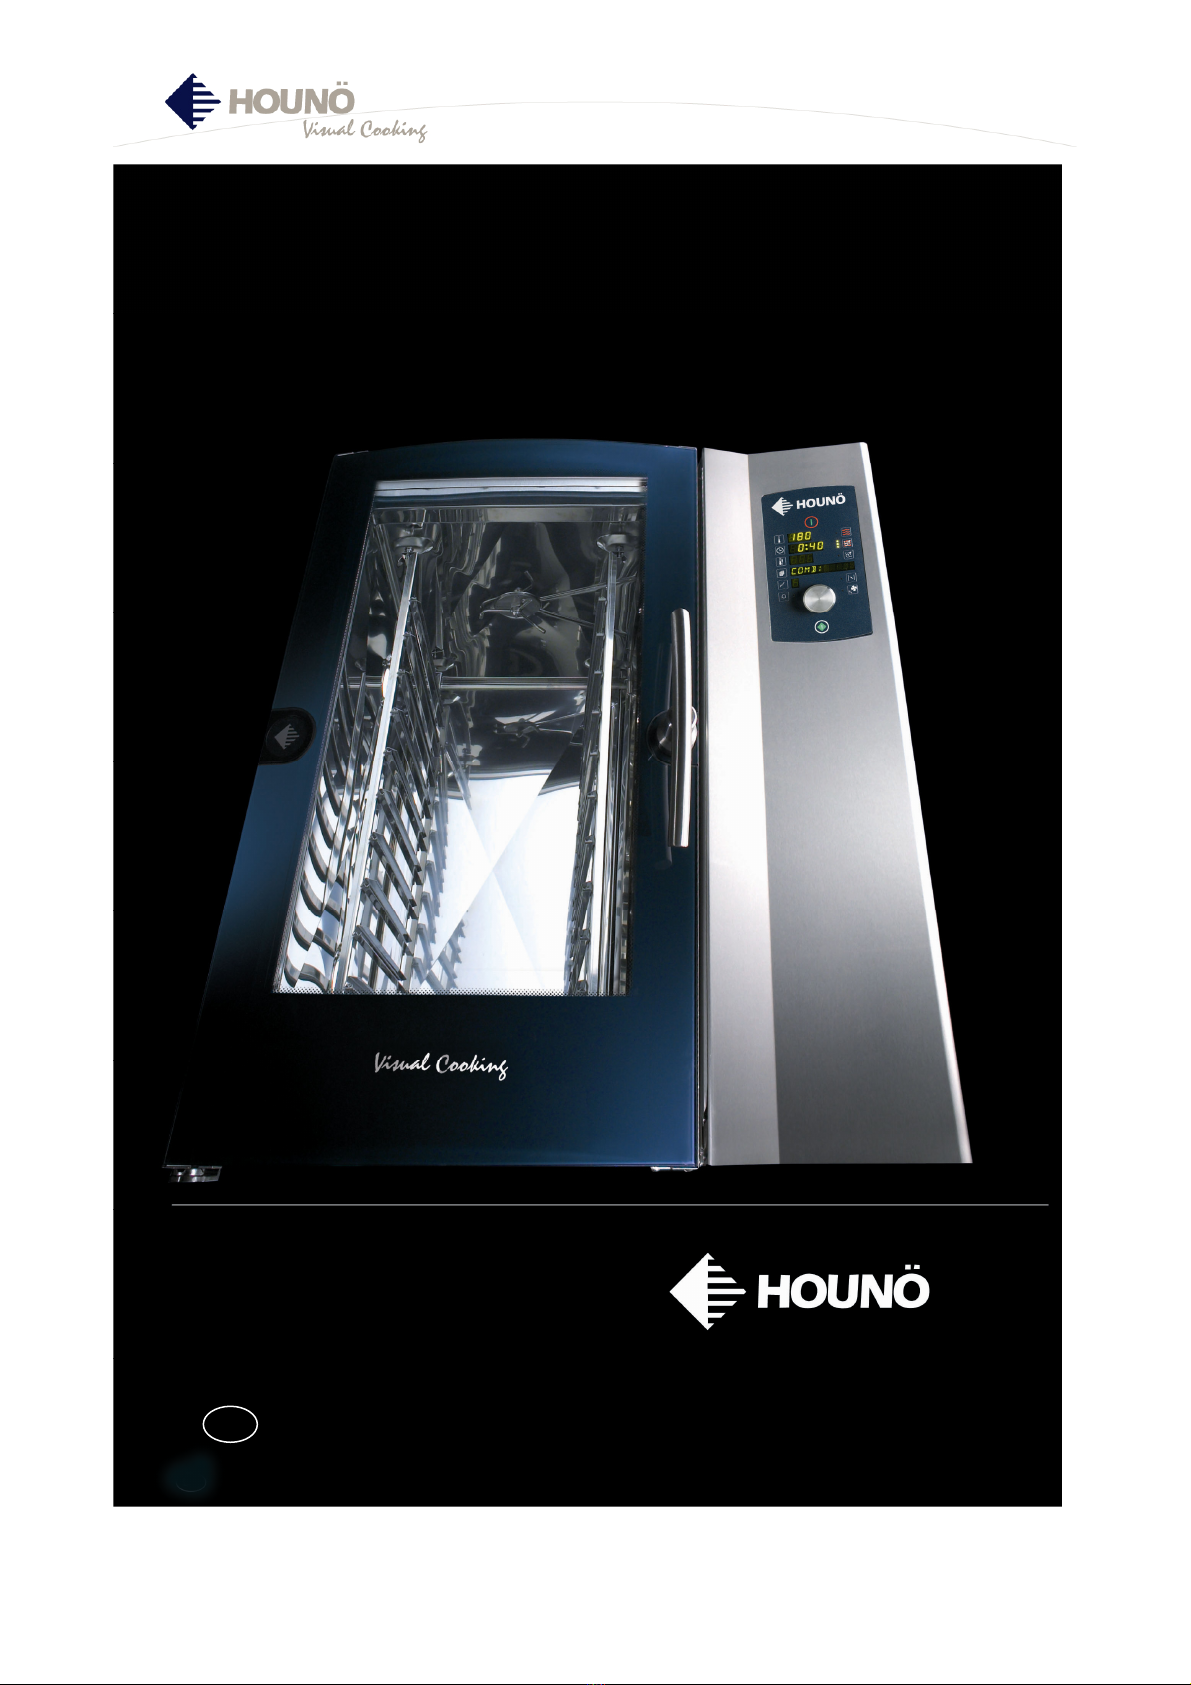
Description of Functions
ot air
30-250°C
The hot air operating mo e can be use for roasting, grilling, baking an gratinating. We
recommen that you keep the exhaust open when roasting pro ucts at very high
temperatures. It is possible to roast brea e pro ucts such as brea e fish an brea e pork
chops. For maximum effect, use enamele cast iron trays / silicone-coate baking sheets an
one of the special browning fats available in the shops.
Preheating
251-300°C
By setting the temperature higher than 250°C, you change to the preheating mo e an
PREHEAT is shown instea of HOT AIR. With this function, you preheat the empty oven. The
time can be set to max. 15 minutes, an continuous operation (-:--) is not possible. The
preheating mo e has been change so that the count own oes not start until the esire
temperature has been reache . This is to ensure that the oven is always in the same con ition
when the oven is loa e , no matter the starting temperature.
IT IS RECOMMENDED TO ALWAYS PREHEAT THE OVEN BEFORE USE.
Baking bread with combi steaming 1-2-3
COMBI STEAMING 2 can be use for the proving/rising of brea . Set the temperature at
approx. 30°C for large loaves an max. 37°C for small loaves. Set the fan at low spee .
Recommen e preparation time for large loaves is 20 – 40 min., for small loaves 15 – 30 min.
We may recommen COMBI STEAMING 1 for large loaves of 600 – 800 g that have been
prove first. The result is a thicker crust an , therefore, the brea is much easier to slice up.
Keeping-qualities are goo .
At the moment, there are no empirical results pertaining to the use of combi steam for bake-
off pro ucts.
Combi steaming 1-2
30-250°C
If steam is a e to the meat uring roasting, the pores of the meat close quickly, which
prevents the juice from leaving the meat.
When using long-time roasting at 80 – 130°C, a ing humi ity helps re uce shrinkage.
At temperatures higher than 165°C, the crust of the meat becomes as nice an brown as ha HOT AIR
been use .
Proving
30-40°C
Proving is the rising of brea by the a ition of humi ity at temperatures between 30 an
40°C. This temperature provi es the optimum environment for the yeast to evelop.
Manual humidity pulsing
When you press the key for STEAMING in the HOT AIR mo e, you a humi ity to the oven
chamber. Humi ity is a e for as long as the key is hel own.
Setting of humidity pulsing
Set the humi ity pulsing before starting the hot air mo e. Press the symbol for humi ity
pulsing an set the number of secon s with the turn switch. Confirm by pressing the symbol
again. Recommen e settings are 10 – 20 sec. for croissants/large loaves, an 3 – 10 sec. for
small loaves. For large loaves ma e from scratch (600 – 800 g), the recommen e interval is

B – ver. 1.5 – August 2007
8
60 – 99 sec. A ing humi ity keeps the surface moist uring the baking process so that it can
be stretche without splitting. Humi ity also gives the finishe pro uct a shiny surface.
Manual humidity pulsing
In HOT AIR, humi ity pulsing is active as long as you press the key.
Exhaust
The exhaust is usually close in all operating mo es. When the control lamp is on, the exhaust
is open. It is recommen e that you open the exhaust at the en of the baking process to
achieve a crispy crust.
Fan speed
Set the FAN spee by pressing the fan key an turn the switch.
A fan spee between 20 an 50% is recommen e for the baking of puff pastry, Danish
pastry, cakes an small pro ucts as well as in the Delta-T an Cook-an -Hol mo es. You may
a 1 – 2 minutes’ preparation time for each ½ hour when low fan spee is use .
Fan speeds below 50% cannot be used at temperatures above 200°C.
Fan spee s between 50 an 100% are recommen e if you want a particularly juicy en
pro uct an accept a longer cooking time.
ours, date and setting of timer
Shows the exact time an ate when the oven is off. For setting of clock an timer, see USER
MENU below.
Fully automatic cleaning system, CombiWash
(cannot be retrofitted, should be ordered together with oven)
The cleaning system shoul be use every ay. You choose between levels 1, 2, 3 an 4 an
possibly a itional etergent, epen ing on how soile the oven chamber is. The last thing you
o before turning off the light in the evening is activating CombiWash. When CombiWash is
finishe , the computer automatically switches to an energy-saving stan by function.
Follow these steps to start CombiWash:
• Cool own the oven chamber to 60°C.
• Remove strainer from the bottom of the oven chamber.
• Insert wash arm where the strainer was remove an at the top. Fit strainer on the lower
part of the wash arm (this is important, as, after use, the strainer must be put back in
place, otherwise the oven cannot operate as usual).
• Check the level of etergent an rinse ai .
• Press PRG an turn switch to the right until CombiWash appears in the isplay.
• Press STEP to choose cleaning level: 0 is 2 minutes’ rinsing with water – 1 is light cleaning
an 4 is very thorough cleaning. Press ALARM for a itional etergent.
• Close oven oor an press ON.
Semi-automatic cleaning
This cleaning function can also be use on ovens with CombiWash. Simply eactivate
CombiWash in the user menu.

B – ver. 1.5 – August 2007
9
• Cool own oven chamber to 60°C.
• Press PRG an cleaning appears in the isplay. Press ON.
• Press ON
• When the alarm soun s (after 10 minutes) an add soap appears in the isplay, open oven
oor an spray etergent into oven chamber. Close oven oor an the programme
continues.
• When the programme is over, rinse oven appears in the isplay (after another 10 minutes).
Rinse oven chamber.
If the oven is very soile , activate combi steaming 2 at 80°C for 30 minutes before starting
cleaning programme.
Programmes / Recipes
Programme/recipe Mode
Temp./time/misc.
Remarks
0
Danish pastry, bake-off,
60-96 g, prebake
1) Hot air / preheating
Alarm
2) Hot air
3) Hot air
220 / 2
180 / 6 / 10 sec.
humi ity
180 / 5
1
Danish pastry, bake-off,
85-100 g, preprove
1) Hot air / preheating
Alarm
2) Hot air
210 / 2
180 / 18 / low fan
spee / exhaust
open
2
White brea , bake-off,
600 g, preprove
1)Hot air / preheating
Alarm
2)Hot air
3)Hot air
230 / 2
170 / 20 / 20 sec.
humi ity
170 / 6 / exhaust
open
3
Rye brea , prebake ,
bake-off, 1100 g
1) Hot air / preheating
Alarm
2) Hot air
180 / 2
160 / 25 / 10 sec.
humi ity
4
Pastry bar, bake-off,
preprove
1) Hot air / preheating
Alarm
2) Hot air
200 / 2
165 / 17 / low fan
spee / exhaust
open
5-9
Vacant

B – ver. 1.5 – August 2007
10
How to achieve perfect baking an roasting results
A HOUNÖ oven gives you optimum possibilities of achieving goo baking/roasting results.
Below are a few pieces of a vice on baking an roasting in your HOUNÖ oven.
If your baking/roasting results leave something to be esire , if, for instance, ”uneven”
baking/roasting occurs, follow these recommen ations:-
Preheating
It is important always to preheat the oven. The first time you heat the oven after it has been
turne off for more than 4 hours, it must be preheate at 250-300°C for 10 - 15 minutes.
It is also important that the pro ucts to be cooke all have the same temperature when they
are place in the oven. When baking frozen pro ucts, the oven shoul be preheate for an
extra long perio of time an it might be a goo i ea to leave the pro ucts at room
temperature for 5 - 10 minutes before they are place in the oven.
Tip
Each time you cook a full oven loa uring the ay, preheat the oven for 5 minutes at 250°C.
Fan speed
It is recommen e always to use high fan speed. High fan spee ensures the best an most
even istribution of heat in the oven. Only in the case of light pro ucts, or if the oven is only
half full, is the occasional use of low fan spee recommen e .
Loading the oven
1. It is recommen e that canteens an baking sheets are place in the rack as follows: the
first one in the mi le, the secon one above the first one, the thir one below the first
one, the fourth one above the secon one, etc.
2. The pro ucts on the sheets shoul all have the same height. A loaf next to a cake may
result in uneven baking. Different types of product should be placed on different
sheets/containers.
The sheets/containers shoul not be overloa e , the air must be able to circulate freely aroun
the pro ucts.

B – ver. 1.5 – August 2007
11
Baking of brea ough an frozen brea
Baking makes large eman s on a convection oven because the pro ucts are wi ely ifferent.
Brea ough pro ucts an some preprove bake-off pro ucts shoul first be prove in a
proving cabinet. Most preprove pro ucts shoul be taken irectly from the freezer. The
temperature of brea ough pro ucts when they are place in the oven is approx. 30°C, while
the temperature of prebake pro ucts is often –10°C.
Obviously, frozen pro ucts have a consi erable effect on the temperature in the oven
chamber. It is therefore important that the oven is preheate to a temperature that is
consi erably higher than the working temperature. For full oven loa s of frozen pro ucts, we
recommen that the oven is preheate to a temperature which is 50% higher than the esire
pro uction temperature (if possible) for 5 – 10 min.
If low fan spee is use , baking times shoul be increase by at least 1 min.
The following are general recommen e settings:
Preproved Danish pastry
Take irectly from freezer an bake in a preheate oven. Bake for 18 min. at 165 – 190°C with
the exhaust open.
Preproved bread / classic bake-off
Defrost for at least 2 – 3 hours covere in plastic or in a plastic bag, or in a refrigerator
overnight. Shoul rise two or three times its size an be bake in a preheate oven for 18 – 28
min. at 165 – 190°C with the exhaust open. If the oven chamber is only half full or less than
half full, use 50% fan spee .
Ordinary bread dough
Shoul rise two or three times its size in a proving cabinet or at room temperature covere
with plastic. Optimum temperature is 30 – 37°C, or prove in a refrigerator (3-5°C) for 12 – 24
hours. The lower the temperature, the longer the proving time. If the ough is “soft/moist”,
the pro ucts may rise too much.
Prebaked rolls
Take irectly from freezer an bake in a preheate oven for 11 min. at 175-190° with the
exhaust open.
Prebaked white bread
Defrost for at least 3 – 6 hours covere with plastic or in a plastic bag, or in a refrigerator
overnight, an bake in a preheate oven for 11 min. at 175-190°C with the exhaust open.
Prebaked rye bread
Defrost for at least 12 hours covere with plastic or in a plastic bag, or in a refrigerator
overnight, an bake in a preheate oven for 25 – 30 min. at 155 – 165°C with the exhaust
open.
Contact your bake-off supplier for specific instructions.

B – ver. 1.5 – August 2007
12
To enter the user menu, press ALARM for 5 secon s while you are in the manual mo e.
The isplay briefly shows ”USER MENU”. The core temperature isplay shows ”b” an the
number of the value to be set (see below).
You leave the user menu by turning the turn switch beyon ”0”.
1 Store pre-
setting
Time an temperature can be change in HOT AIR, COMBI STEAMING
an STEAMING an save by pressing ALARM. The alarm control lamp
flashes when ata are rea y to be save .
The esire changes shoul be ma e before entering the USER MENU.
2 Timer Press STEP to change the various settings of the timer.
1) DATE. The ate flashes in the temperature isplay. To set the ate,
turn switch. 0 means aily start.
2) HOUR. Set the hour.
3) MINUTE. Set the minute.
4) MODE. Choose a mo e by pressing one of the four mo e keys.
5) TEMPERATURE. Set the oven temperature.
6) TIME ( uration of program) 0:00 - 4:00.
Press ALARM to activate timer (ON appears in the temperature isplay
an control lamp is on). Deactivate by pressing ALARM. The oven can
now be turne off with the main switch or it can be left on stan by. The
oven starts automatically but only in the manual mo e.
3 Volume low Press STEP an a just the volume of the alarm uring operation from 0
to 9.
4 Volume high Press STEP an a just the volume of the alarm at the en of a
program/mo e from 1 to 9.
5 Soun
frequency
Press STEP an a just from 1 to 9.
6 Interior light Press STEP: 0 = continuously on / 5 = off after 5 min. / 1 (B mo el) =
continuously on but off when oor open / 6 = off after 5 min. but off
while oor open.
7 Current
temperature
0 = esire temperature / 1 = current temperature. A just by pressing
STEP.
8 Extraction Applicable only if oven has con ensing extraction hoo . 0 = extraction
hoo running in epen ently of oven / 1 = extraction hoo stops 10
minutes after oven has stoppe .
9 Time graphics Shown in text isplay uring operation. Change by pressing STEP.
0 = Display shows mo e chosen
1 = Display alternately shows mo e chosen an time remaining.
10 Minutes Minutes are shown in temperature isplay. Change by pressing
temperature key an turning switch. Store by pressing temperature key
again.
11 Hour Hour is shown in temperature isplay. See 10.
12 Day Day of the month, 1-31. Day of the week, 1 – 7, in time isplay. See 10.
13 Month Month. See 10.
14 Year The year 2007 is in icate by ”7”. See 10.
15 CombiWash For ovens with the automatic cleaning system, CombiWash:
If problems occur with respect to some of the CombiWash error
messages, the program can be eactivate . 0 is shown in step isplay.
Then activate the semiautomatic cleaning program by pressing START
(no wash arm require ) an follow the instructions in the isplay.
User menu

B – ver. 1.5 – August 2007
13
16 Regenera-
ting/reheating
Setting of humi ity pulsing. Press temperature key an turn switch to
change setting. The value in icates the number of secon s between each
injection into the oven chamber. If the value is increase , less humi ity
is a e to the oven chamber, if the value is re uce , more humi ity is
a e (factory setting is every 8 secon s).
17 Injection
interval 1
Combi steaming 1: See 16 (factory setting is every 12 secon s)
18 Injection
interval 2
Combi steaming 2: See 16 (factory setting is every 5 secon s)
19 Save all Press ALARM to make a backup of all settings in all mo es an
Programmes.
20 Retrieve all Press ALARM to retrieve all settings save in all mo es an Programmes.
21 Retrieve ori-
ginal menu
Press ALARM an retrieve all Programmes preset by the manufacturer. In
step isplay, choose which program (0 – 4) to retrieve an press ALARM.
22 Interval screen
Interval of secon s before interval screen becomes active. 0 = 0 sec. / 1
= 10 sec. / 2 = 30 sec. / 3 = 60 sec./ 4 = 180 sec. / 5 = 600 sec.
Change by pressing STEP.
23 Language Change by pressing STEP (1 – 4).
24 SW up ate Up ating of software. Special memory key require . Contact your local
istributor.

B – ver. 1.5 – August 2007
14
Daily cleaning of the oven is recommen e for hygienic reasons an to avoi interruptions of
operation.
The esign of the HOUNÖ ovens allows quick an easy cleaning. The oven chamber is ma e of
all-wel e stainless steel, which makes it splash proof. You will therefore fin the easy-to-use
han shower (optional extra), which is locate behin the front panel, very suitable for interior
cleaning.
The oor sealing is easy to remove, which ensures quick an efficient cleaning un er an
aroun it.
Furthermore, the flat front panel makes exterior cleaning simple an efficient.
To give the oven an extra shine, we recommen HOUNÖ steel oil which is available from your
oven supplier (0.5 litre: part No. 045650 – 5 litres: part No. 045654).
Oven chamber
Use CombiWash, level 1-4, with or without a itional etergent (note that CombiWash shoul
be or ere as optional extra together with the oven as it cannot be retrofitte ) or the semi-
automatic cleaning program (see Description of modes), or o as follows:
A. Always clean in a col oven or cool the oven chamber own to below 60°C.
B. Let the oven run in COMBI STEAMING 2 at 60°C for 15 minutes.
C. Apply HOUNÖ oven etergent to the si es of the oven chamber, racks, etc. (accor ing to
requirement) using a soft brush or a spray pistol. Protect your face an han s as the
etergent may cause strong irritation shoul it come into contact with your skin.
D. Let the etergent work for 10 minutes.
E. Let the oven run in COMBI STEAMING 2 at 80°C for 15 minutes.
F. Rinse the oven chamber with water (using a soft brush or the han shower (optional
extra)).
G. If the oven is not connecte to a soft-water plant, we recommen that you use HOUNÖ
rinse ai an wipe the oven chamber with a ry cloth.
Cleaning behind filter housing
For thorough cleaning of the oven chamber, move the filter housing so that it becomes
possible to clean roun the fan an heating elements.
Loosen the 2 screws (A) an (B) on the filter housing, turn the filter housing an clean behin
it. The filter housing can be ismounte entirely by lifting it upwar s till it is clear of the pin at
the bottom an then tipping it.
Cleaning

B – ver. 1.5 – August 2007
15
Cleaning of jet heads
The jet hea shoul be ismounte an cleane regularly accor ing to how often the combi
steaming an ClimaOptima mo es are use . The easiest way to clean the jet hea is to let it
soak in scale remover accor ing to requirement. All ovens are supplie with an a itional jet
hea .
If the oven is equippe with the automatic cleaning system, CombiWash, there will be two jet
hea s. The other jet hea will be locate to the right of or above the first one. This jet hea
shoul also be checke /cleane regularly.
Please note the position of the jet hea s:
Exterior cleaning
Wash the oven cabinet on the outsi e with soapy water an ry with a soft an amp cloth.
After rying, apply HOUNÖ STEEL OIL (follow irections on the packaging). The steel oil is
available from your oven supplier (0.5 litre: part No. 045650 – 5 litres: part No. 045654) an
is only for external use.
Note! The exterior of the oven must never be flushe with a water hose or high-pressure
cleaner as this may amage the electronic components.
(A)
(B)
The jet hea for steam / ClimaOptima
shoul be locate with the notch
facing ownwar s (the long tube).
The jet hea for CombiWash shoul
be locate with the notch facing
upwar s (the short tube).

B – ver. 1.5 – August 2007
16
Filter
Un er the front panel is a filter that shoul be cleane on a weekly basis – either manually or
automatically.
Remember to fit the filter again after cleaning to prevent irt, soil, etc. from entering the oven.
Visit www.houno.com
At our website www.houno.com, you will fin a great eal of information about HOUNÖ an
our extensive range of Visual Cooking combi ovens.
www.houno.com provi es you:
· Pro uct information on HOUNÖ’s combi ovens, customise oven solutions an
our wi e range of accessories.
· Technical information on combi ovens.
· Visual Cooking user DVD - how to program your Visual Cooking oven.
· Han s-on operating on a combi oven by means of interactive software.
· Delicious recipes which are easy to prepare.
· Latest news from HOUNÖ.
· User manuals
· Intranet with spare parts catalogue, imensional sketches, wiring iagrams,
service bulletins, installation manuals, etc.
To access our Intranet, you nee a passwor . Please contact HOUNÖ: houno@houno.com for
more information.

B – ver. 1.5 – August 2007
17
Meeting your nee s
- worl wi e
With more than 30 years’ experience in the
manufacture of innovative oven solutions, HOUNÖ is
one of the worl ’s lea ing manufacturers of combi
ovens an bake-off ovens. As oven specialist, we meet
your nee s for efficiency, flexibility an reliability.
Through the years, HOUNÖ has grown from a small
Danish company into a lea ing manufacturer of combi
ovens worl wi e. To ay, Visual Cooking is supplie to
selective customers all over the worl through an
extensive network of sales an service partners.
As part of the US base group of companies, the
Mi leby Corporation, which with its more than 1,500
employees is one of the market lea ers in the
commercial cooking equipment in ustry, HOUNÖ has 17
sister companies an a subsi iary in Swe en.
HOUNÖ’s top motivate staff is behin Visual Cooking.
With the wi est range of combi ovens in the in ustry,
we are able to create customise solutions that suit
your nee s exactly.
Visit www.houno.com an be inspire !
OUNÖ A/S
Alsvej 1
DK 8900 Ran ers
Denmark
Tel. +45 87 11 47 11
Fax +45 87 11 47 10
www.houno.com
Table of contents
Other HOUNO Oven manuals